Setup
Overview
Connect and manage Facebook Ads accounts within CleverTap for remarketing. Once integrated, you can sync segments, configure default accounts, and take administrative actions such as reconnecting or removing accounts.
Prerequisites
Before connecting a Facebook Ads account, check that the following requirements are met:
-
Facebook Business Manager Account
Recommended for centralized management of assets such as WhatsApp Business Manager, Ads Manager, and Product Catalogs. -
Active Ads Account
The Facebook Ads account must be active and connected to the Business Manager Account. -
Admin Access
The connecting user must have administrative permission to access the ad account. -
Custom Audiences Terms Acceptance
The administrator must have accepted Facebook’s Custom Audiences Terms of Service . If the default link does not load, append your Facebook Ad Account ID to the end of the URL as shown below:
<https://business.facebook.com/ads/manage/customaudiences/tos/?act=>\<your_ad_account_id>View and Manage Connected Ad Accounts
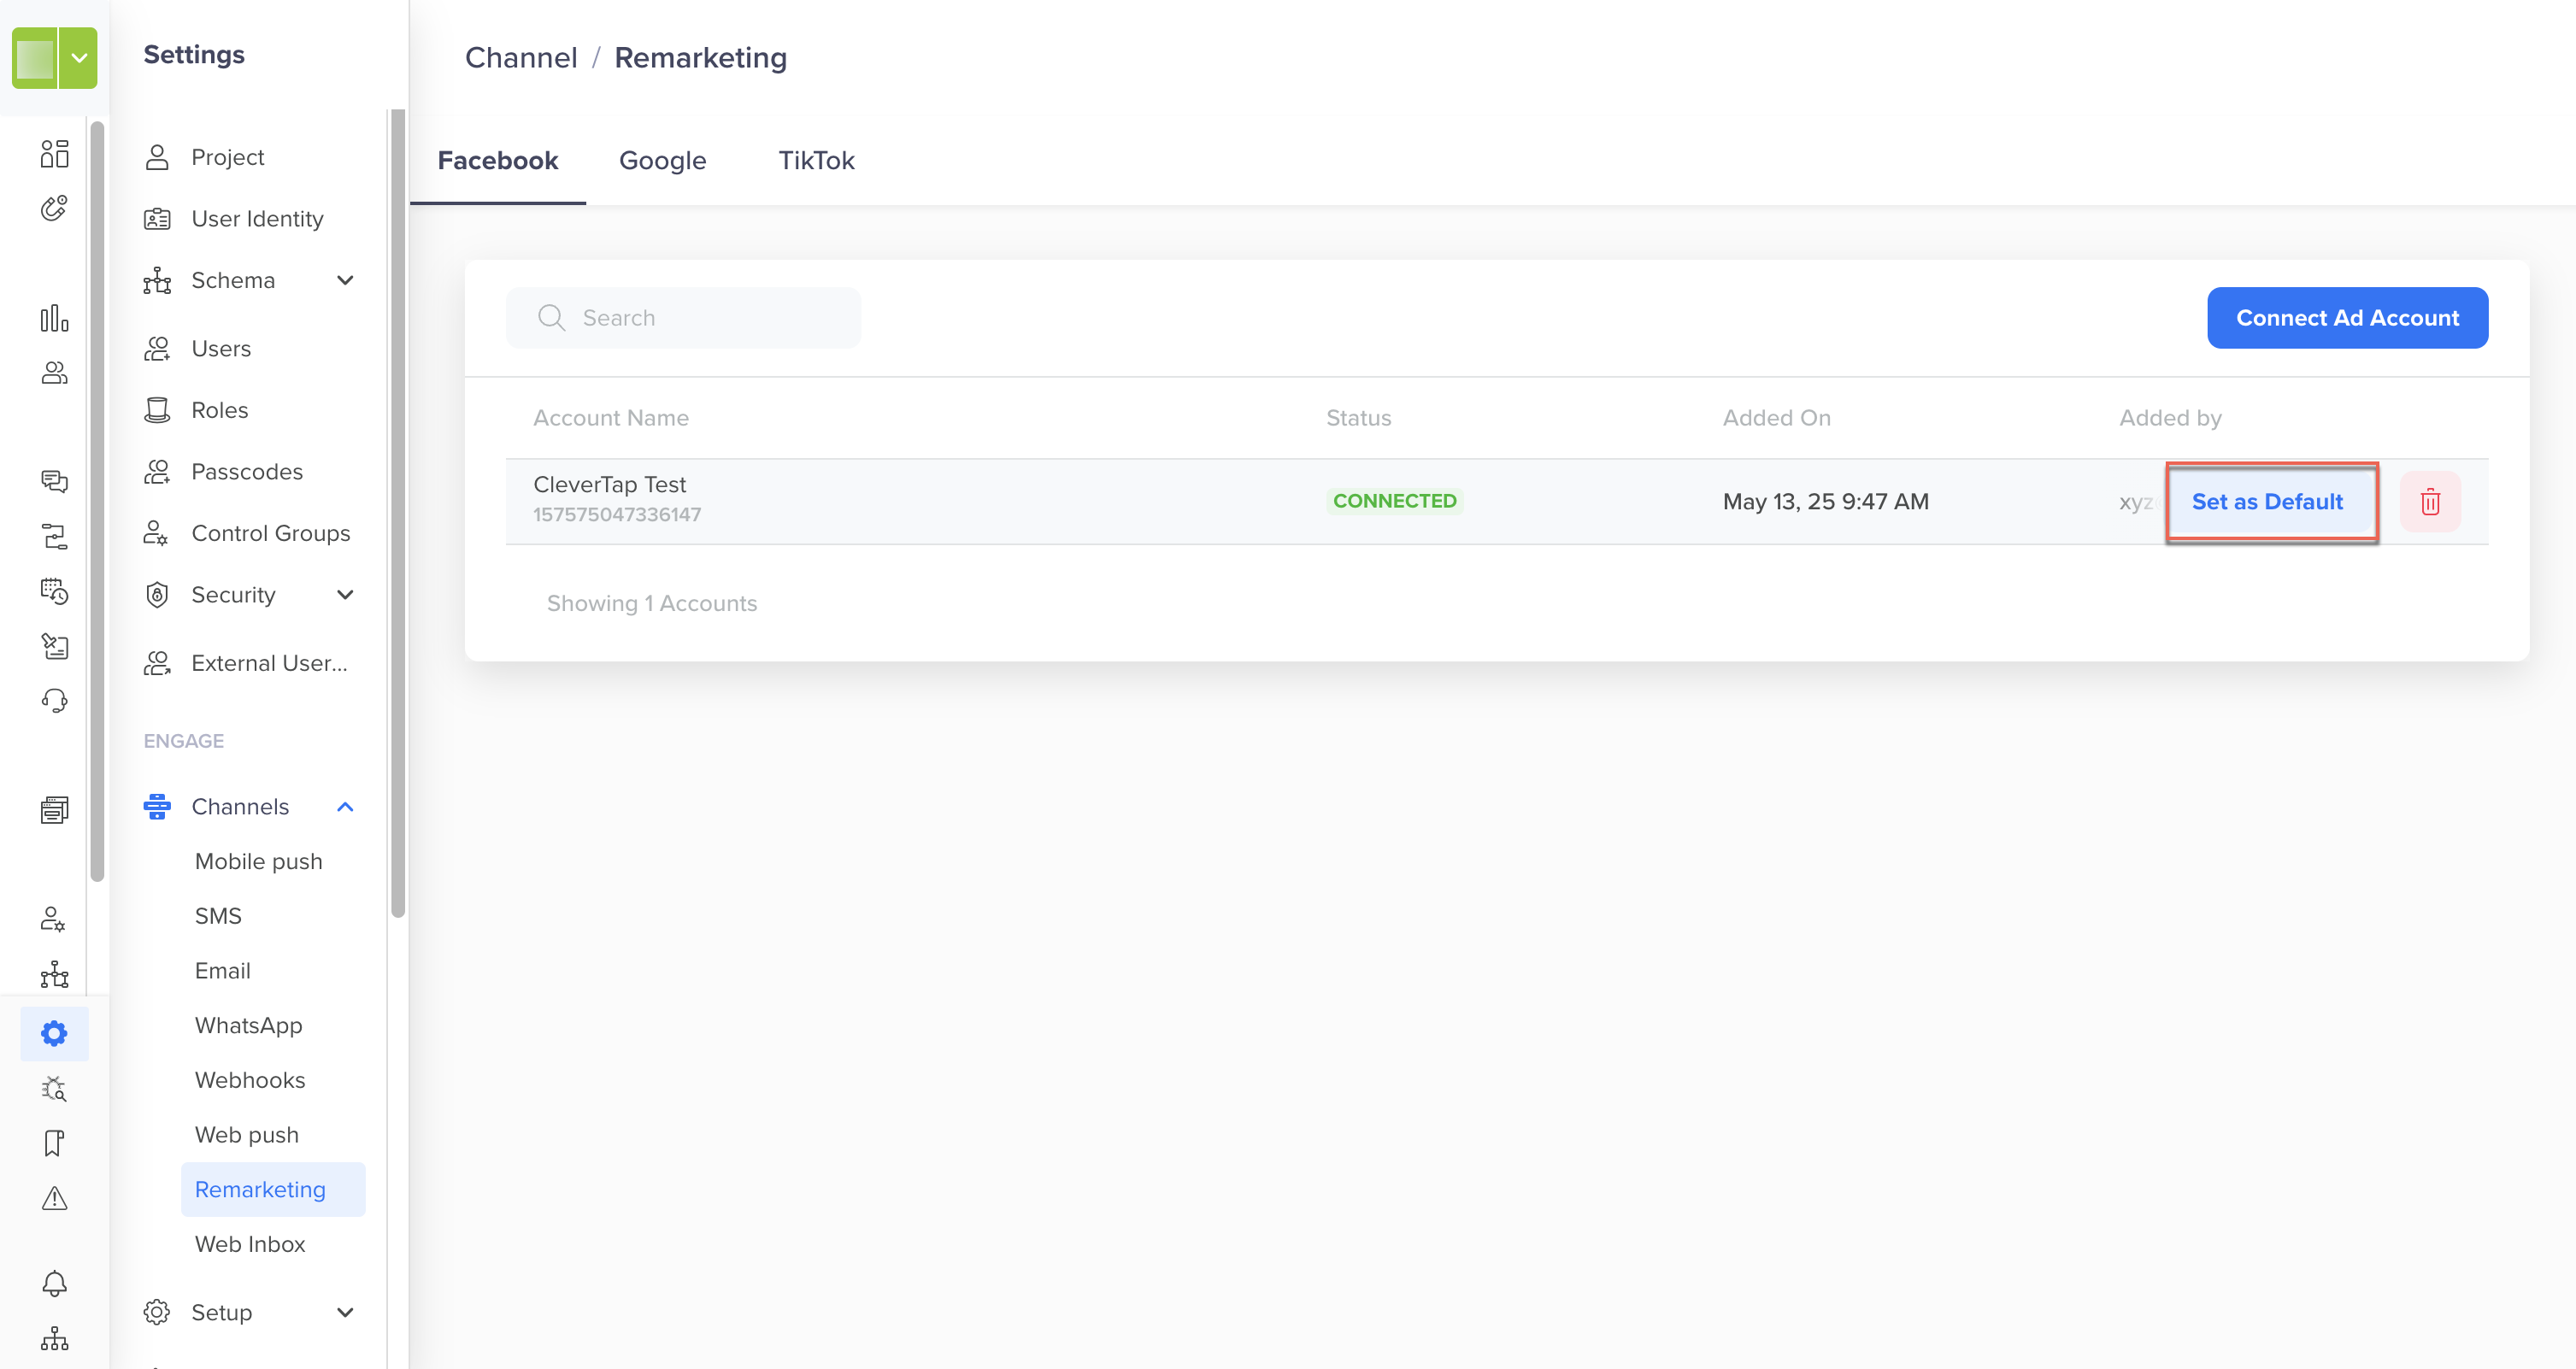
This section displays all Facebook Ads accounts that have been linked to your CleverTap project. You can view key account details, check connection status, and perform actions such as setting a default account or removing an existing one.
To access this section, go to Settings > Channels > Remarketing > Facebook.
- Account Name: The display name of the connected Facebook Ads account.
- Status: Indicates whether the account is currently Connected or Disconnected.
- Added on: The date the account was linked to CleverTap.
- Added by: The email ID of the user who connected the account.
Available actions include:
- Set as Default: Designate the account for campaign delivery by default.
- Delete: Remove the account from CleverTap.
Connecting a Facebook Ads Account
To run Facebook remarketing campaigns directly from CleverTap, you must first grant CleverTap access to your Facebook Ads account. This enables seamless audience sync and campaign delivery from within the dashboard.
To link a new account:
-
Go to Settings > Channels > Remarketing > Facebook.
-
Click Connect Ad Account.
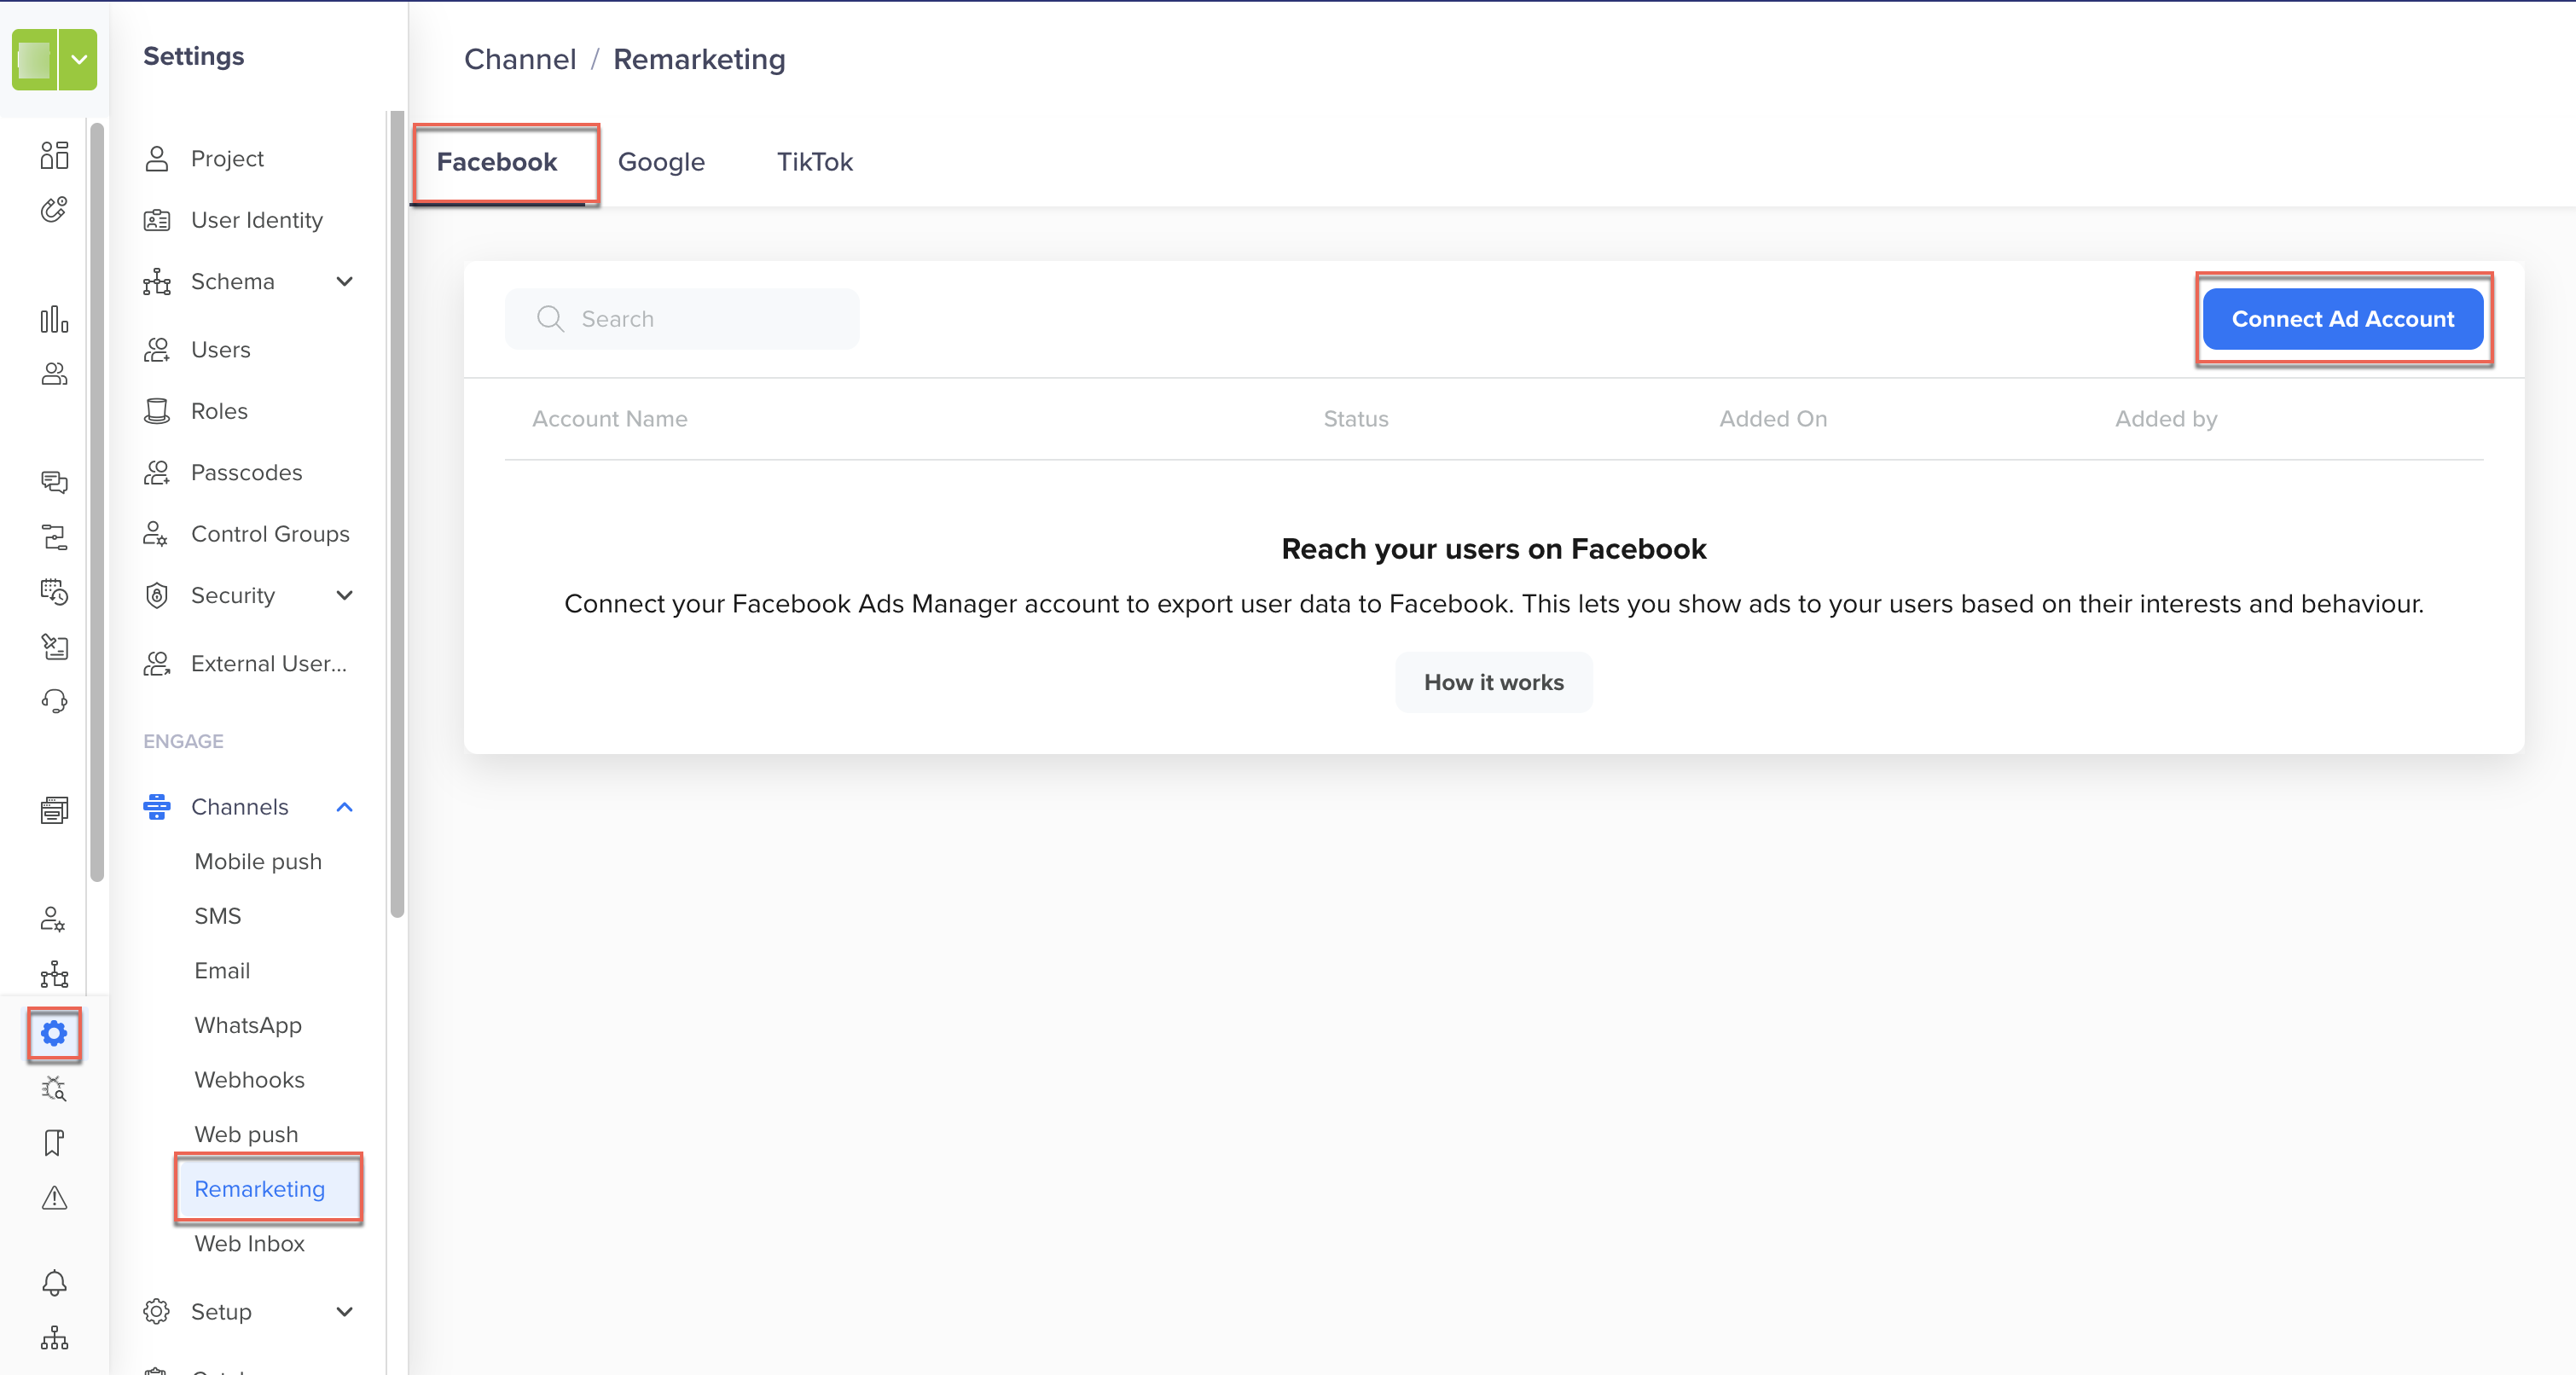
Connect Ad Account
-
Review the prerequisites and select Continue to Authorize.
-
Log in to Facebook and grant CleverTap access to your Ads accounts.

Connect CleverTap Ad Account on Facebook
-
After authorization, return to the CleverTap dashboard. The connected account will appear on the listing page.
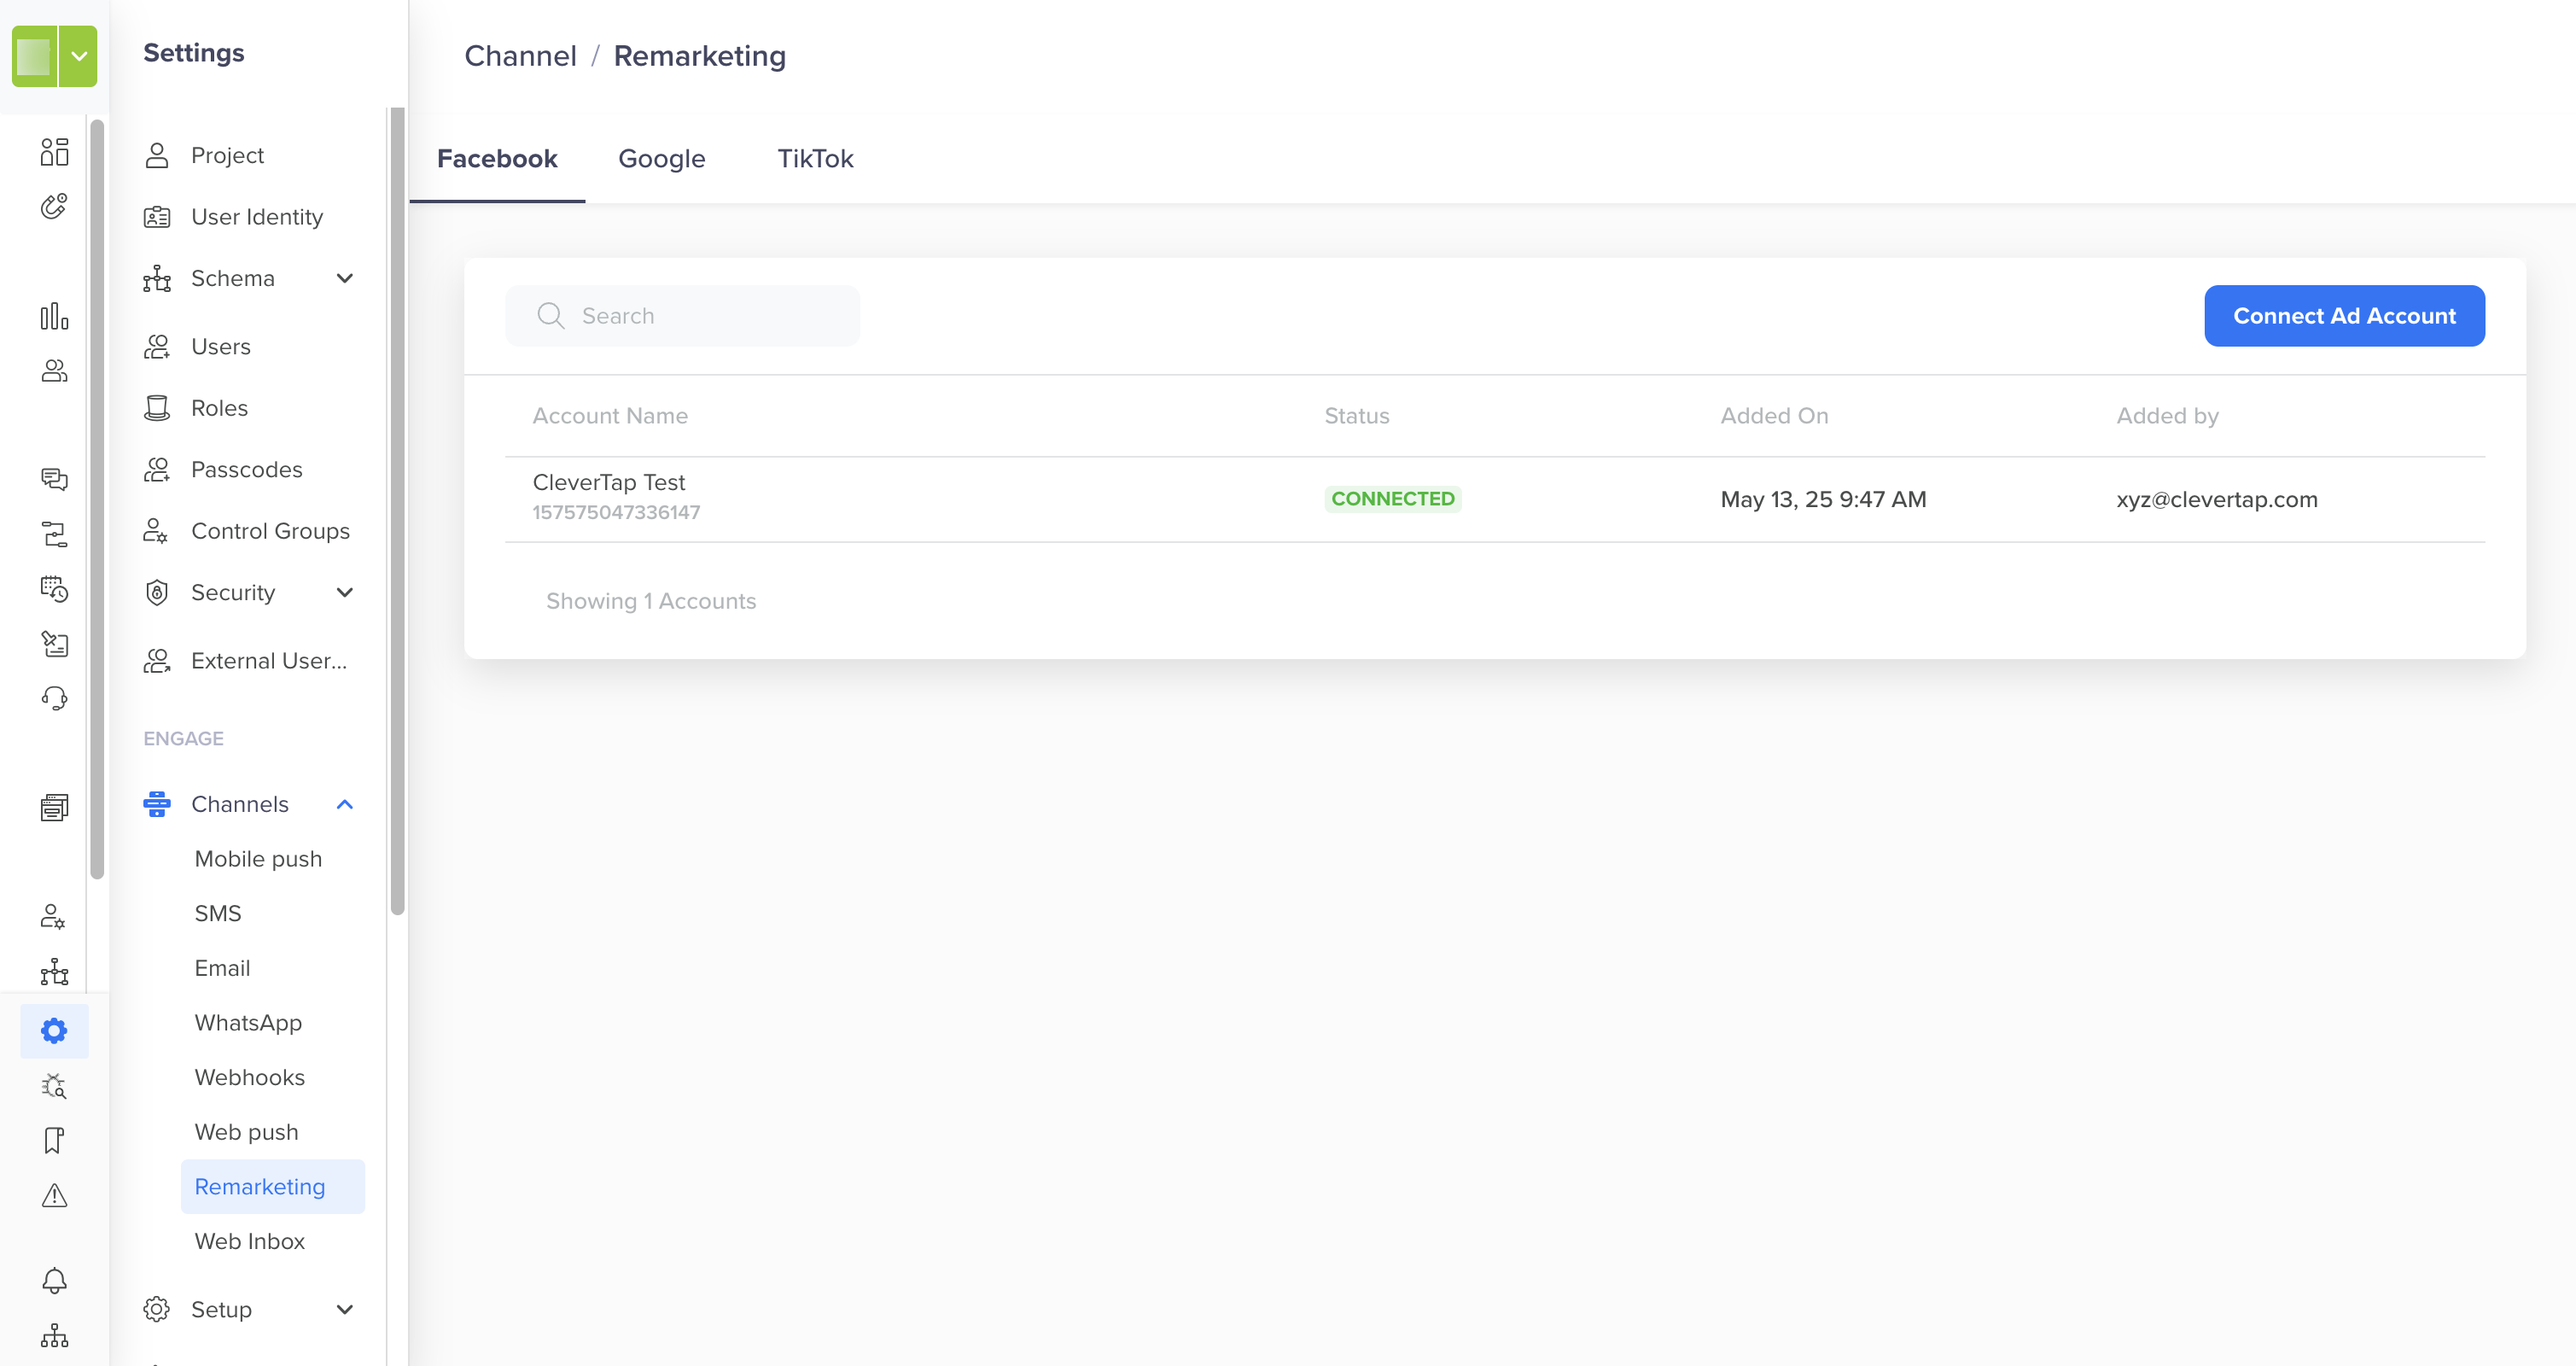
Connected Ad Account on CleverTap
Reconnecting an Account
Authentication tokens expire periodically for security reasons. When this happens, the account’s Status will display as Disconnected.
To restore the connection, click  and repeat the authorization flow to re-establish access. This ensures continued security while maintaining seamless integration.
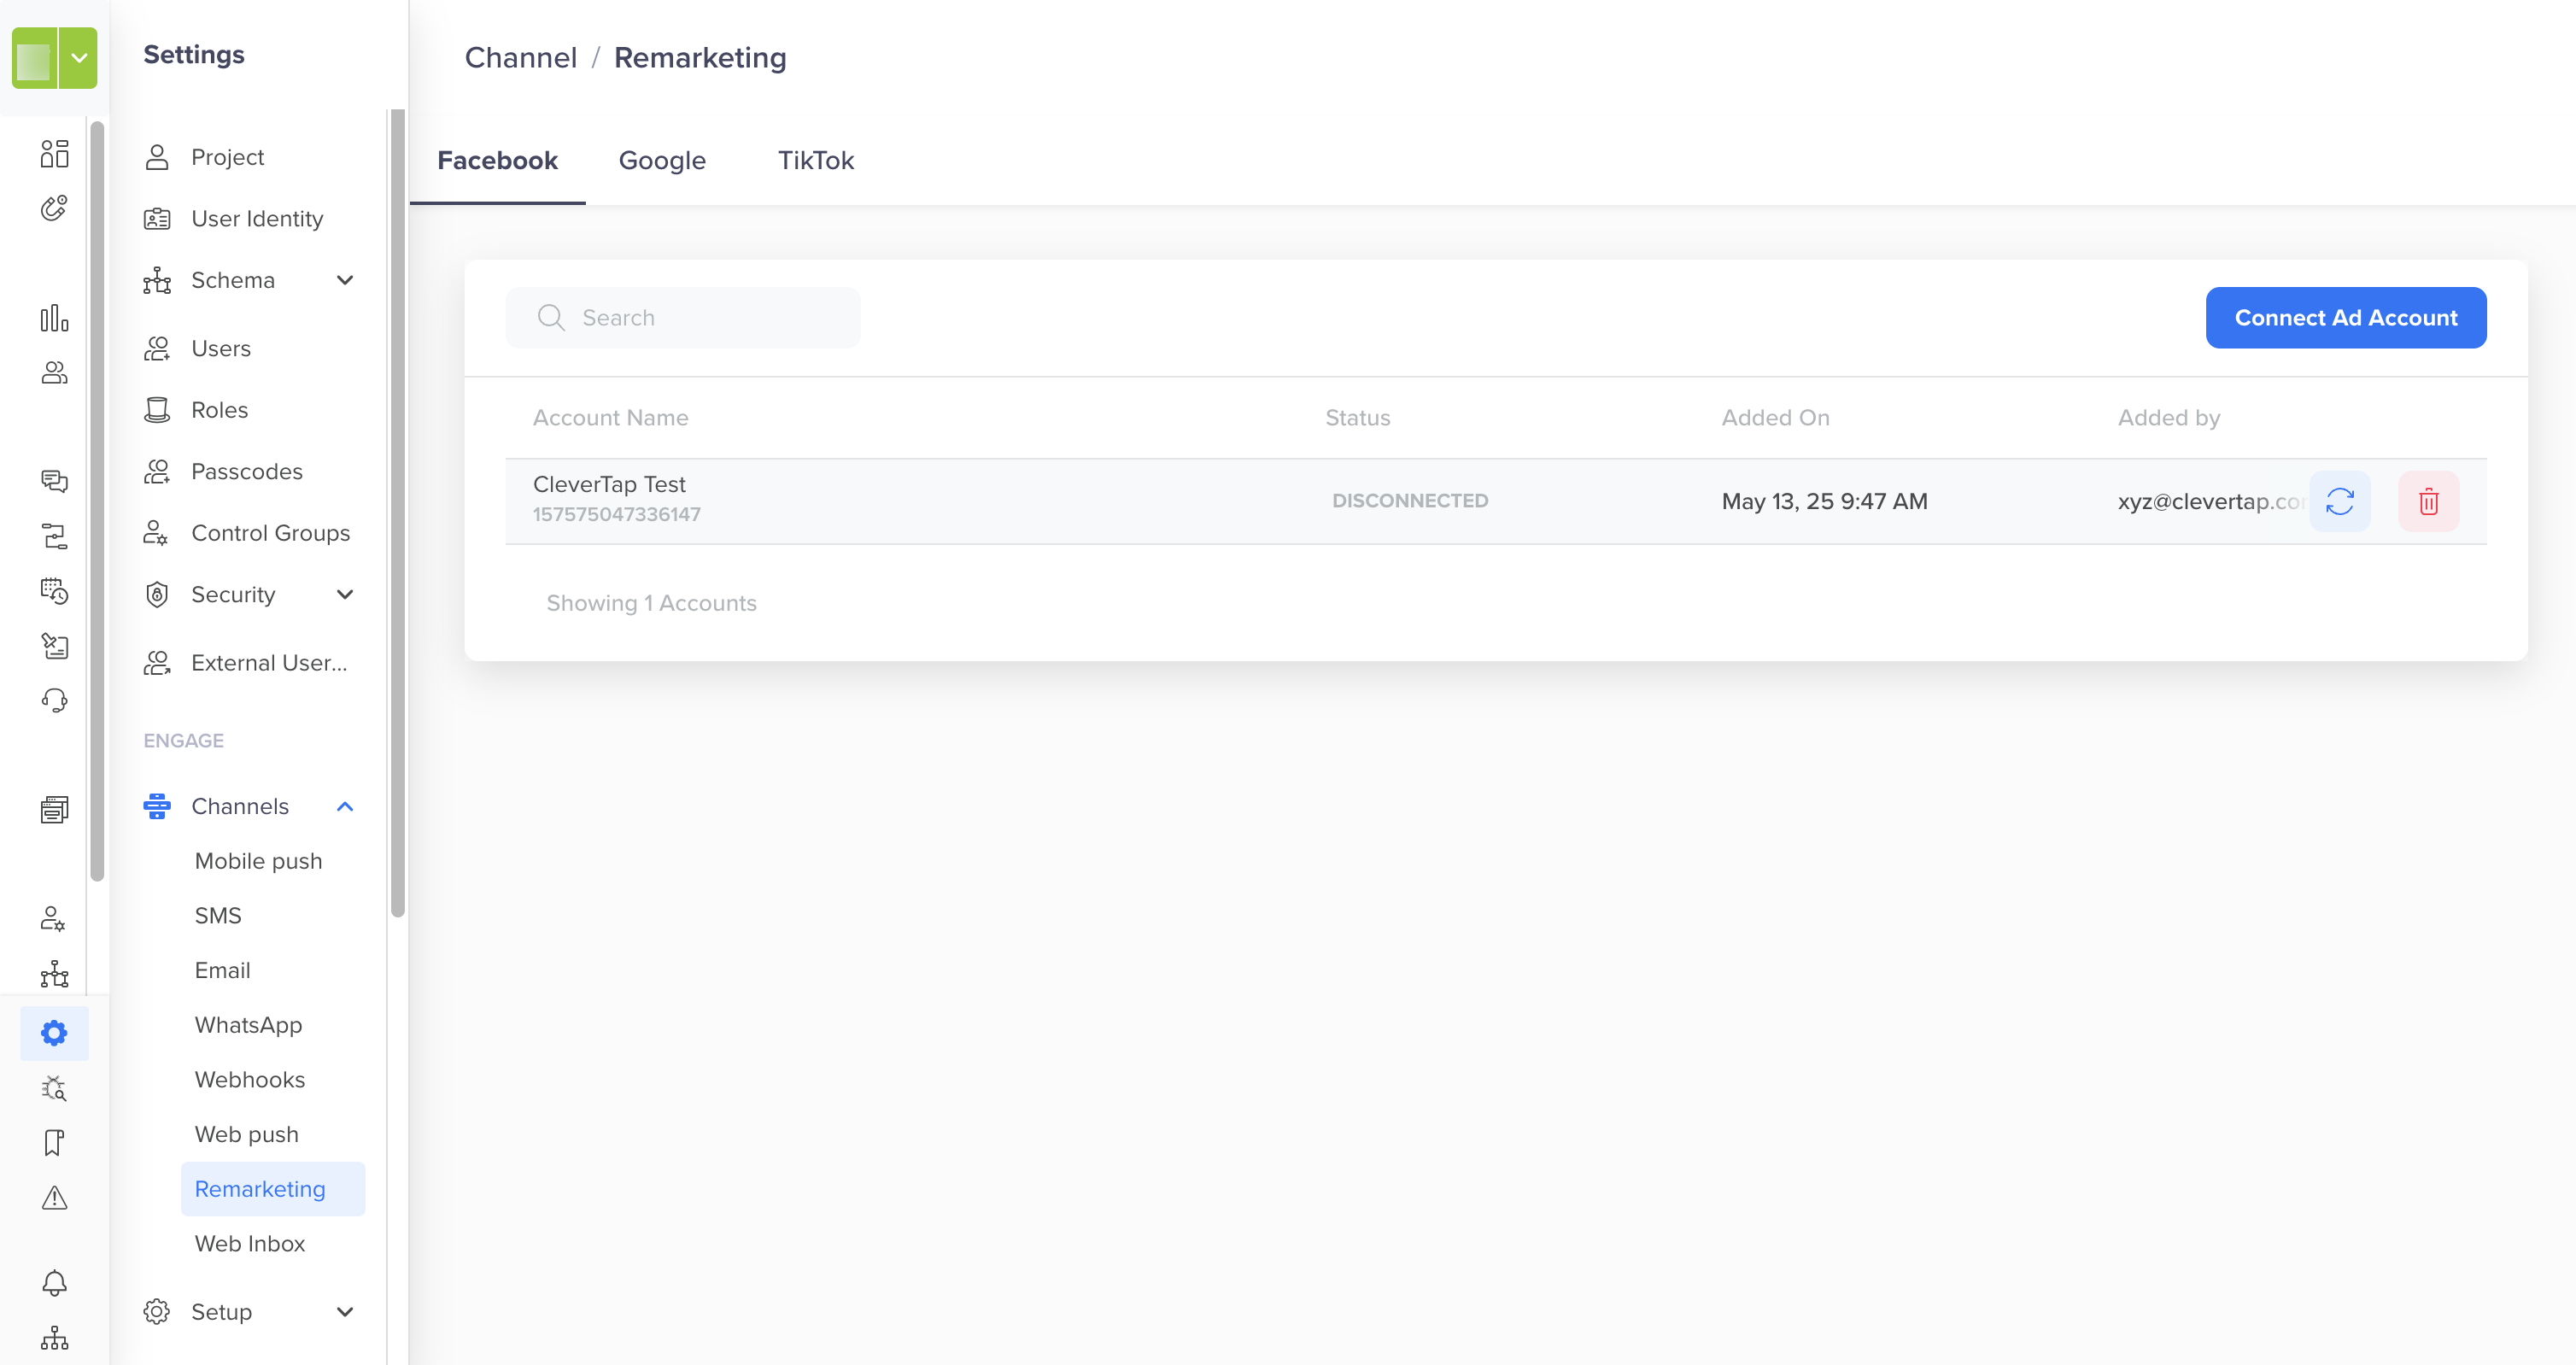
Reconnecting Ad Account
Deleting an Account
To remove a linked Facebook Ads account:
-
Navigate to Settings > Channels > Remarketing > Facebook.
-
Click the Trash icon next to the account.
-
Confirm by clicking Delete in the dialog box.
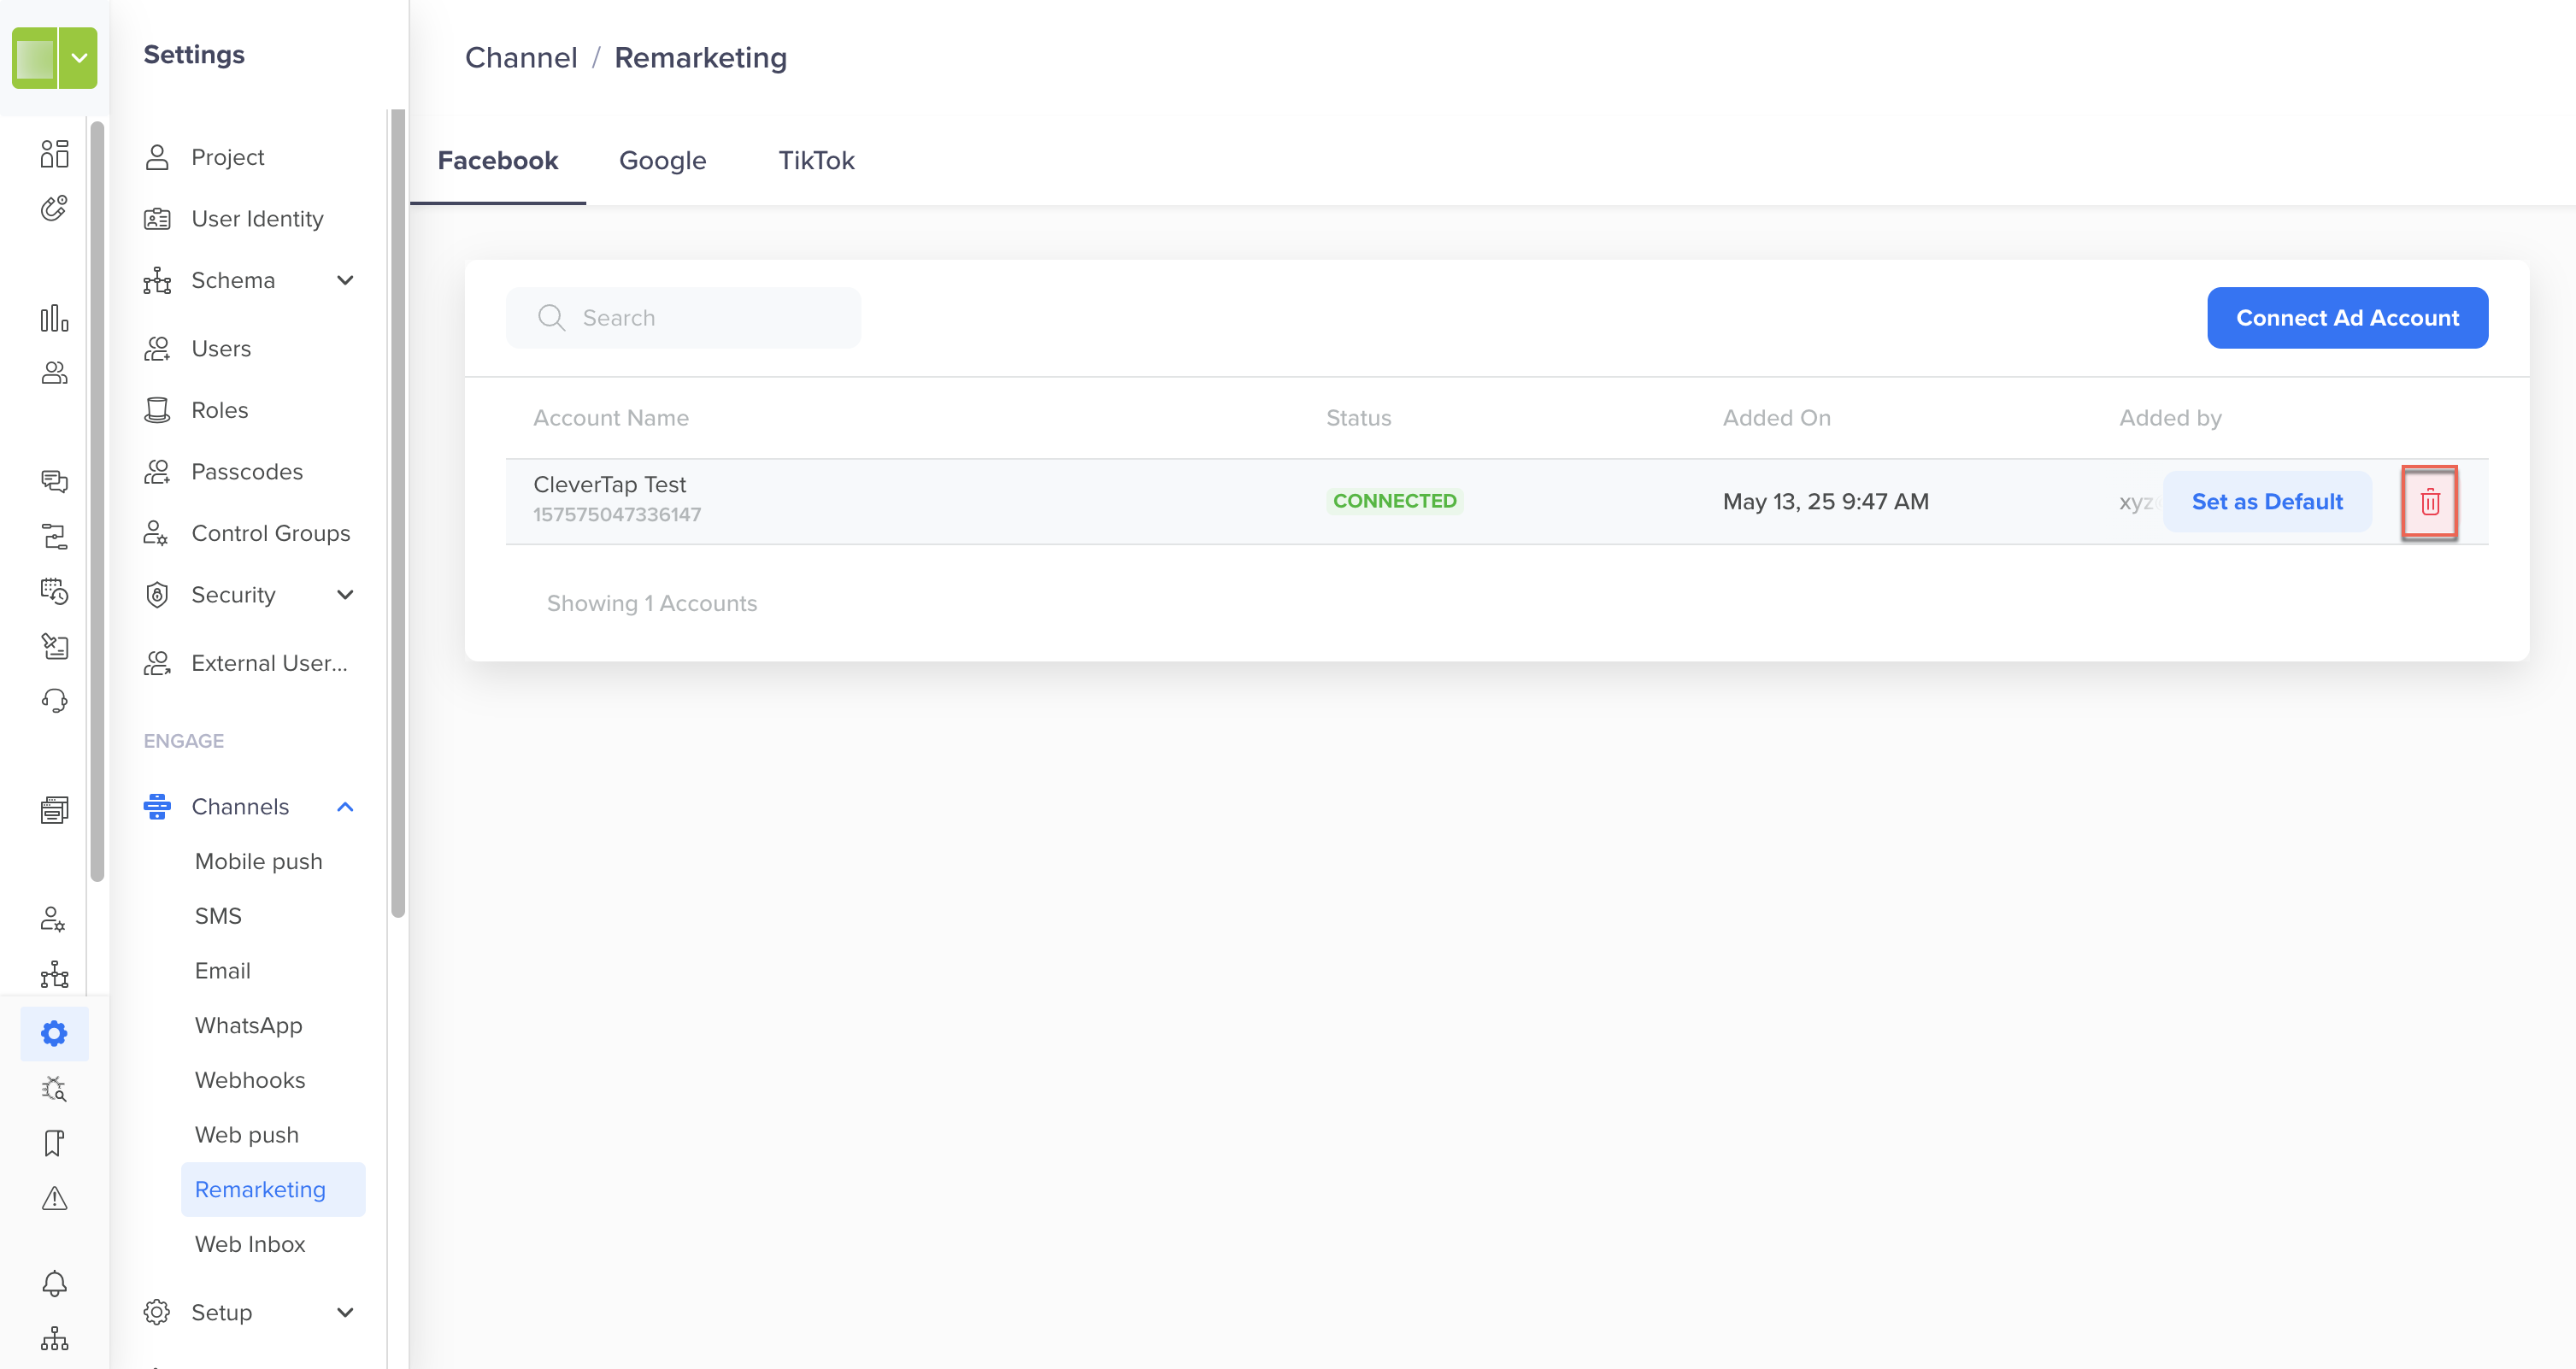
Delete Ad Account
Setting a Default Account
Only one Facebook Ad account can be set as the default for campaign delivery. To set the ad account:
- On the listing page, locate the desired account.
- Click Set as Default.
This account will be used automatically during campaign creation unless a different one is manually selected.
Set as Default