Formsuite
Customer Relationship Management
Overview
Formsuite is a no-code platform that helps businesses create and embed custom forms for lead capture, user onboarding, and survey collection. With built-in integrations, conditional fields, and dynamic styling, Formsuite simplifies data collection across digital touchpoints.
With the CleverTap and Formsuite integration, you can:
- Collect real-time user data from forms embedded in CleverTap campaigns
- Update CleverTap user profiles using Zapier workflows
- Trigger journeys based on new responses
- Personalize future campaigns with enriched profile data
This integration captures Formsuite submissions and automatically maps them to CleverTap user properties, enabling hyper-personalized engagement based on user responses.
Prerequisites for Integration
Ensure the following before starting the integration:
- An active Formsuite account with access to form sharing.
- A valid CleverTap account with Account ID and Passcode.
- An active Zapier account to create workflows
Integrate Formsuite with CleverTap
To integrate Formsuite with CleverTap, perform the following three major steps:
- Create and Embed a Formsuite Form
- Create In-App Campaign in CleverTap
- Create Zap to Send Form Data to CleverTap
Create and Embed Formsuite Form
Consider a scenario where a FinTech app wants to promote a new investment product by embedding a Formsuite form in an In-App campaign to capture name, email, and interest level. They can send these responses to CleverTap via Zapier. The users can then be segmented as follows: high-interest users receive a webinar invite, medium get product details, and low enter a nurture journey.
Now, build your form in Formsuite and prepare it for embedding in CleverTap. To do so, perform the following steps:
-
In your Formsuite dashboard, create a form with the following fields:
- Full Name (Text)
- Email Address (Email)
- Investment Interest (Dropdown: High, Medium, Low)
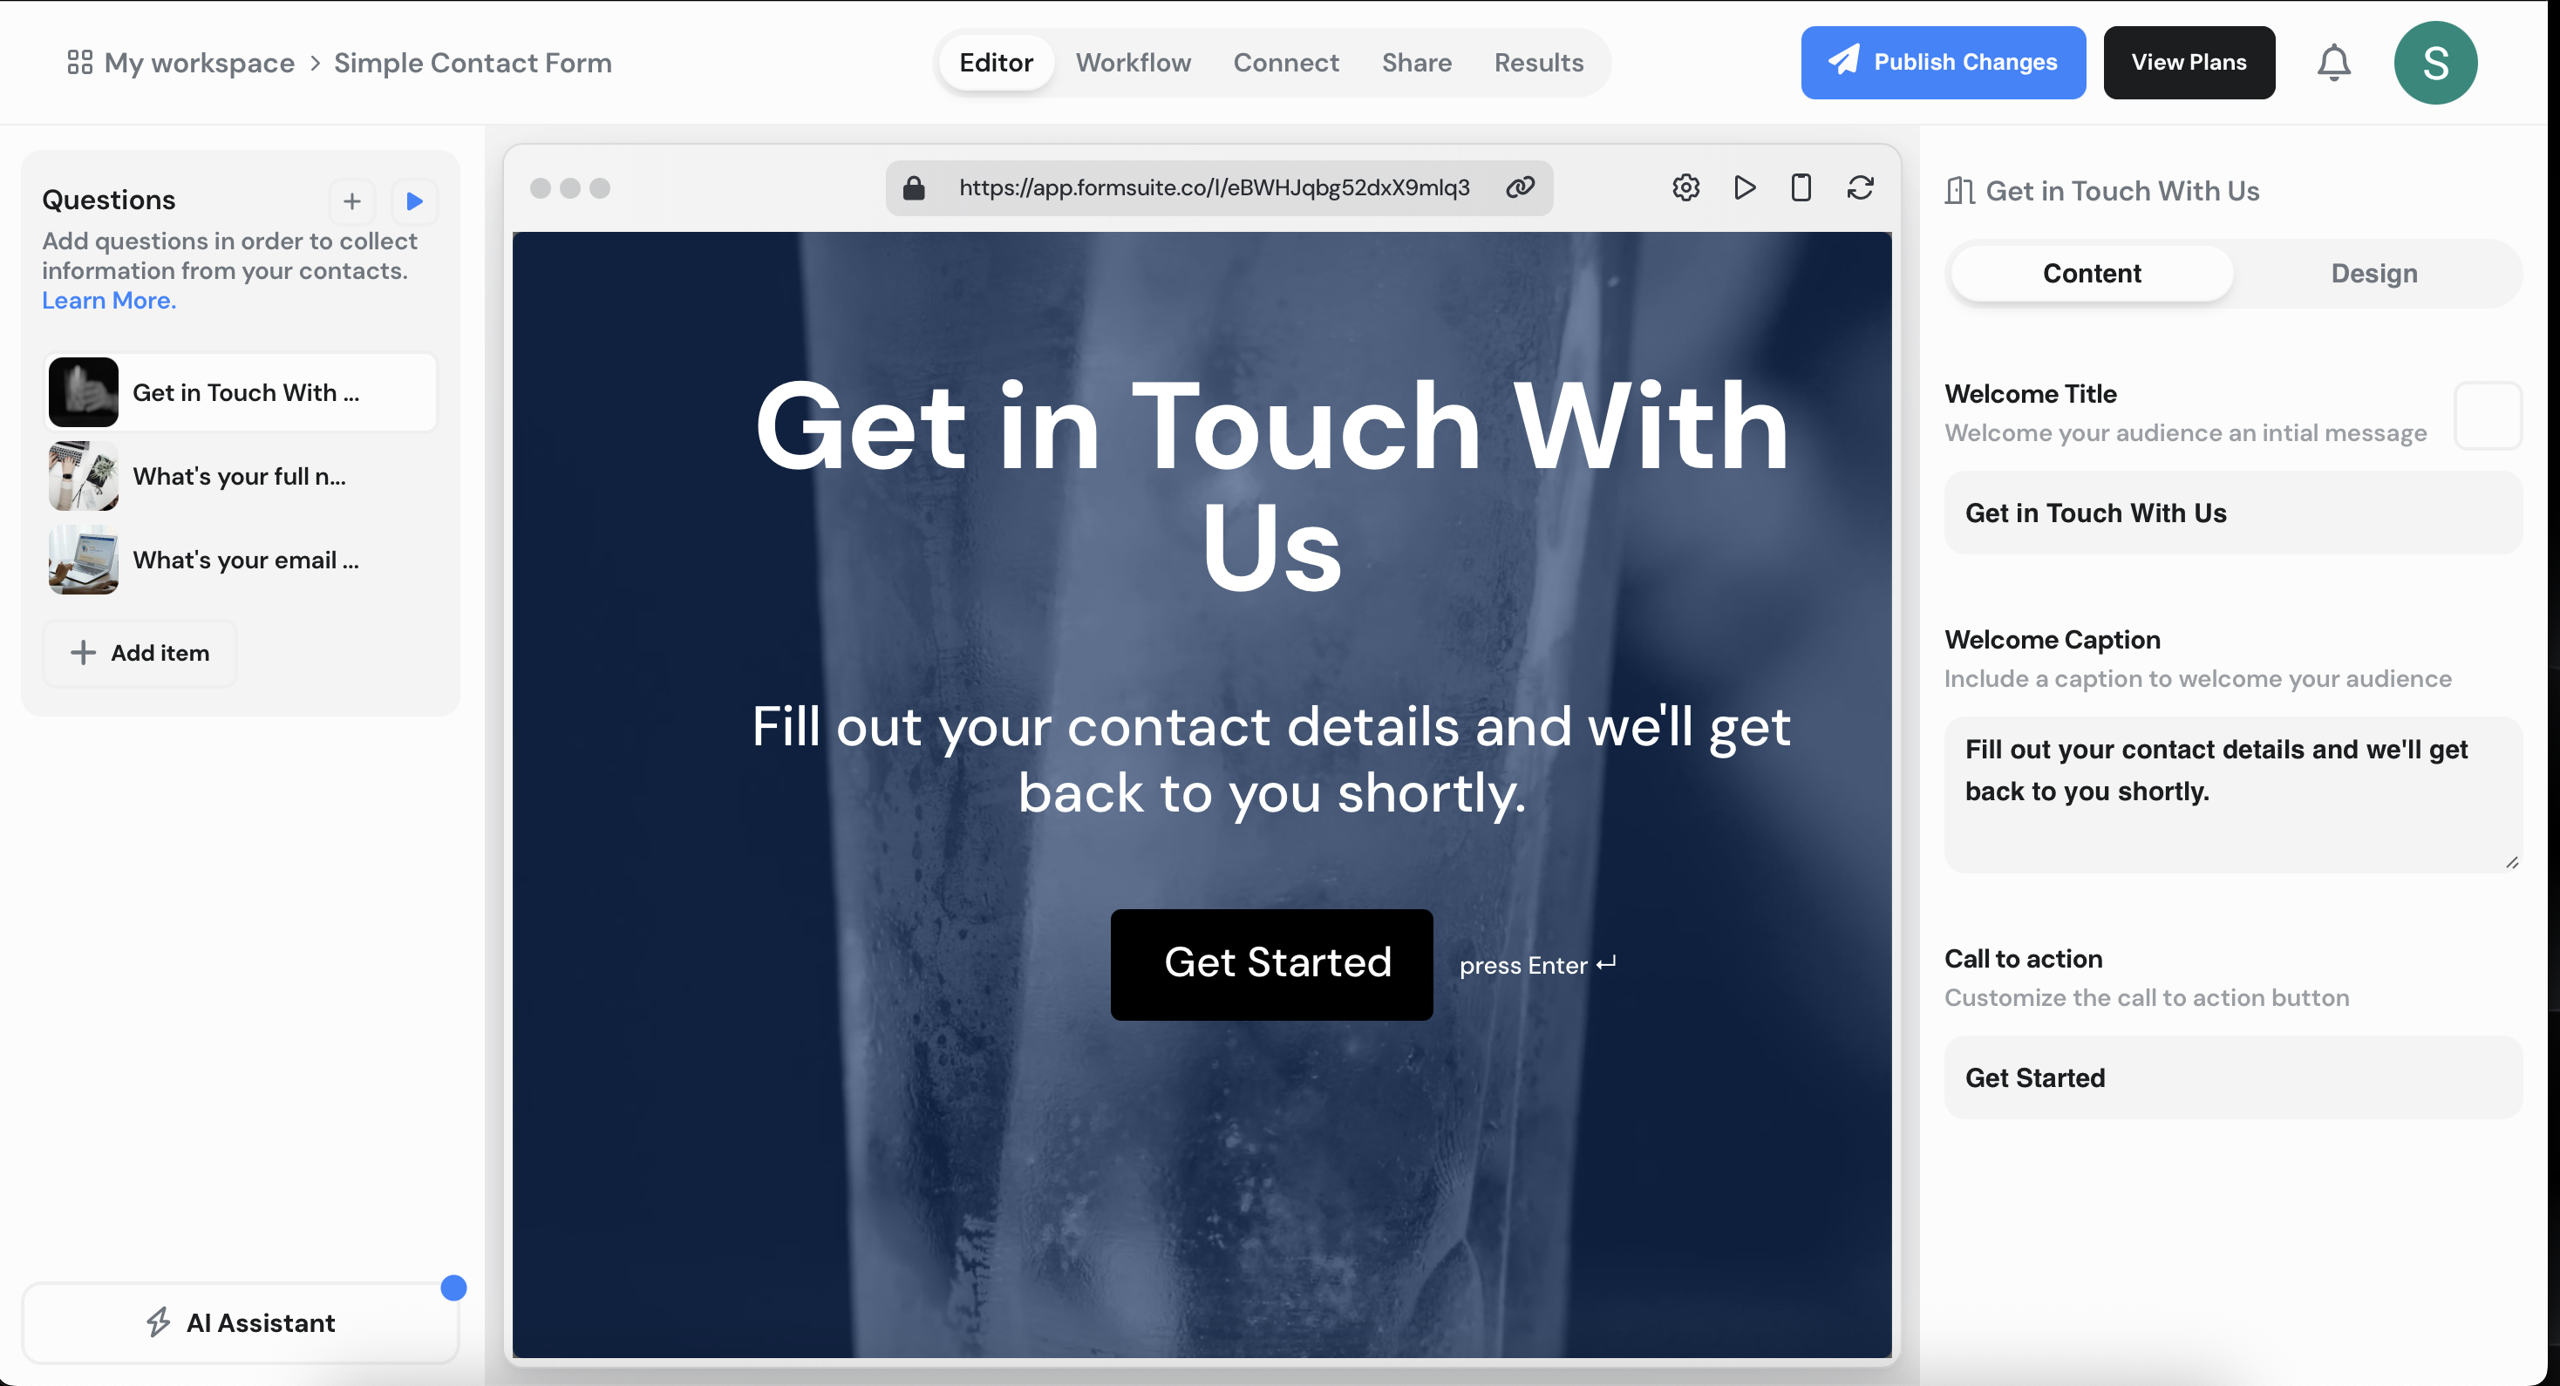
Create Form on Formshite dashboard
-
Click Publish, then go to the Share tab and click </> Copy Code to copy the form code.
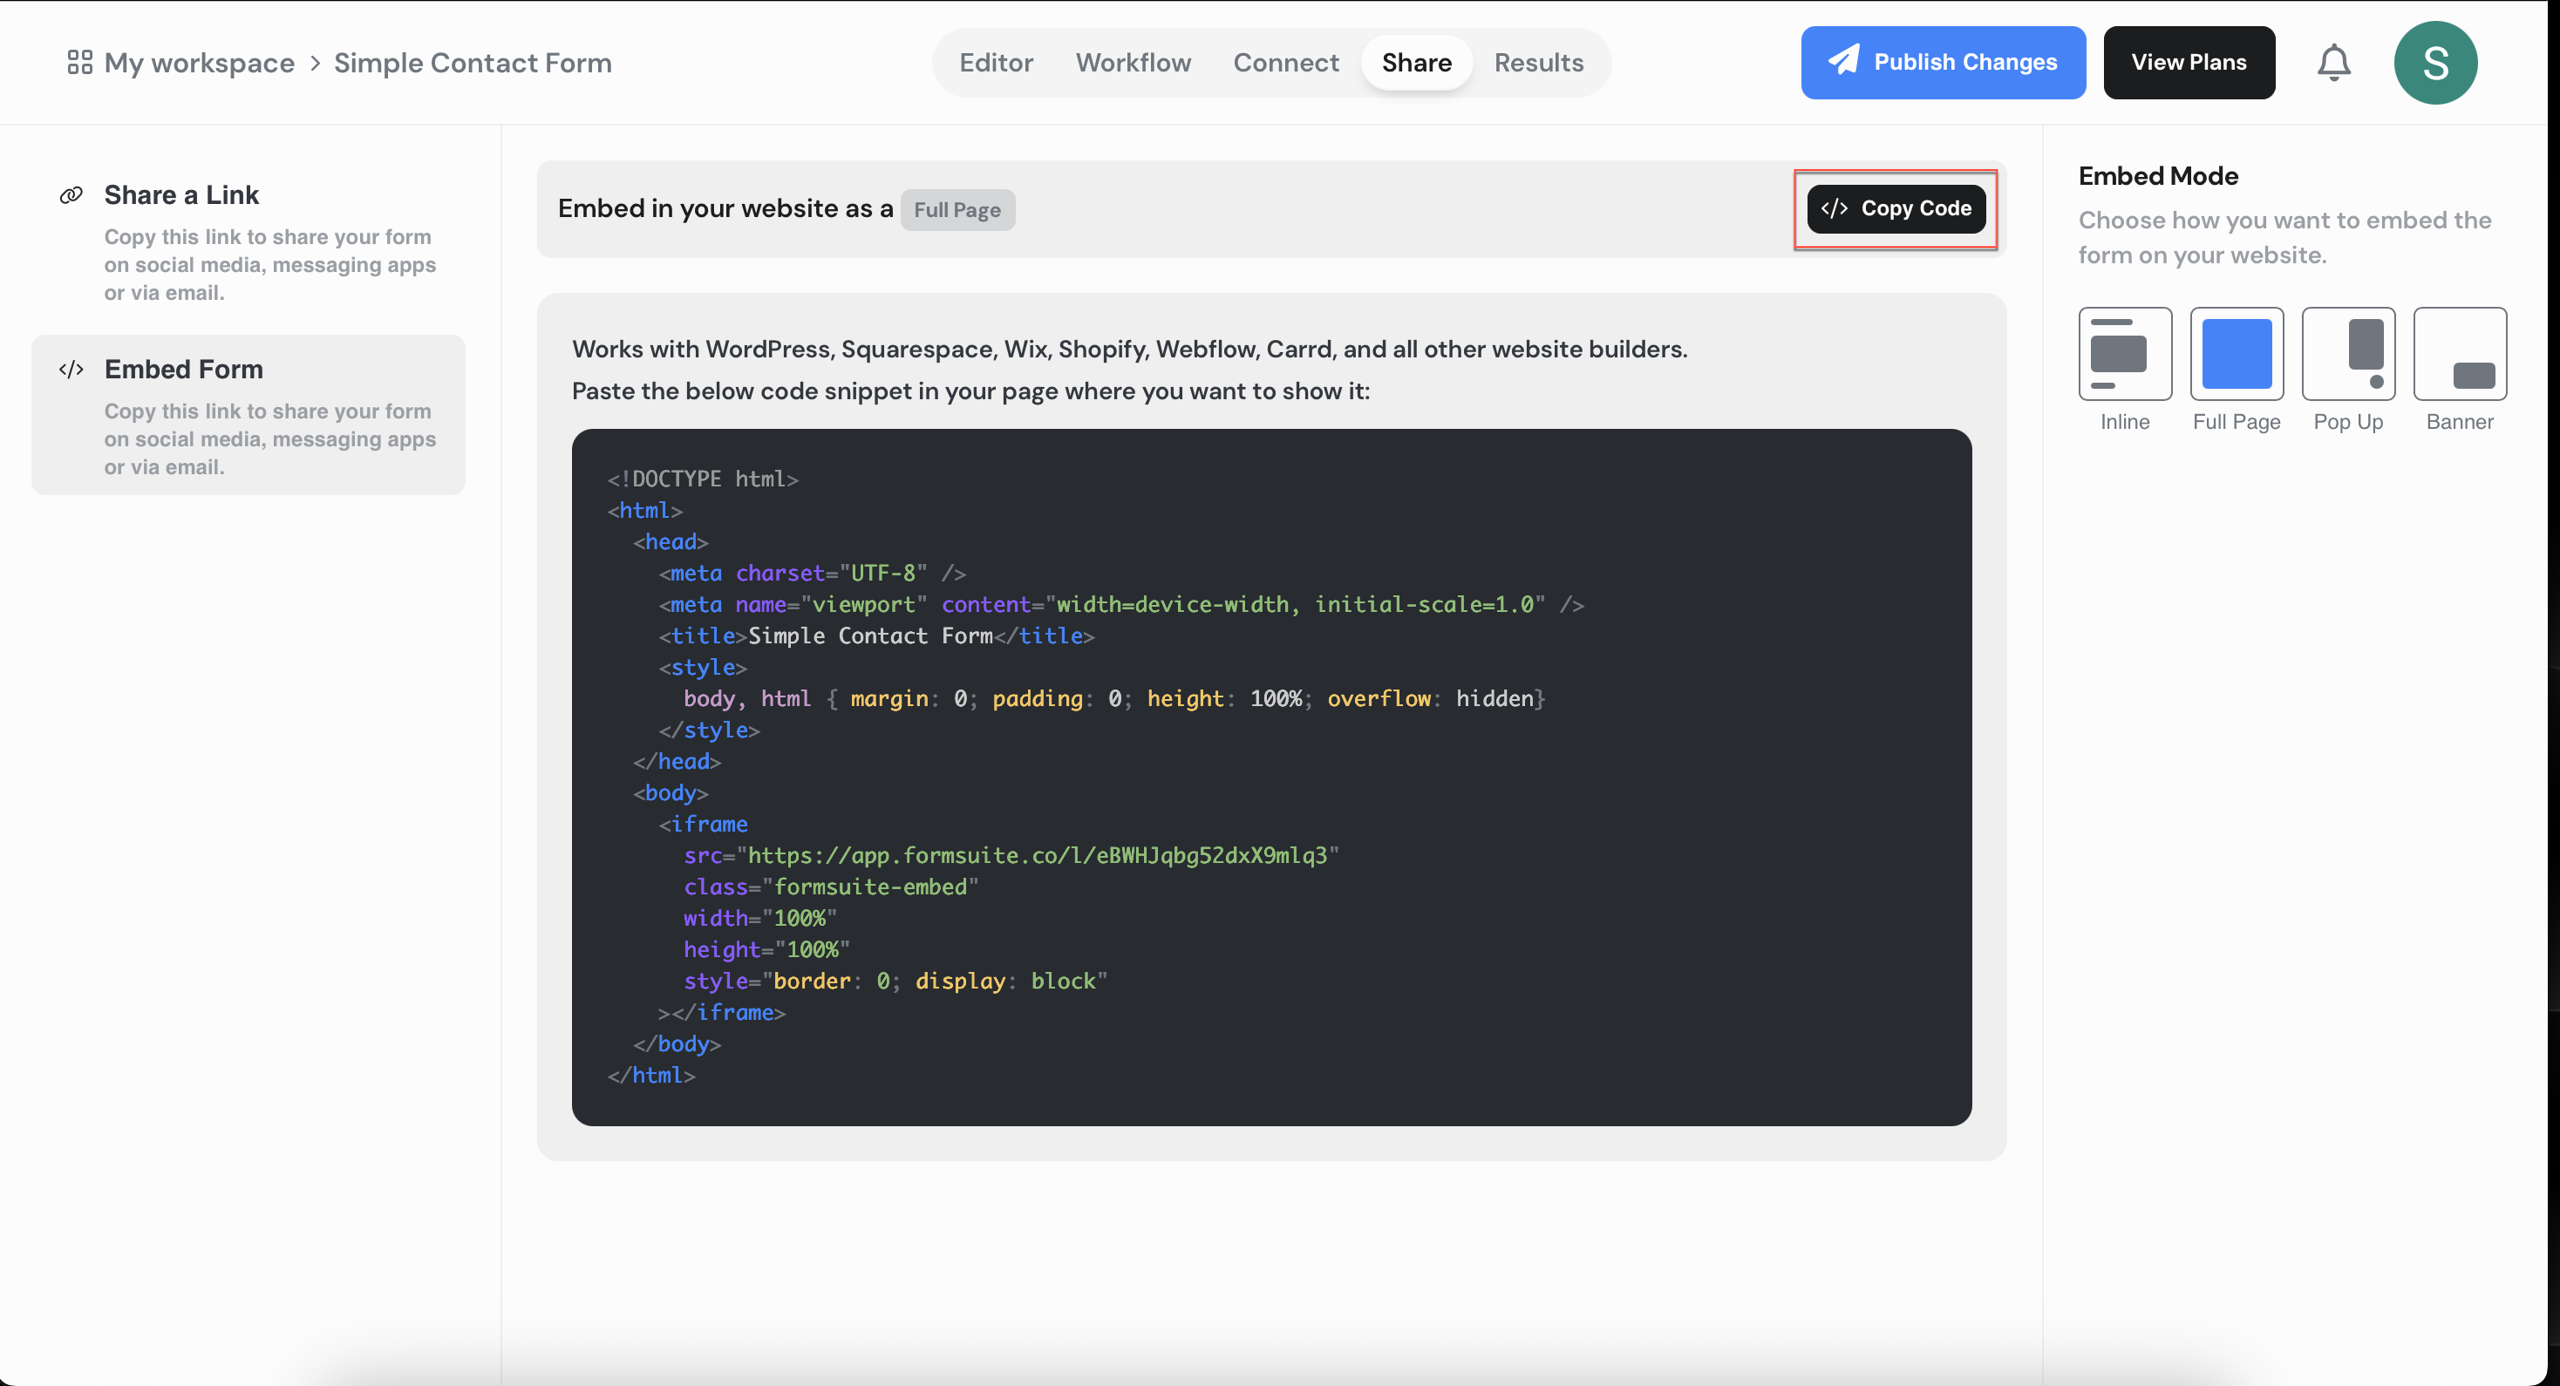
Create and Embed FormSuite Form
Create In-App Campaign in CleverTap
Set up an In-App campaign in CleverTap to display your Formsuite form to users. To do so, perform the following steps:
- Go to Campaigns on the CleverTap dashboard, click + Campaign and select In-App Messages from the list of messaging channels.
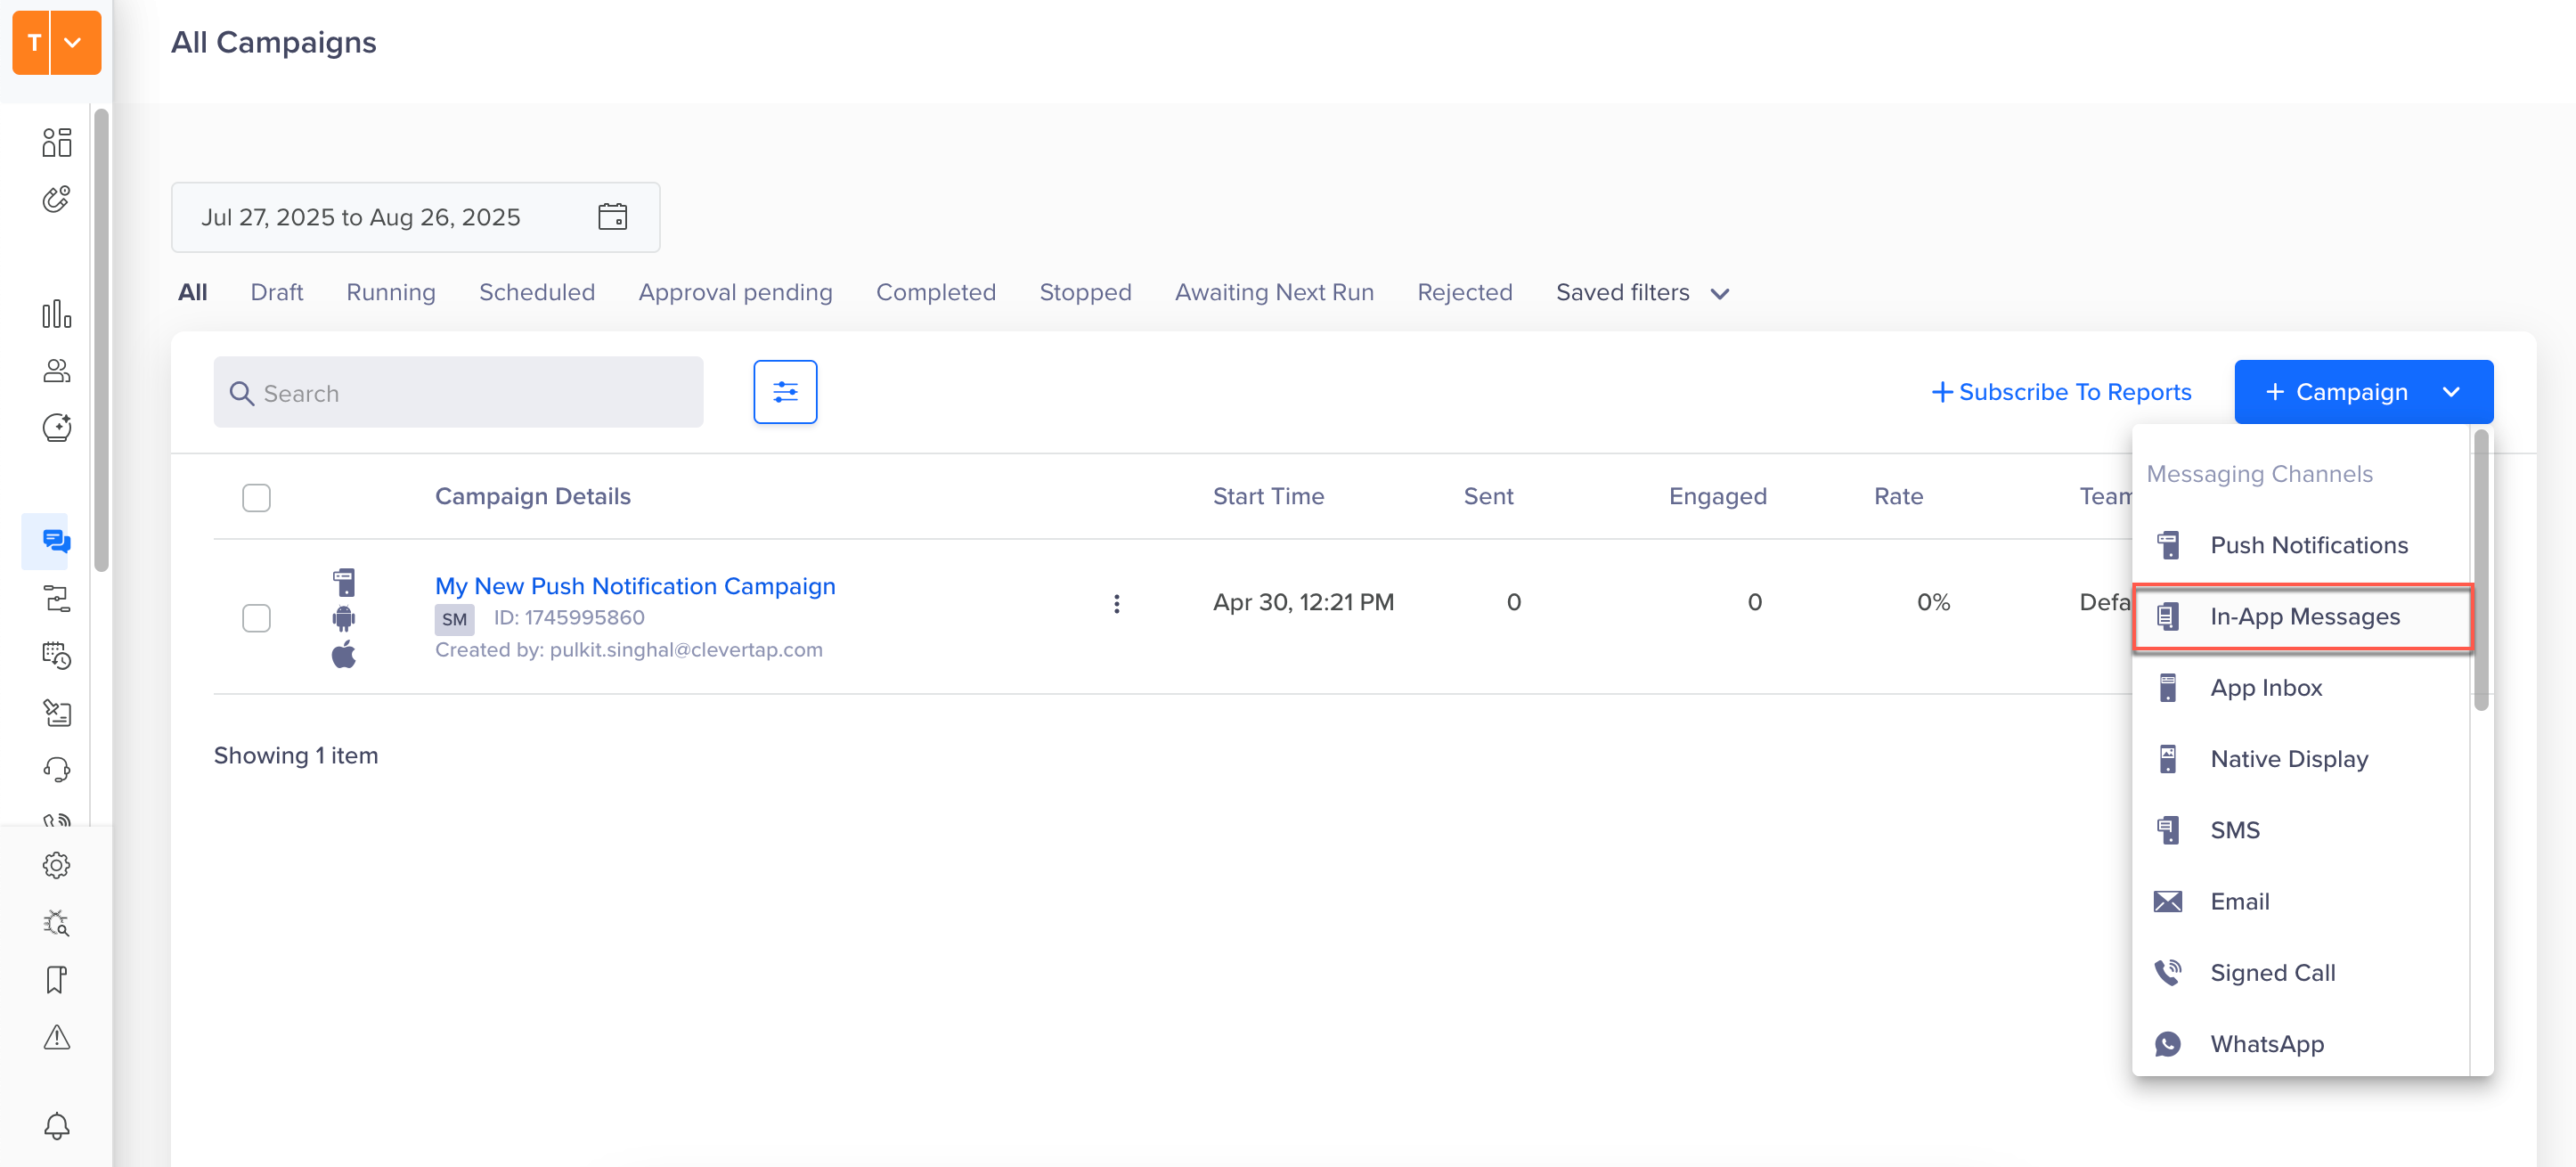
Create In-App Campaign
- Configure the following campaign settings: qualification criteria, target segment, and delivery preferences.
- In the What section, select Custom HTML Template and select the Interstitial layout.
- Paste the embed code in the HTML editor copied from Step 2 of Create and Embed a Formsuite Form
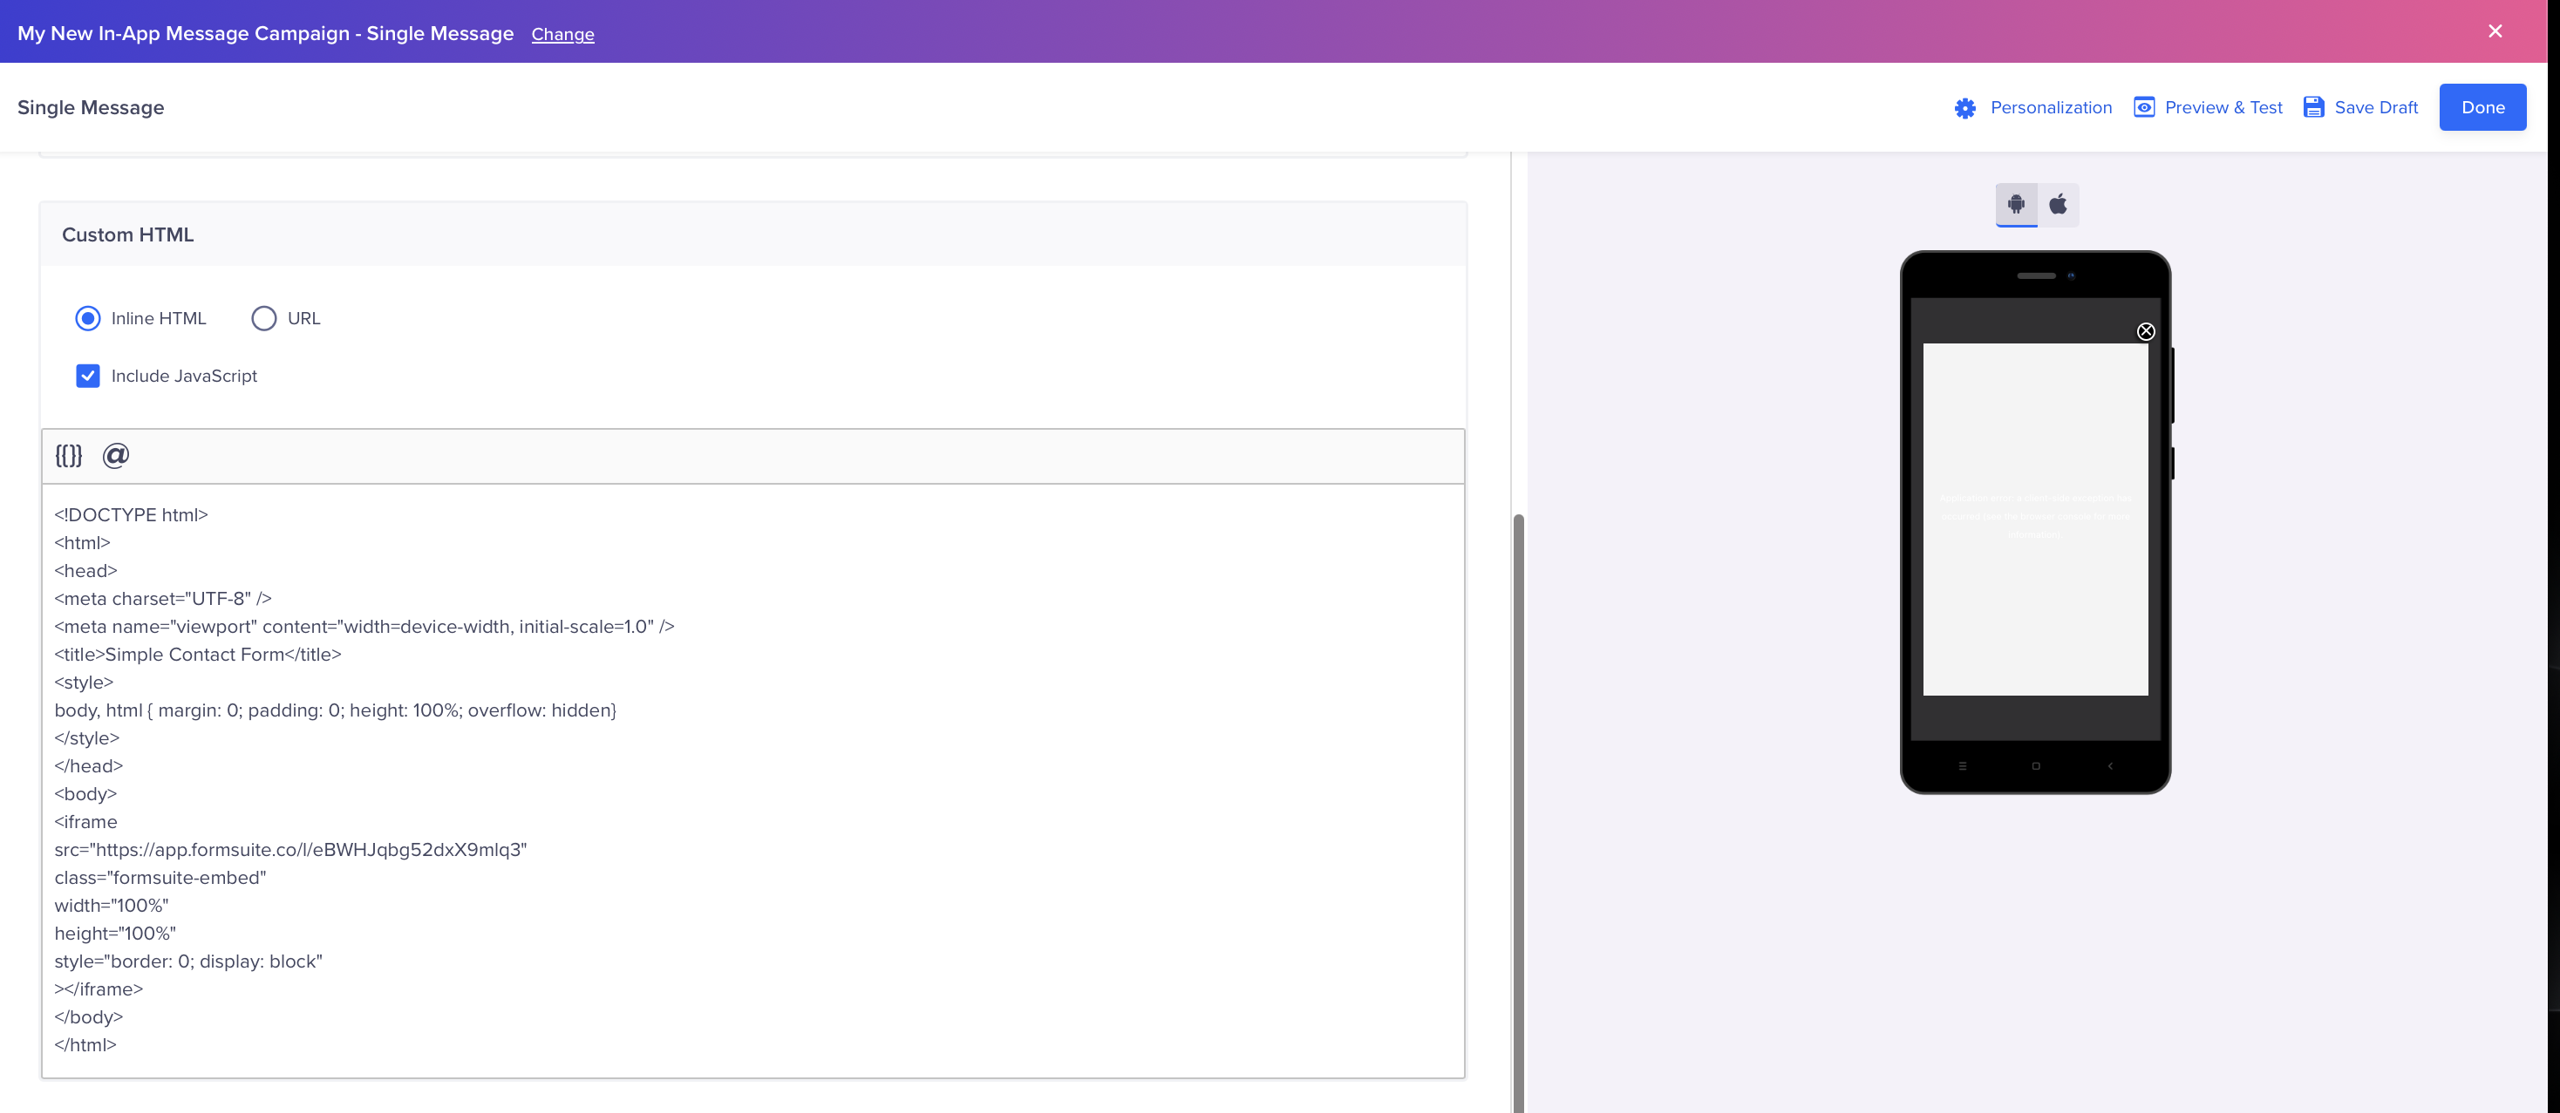
Set up an In-App campaign
- Click Preview & Test to verify that the form renders correctly.
Create Zap to Send Form Data to CleverTap
Use Zapier to automate sending form responses from FormSuite to CleverTap user profiles.
- Go to your Zapier Dashboard and click + Create Zap.
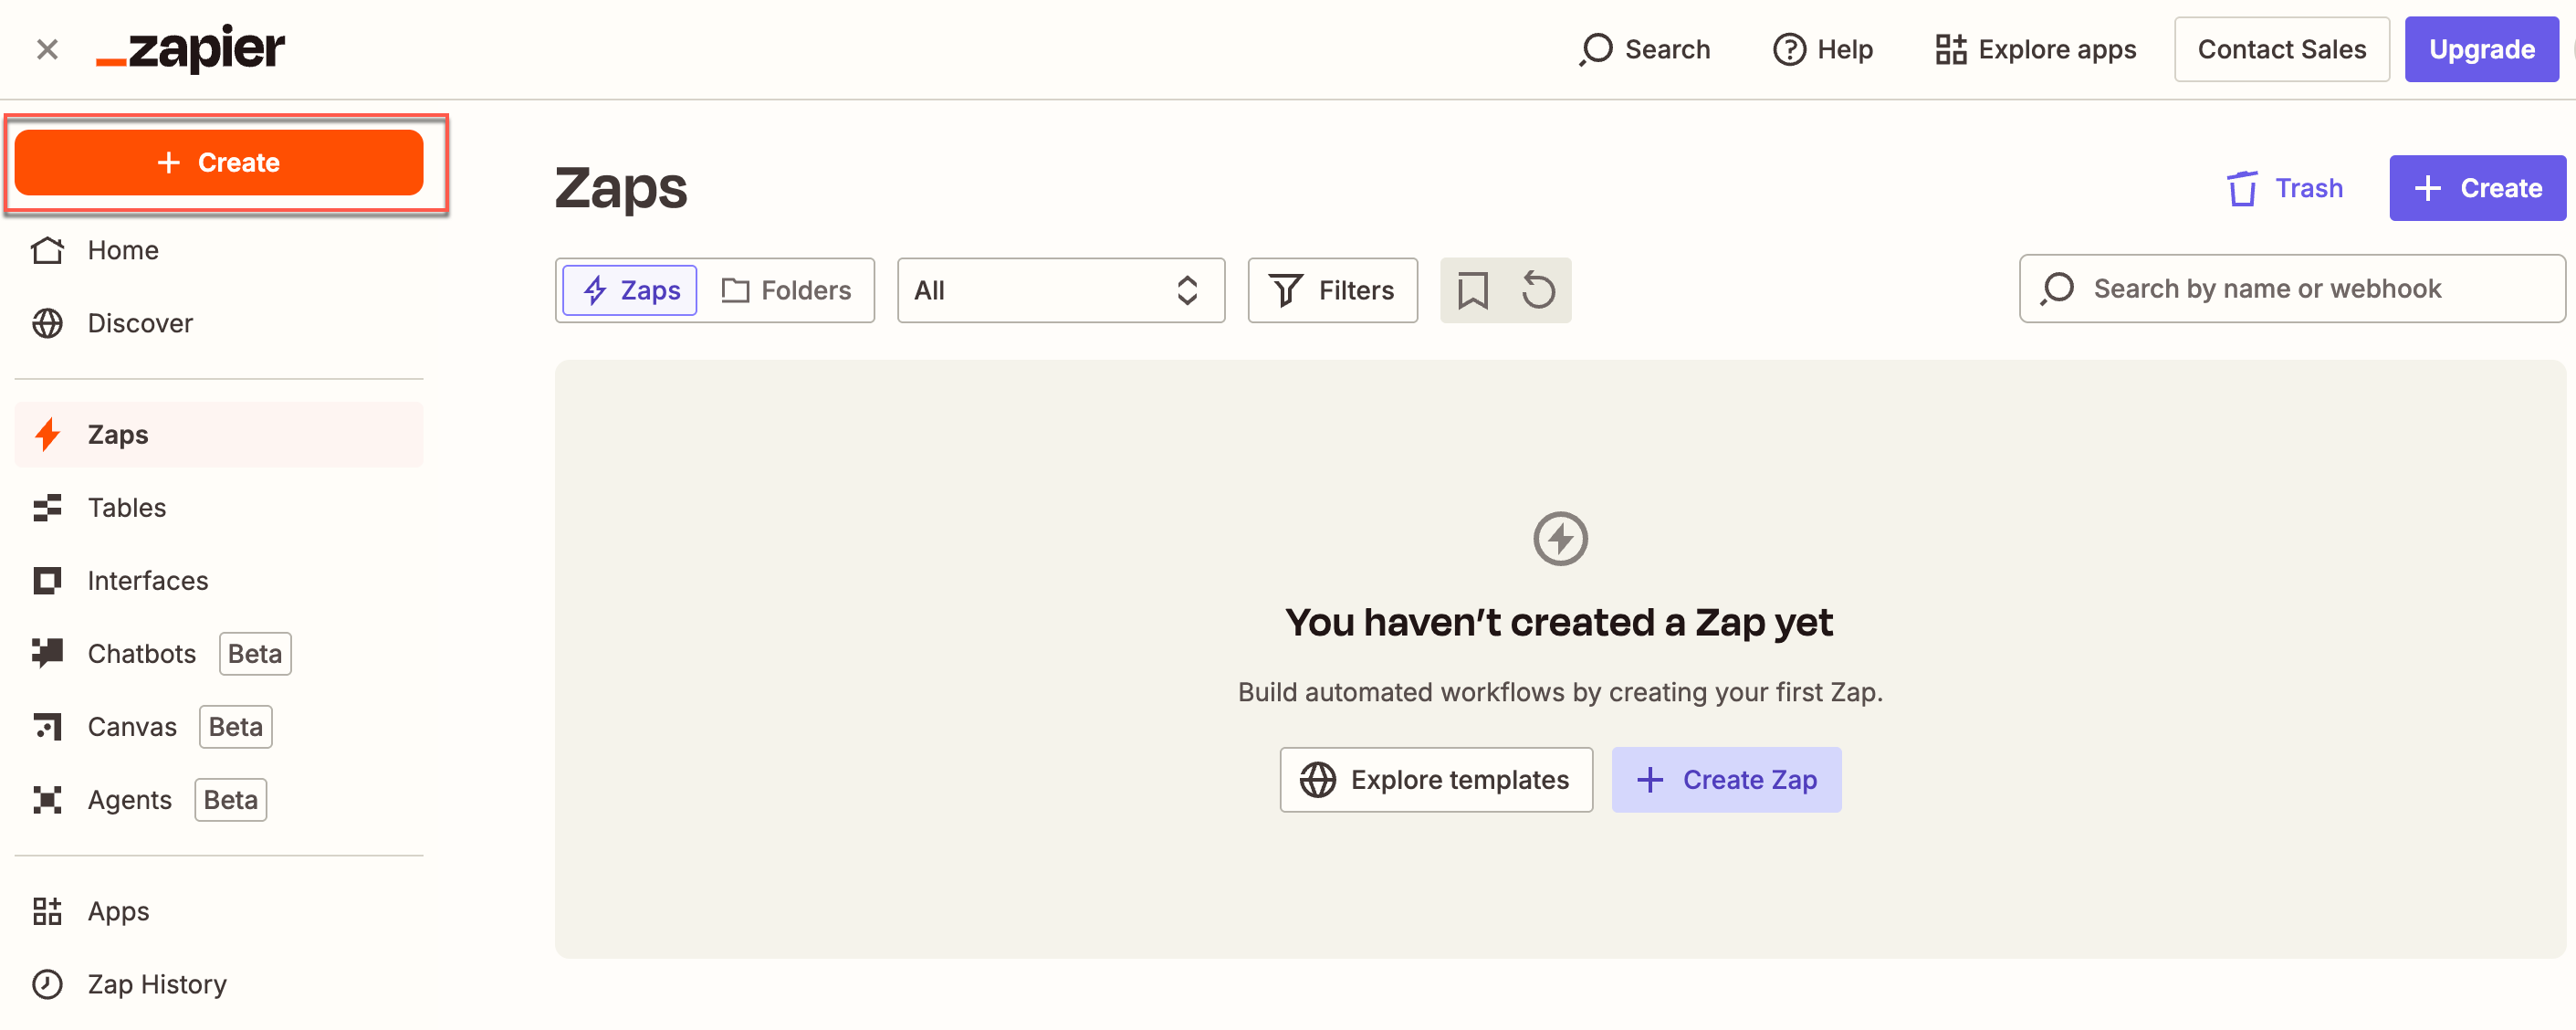
Create a Zap on Zapier Dashboard
- Set Formsuite as the trigger app as follows:
- Select the Trigger Event as New Response.
- Connect your Formsuite account by adding your Formsuite credentials.
- Select the form and test the trigger.
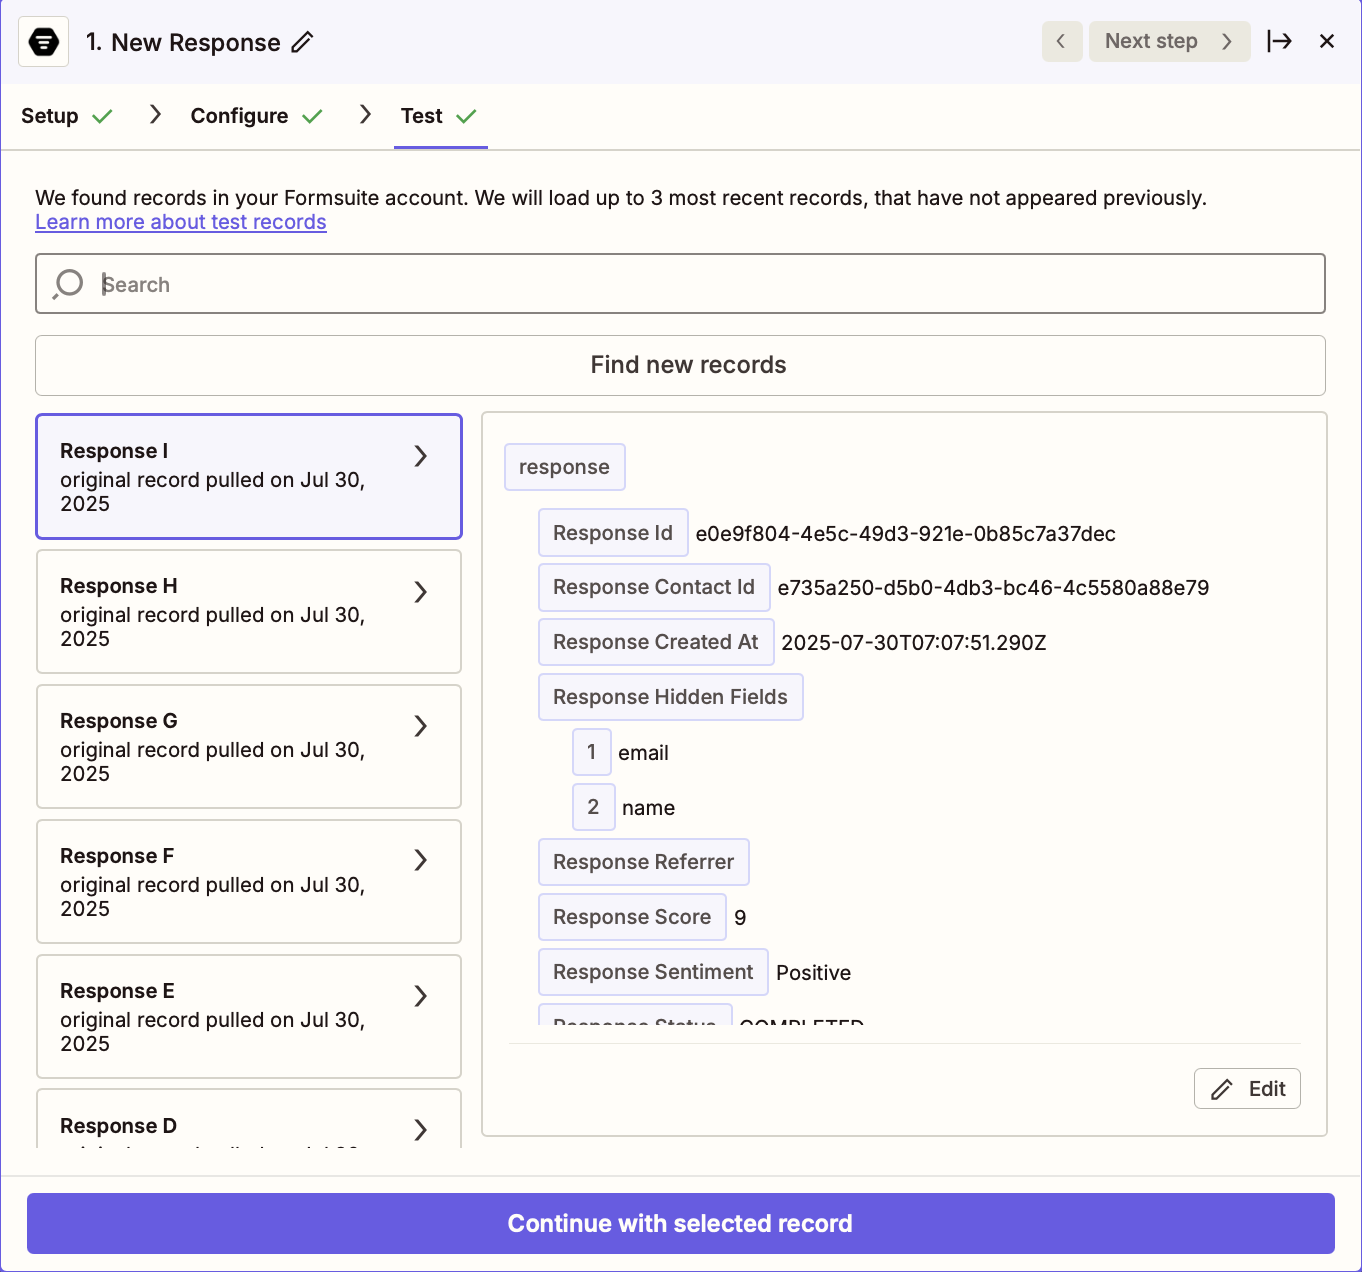
Set Trigger
-
Set CleverTap as the action app as follows:
- Select the Action Event as Create/Update User Profile.
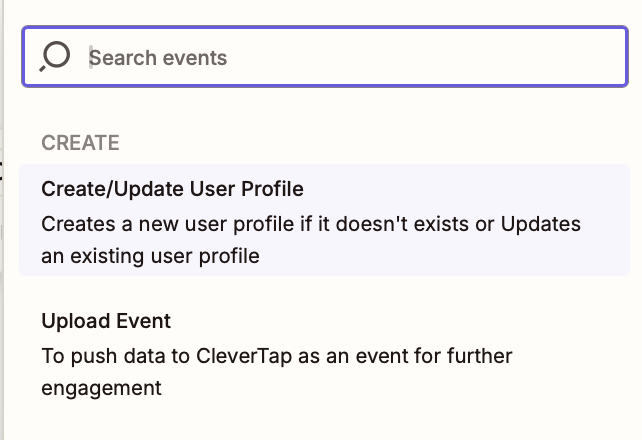
Set CleverTap as the Action
- Connect CleverTap using the CleverTap Account ID and Passcode. To find CleverTap project details, refer to Create Account Passcode.
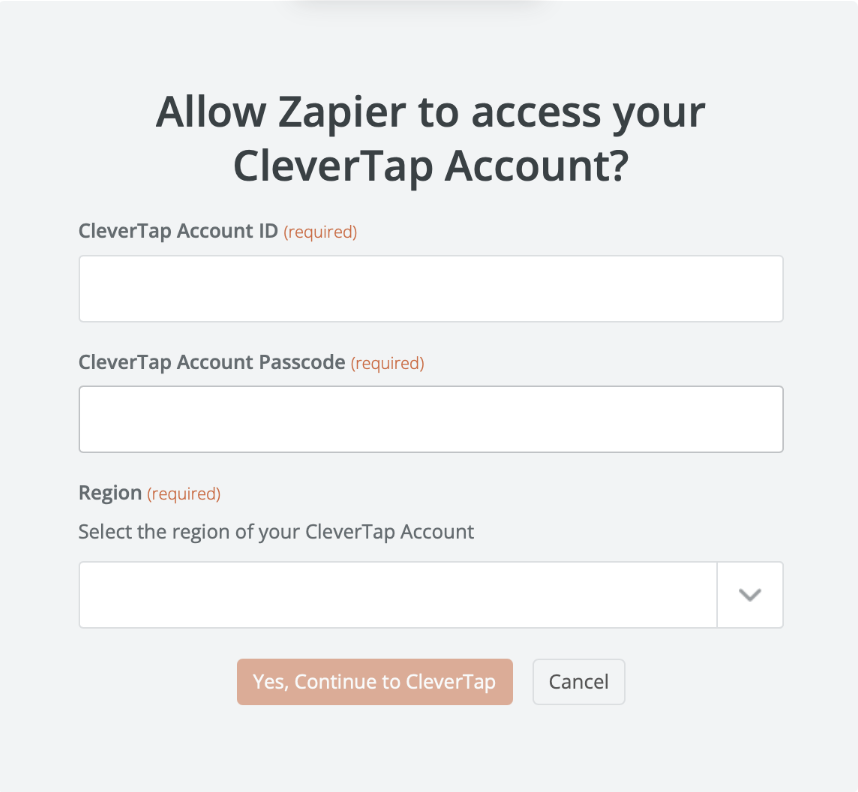
Connect CleverTap
- Configure the Action by mapping the Formsuite data fields to CleverTap fields. For example:
| CleverTap Field | Formsuite Field |
|---|---|
| Identity | Formsuite user ID / Email ID or any unique identity field corresponding to the user |
| Object ID | Unique identifier for the user |
| Creation Date | Date of the user’s creation in your system |
| Profile Properties | JSON object of user properties (e.g., { "name": "John Doe", "email": "[email protected]", "role": "Investor", "investment_interest": "High" }) |
Mapping Identity and Object IDYou can keep the Identity field blank if you provide an Object ID, and vice versa.
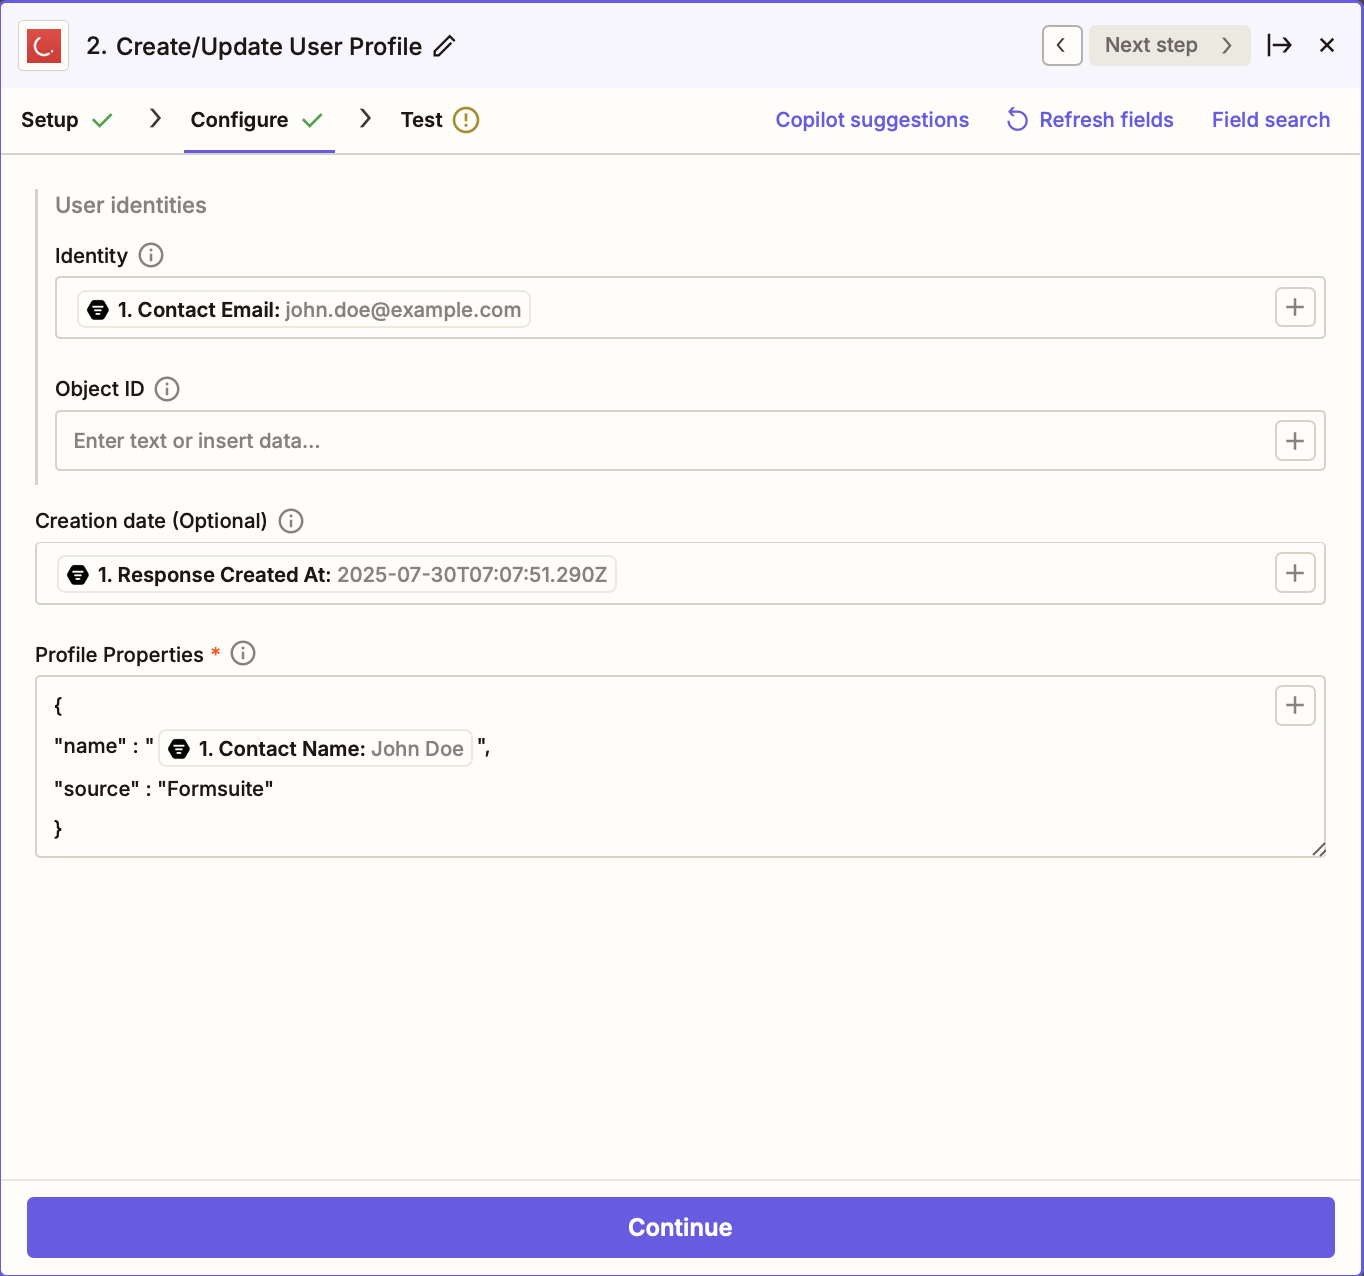
- Click Test & Review to validate data mapping.
You can verify if the correct user profile was updated with the correct data from the Find People > Profile Preview page on the CleverTap dashboard.
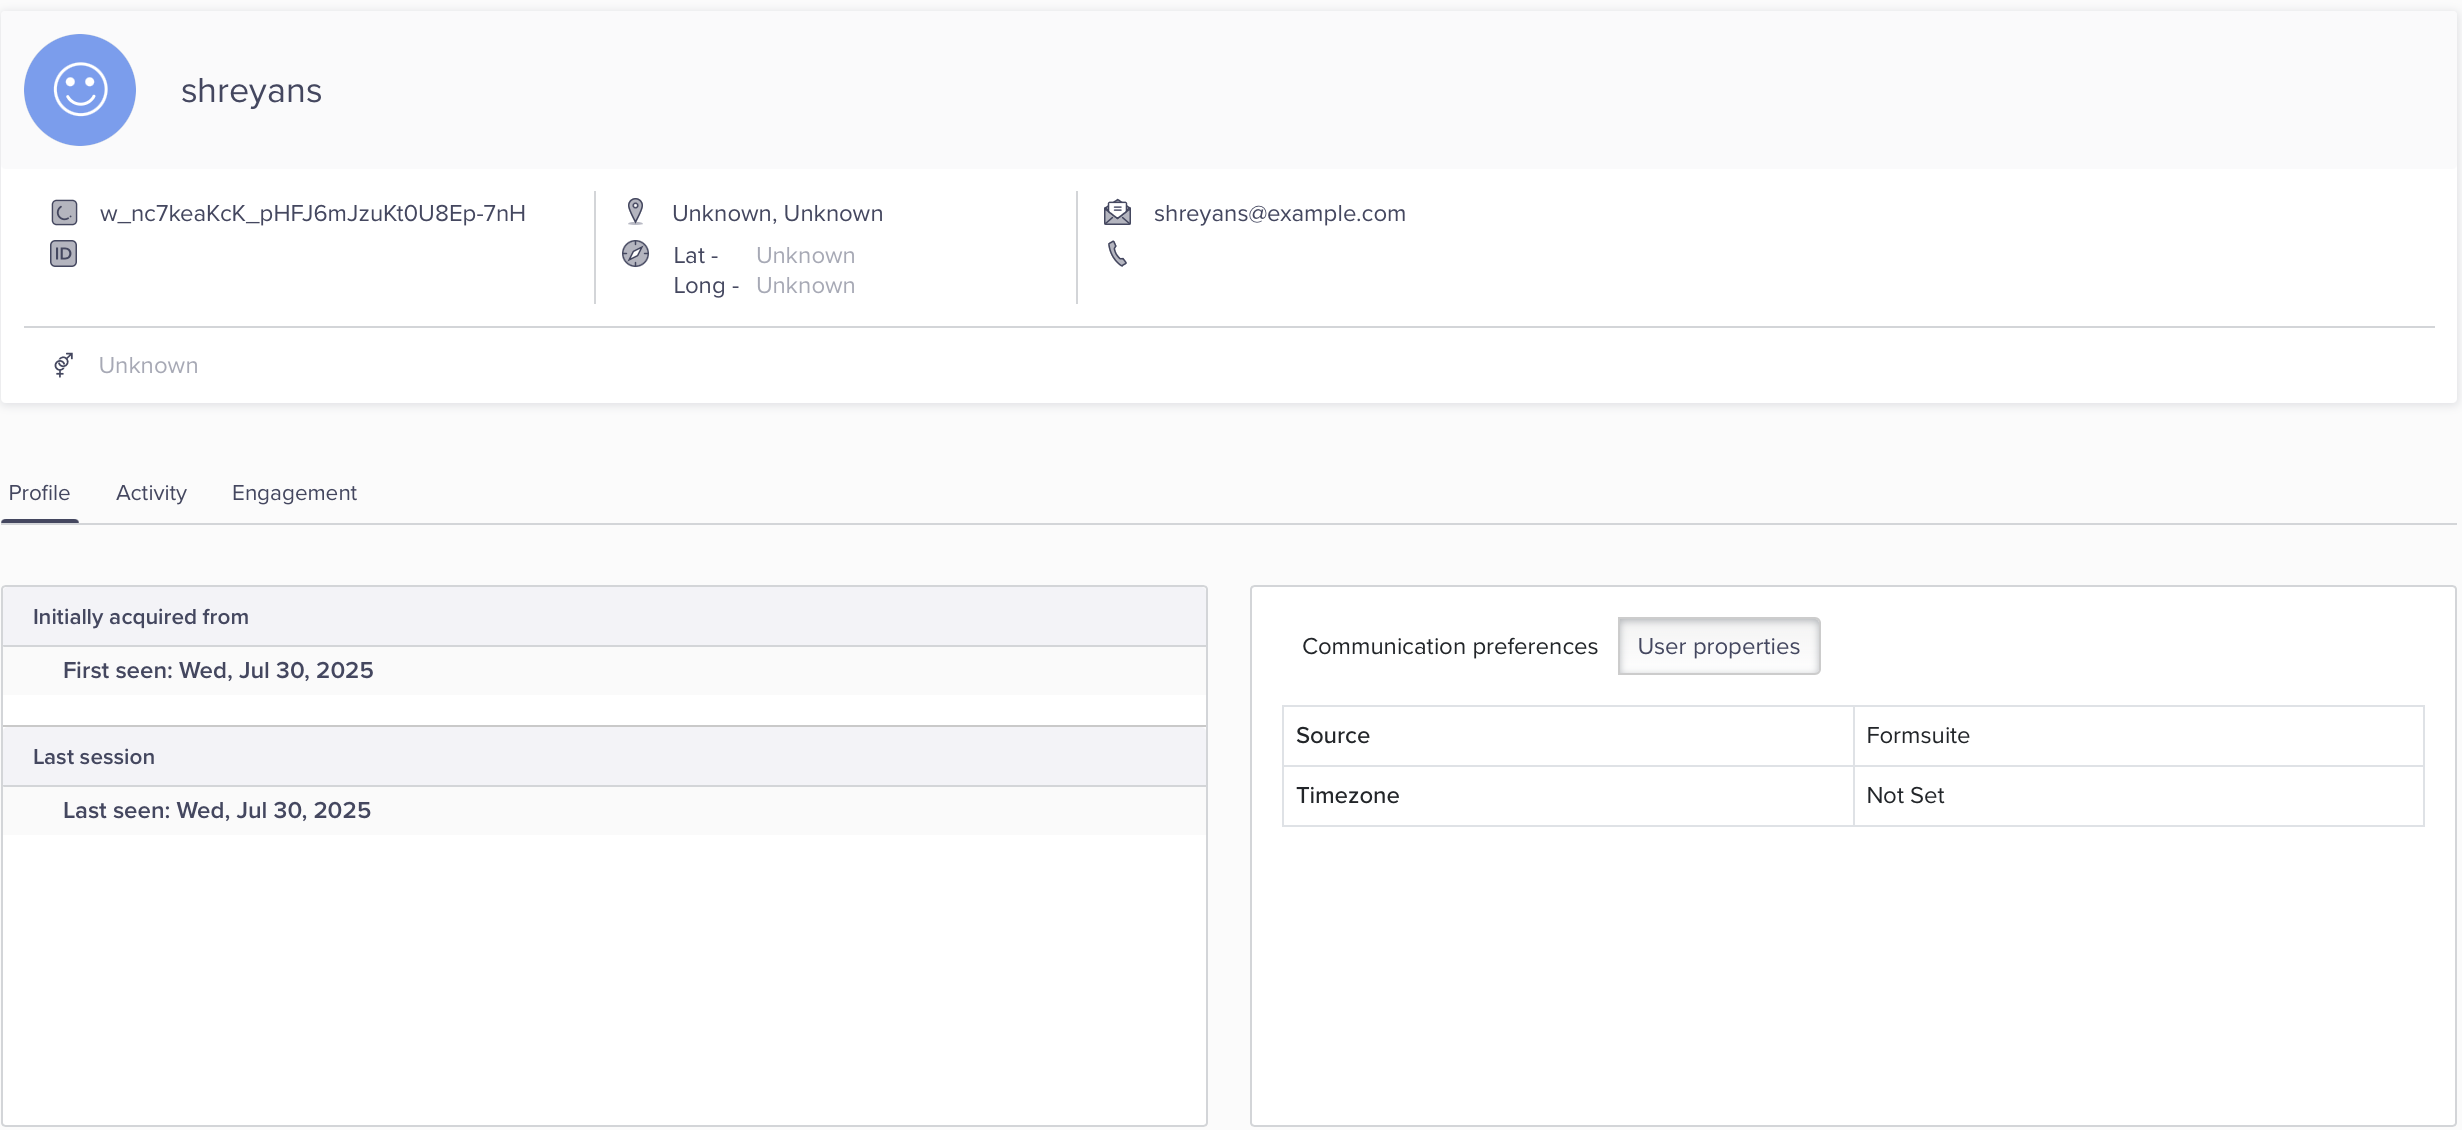
Verify Data in CleverTap
Once verified, your integration is live and ready to capture and sync Formsuite responses in real time.
Updated 8 months ago