Swipe Pages
Customer Relationship Management
Overview
Swipe Pages is a no-code landing page builder that helps create high-converting, mobile-optimized pages using a drag-and-drop interface. You can integrate Swipe Pages with CleverTap using Zapier to capture lead data from landing page forms and create or update user profiles in CleverTap.
With the CleverTap and Swipe Pages integration, you can:
- Automatically create or update user profiles in CleverTap from Swipe Pages form submissions.
- Trigger welcome emails or onboarding campaigns when a user signs up.
- Add users to specific journeys, such as event reminders or product interest flows.
- Segment users based on form inputs (for example, topic of interest) and send personalized follow-ups.
Prerequisites for Integration
The following are the prerequisites for integrating Swipe Pages with CleverTap via Zapier:
- A Swipe Pages account with access to create landing pages and generate API keys.
- An active Zapier account.
- A CleverTap account with Account ID and Passcode.
Integrate Swipe Pages with CleverTap
The integration process involves the following three major steps:
- Create Passcode on CleverTap Dashboard
- Create Landing Page in Swipe Pages
- Configure Zapier in Swipe Pages
Create Passcode on CleverTap Dashboard
CleverTap uses a header-based authentication model to authenticate requests to the API. Every CleverTap API request must include the Account ID and Passcode as the request headers. To create a passcode, refer to Create Account Passcode.
Create Landing Page in Swipe Pages
To create a landing page in Swipe Pages where form submissions will be collected. To do so, perform the following steps:
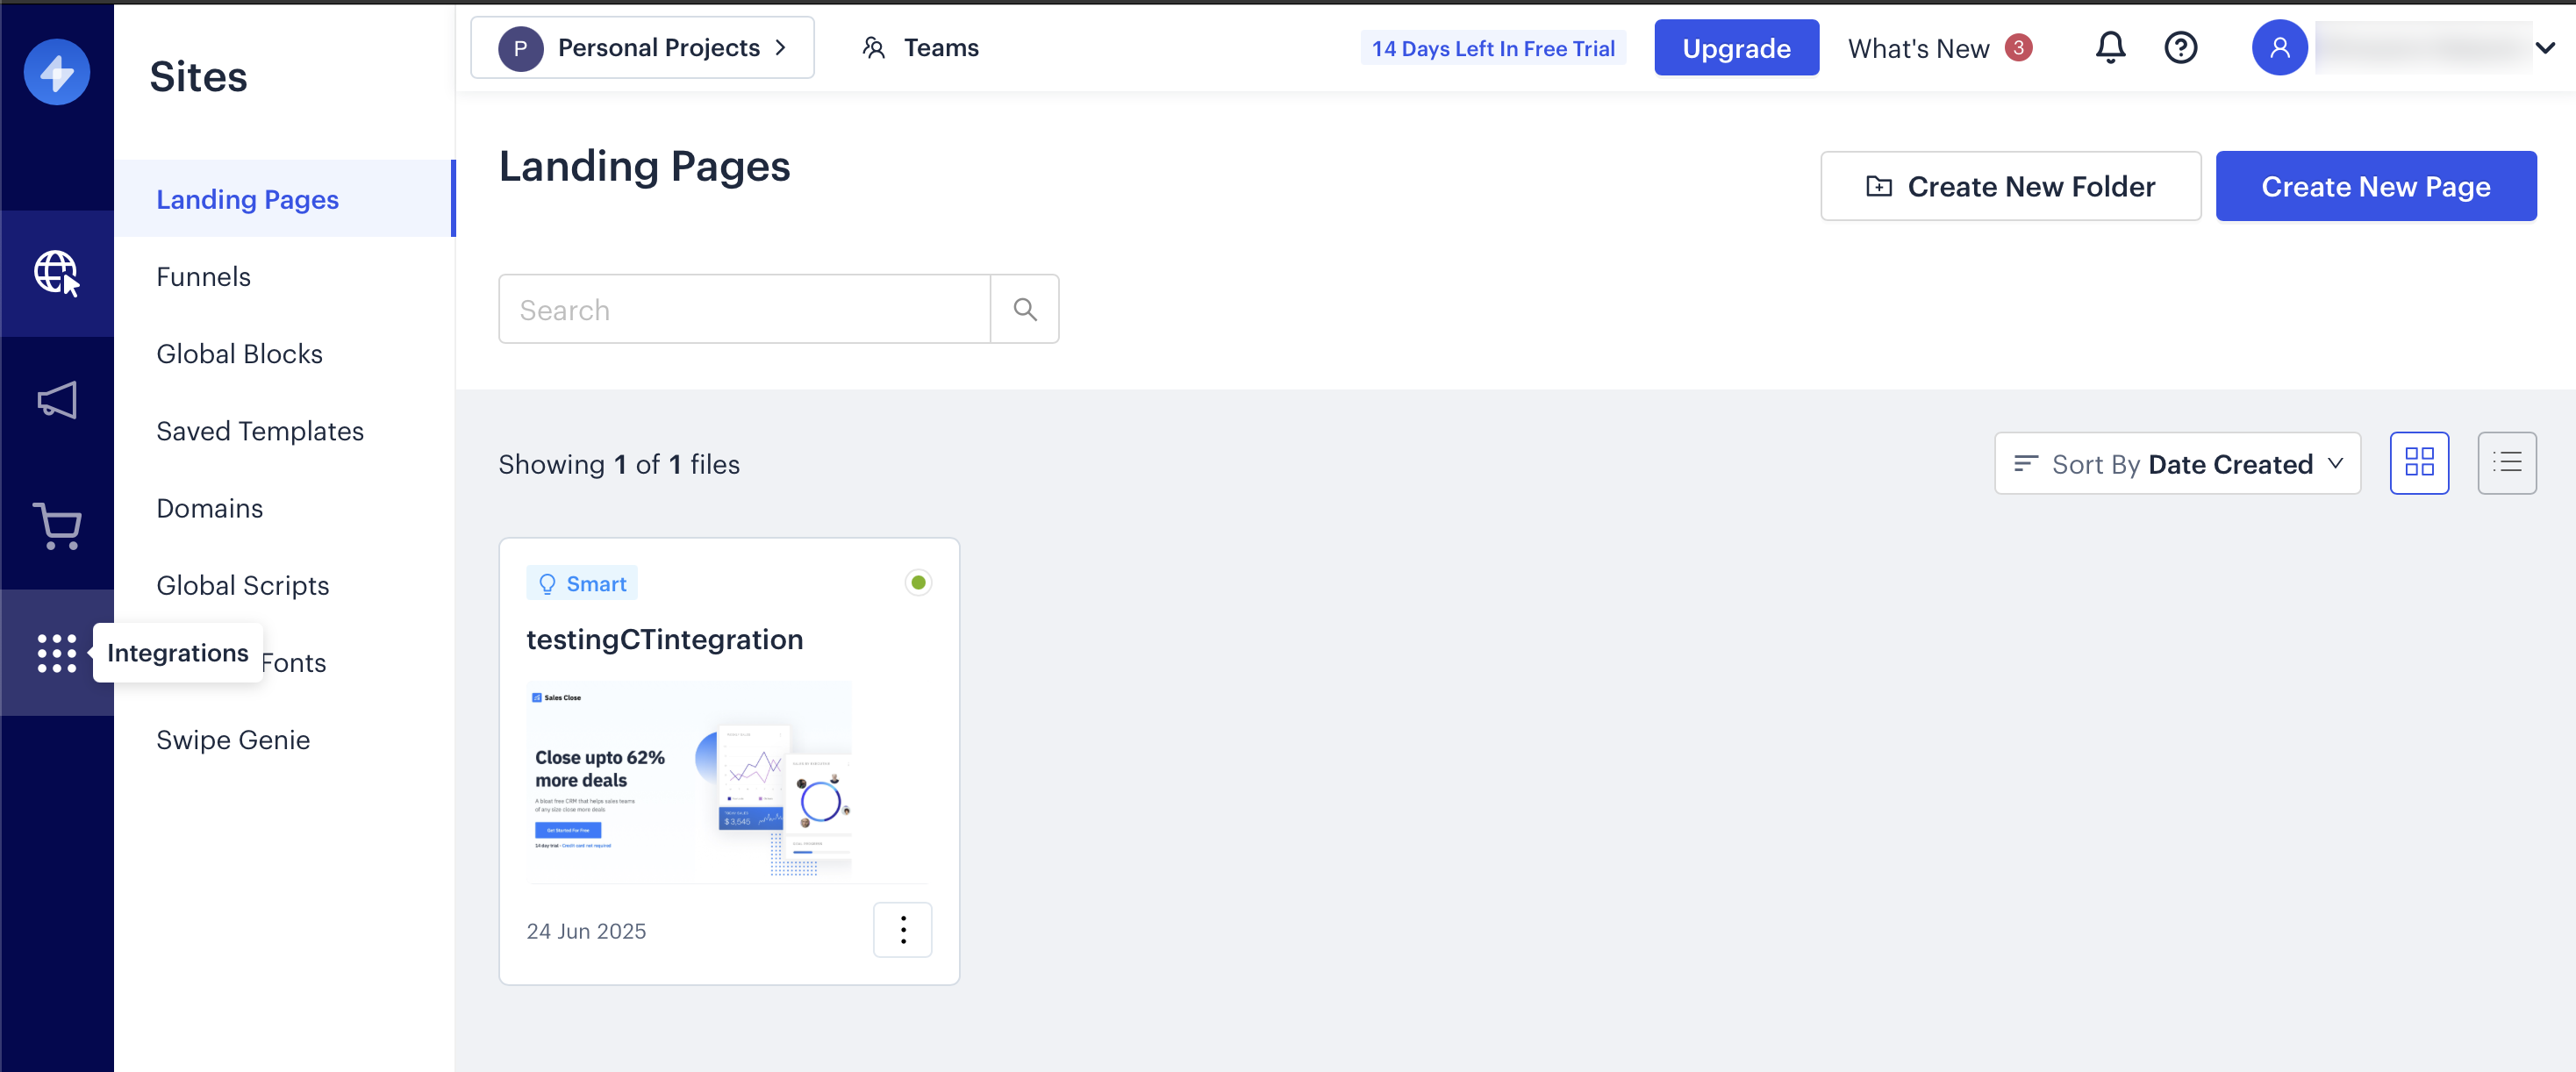
- Log in to your Swipe Pages dashboard.
- Go to Integrations > Landing Pages from the left panel.
- Click Create New Page to create your landing pages. Refer to Creating a new landing page in Swipe Pages.
Create a Landing Page in Swipe Pages
Configure Zapier in Swipe Pages
Zapier acts as the automation bridge between Swipe Pages and CleverTap. To enable this connection, you must configure Zapier within Swipe Pages. To do so, perform the following steps:
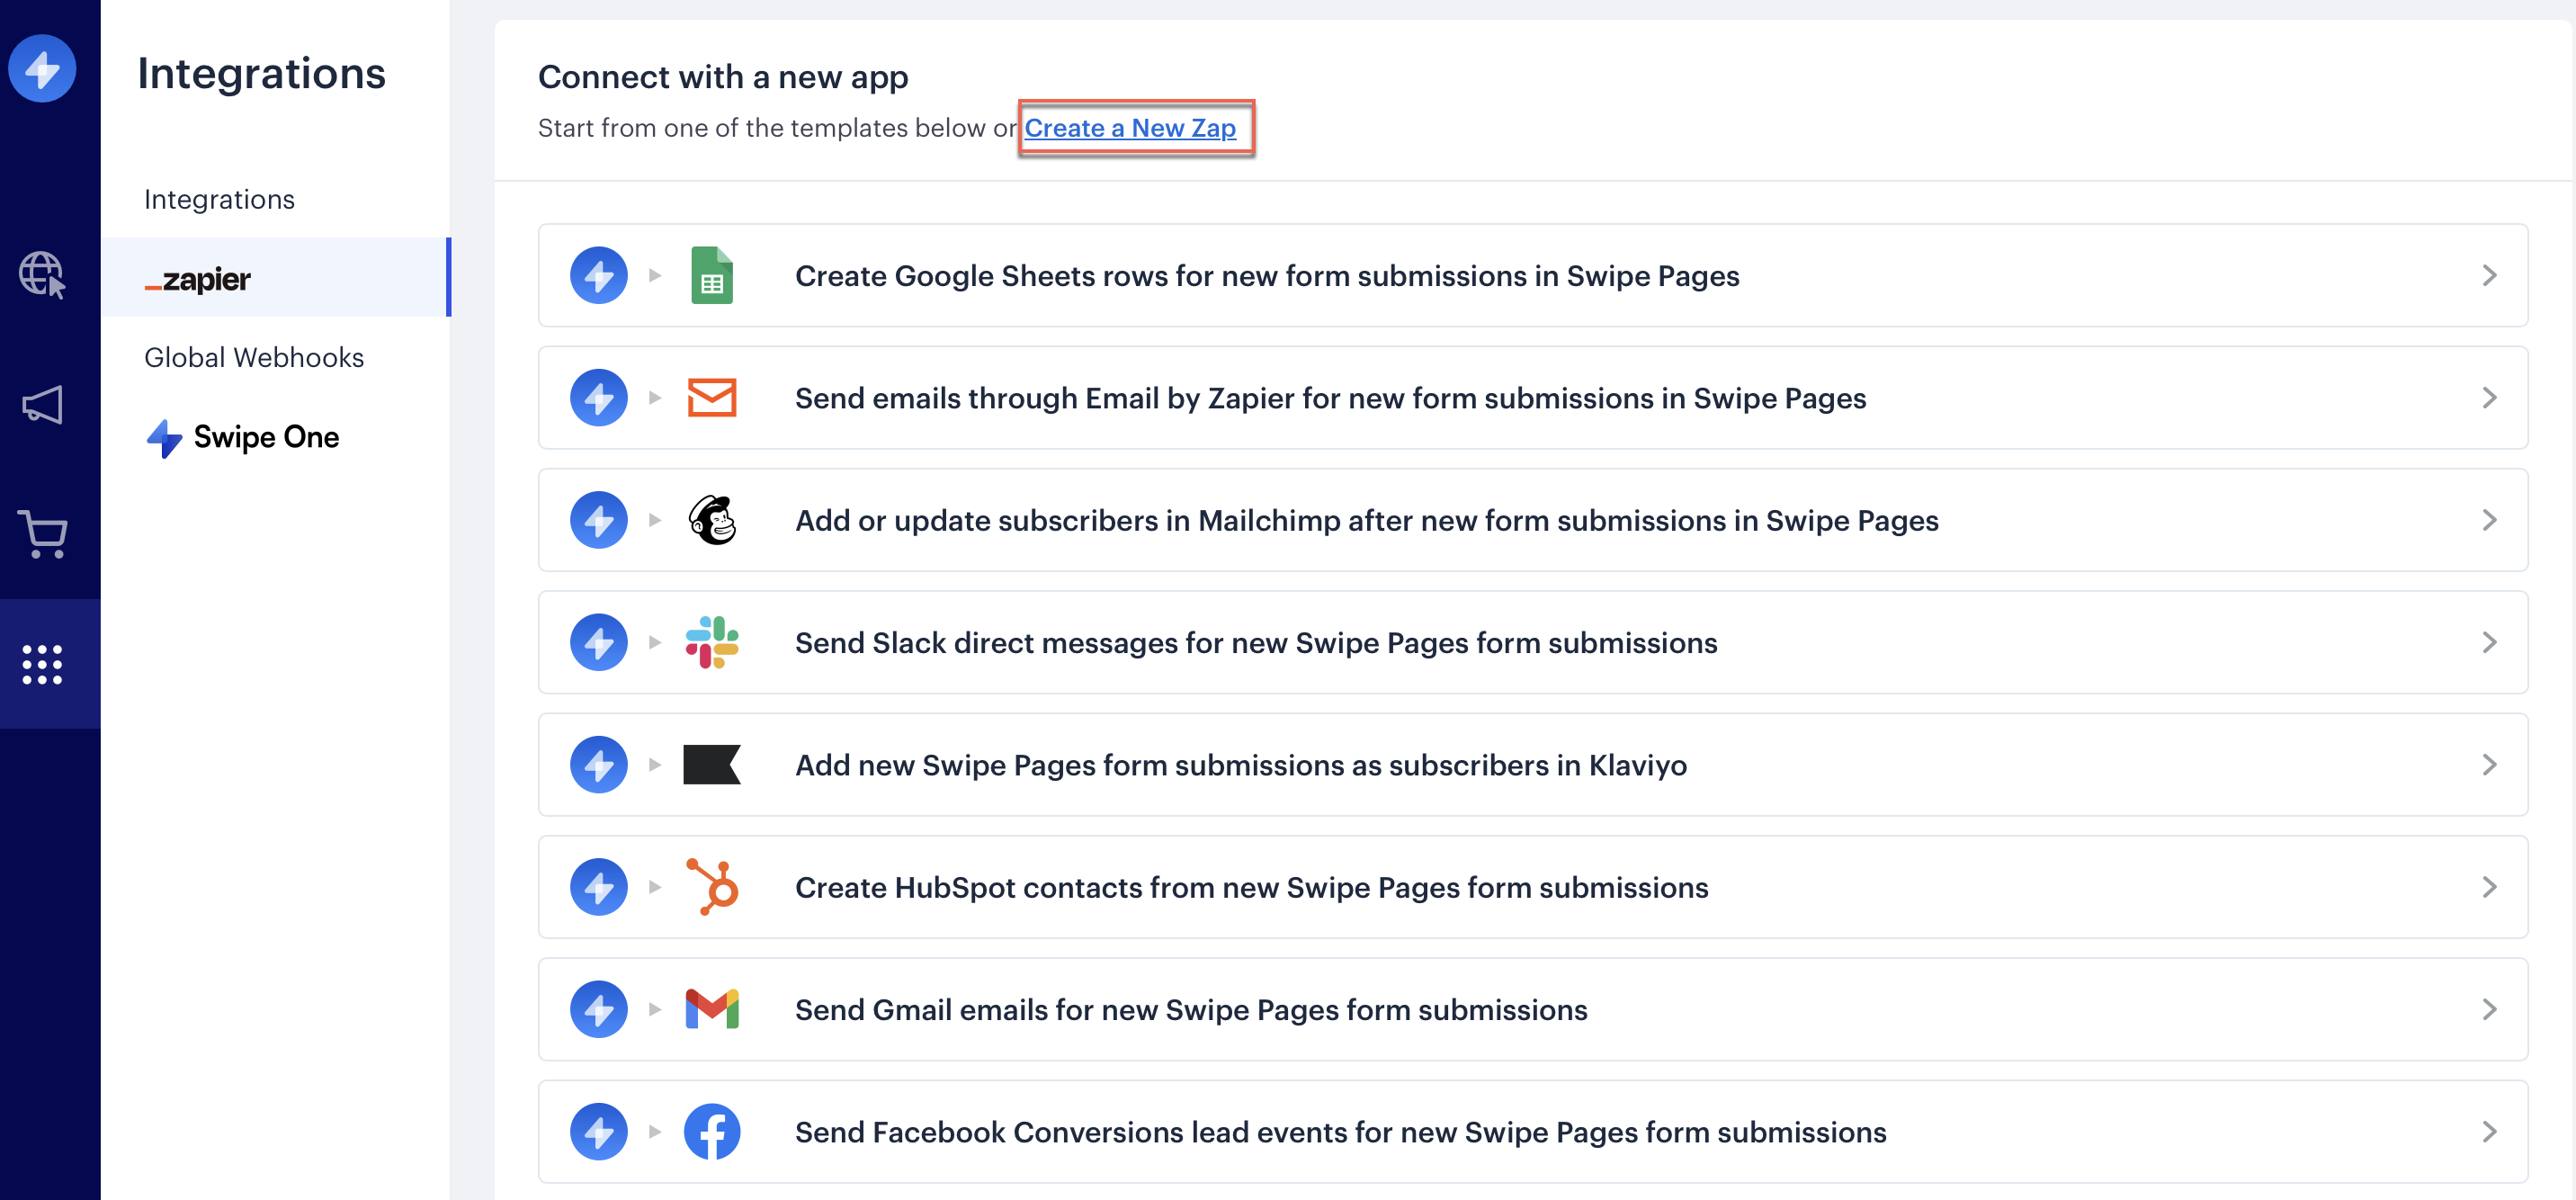
- Go to Integrations from the left panel on the Swipe Page dashboard
- Click on Zapier and click Create a New Zap.
Configure Zapier in Swipe Pages
- To create the connection, you will be provided with a Swipe Pages API key here.
- Copy it and keep it safe.
Now that Zapier is configured in Swipe Pages, proceed further to set up the Zapier workflow with Swipe Pages as the trigger and CleverTap as the action.
Set Up Swipe Pages Trigger
A trigger determines when your Zap will run. In this case, the trigger is a form submission on your Swipe Pages landing page. To set up swipe pages as a trigger, perform the following steps:
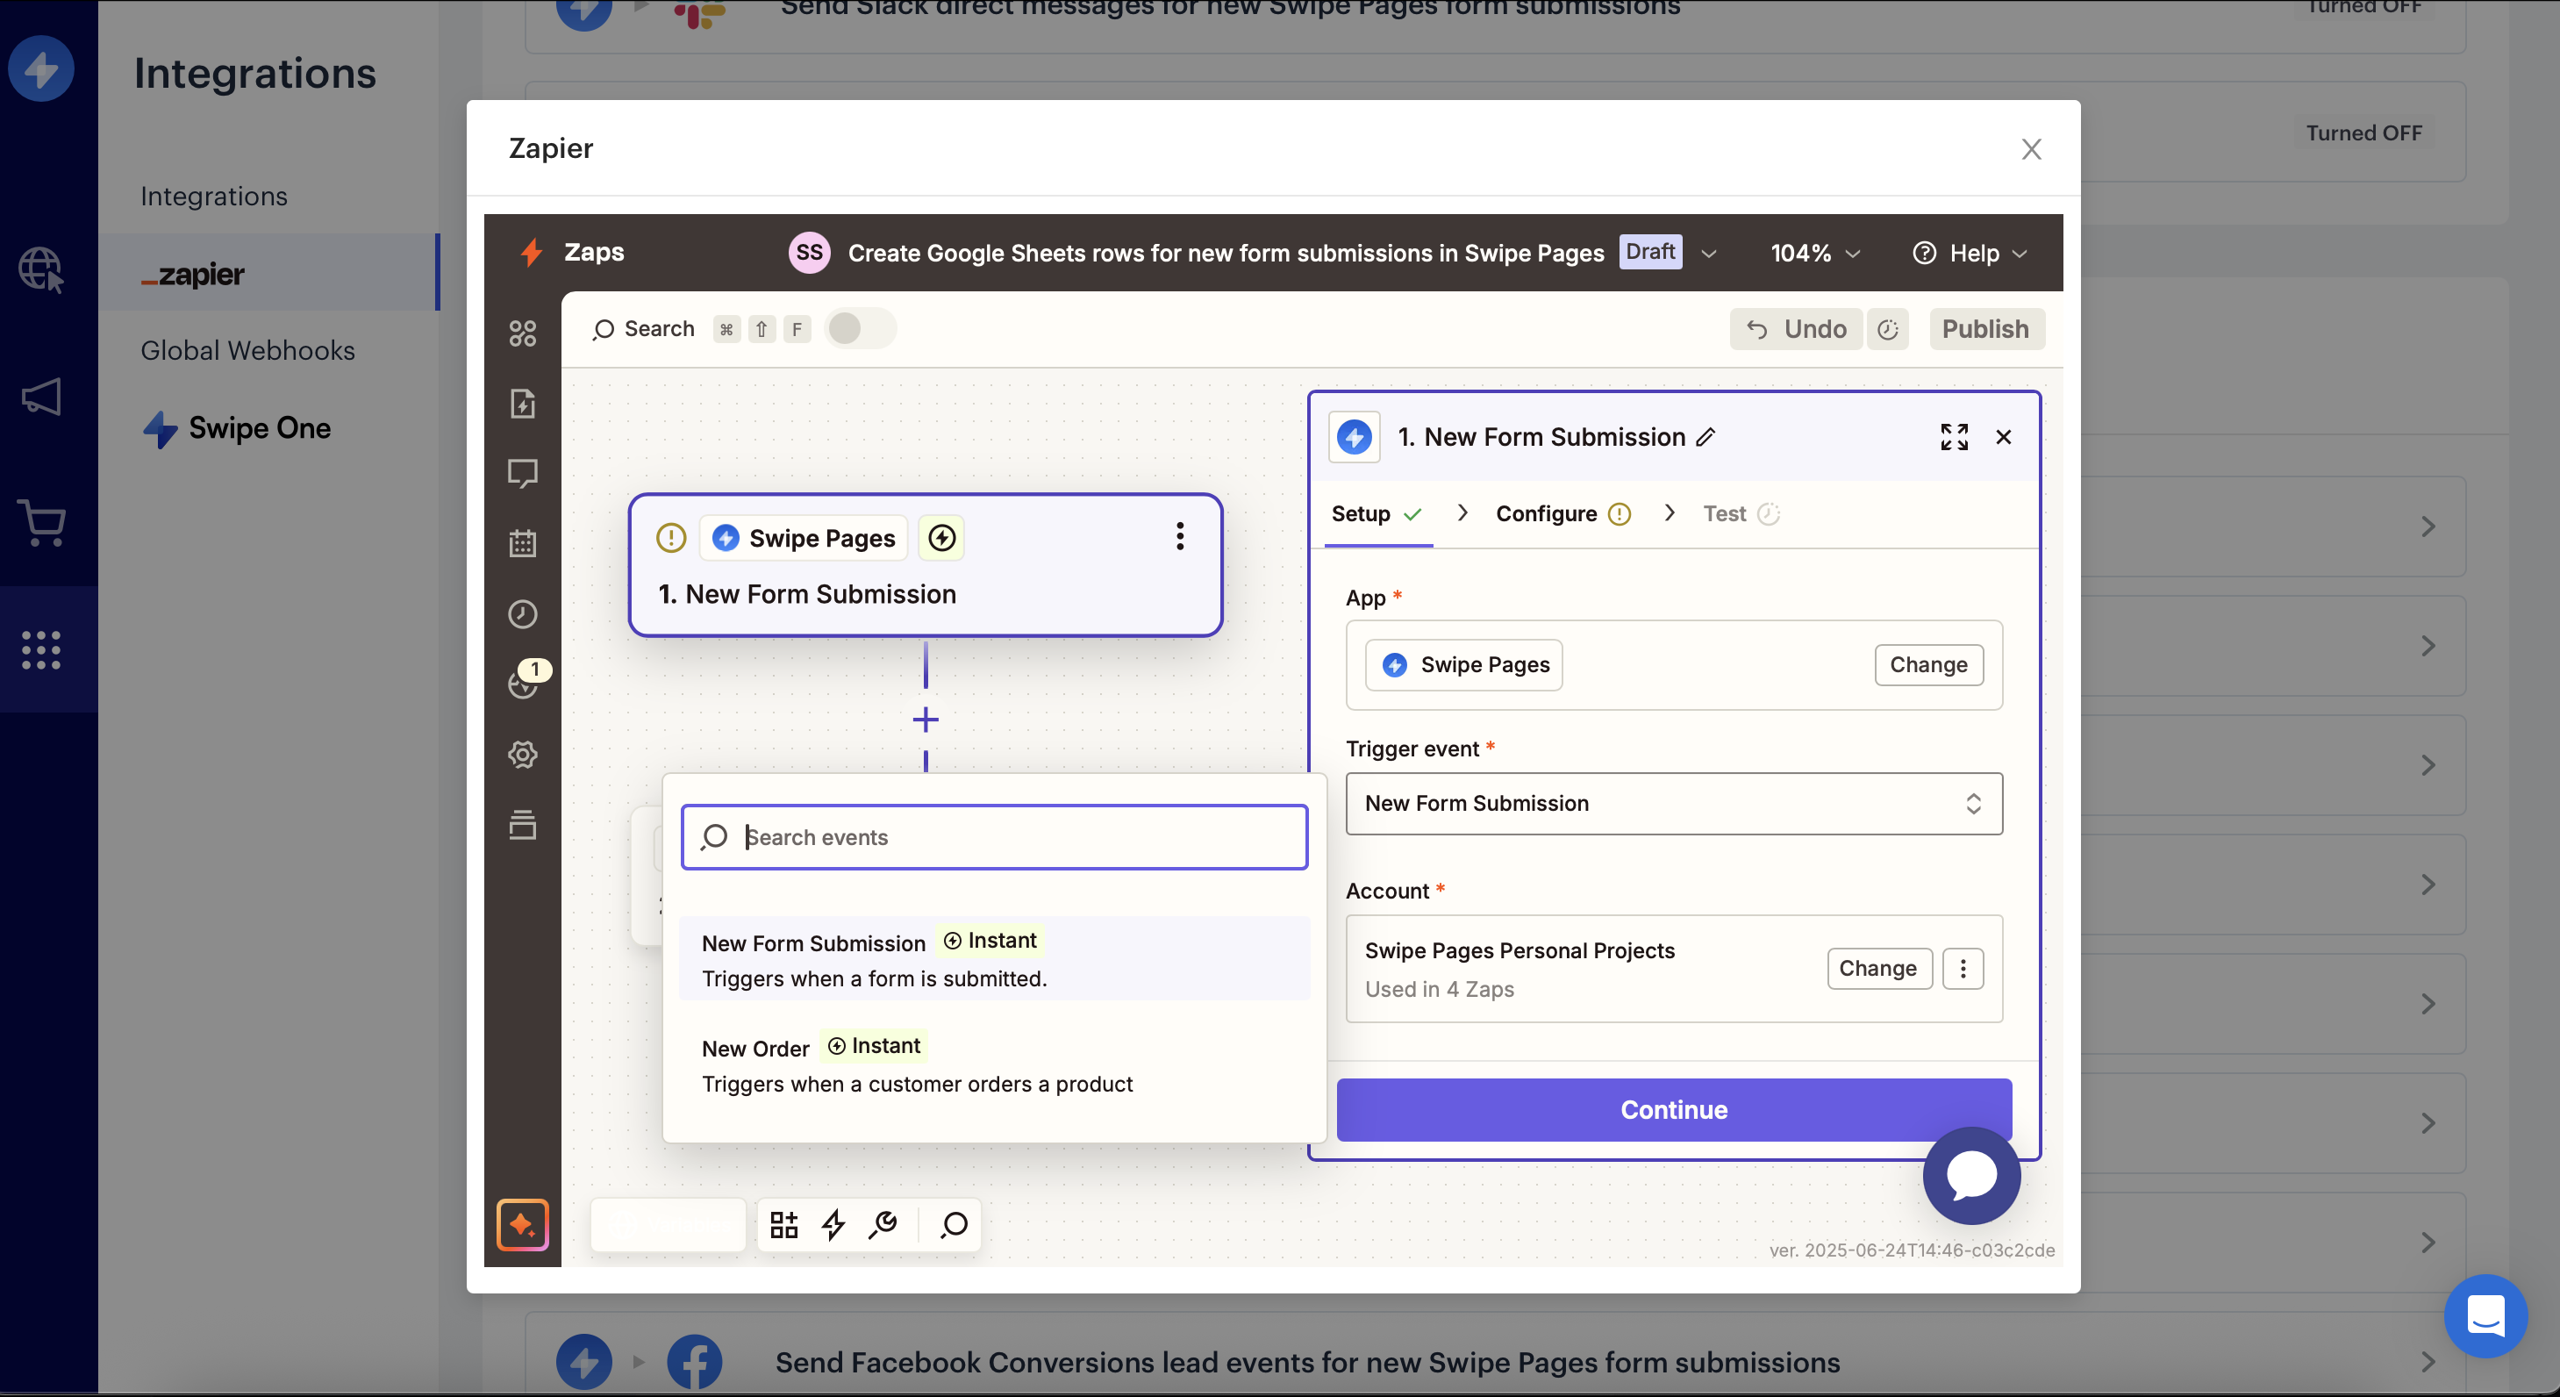
- Set the Trigger App as Swipe Pages.
- Select the Trigger Event. In this case, select New Form Submission from the dropdown. This ensures the Zap is triggered every time a user submits a form on your Swipe Pages.
Set Up Swipe Pages Trigger
- Connect your Swipe Pages account using the previously generated API Key from step 4 of Configure Zapier in Swipe Pages.
- Select the specific form whose submissions you want to capture.
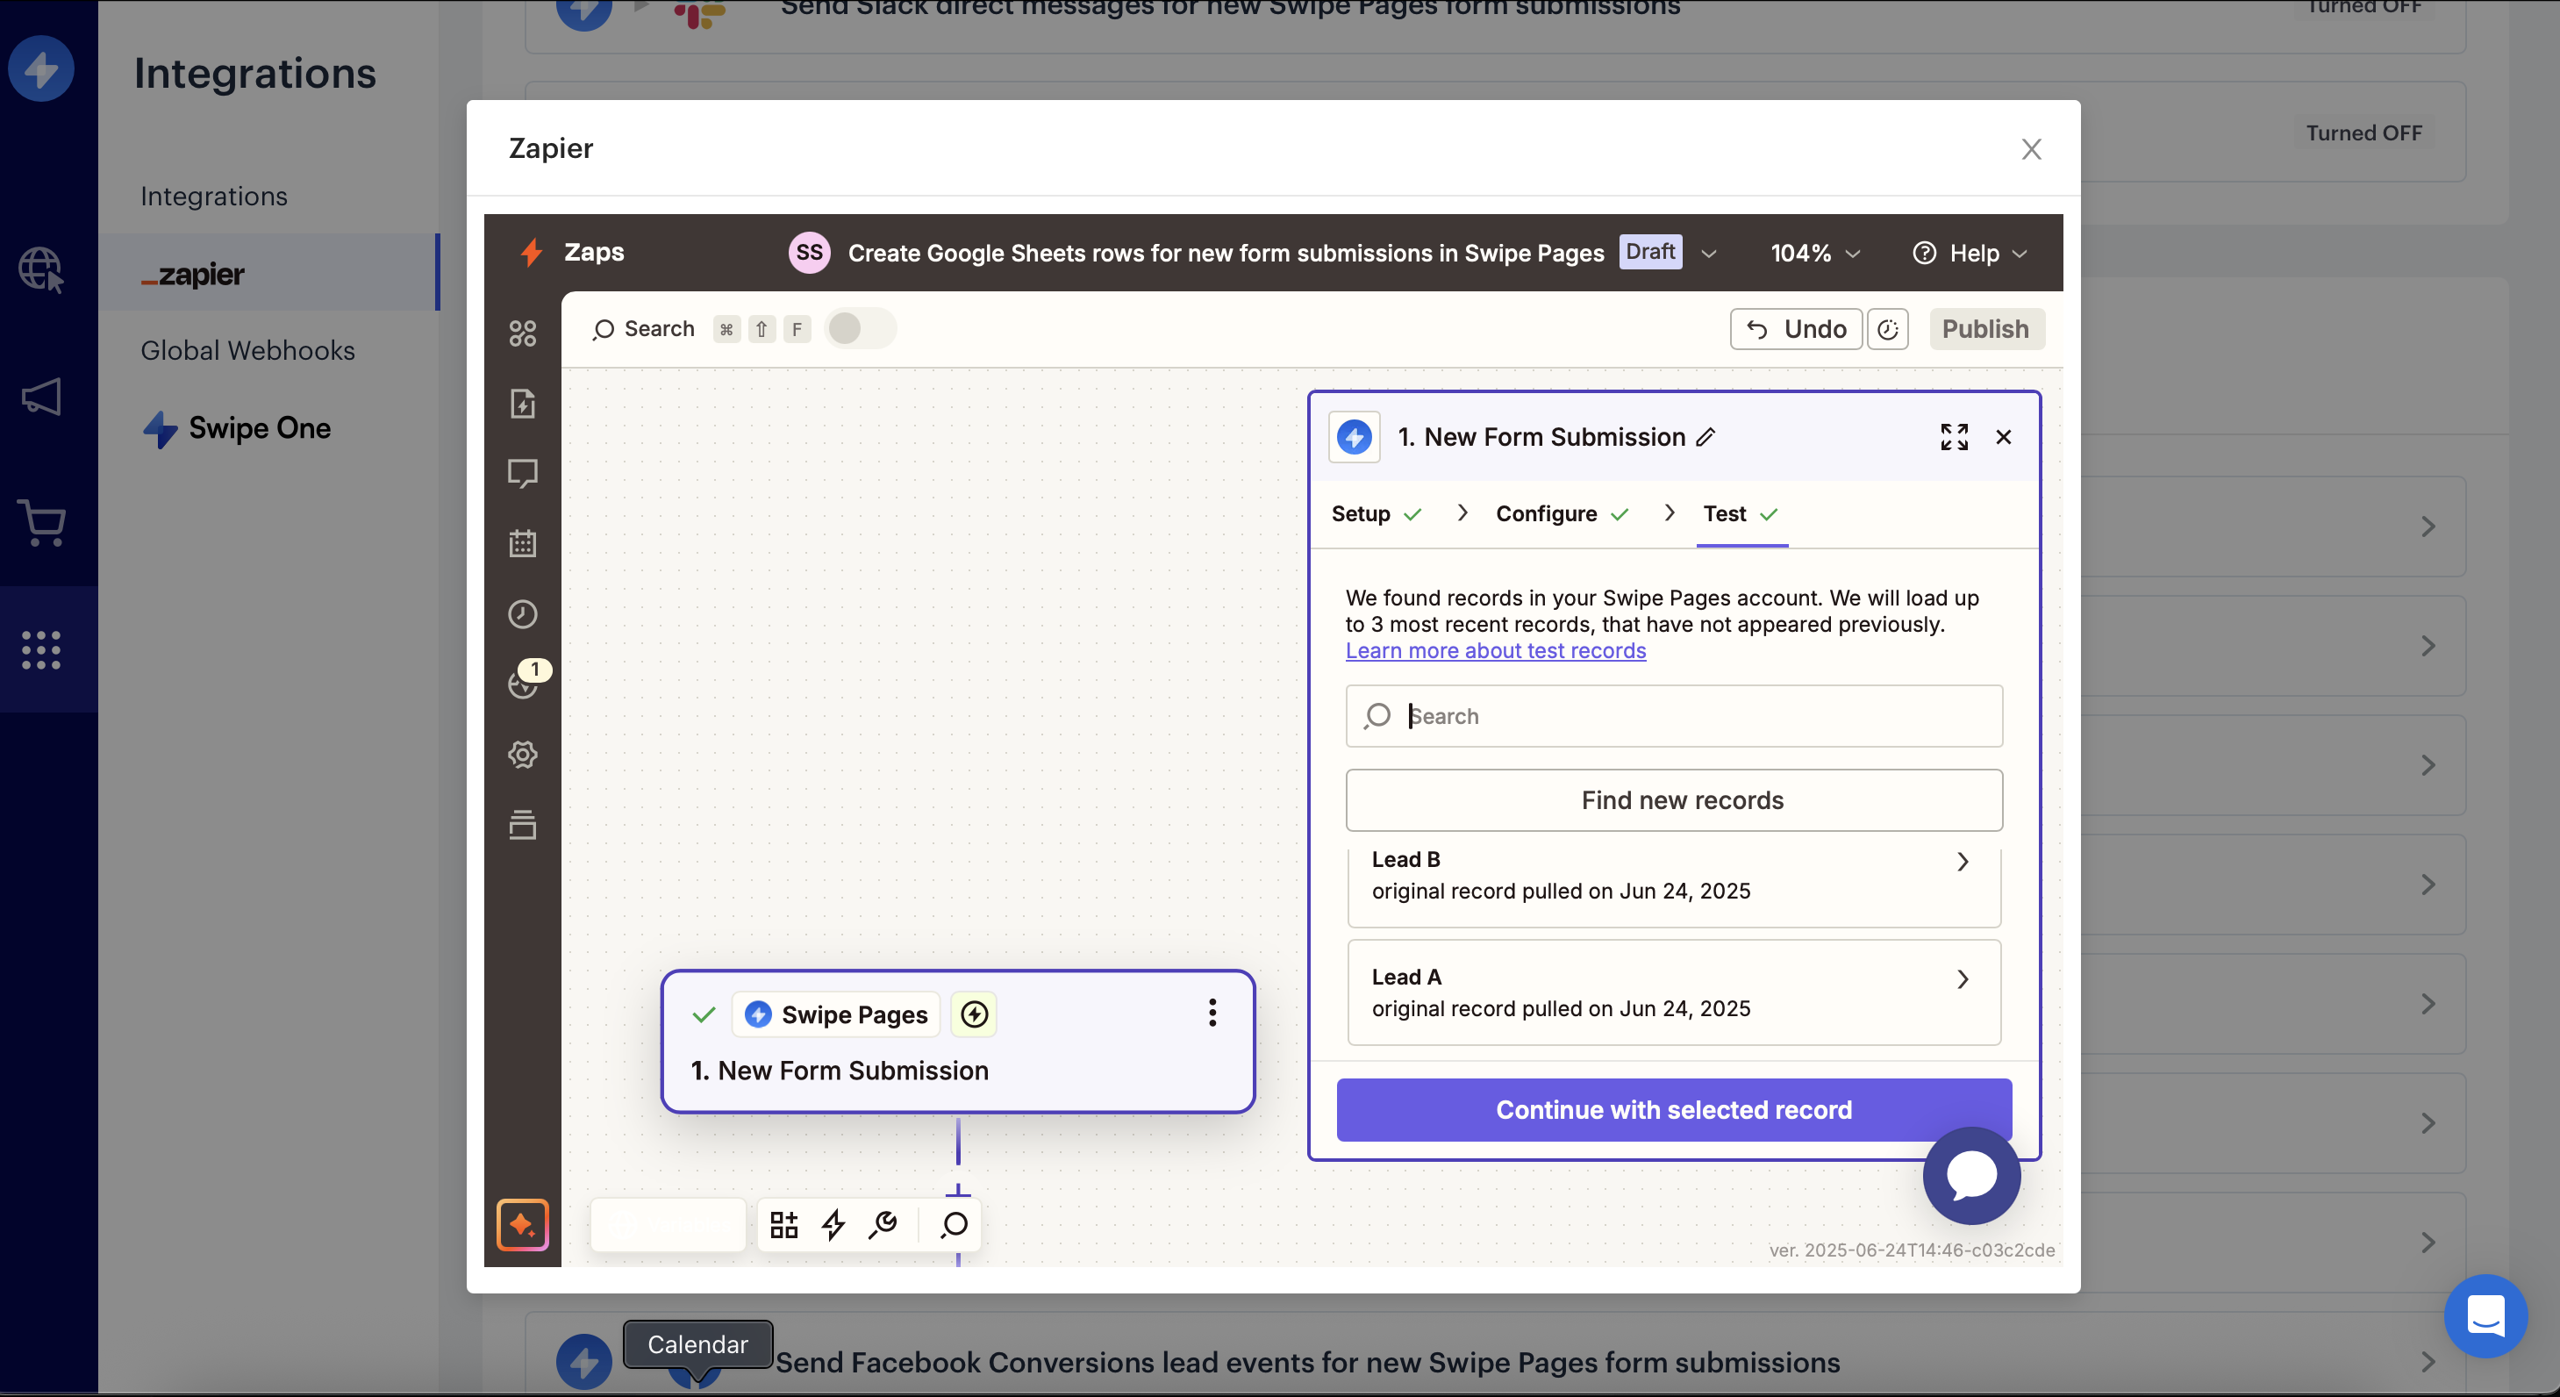
Select Record
Set Up CleverTap Action
Once the trigger is defined, you need to configure what happens in CleverTap. This is done by setting up an action in Zapier. To set up CleverTap as an action, perform the following steps:
- From the Action App, select CleverTap.
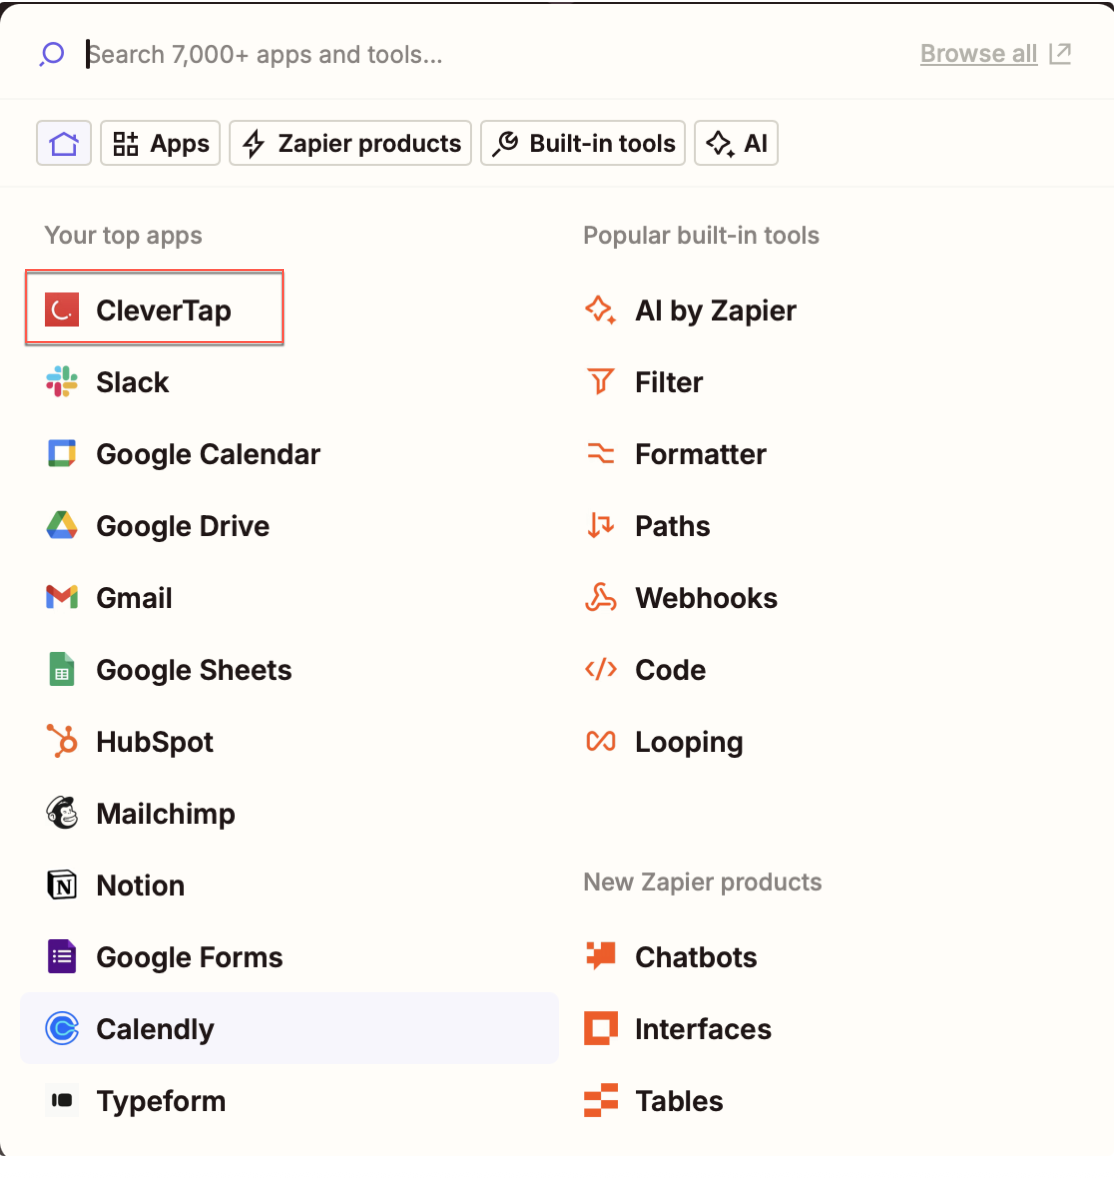
CleverTap Action
- Select one of the following Action Events:
- Create/Update User Profile
- Upload Event
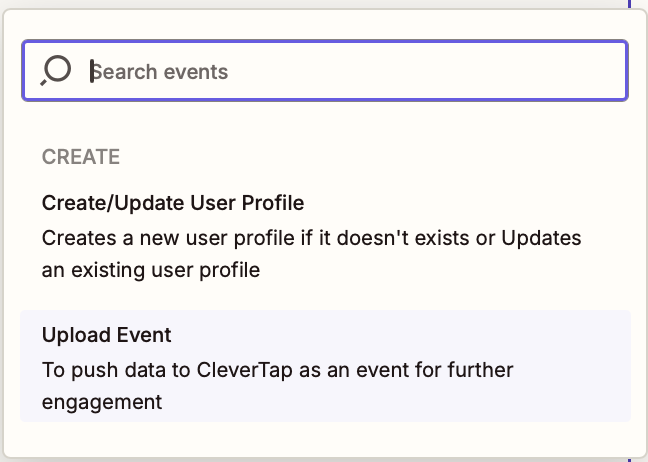
Select Action for Zap
- Connect your CleverTap account by entering Account ID, Passcode, and Region of your CleverTap account. For detailed steps, refer to Create a Passcode on the CleverTap Dashboard.
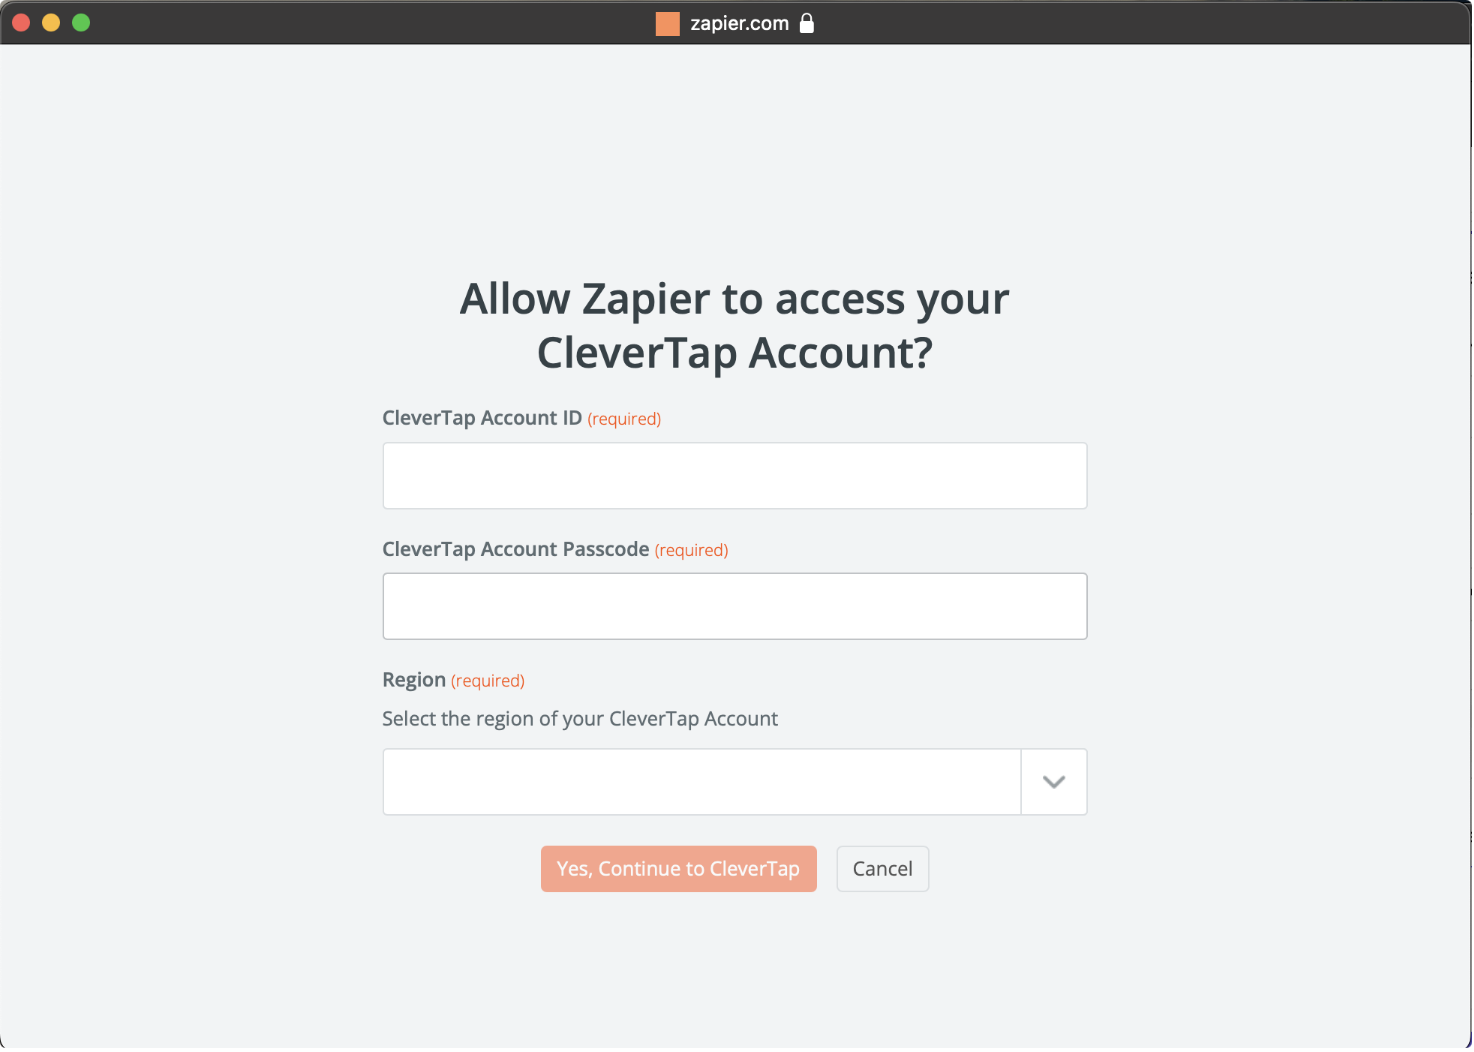
Connect your CleverTap account
- Map Swipe Pages data to CleverTap fields:
| CleverTap Field | Description |
|---|---|
| Identity / Object ID | Unique identifier (email, phone, or internal user ID) |
| Creation Date | (Optional) Timestamp of form submission |
| Profile Properties | JSON object of additional attributes (for example, name, email) |
| Event Name | (If uploading event) for example, submitted_landing_form |
| Event Properties | JSON of contextual details (for example, page, campaign) |
Map Identity and Object IDYou can keep the Identity field blank if you provide an Object ID, and vice versa.
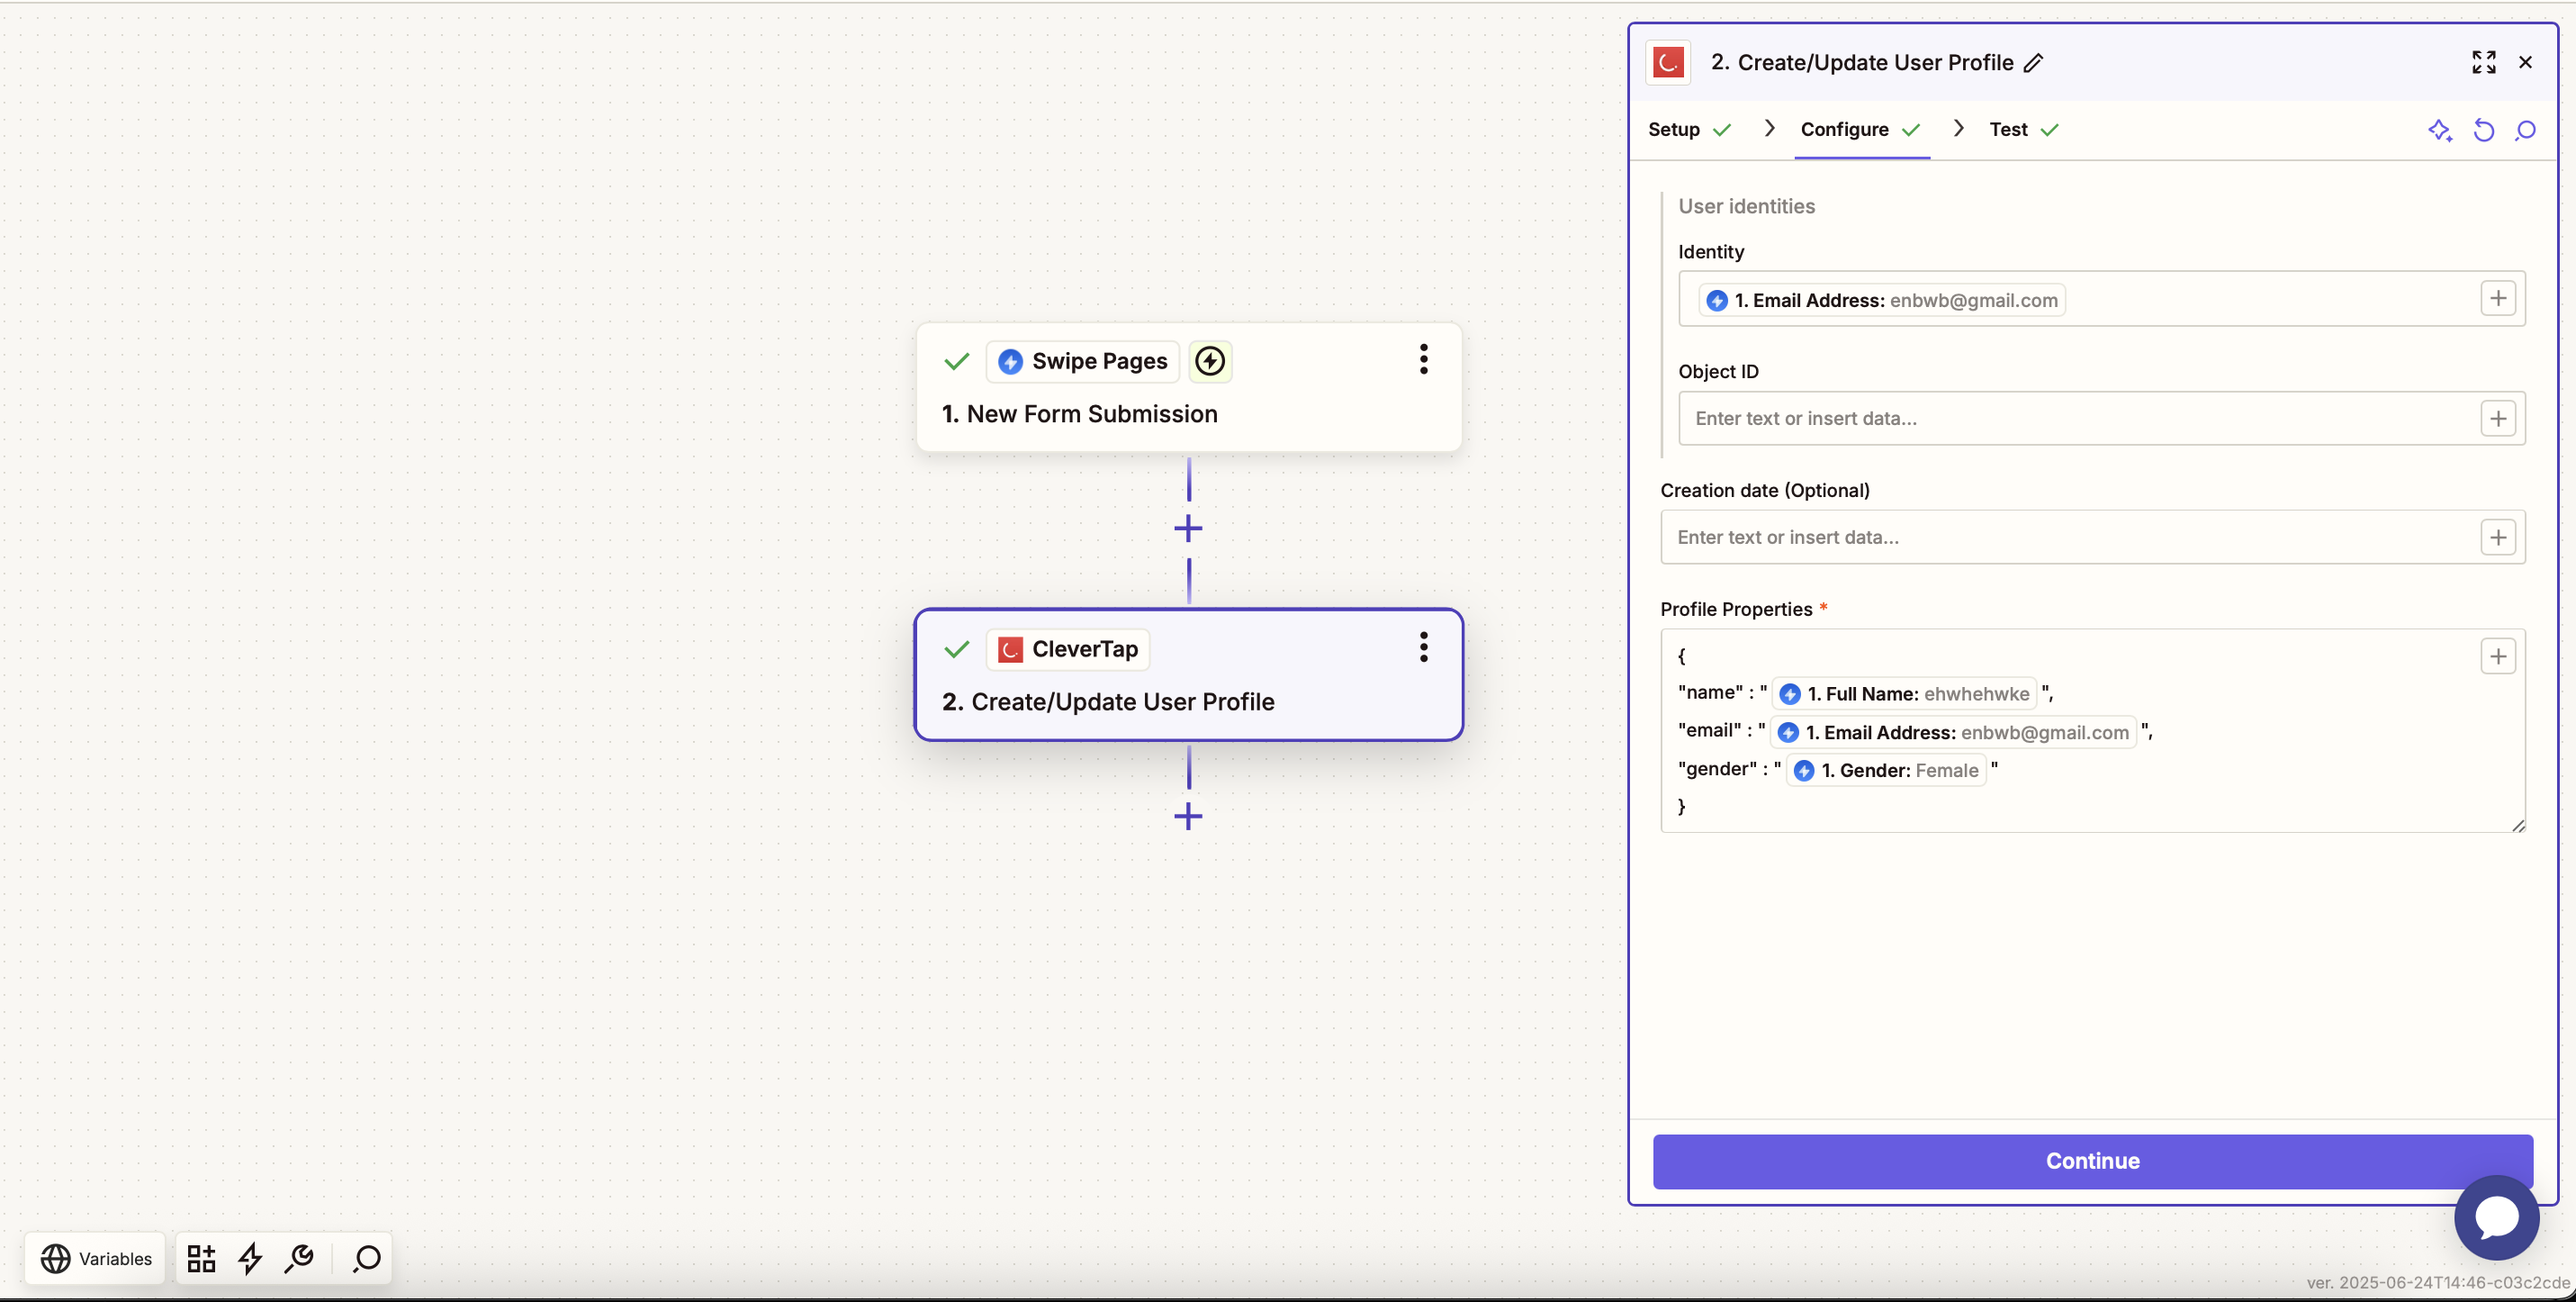
Configure the Action
- Click Test & Review to validate the setup.
- Check your CleverTap dashboard for the test event.
Verify Events in CleverTap
- Click Publish to activate the Zap.
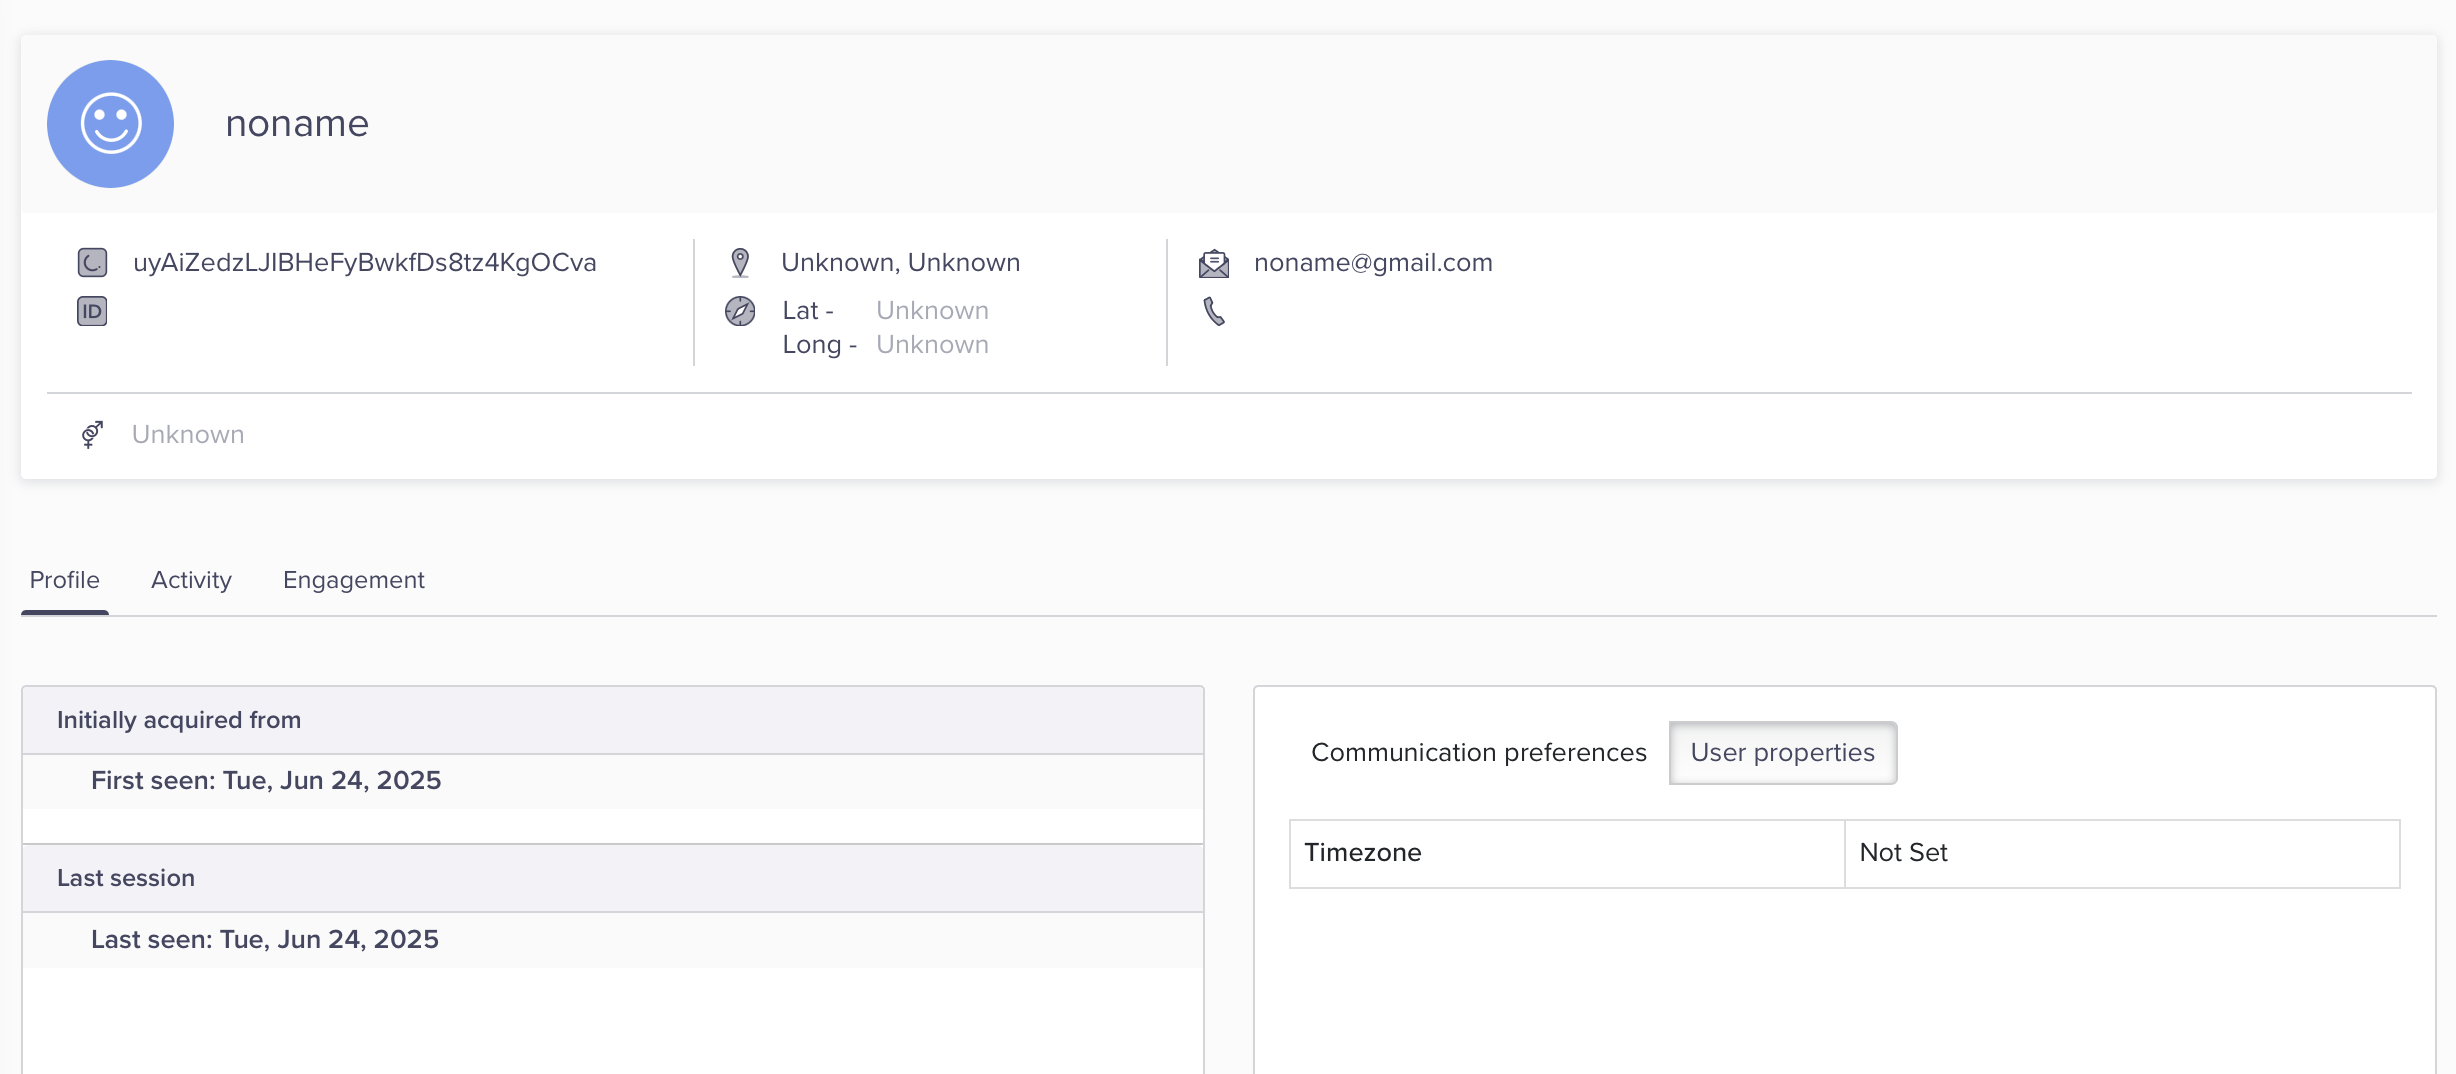
Verify Integration Results
After publishing the Zap:
- If you selected Upload Event, CleverTap logs a new event each time a form is submitted on your Swipe Pages site. Events appear in the Events section of the CleverTap dashboard.
- If you selected Upload/Update User Profile, CleverTap uses the
Identityfield to determine whether to create or update a user profile.
This automation enables you to seamlessly capture form data into CleverTap, allowing for personalized engagement without manual intervention on the CleverTap dashboard.
FAQs
What happens if I do not map the required fields?
Not mapping required fields may result in incomplete data being transferred or failure to update user profiles and events correctly.
Updated 7 months ago