Set Up Dashboard
Overview
This section covers how to set up your dashboard and apps.
Set Up App
You can set up the integration for your app from Settings > Project. Alternatively, you can simply select the list from the dashboard top menu, click Create New Project.
Set Up your Android App
To set up your Android app, perform the following steps:
- Enter the PlayStore URL for your app.
- Integrate the CleverTap SDK. For more information, refer to SDK.
dependencies {
    implementation 'com.clevertap.android:clevertap-android-sdk:3.8.0'
    implementation 'com.google.firebase:firebase-messaging:17.3.3'
    implementation 'com.google.android.gms:play-services-base:16.0.1'
    implementation 'com.android.support:support-v4:28.0.0'
    //Mandatory for CleverTap Android SDK v3.6.4 and above add the following -
    implementation 'com.android.installreferrer:installreferrer:1.0'
    }
// at the end of the build.gradle file
apply plugin: 'com.google.gms.google-services'- Implement CleverTap dependencies.
Add the following snippet within the tags in the AndroidManifest.xml file. For more information, refer to Android Manifest XML.
<application
    android:label="@string/app_name"
    android:icon="@drawable/ic_launcher"
    android:name="com.clevertap.android.sdk.Application">
Add the following snippet to the same manifest file to allow the CleverTap SDK to access the Internet.
<!-- Required to allow the app to send events and user profile information ->
<uses-permission android:name="android.permission.INTERNET"/>
<!--Recommended so that CleverTap knows when to attempt a network call -->
<uses-permission android:name="android.permission.ACCESS_NETWORK_STATE"/>
Add the following snippet to the same file to allow the CleverTap SDK to access the Internet.
CleverTapAPI clevertapDefaultInstance = CleverTapAPI.getDefaultInstance(getApplicationContext());- Set up Firebase Cloud Messaging (FCM) to send push notifications using CleverTap.
Register the services inside thetags of the Android manifest file.
For more information, refer to Using FCM version 18.00 and above.
<service
    android:name="com.clevertap.android.sdk.FcmTokenListenerService">
    <intent-filter>
        <action android:name="com.google.firebase.INSTANCE_ID_EVENT"/>
    </intent-filter>
</service>

<service
    android:name="com.clevertap.android.sdk.FcmMessageListenerService">
    <intent-filter>
        <action android:name="com.google.firebase.MESSAGING_EVENT"/>
    </intent-filter>
</service>
5a. Set up a notification channel. You must set a notification channel to send push notifications for Android version O and above. For more information, refer to Notification Channel.
Add the following snippet in the onCreate() method of the application’s MainActivity class to create Android notification channels.
CleverTapAPI cleverTapAPI = CleverTapAPI.getDefaultInstance(getApplicationContext());
cleverTapAPI.createNotificationChannel(getApplicationContext(),"YourChannelId","Your Channel Name","Your Channel Description",NotificationManager.IMPORTANCE_MAX,true);
5b. Complete the setup. Check that the events and engagement channels are working.
To complete the push notification integration and enable advanced settings, navigate to mobile push channel.
- Test your integration.
To start sending custom events to CleverTap using the Android SDK, call the pushEvent( ) method with the custom event name you want to track.
Use the following to test events and user profiles:
cleverTapAPI.pushEvent("Test Event");// Do not call onUserLogin directly in the onCreate() lifecycle method
HashMap<String, Object> profileUpdate = new HashMap<String, Object>();
profileUpdate.put("Name", "Jack Montana"); // String
profileUpdate.put("Identity", 61026032); // String or number
profileUpdate.put("Email", "[email protected]"); // Email address of the user
profileUpdate.put("Phone", "+14155551234"); // Phone (with the country code, starting with +)
profileUpdate.put("Gender", "M"); // Can be either M or F
profileUpdate.put("DOB", new Date()); // Date of Birth. Set the Date object to the appropriate value first
cleverTapAPI.onUserLogin(profileUpdate);Set Up Your iOS App
To set up your iOS app, perform the following steps:
- Enter the AppStore URL for your app. This step is optional.
- Install the CleverTap SDK.
To start integration, install CocoaPods. To integrate the app manually, refer to the manual integration.
Add the following snippet above in the Podfile and run the Pod install command to begin the installation of the CleverTap SDK.
pod "CleverTap-iOS-SDK"- Integrate the SDK. For more information, refer to SDK Integration.
Import the CleverTap SDK to the AppDelegate.swift file. Now add [CleverTap autoIntegrate] within the application: didFinishLaunchingWithOptions: method. This allows the CleverTap class used to track app launches, to receive in-app notifications, and to enable deep link tracking.
func application(application: UIApplication, didFinishLaunchingWithOptions launchOptions: [NSObject:AnyObject]?) -> Bool {
    ...
    CleverTap.autoIntegrate()
    ...
}- Set up push notifications.
To integrate iOS push notifications and enable advanced settings, navigate to mobile push channel setup.
- Test your integration.
Paste the snippet in the viewDidLoad class to start testing events and user profiles:
CleverTap.sharedInstance()?.recordEvent("Product viewed")let profile: Dictionary<String, AnyObject> = [
//Update pre-defined profile properties
"Name": "Jack Montana",
"Email": "[email protected]",
//Update custom profile properties
"Plan type": "Silver",
"Favorite Food": "Pizza"
]
CleverTap.sharedInstance()?.onUserLogin(profile);Set Up Your Website
To set up your website, perform the following steps:
- Enter the website URL for your project.
- To integrate the website, paste the snippet in the section of your website.
<script type="text/javascript">
    var clevertap = {event:[], profile:[], account:[], onUserLogin:[], notifications:[], privacy:[]};
 // replace with the CLEVERTAP_ACCOUNT_ID with the actual ACCOUNT ID value from your Dashboard -> Settings page
clevertap.account.push({"id": "CLEVERTAP_ACCOUNT_ID"});
clevertap.privacy.push({optOut: false}); //set the flag to true, if the user of the device opts out of sharing their data
clevertap.privacy.push({useIP: false}); //set the flag to true, if the user agrees to share their IP data
(function () {
        var wzrk = document.createElement('script');
        wzrk.type = 'text/javascript';
        wzrk.async = true;
        wzrk.src = ('https:' == document.location.protocol ? 'https://d2r1yp2w7bby2u.cloudfront.net' : 'http://static.clevertap.com') + '/js/a.js?v=0';
        var s = document.getElementsByTagName('script')[0];
        s.parentNode.insertBefore(wzrk, s);
})();
</script>- Set up push notifications.
To integrate and enable web push notifications, go to Web Push Channel Setup.
- Test integration.
Paste the following snippet in your browser’s console to start testing.
clevertap.event.push(“Event Name”);clevertap.profile.push({
"Site": {
"Name": "Jack Montana", // User's name
"Email": “[email protected]”
}
});Set Up Your API
Set up your API to use events and user profiles. For more information, refer to API Quick Start Guide.
- Upload to the API endpoint: https://api.clevertap.com/1/upload
URLs for Your Specific LocationUse the URL based on your location:
- India:
in1.api.clevertap.com- Singapore:
sg1.api.clevertap.com- U.S.:
us1.api.clevertap.com- Europe (default region):
api.clevertap.com- Indonesia:
aps3.api.clevertap.com- Middle East (UAE):
mec1.api.clevertap.com
- Use the JSON payload for events and user profiles.
{
    "d": [
        {
            "FBID": "34322423",
            "ts": 1468308340, // time when the event occurred in UNIX epoch value in seconds
            "type": "event",
            "evtName": "Product viewed",
            "evtData": {
                "Product name": "Casio Chronograph Watch",
                "Category": "Mens Watch",
                "Price": 59.99,
                "Currency": "USD"
            }
        },
        {
            "identity": "[email protected]",
            "ts": 1468208340,
            "type": "event",
            "evtName": "Charged",
            "evtData": {
                "Amount": 300,
                "Currency": "USD",
                "Payment mode": "Credit Card",
                "Delivery By": "$D_1468322268",
                "Items": [
                    {
                        "Category": "books",
                        "Book name": "The millionaire next door",
                        "Quantity": 1
                    },
                    {
                        "Category": "books",
                        "Book name": "Achieving inner zen",
                        "Quantity": 4
                    }
                ]
            }
        }
    ]
}
{
"d": [
{
"identity": "1189549",
"ts": 1468308340,
"type": "profile",
"profileData": {
"Name": "Jack Montana",
"Name": {"$delete" : 1}, //this will delete the value of name
"Email": "[email protected]",
"Phone": "+14155551234",
"Gender": "M",
"Gender": {"$delete" : 1}, //this will delete the value of gender
"MSG-sms": false,
"MSG-whatsapp": true,
"MSG-dndPhone": true,
"DOB": "$D_1487576752",
"Customer Type": "Platinum",
"Custom Multi Value":{"$remove":["shoes","bags"]}, // To remove Multi Value properties
"Custom Multi Value":{"$add":["shoes","bags"]}, //To add Multi Value properties
"My Number 1": {"$incr" : 10}, //To increment integer data
"My Number 2": {"$decr" : 30} //To decrement integer data
}
}
]
}
//$delete applicable only to name and gender fields- Test the integration.
Send an API request with payload to test integration.
FAQs
Find answers to the following common questions about ̉Setting Up dashboard:
How to configure the session timer for the dashboard?
Configure a session timeout for your dashboard in case of inactivity. Only admins can configure the session timeout, which is set to 30 minutes by default. To configure the session timeout:
- Navigate to Organization > Projects.
- Select the relevant time from the dropdown, and click Save.
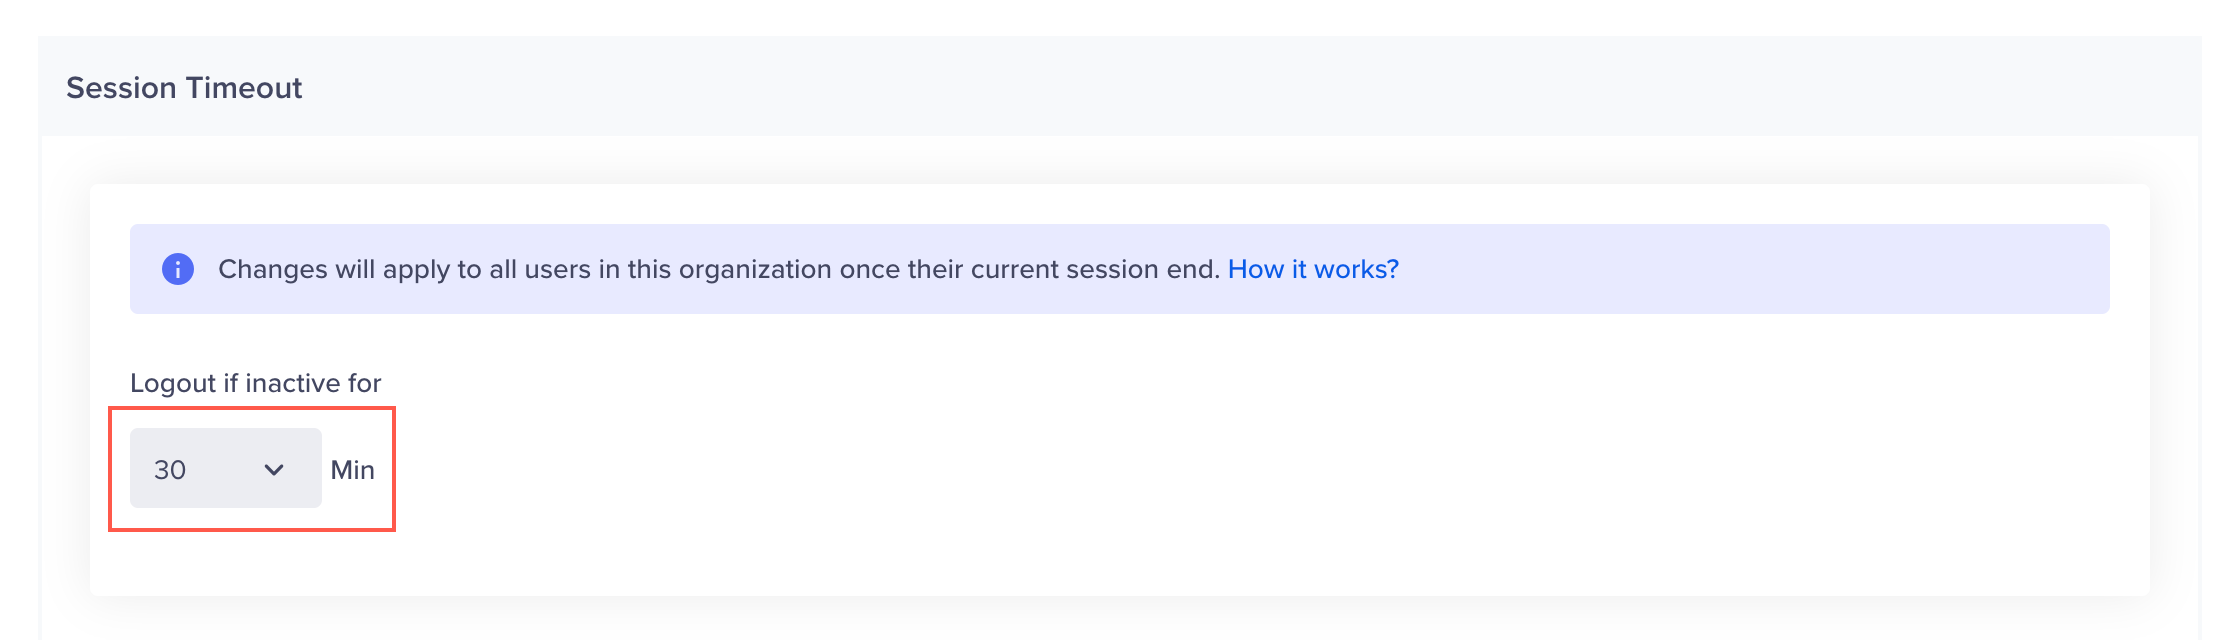
Set Up Session Timeout
How do you log out from all active devices at once?
To log out from all active devices at once:
- Navigate to the Profile page.
- Click the Log out of all Sessions option.
- Click Continue.
CleverTap logs out all your active sessions within two minutes.
Updated 8 months ago