Treasure Data
Customer Data Platform
Overview
Public BetaThis feature is released in Public Beta. For more information about this feature or any queries, contact Treasure Data Support.
Treasure Data, a Customer Data Platform (CDP), streamlines data transfer between systems. It enables businesses to consolidate data from one source and push it to multiple destinations, such as CleverTap, without requiring manual integration of each system.
The CleverTap and Treasure Data integration allows seamless data synchronization, enabling businesses to efficiently manage customer profiles and enhance targeted marketing efforts across platforms. If you have any issues with this integration, write to Treasure Data support.
Cloud Mode IntegrationThis integration uses Cloud-mode integration, which facilitates efficient data synchronization between Treasure Data and CleverTap. If you require a Device-mode integration for more granular control or specific use cases, contact Treasure Data.
Integrate Treasure Data with CleverTap
The integration process involves the following steps:
- Configure CleverTap Project on Treasure Data.
- Configure a Query Result for Import. OR
Activate a Segment from Audience Studio.
Configure CleverTap Project on Treasure Data
To configure CleverTap on Treasure Data:
-
Open TD Console and log in to your Treasure Data account.
-
Select Integrations Hub from the top navigation menu.
-
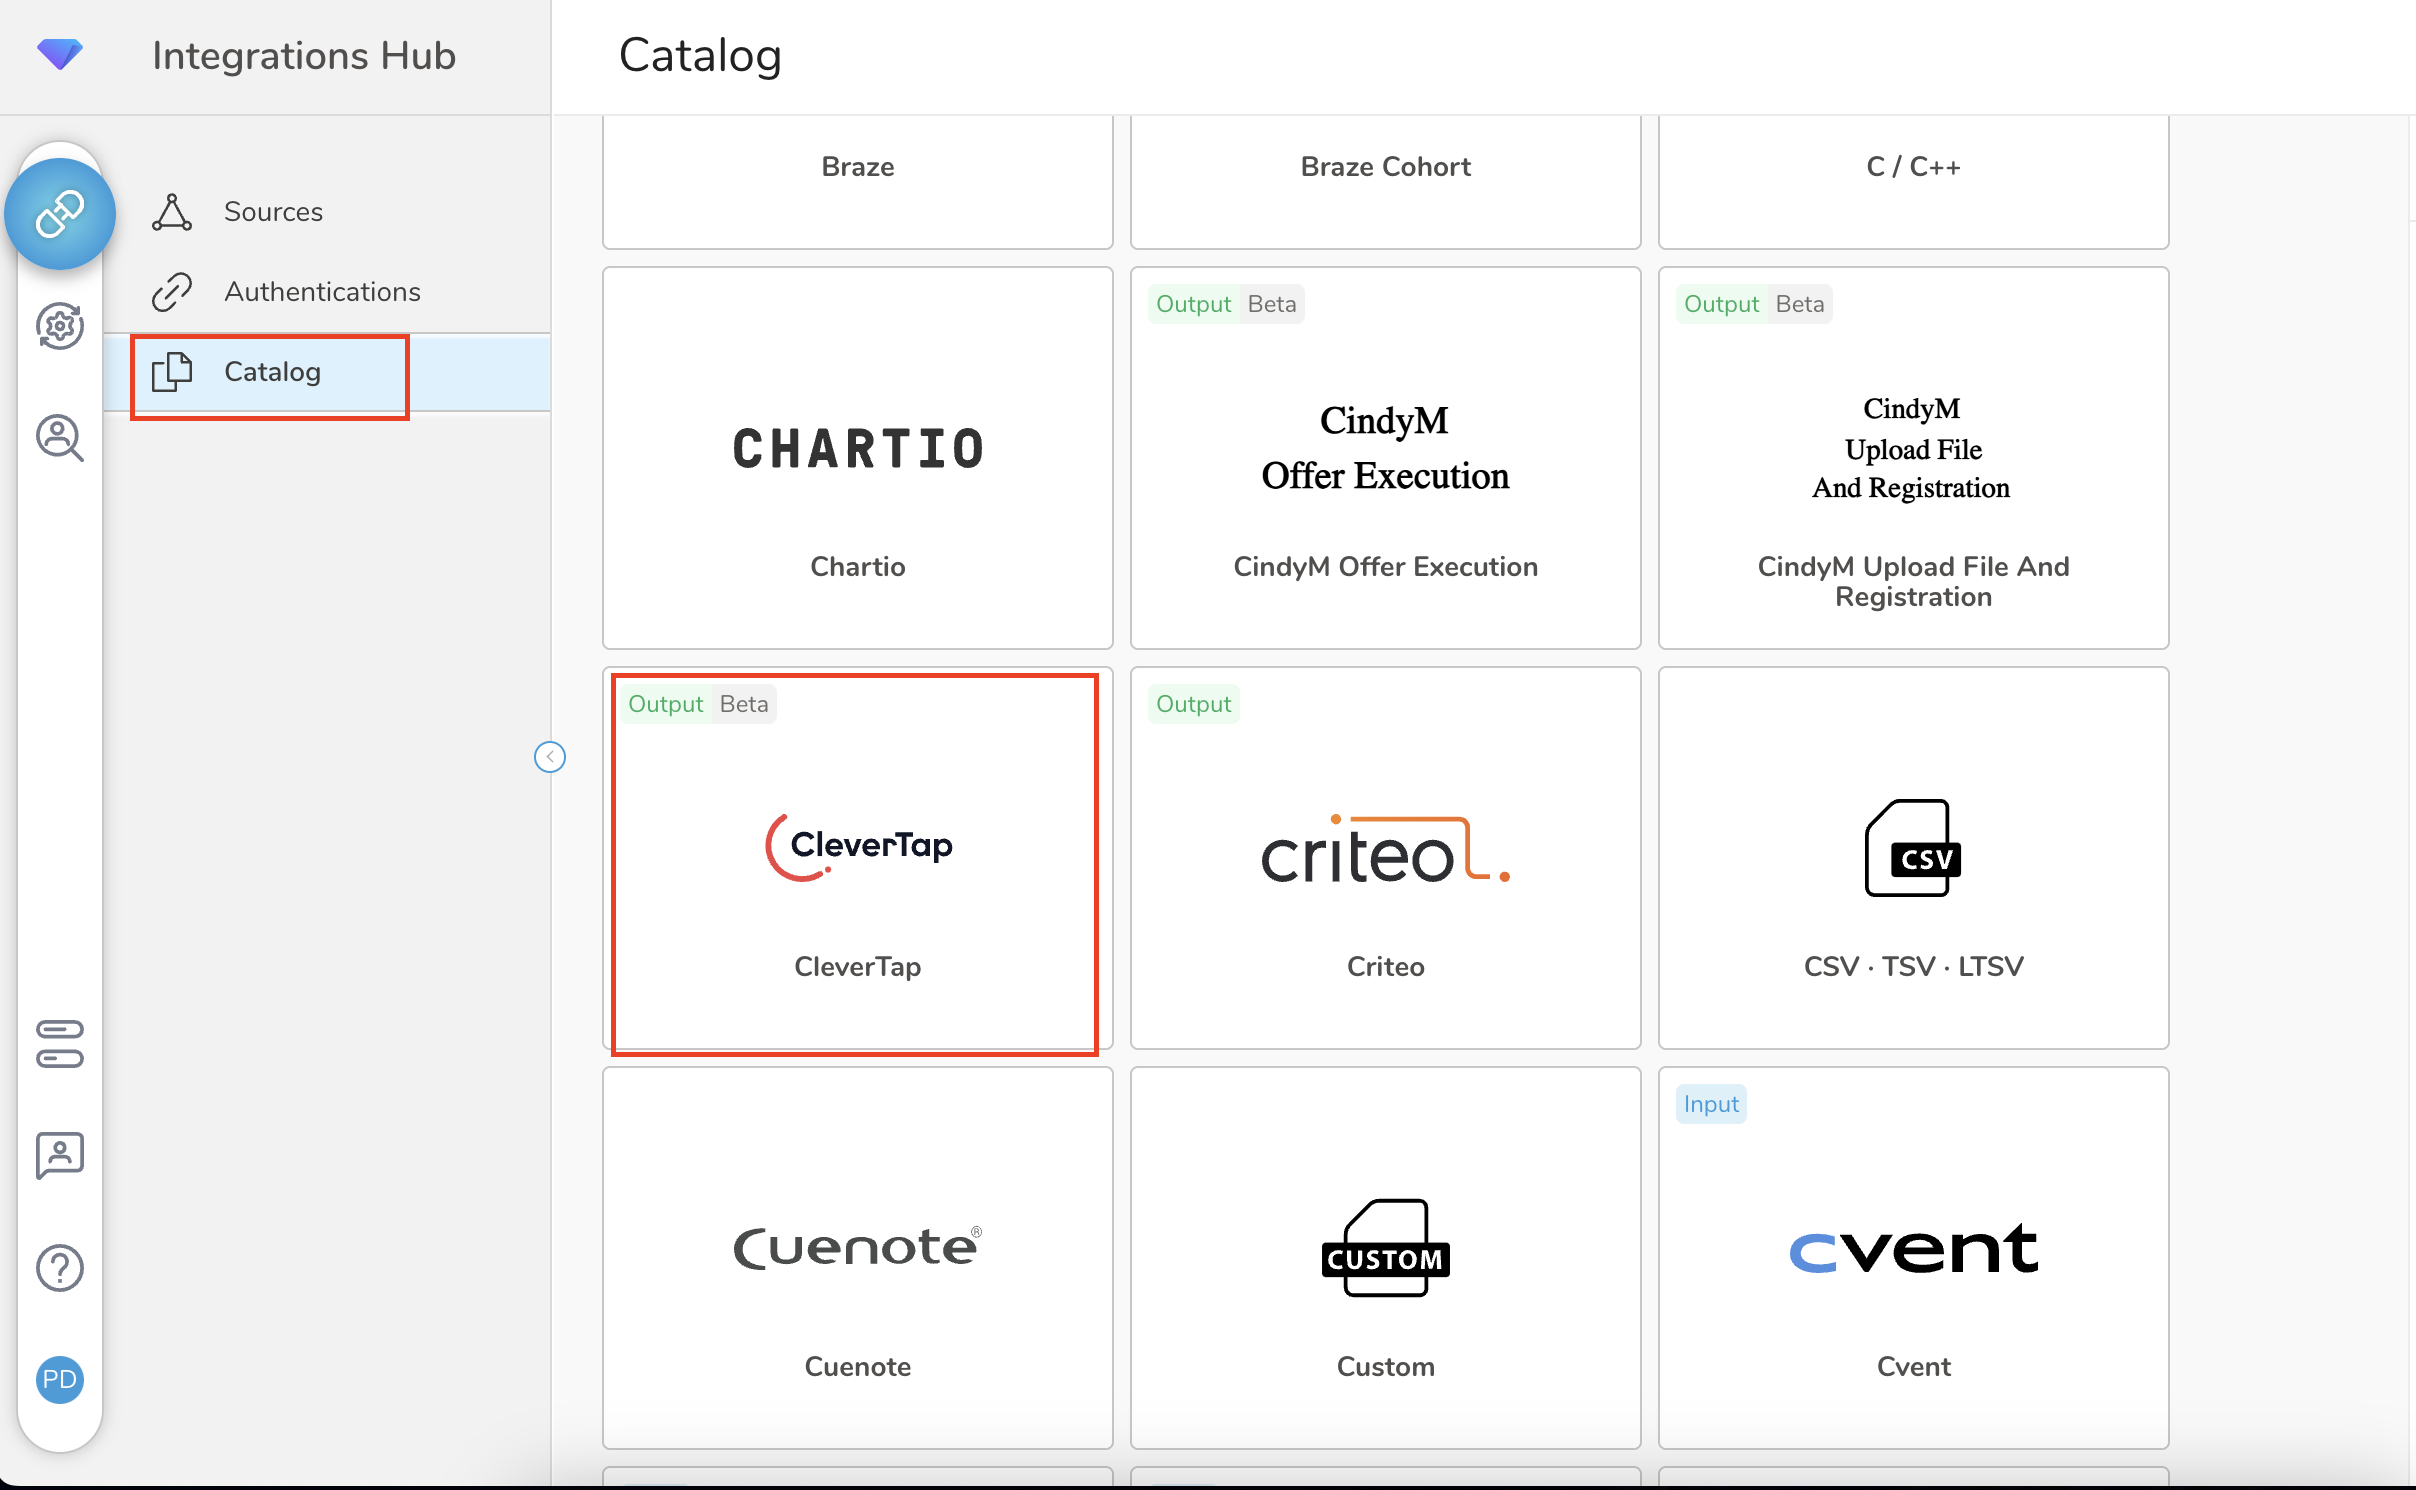
Click Catalog to view available integrations from the Integrations Hub.
-
Search and select CleverTap from the list.

Configure CleverTap Project On Treasure Data Dashboard
- Click Create Authentication and enter the required credential information as follows:
| Field | Description |
|---|---|
| Account ID | Access the CleverTap dashboard and locate the Project ID under Settings > Project. |
| Account Passcode | Access the CleverTap dashboard and locate the Passcode under Settings > Project. For more information, refer to Account Passcode. |
| Region | Access the CleverTap dashboard and locate Region for the API endpoint you want to select under Settings > Project. To find the API endpoint for your region, refer to API endpoints based on your data center region. |
- Click Continue. You are prompted to enter a name for the authentication setup.
- Enter a Name for the Authentication and click Done.
Once the setup is complete, save any changes and verify that the integration is successfully set up. For more information, refer to the Treasure Data document.
Configure a Query Result for Import
This section provides information about steps to import user profiles, events, and segments from Treasure Data to CleverTap. This involves running a data query and setting options for the format and destination of the results. This process enables users to easily transfer and share data with other systems or tools.
The following are the steps to import data from the Treasure Data:
- Go to Data Workbench > Queries.
- Select New Query and define your SQL query.
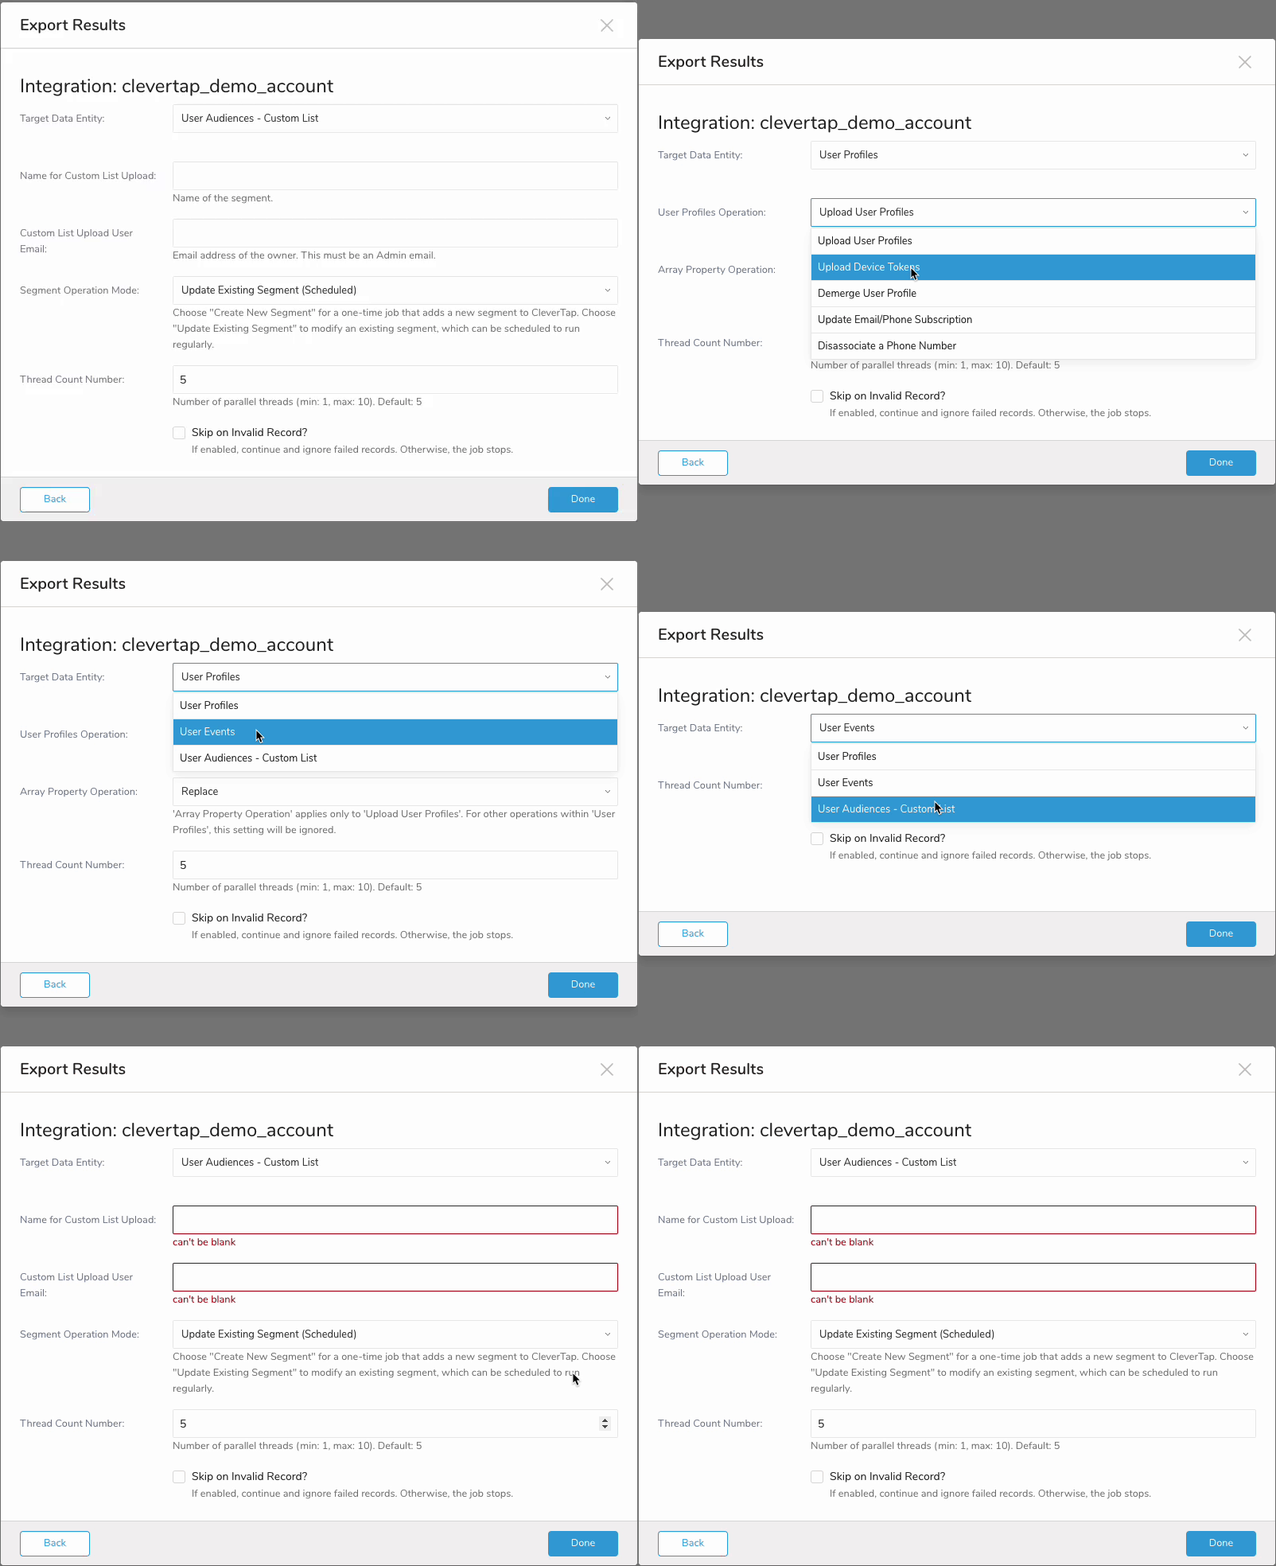
- Click Export Results to configure the data import and enter the required details.

Connector Configuration Parameters
Parameter | Description |
|---|---|
Target Data Entity | Indicates the CleverTap Import Target Data Entity. Supported Values:
|
Thread Count Number | Indicates the number of concurrent requests to the CleverTap server. The minimum is 1, the maximum is 10, and the default is 5. This parameter only applies to Target Data Entity: User Profiles and User Events. |
Skip on Invalid Record? | Select if the job must skip the invalid record and continue to handle the next record. Otherwise, the job will stop if it encounters an invalid record. |
- Select or create a CleverTap authentication and click Done.
For more information about each Target Data Entity, refer to Detailed Guide for Each Target Data Entity.
Activate a Segment from Audience Studio
You can also import segment data to CleverTap by creating an activation in the Audience Studio.
- Go to Audience Studio and select a parent segment.
- Right-click the target segment and select Create Activation.
- Enter and configure an activation name based on the above configuration parameters from the Details section.
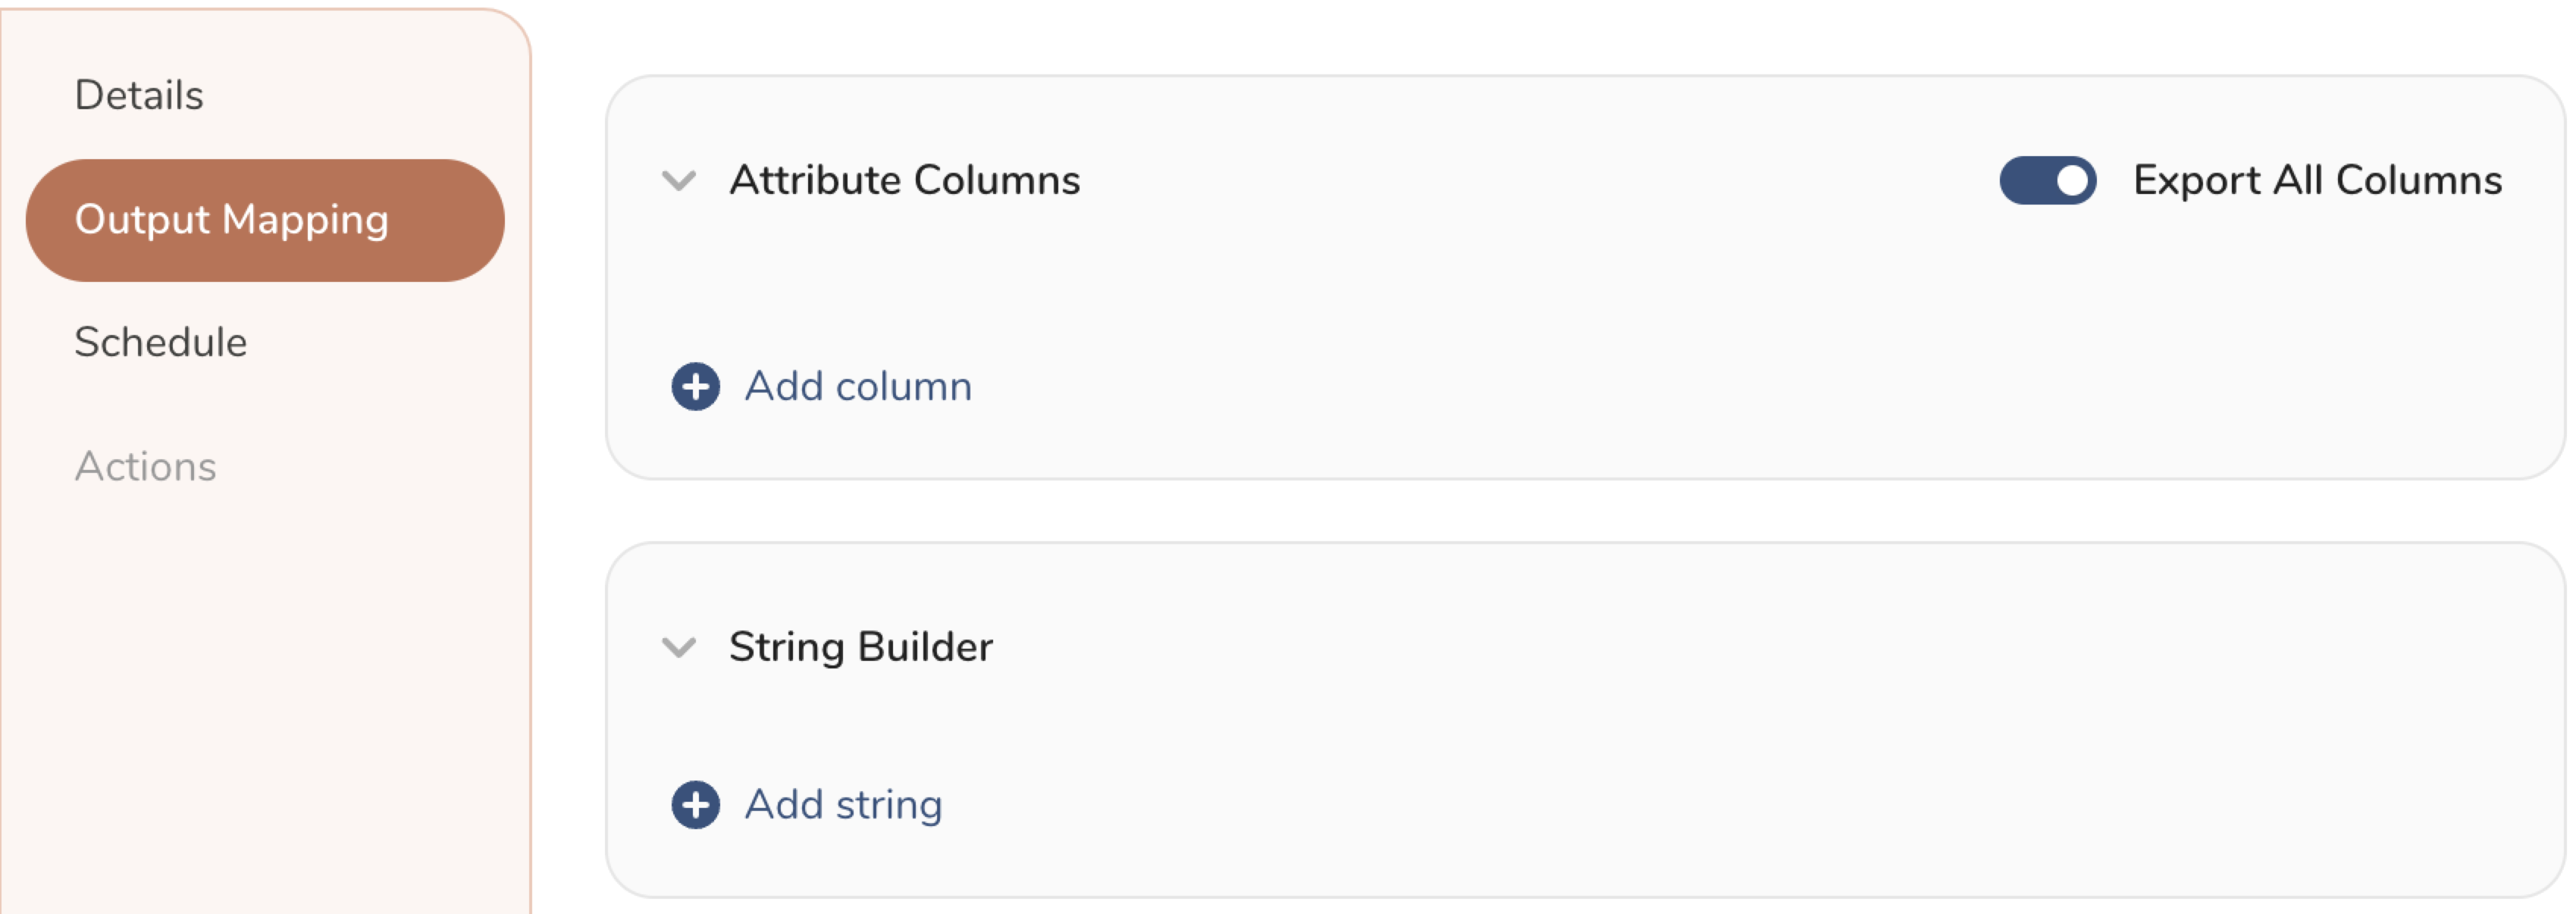
- Customize the activation output from the Output Mapping section.

Customize Activation Output from Output Mapping section
- Attribute Columns
- Toggle ON the Export All Columns to import all columns without making any changes.
- Click + Add Columns to add specific columns for the import. The Output Column Name pre-populates with the same Source column name. You can update the Output Column Name. Continue to select + Add Columns to add new columns for your activation output.
- String Builder
Add string to create strings for export. Select from the following values:- String: Choose any value; use text to create a custom value.
- Timestamp: The date and time of the export.
- Segment Id: The segment ID number.
- Segment Name: The segment name.
- Audience Id: The parent segment number.
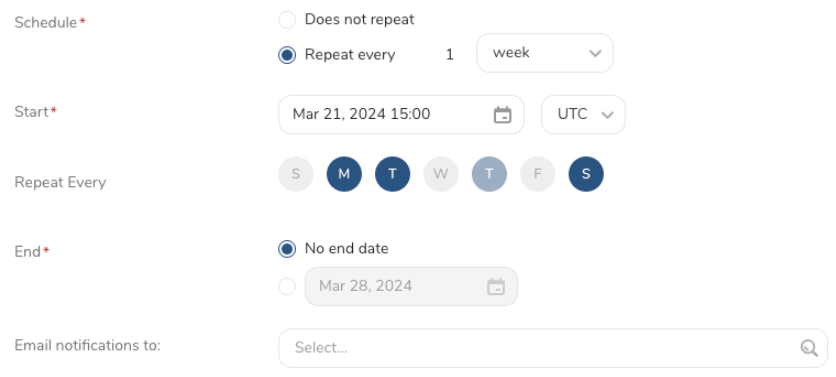
- Set a Schedule. Define your schedule and include optional email notifications.

Define Schedule to Activate a Segment
- Click Create to finalize the activation.
You are now ready to import data into the CleverTap dashboard.
Updated about 2 months ago
