Advanced Personalization
Learn how to use Web Native Display Editor for advanced personalization.
Overview
Advanced Personalization in CleverTap lets you customize and personalize your website content dynamically based on user attributes, behaviors, and events. It includes powerful tools like the Visual Editor, helping you deliver relevant, real-time experiences with minimal development effort.
Visual Editor
The Visual Editor template empowers marketers to tailor specific elements on their website, enhancing the user experience for their target audience. This feature lets marketers personalize various content types, such as text or images, using custom HTML or JSON. For instance, marketers can modify the textual content to better resonate with their audience or adjust image content to be more visually appealing and relevant, all through a user-friendly interface and zero development effort.
Note
- The Visual Editor feature is currently under Private Beta.
- CleverTap offers Visual Editor as a paid add-on. Contact your customer success manager to enable this feature for your account.
Prerequisites
Before you start using the Visual Editor, ensure the following prerequisites are met:
- Web SDK v1.13.1 and above support the Visual Editor. To check your Web SDK version, use the
clevertap.getSDKVersionmethod. - Ensure that the Content Security Policy (CSP) value for
frame-ancestorscontainsself. Without this configuration, the Visual Editor will not work. - Check that the following header is set on your website to enable the required functionality:
* Cross-Origin-Opener-Policy: same-origin-allow-popups
  Cross-Origin-Embedder-Policy: unsafe-none
Access Visual Editor
To get started, from the What section in the Web Native Display campaign builder, select your message type and click Go to Editor:
- Go to Advanced Personalization and select Visual Editor.
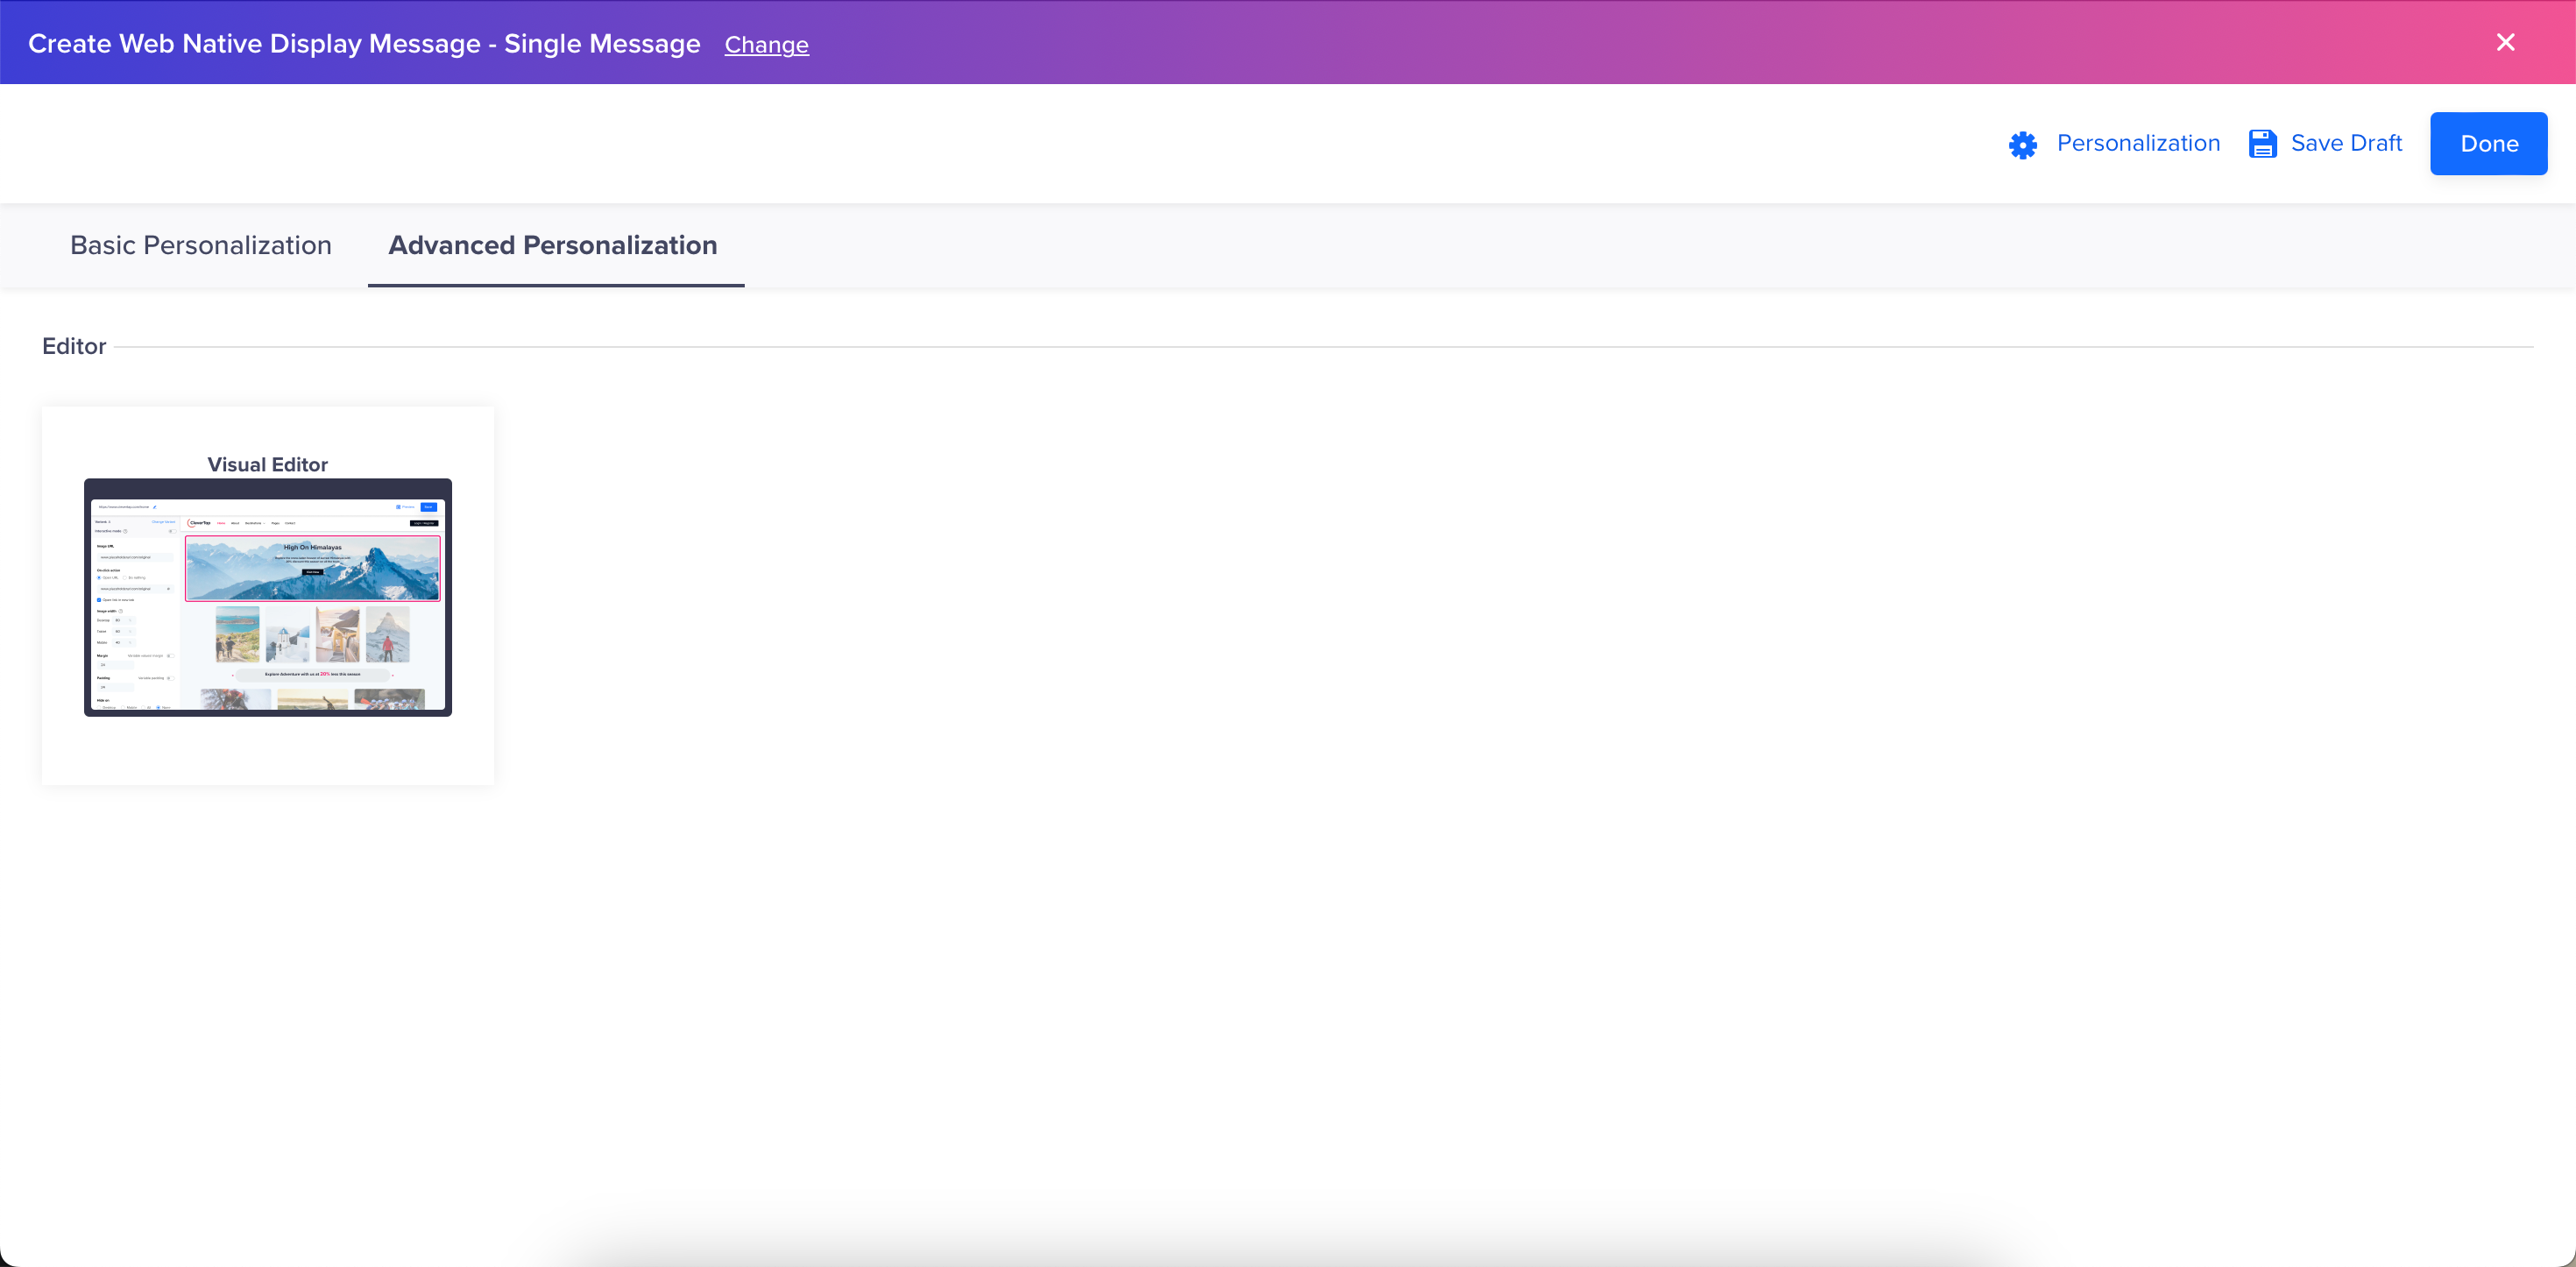
Visual Editor
- Enter the webpage URL you want to personalize and click Continue. The web page loads within the editor in a new tab.
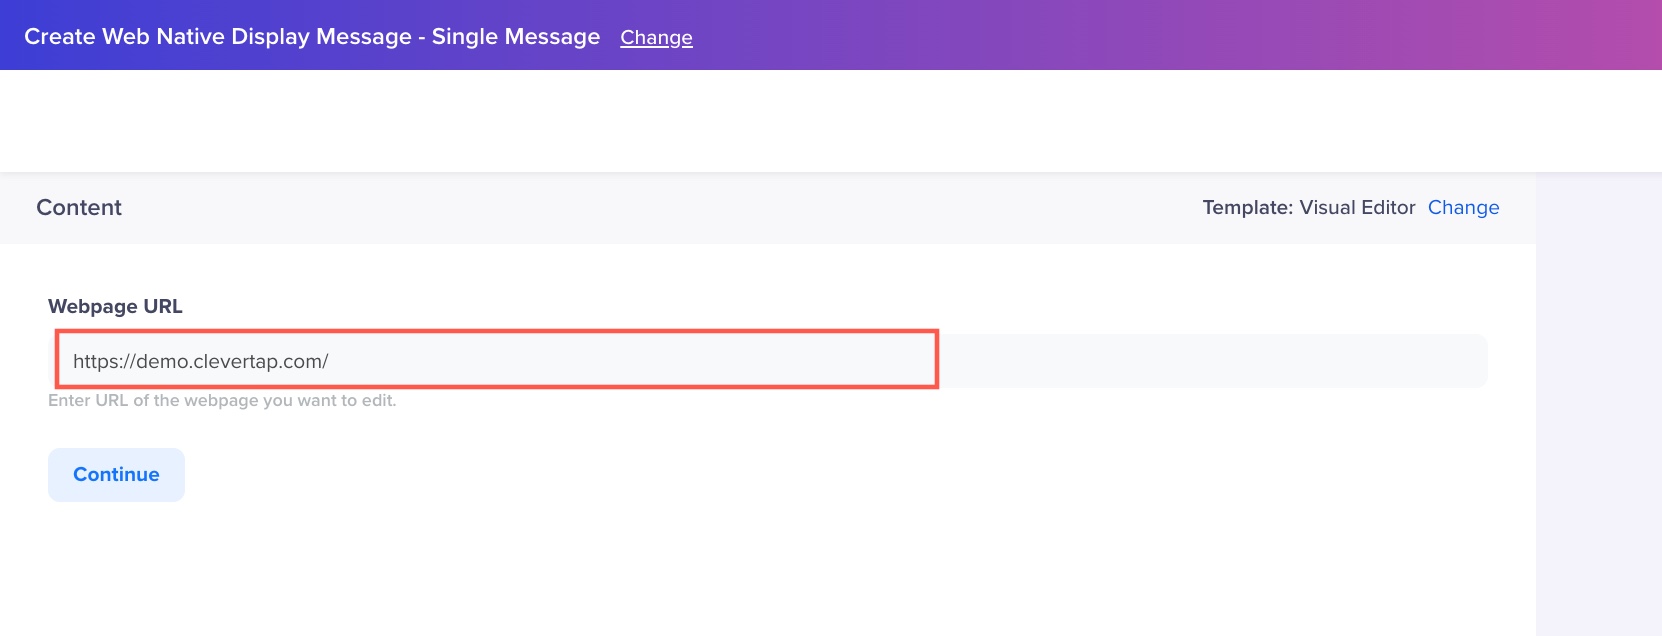
Enter Webpage URL
- After the website loads in the editor, hover over the elements to highlight them. Click any element to open the inline editor menu to edit the specific element. The dropdown menu appears with the following options:

Select Editor
Edit Element
The edit element feature allows you to modify various aspects of the element, such as color, margin, font, text style, etc.
Edit Element
Visual Editor supports user-level personalization using profile and event properties. Click the {{ }} icon in the editor to use liquid scripting.
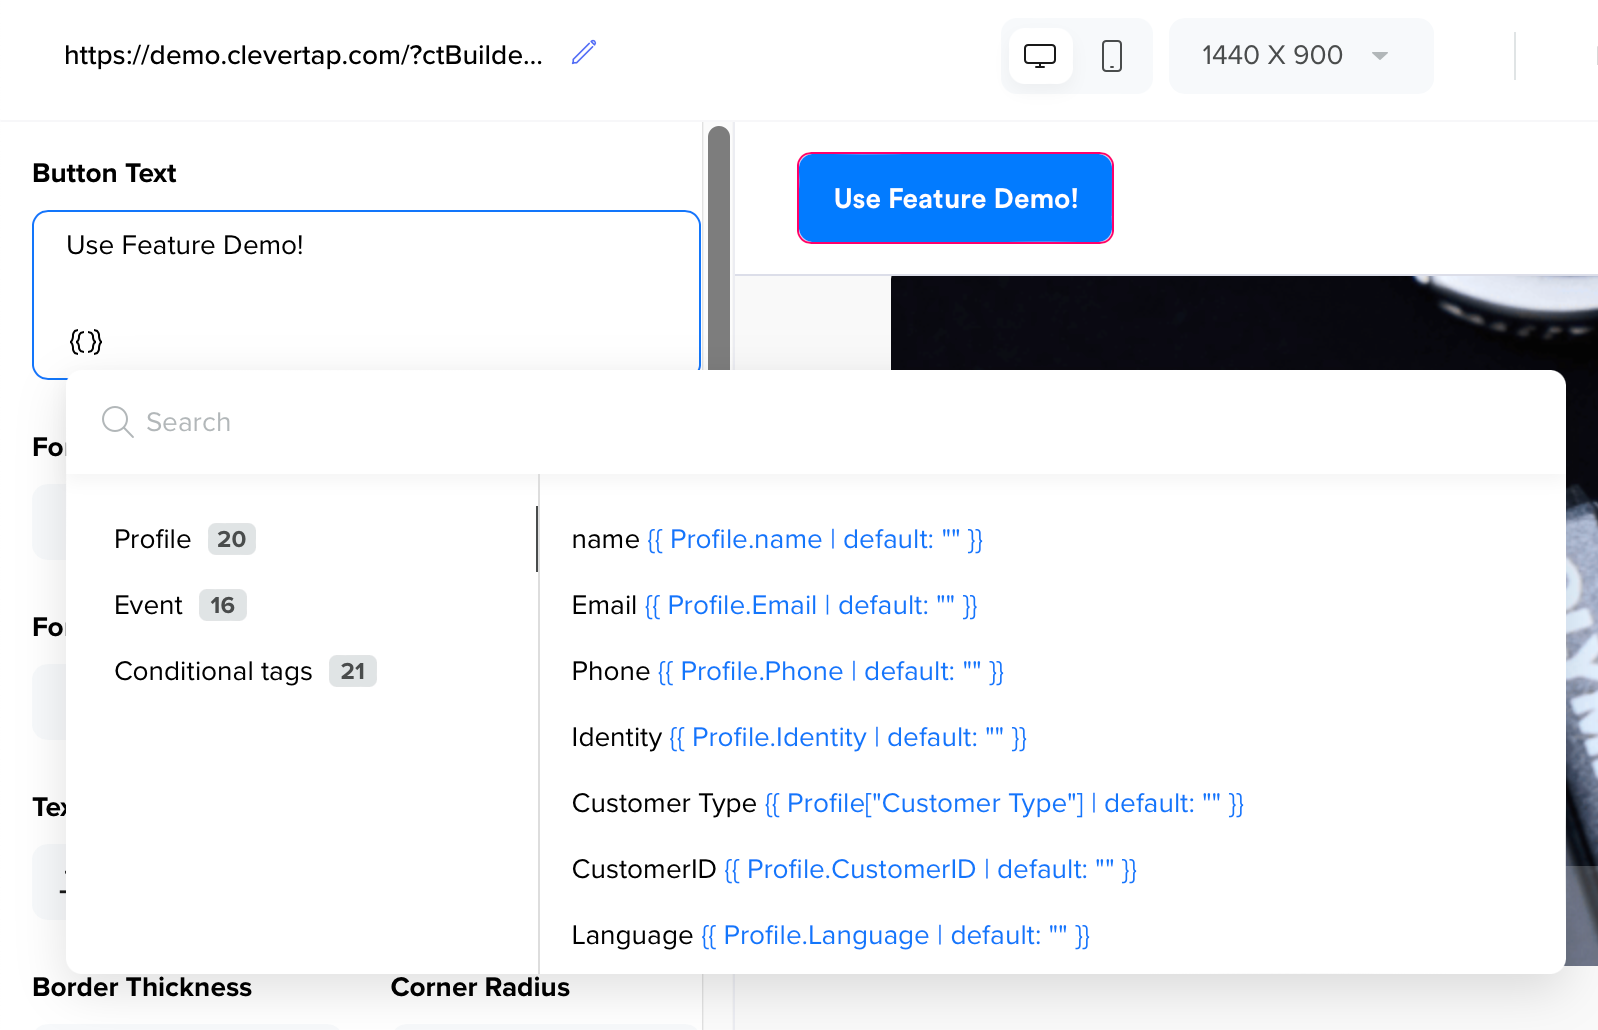
Personalization in Visual Editor
Edit HTML
You can change the Editor by selecting Edit HTML from the dropdown. The HTML editor allows you to modify the selected element's HTML according to your use case.
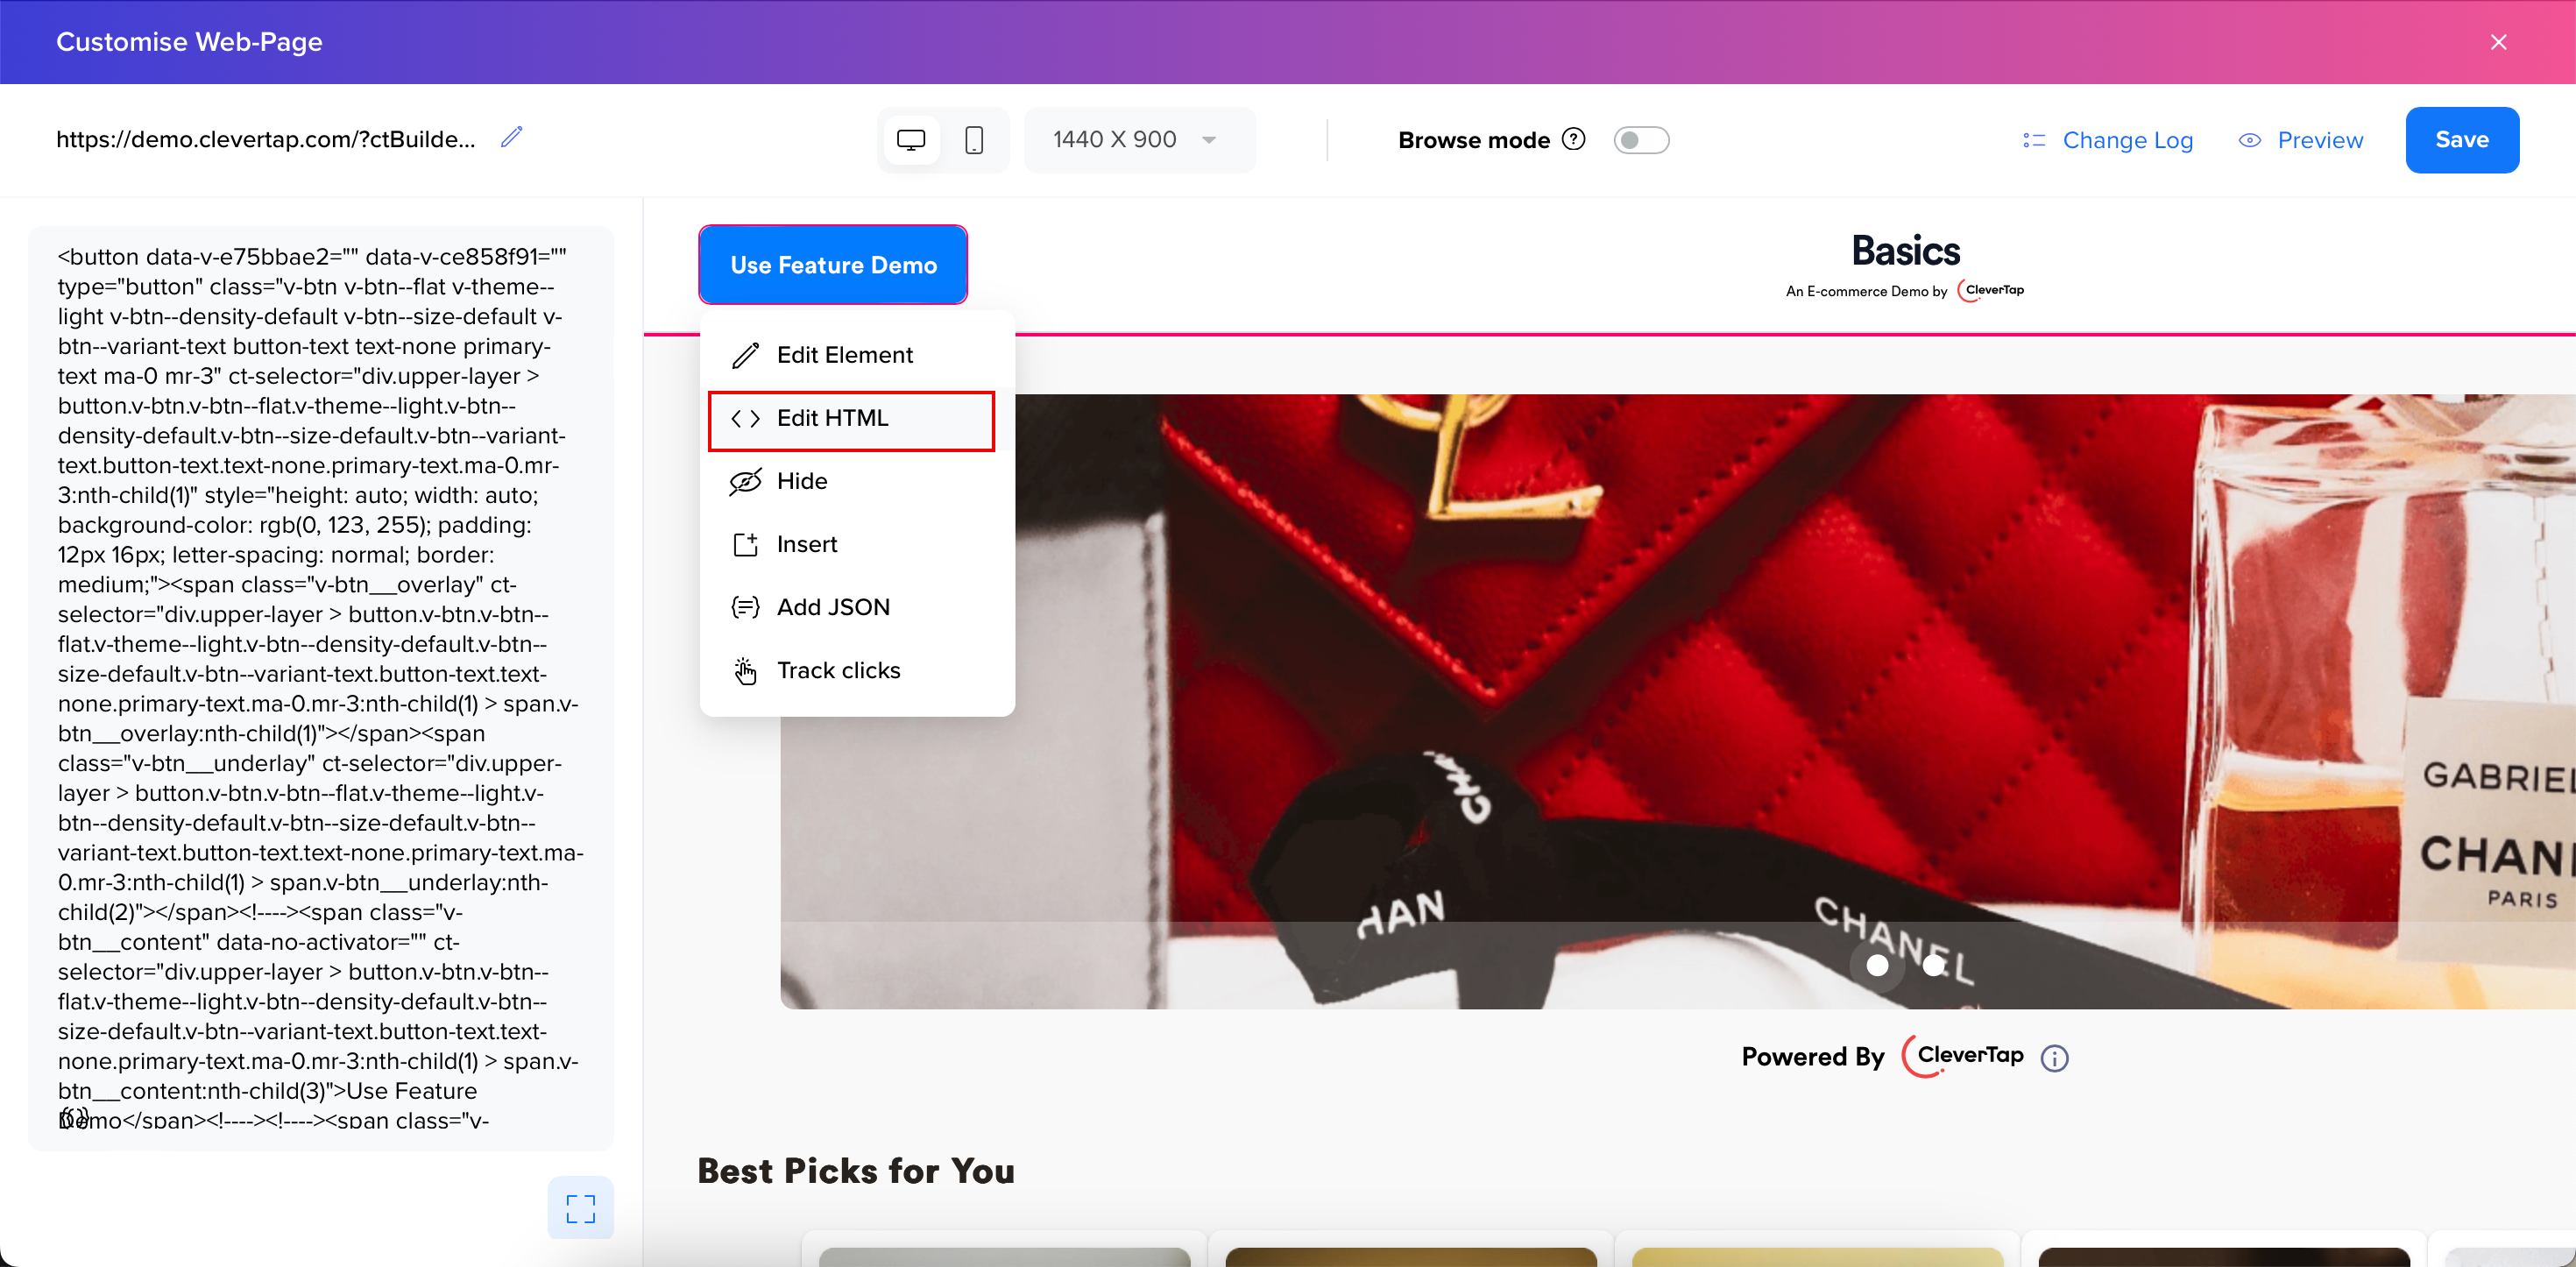
HTML Editor
Hide
The Hide option allows you to hide a particular element. You can hide it for desktop, mobile, all devices, or none.
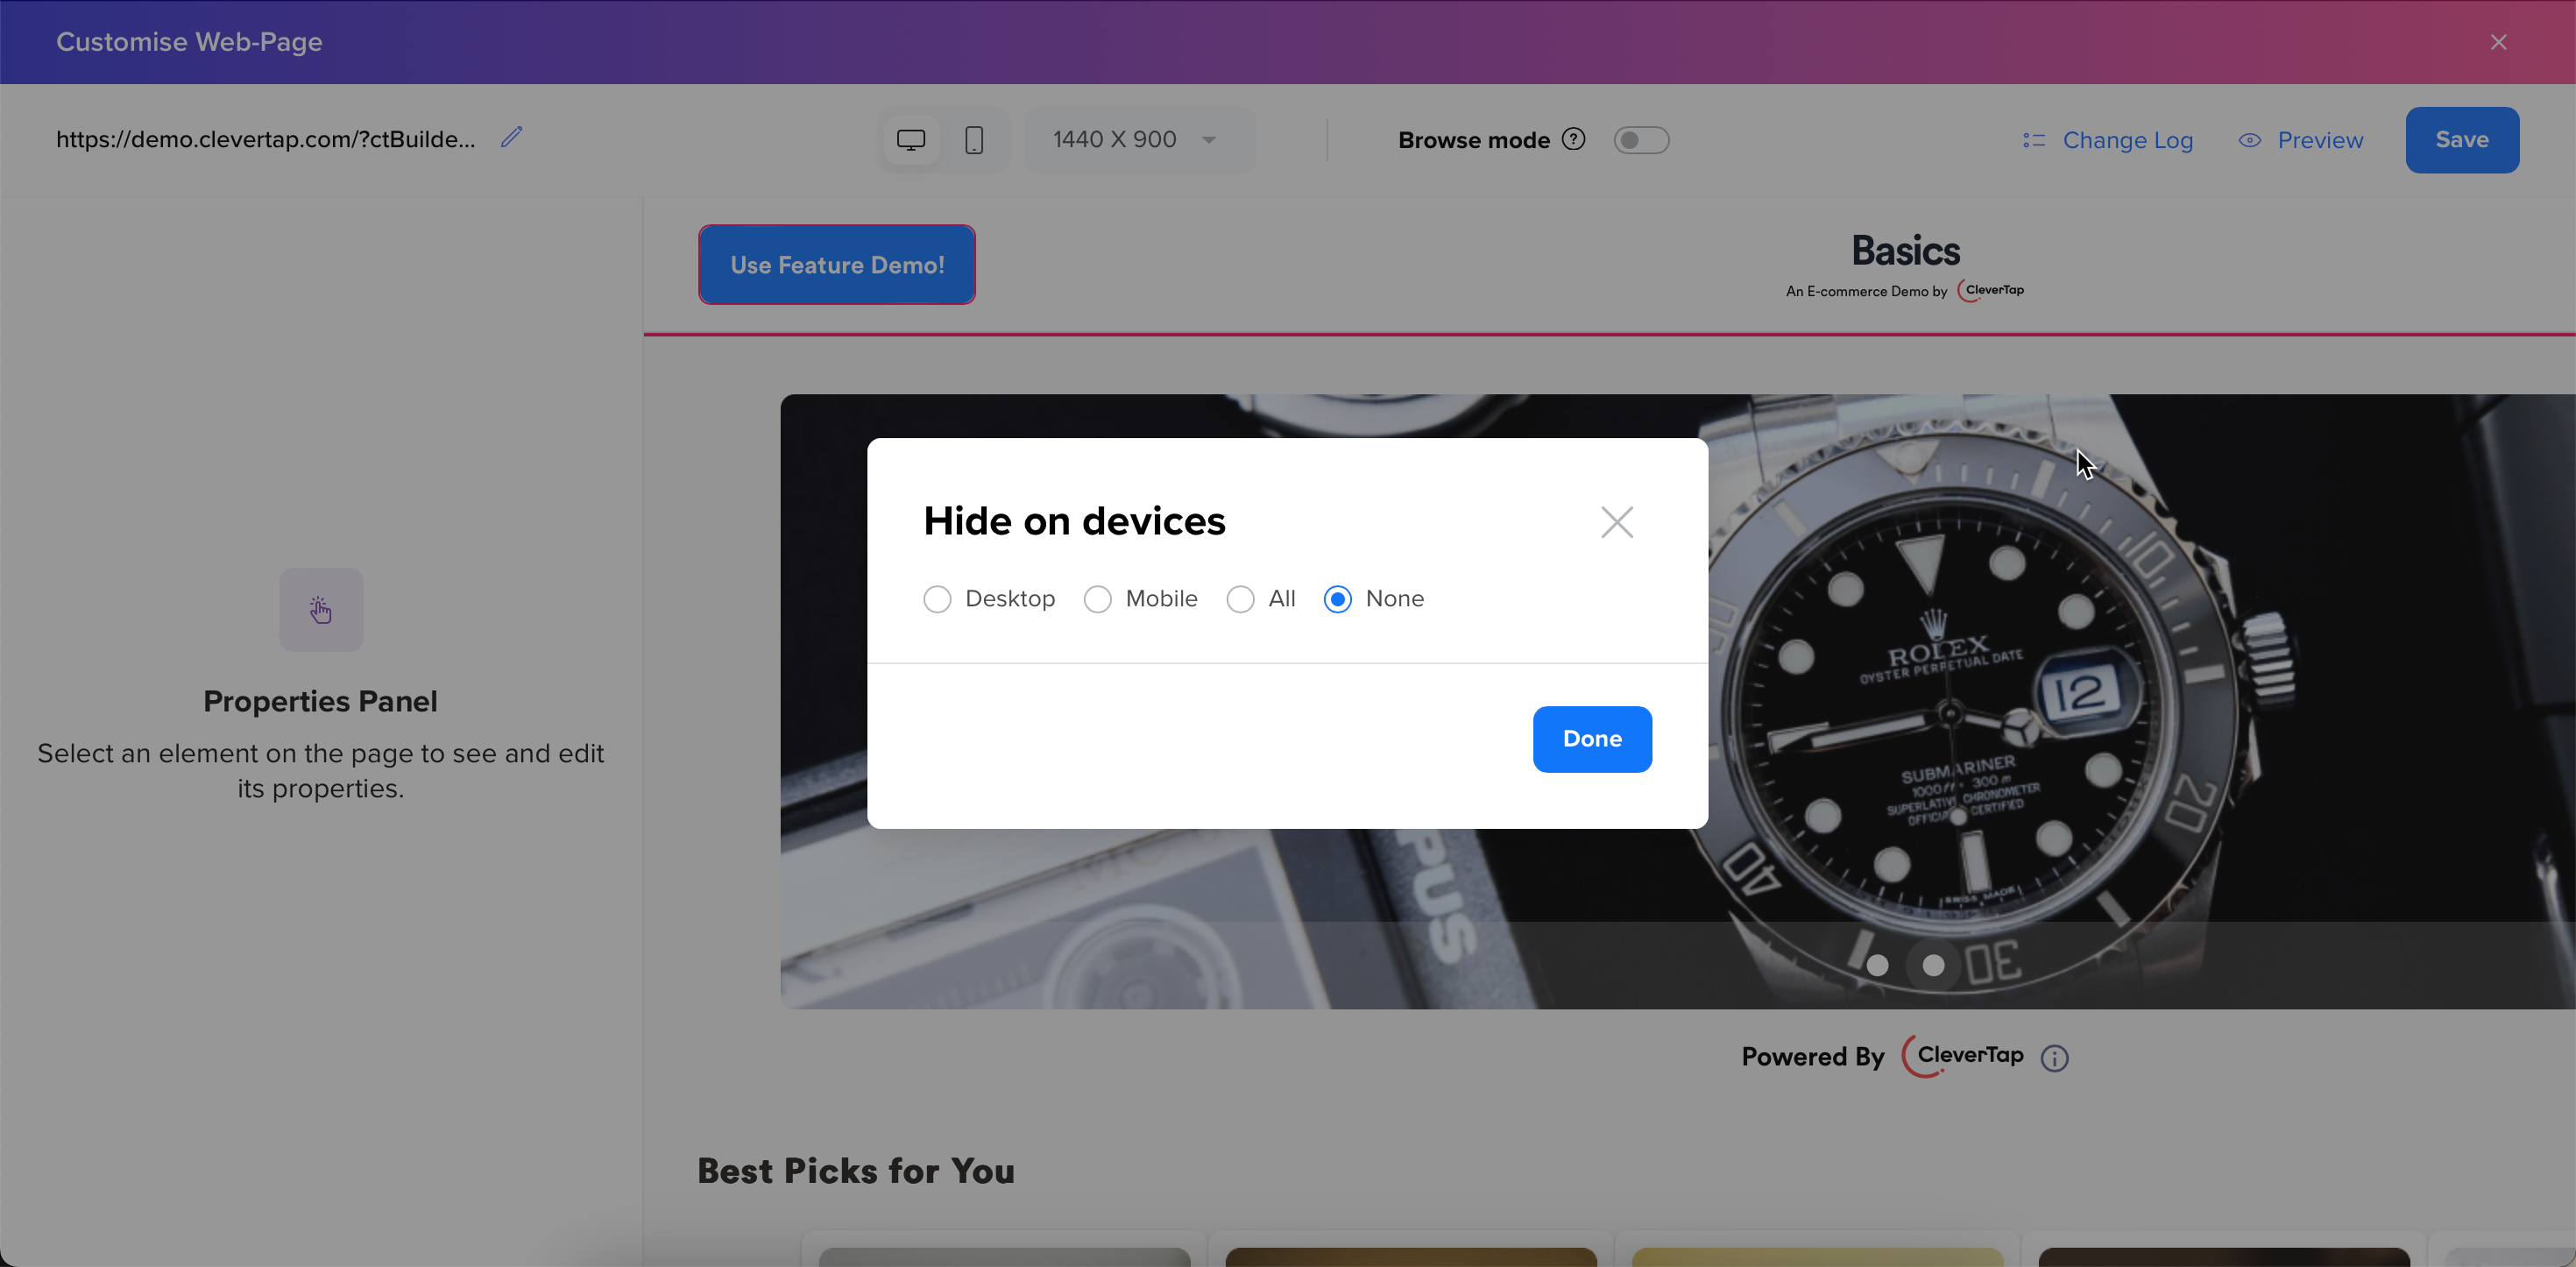
Hide on devices
Insert Element
This feature allows you to insert a new element to your webpage. You can configure its position and margin or duplicate an existing element.
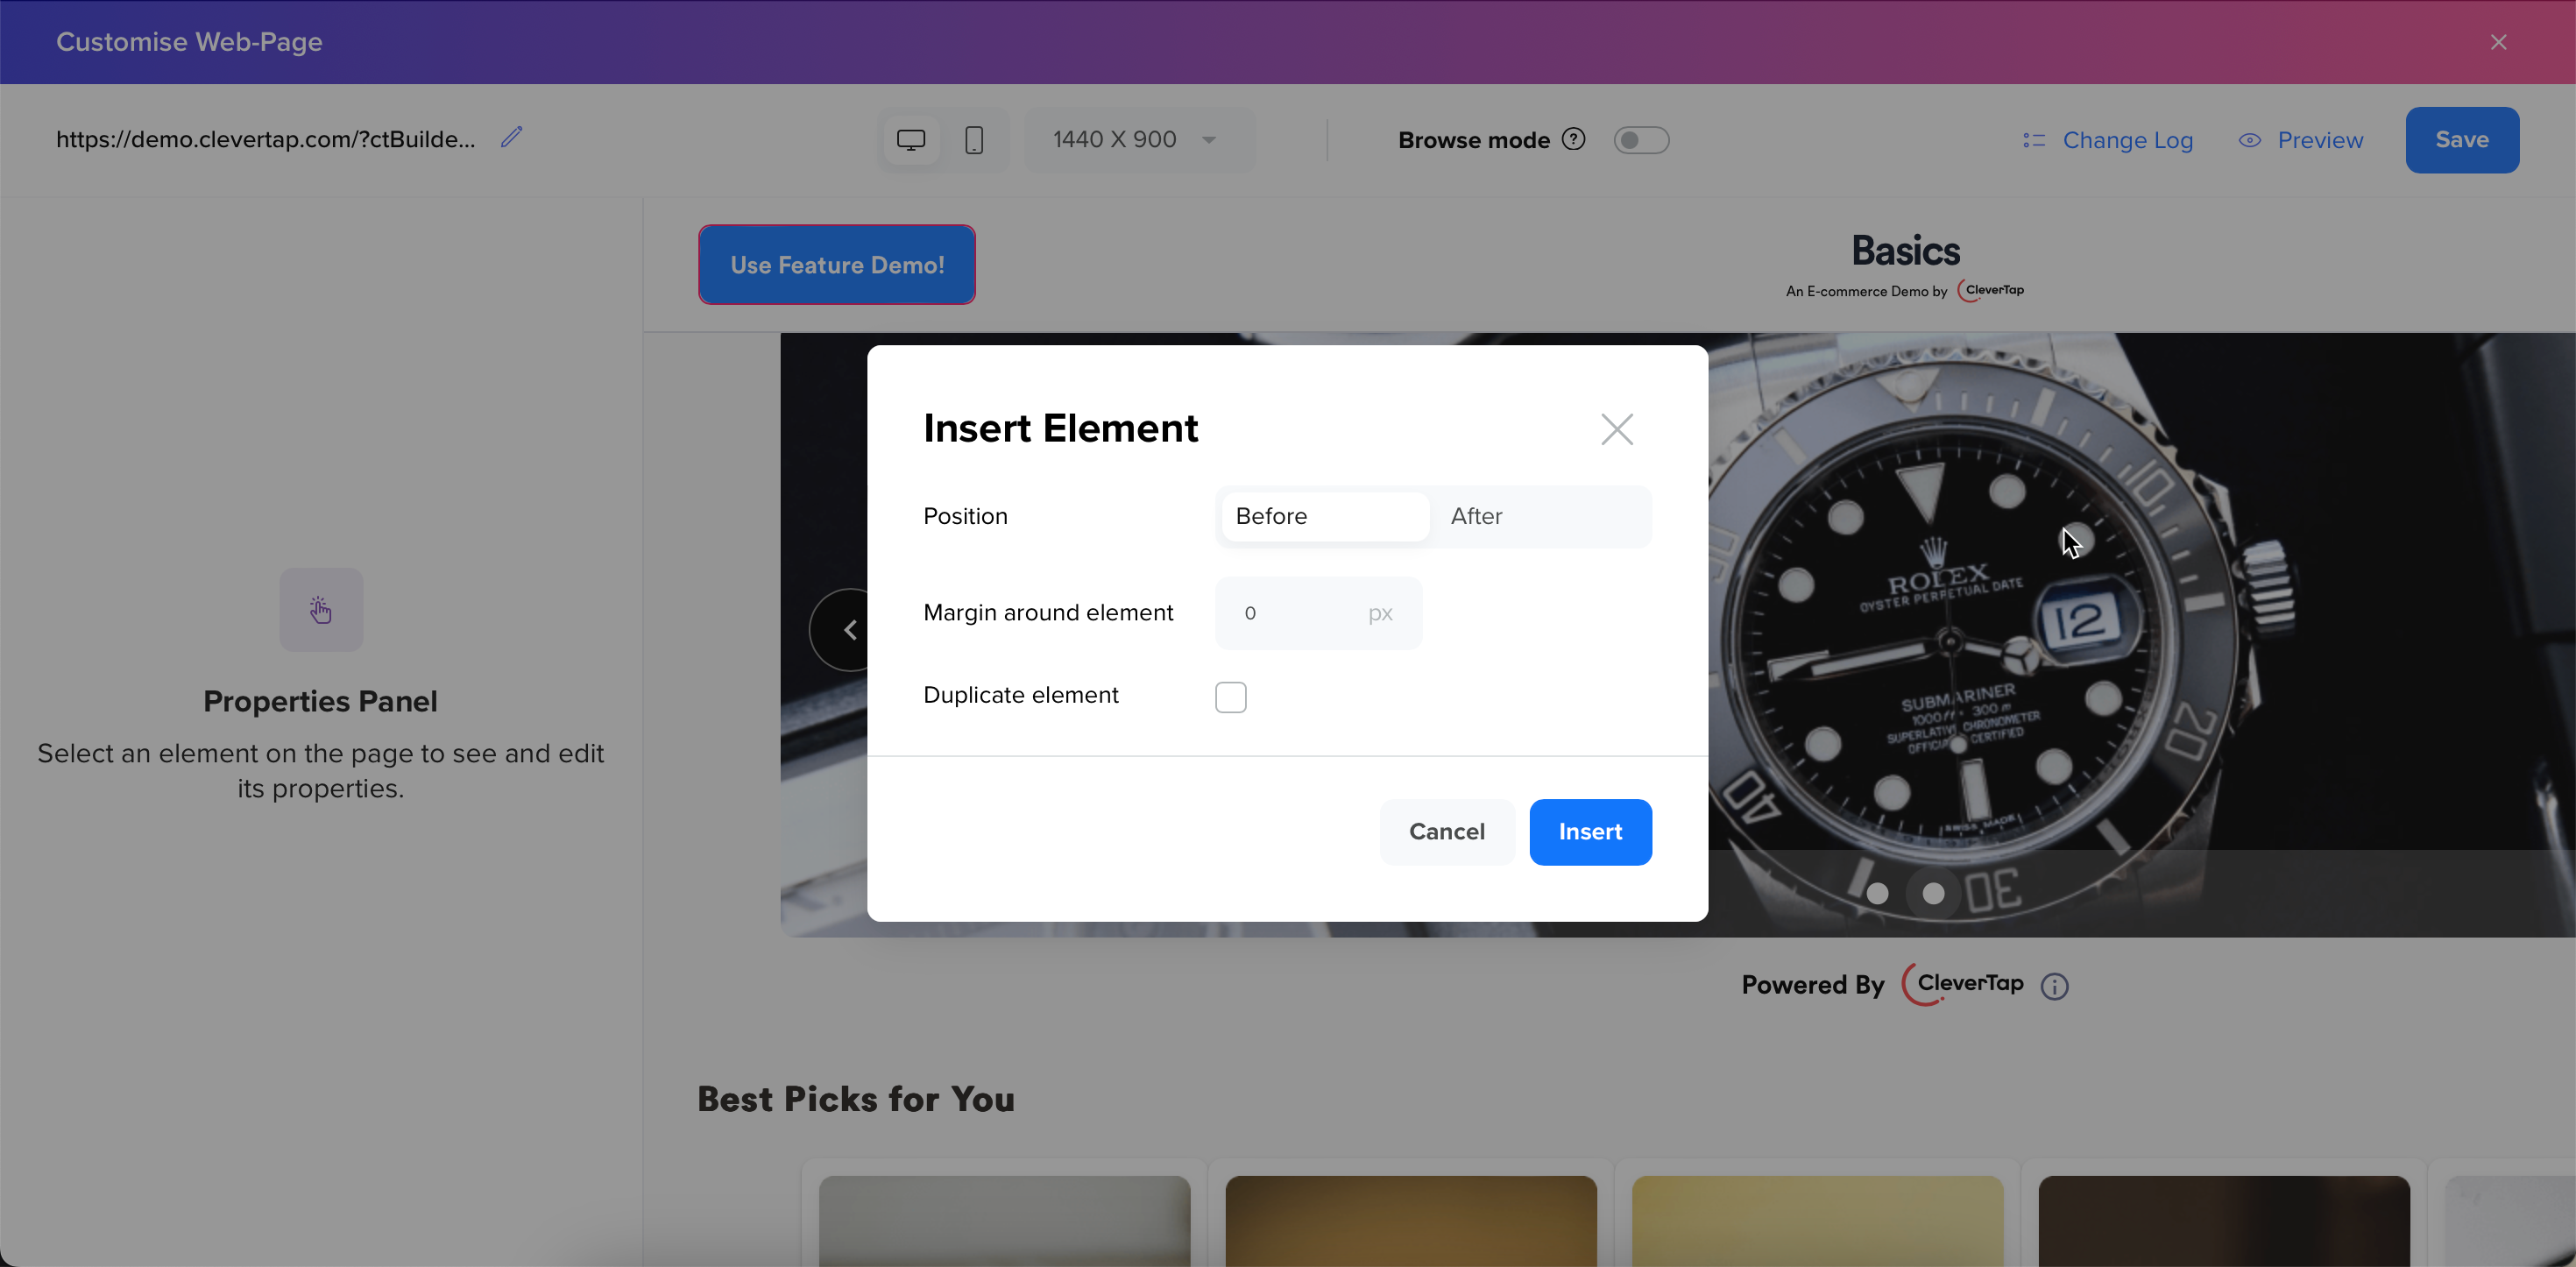
Insert Element
Add JSON
You can change the Editor by selecting Add JSON in the dropdown. The JSON editor allows you to define custom behavior or personalization logic.
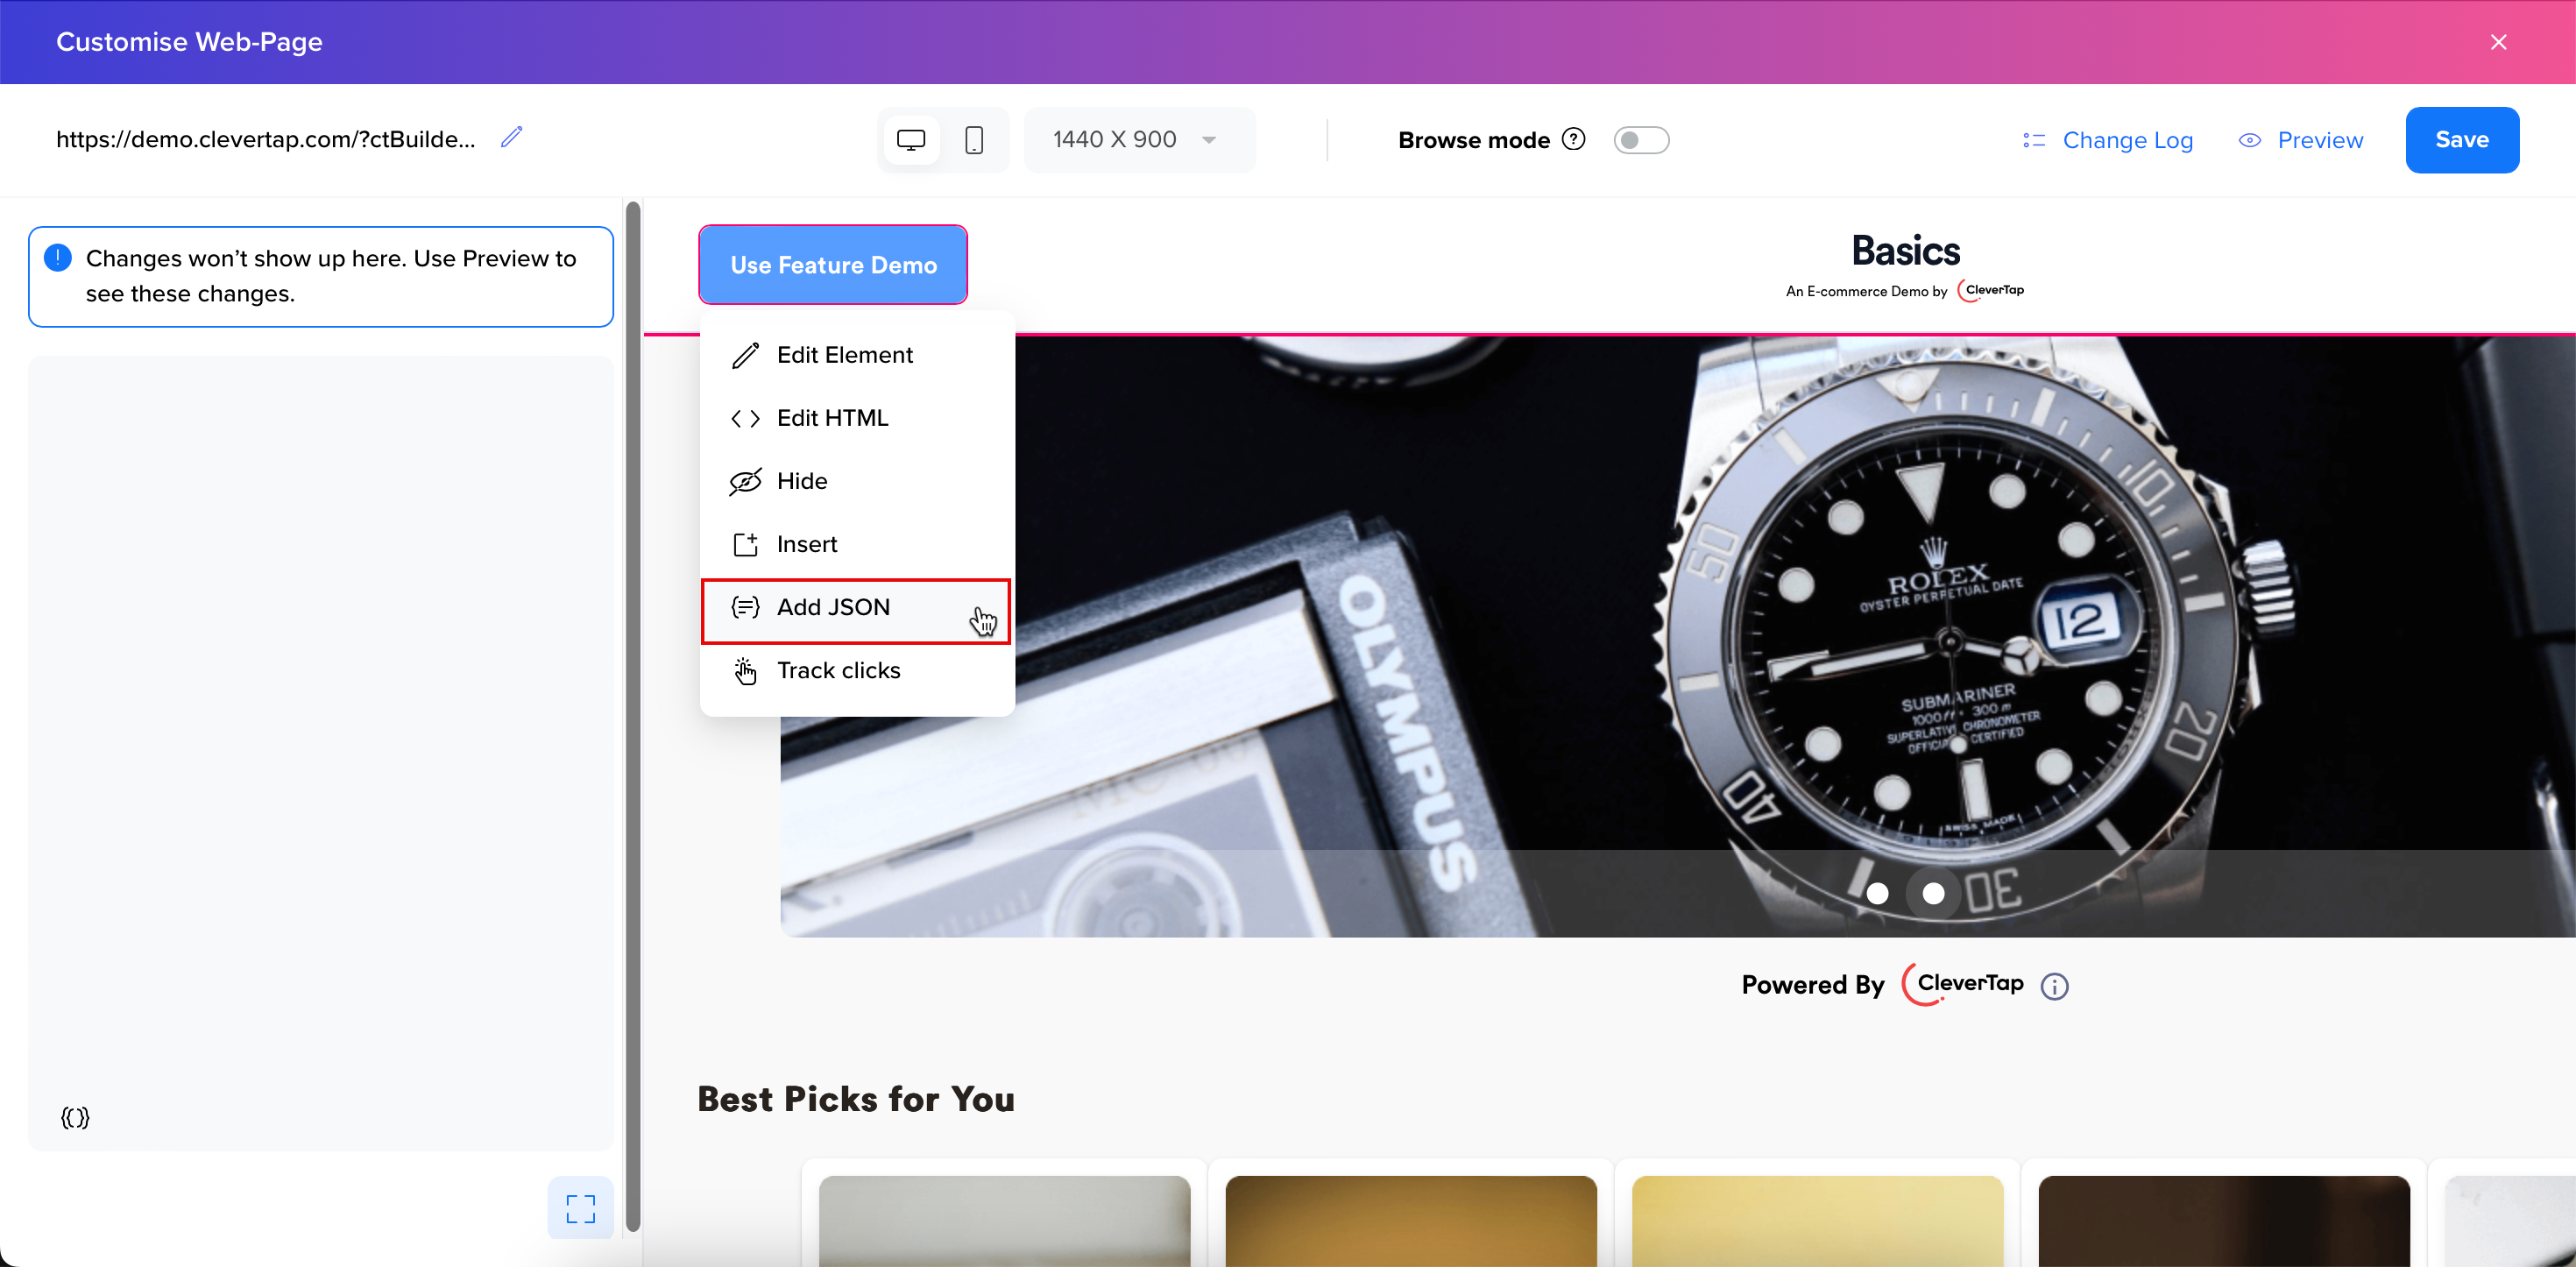
Add JSON
Track Clicks
The Click Tracking feature allows element-wise tracking. Click Track Clicks, add a name, and click Save to start tracking. This name will be added as a value of the wzrk_c2a property in the Notification Clicked event. You can view the Click Tracking data under Dashboard > Analytics > Events. For more information, refer to Events.
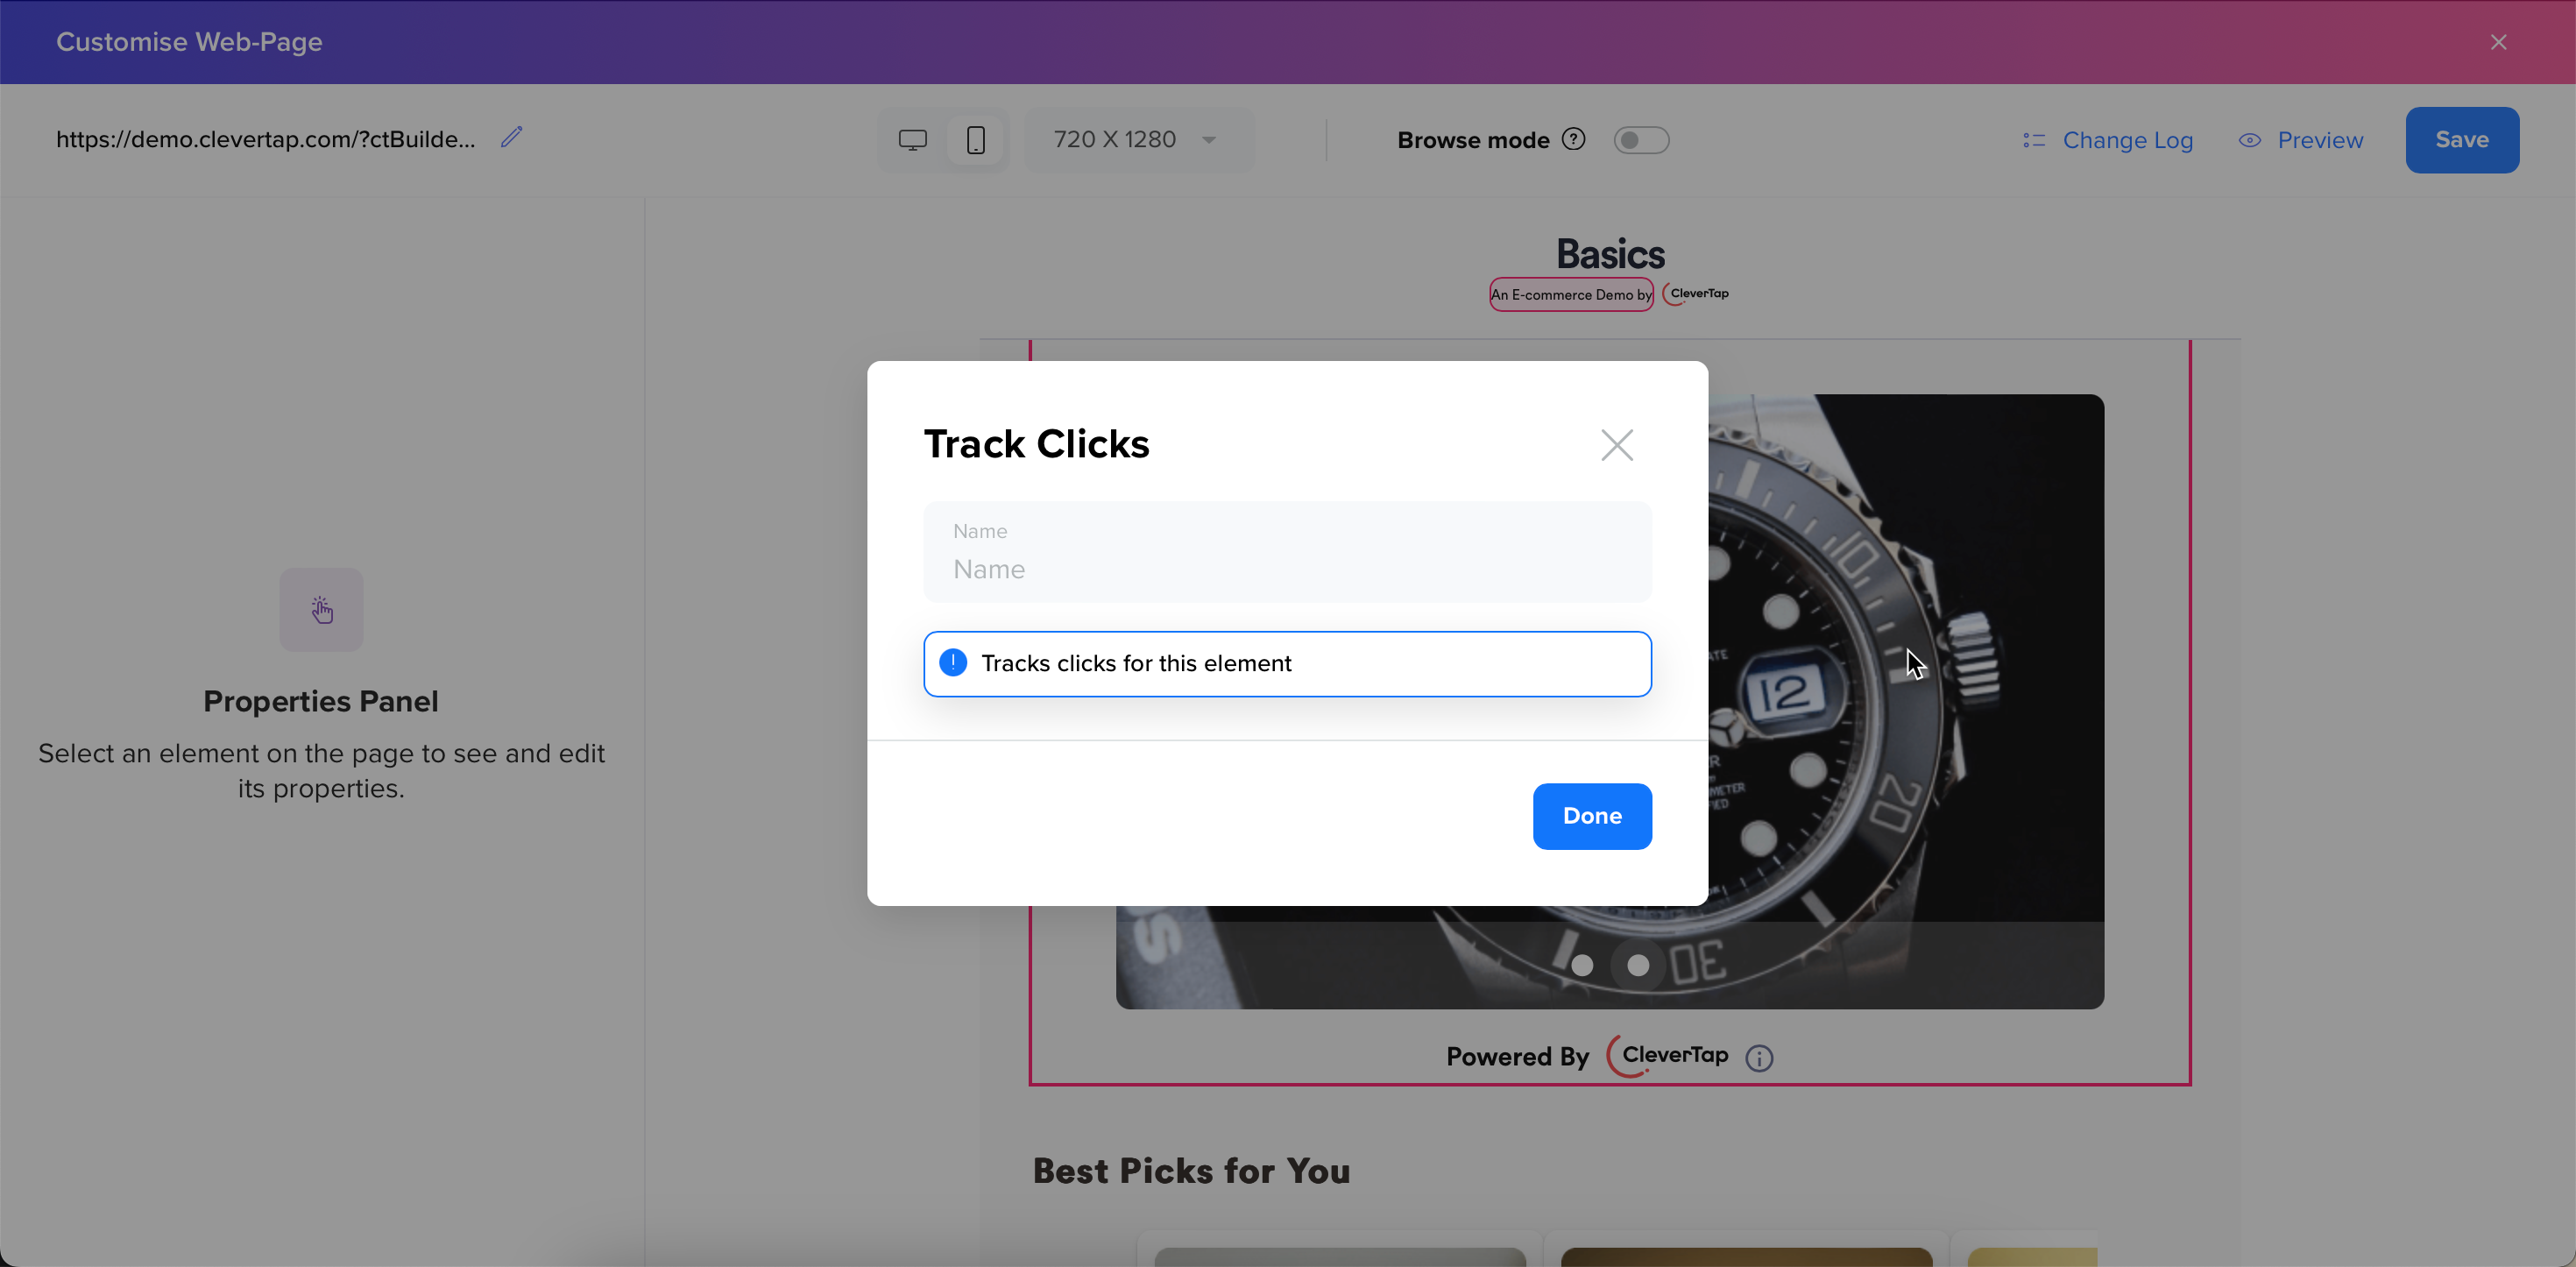
Track Clicks
- Preview and edit your website as it appears on desktop and mobile devices using the Device Toggle.
Mobile View
- Use the dropdown menu to adjust screen sizes and test responsiveness.
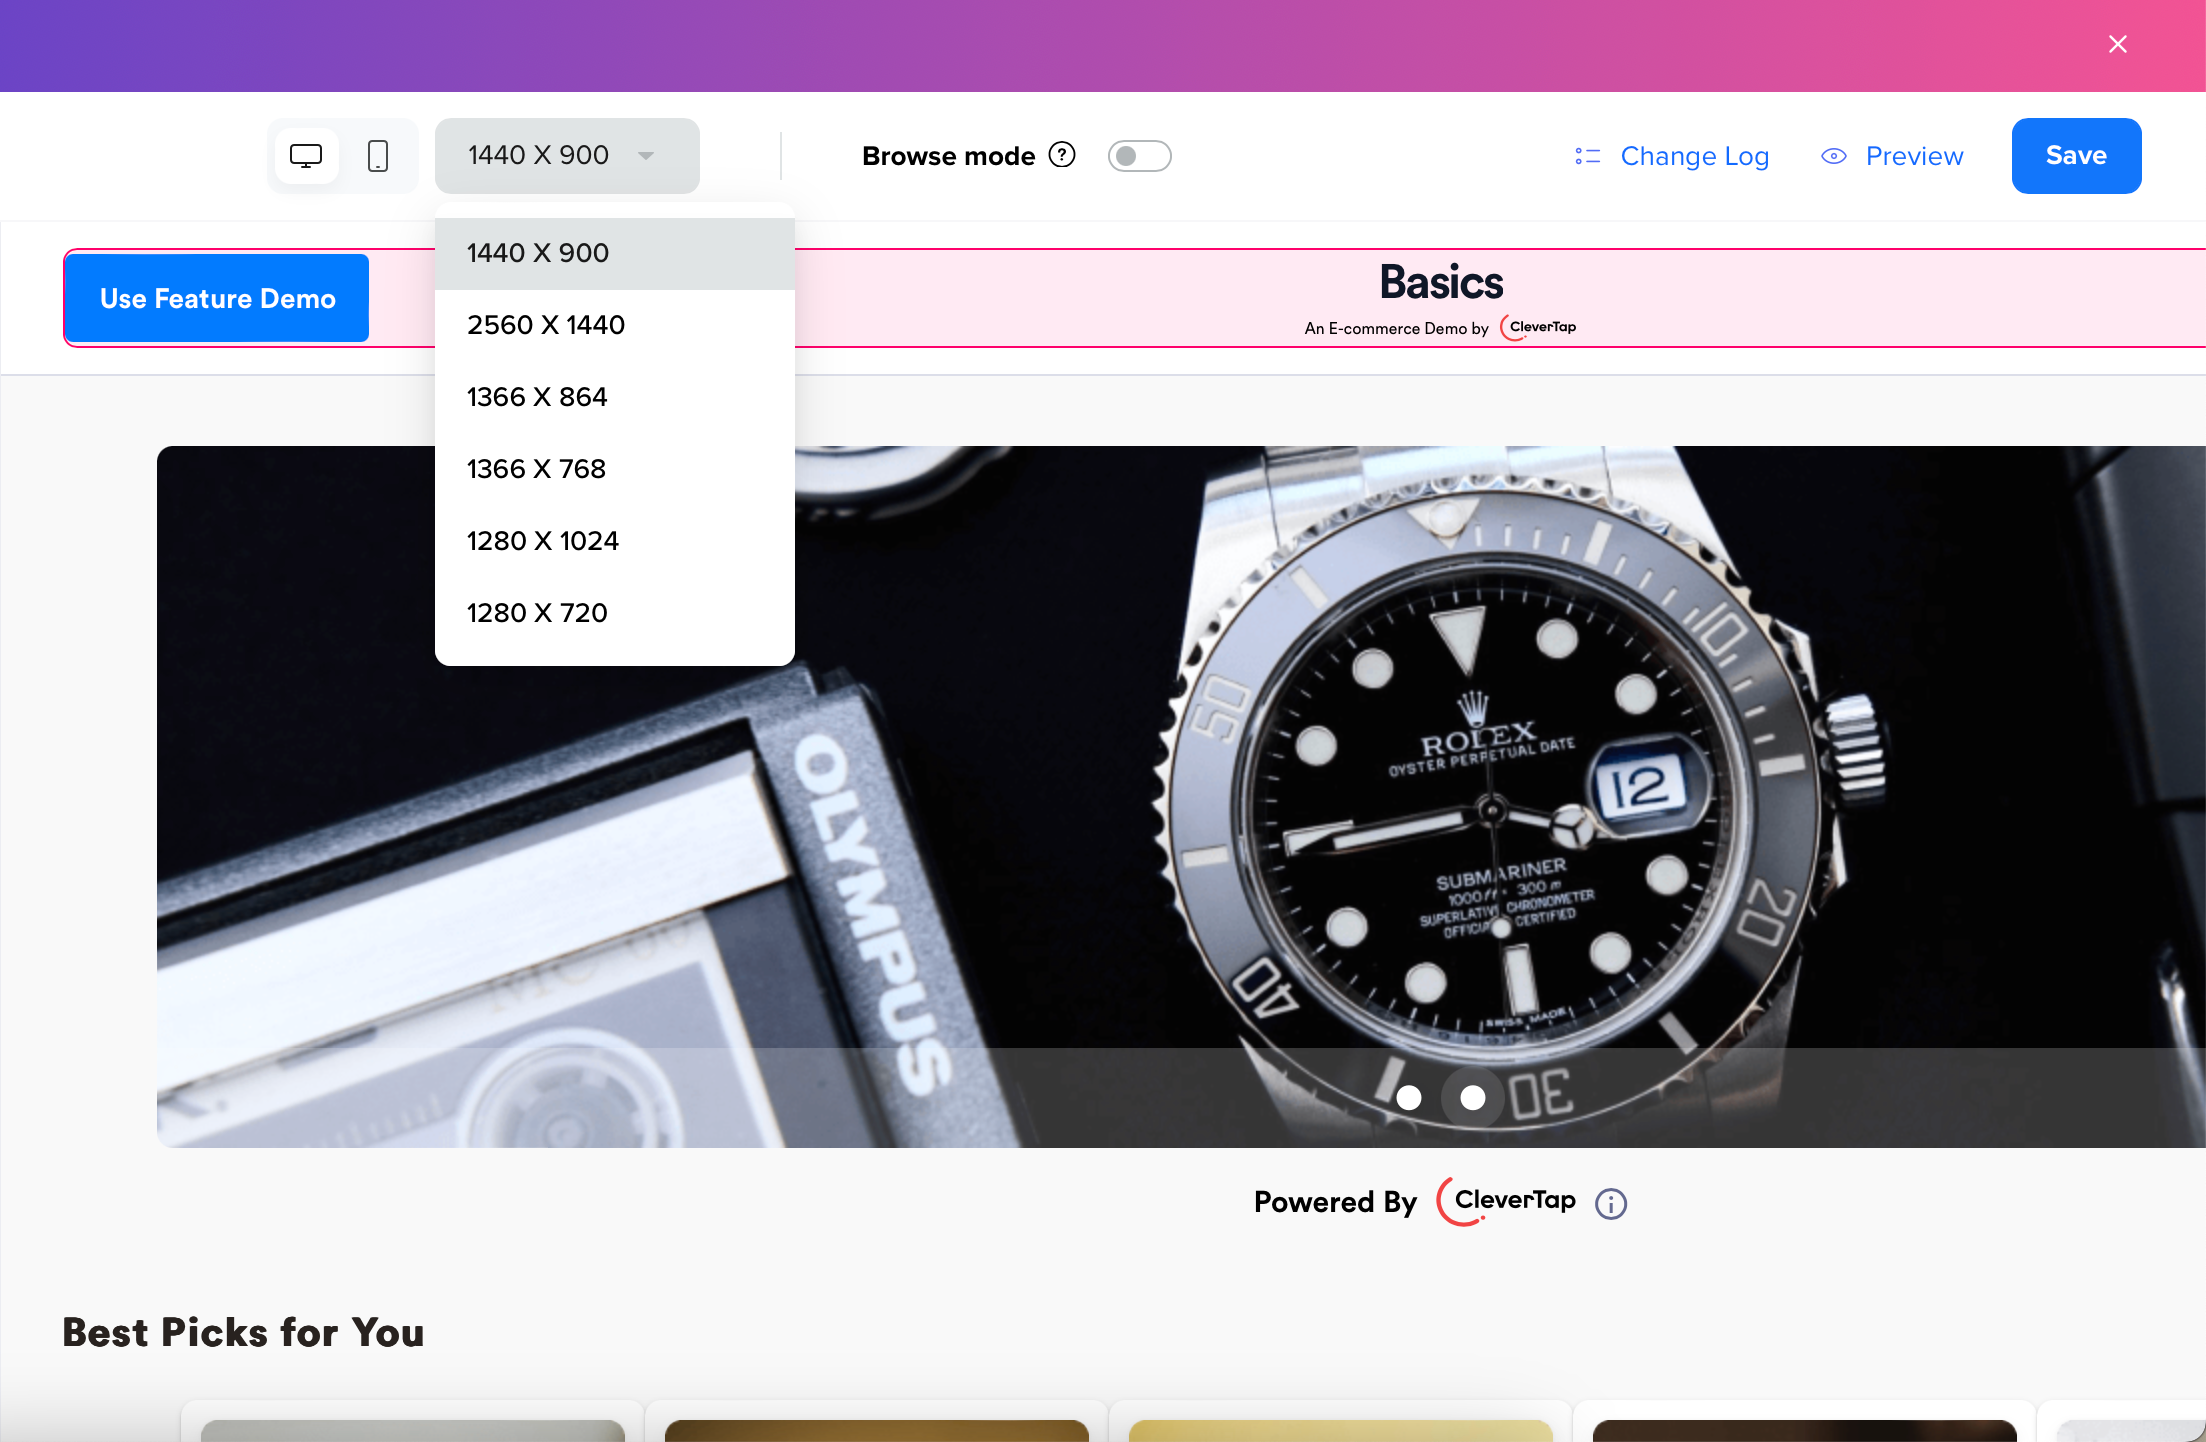
Web Resolution
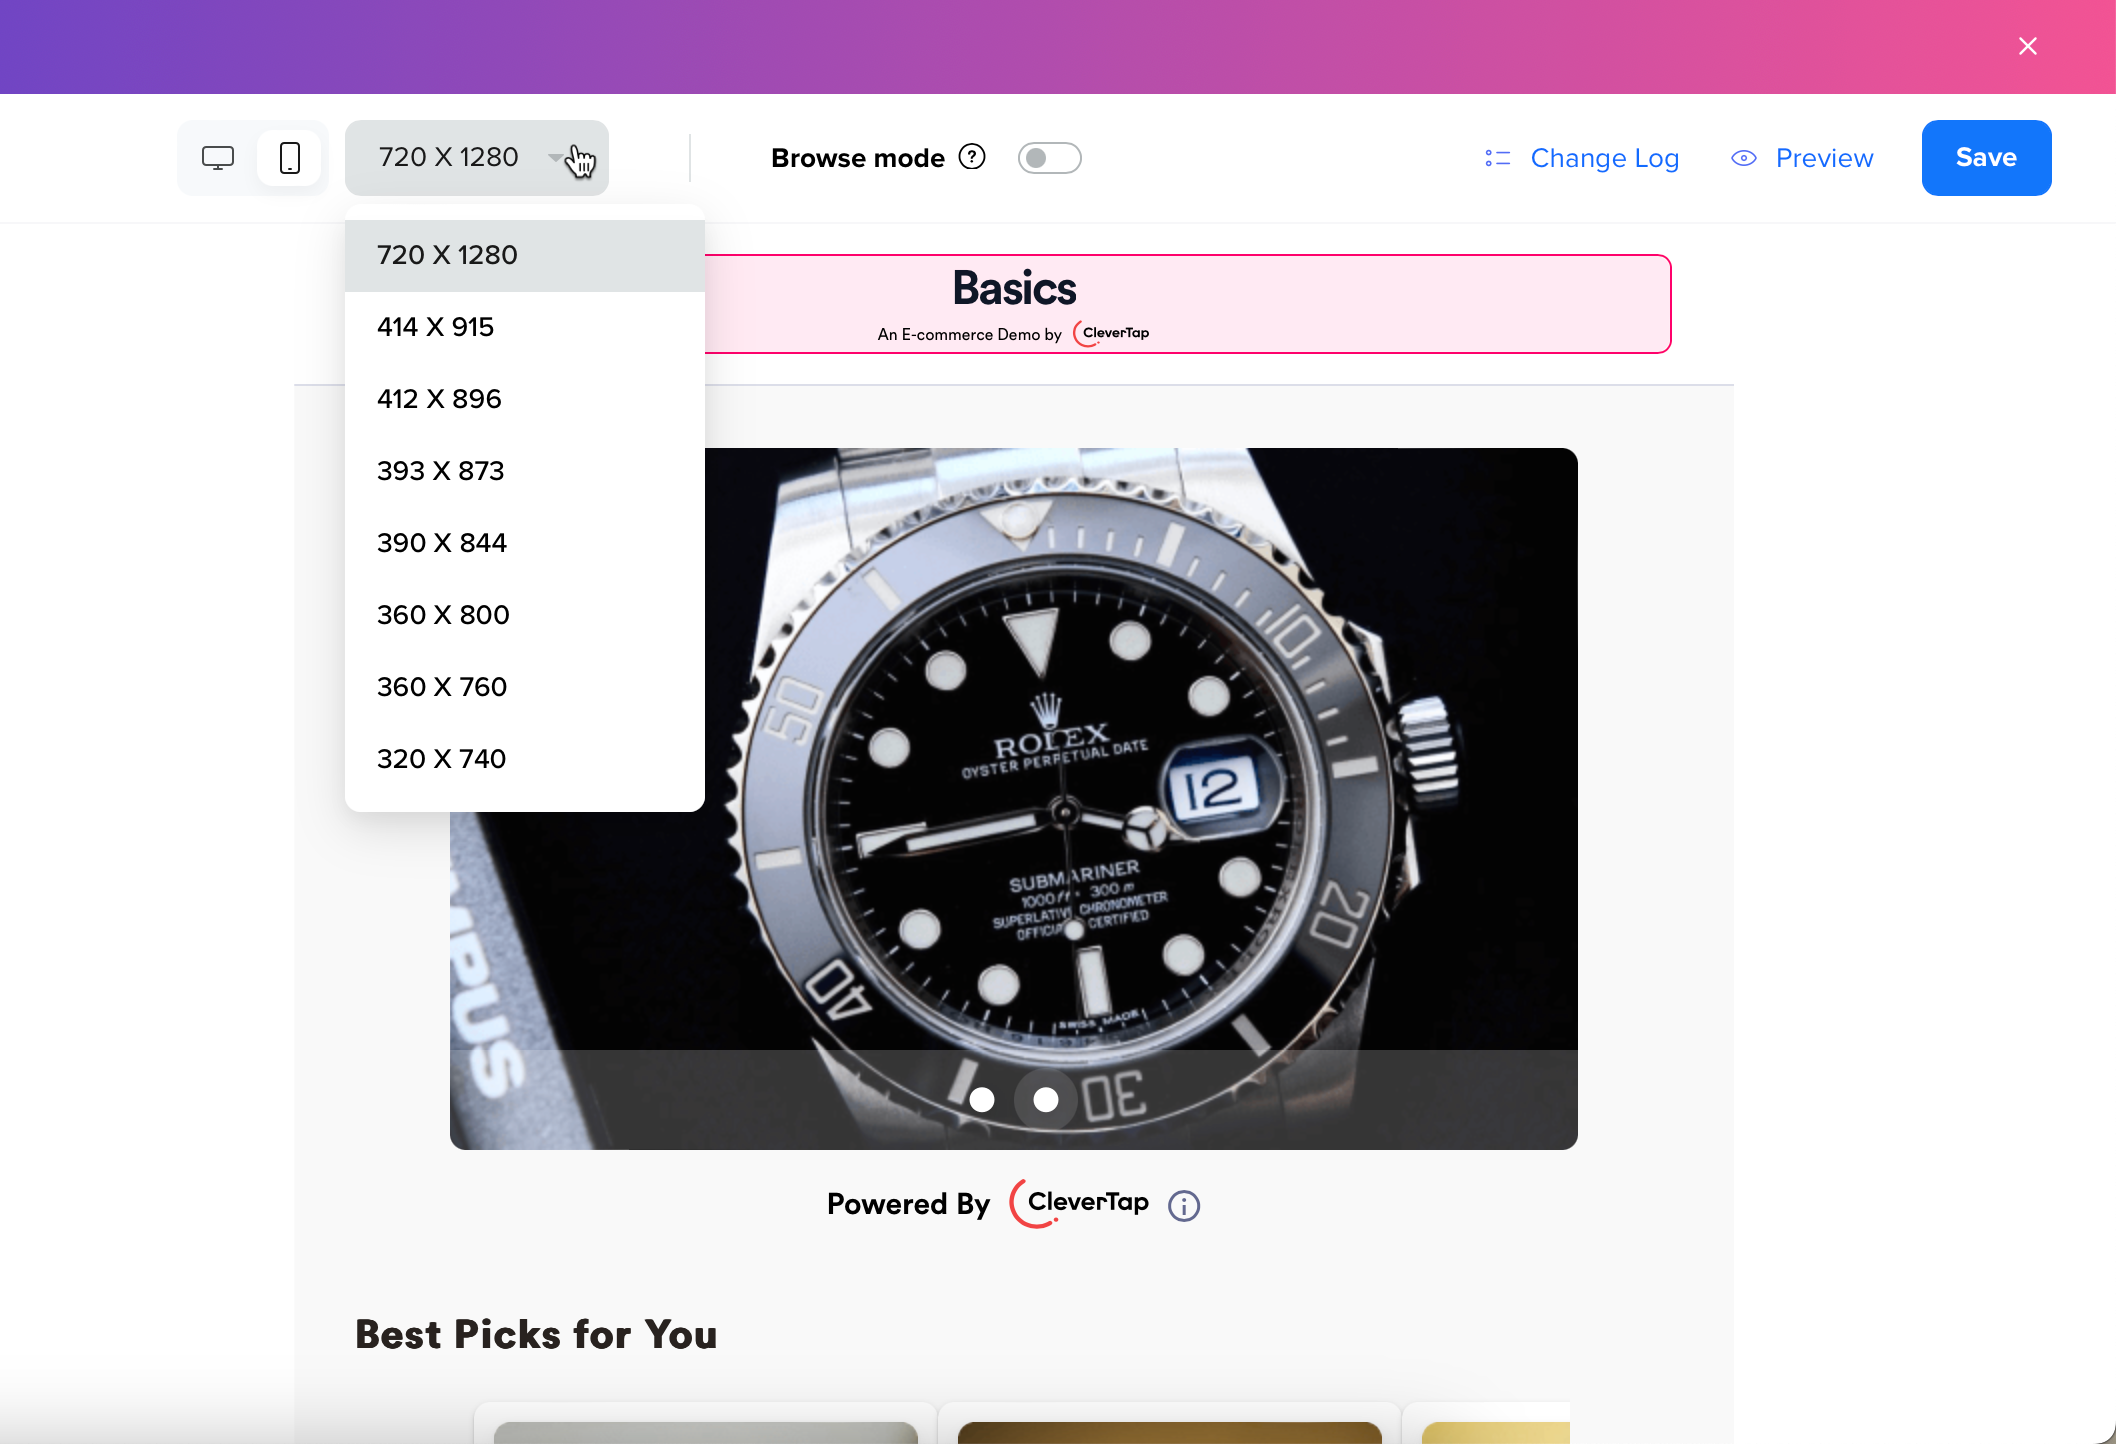
Mobile Resolution
- Toggle the Browse mode to make the webpage interactive inside the editor.
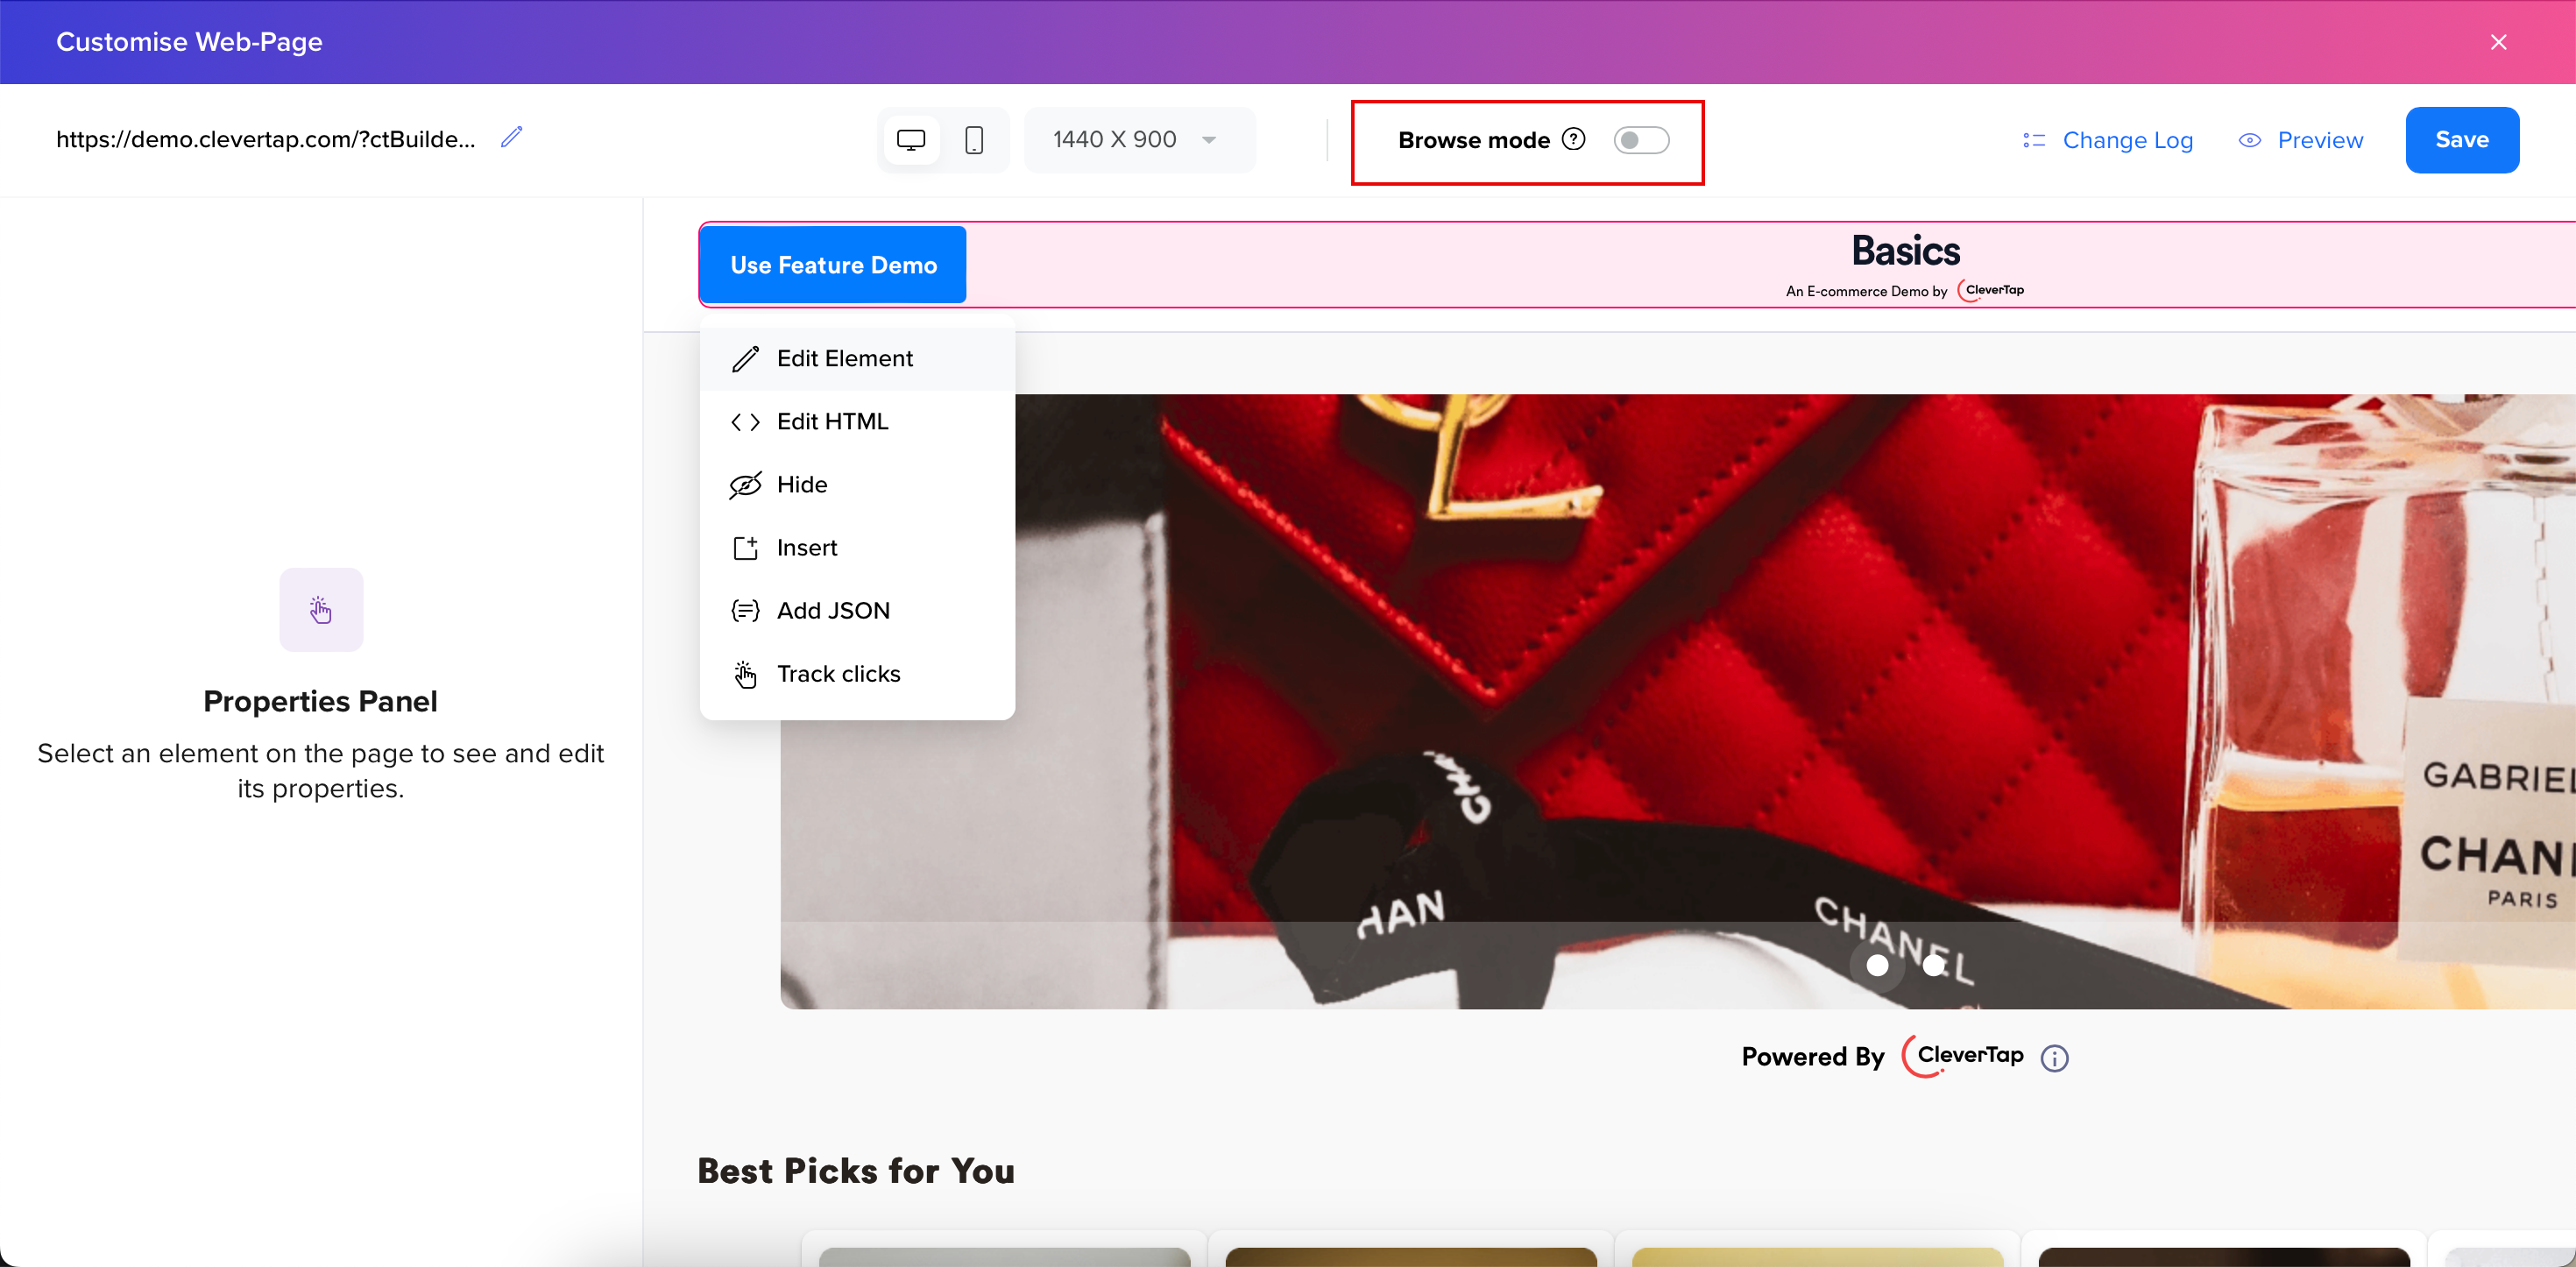
Browse Mode
- Click Changelog to view a summary of all changes made during the session. Clicking on each changelog automatically highlights the corresponding changed element. You can long press the view button to compare the original version with your latest changes. Click the delete button to delete a specific change or click Clear All to delete all changes.
NoteDeleted changes cannot be restored.
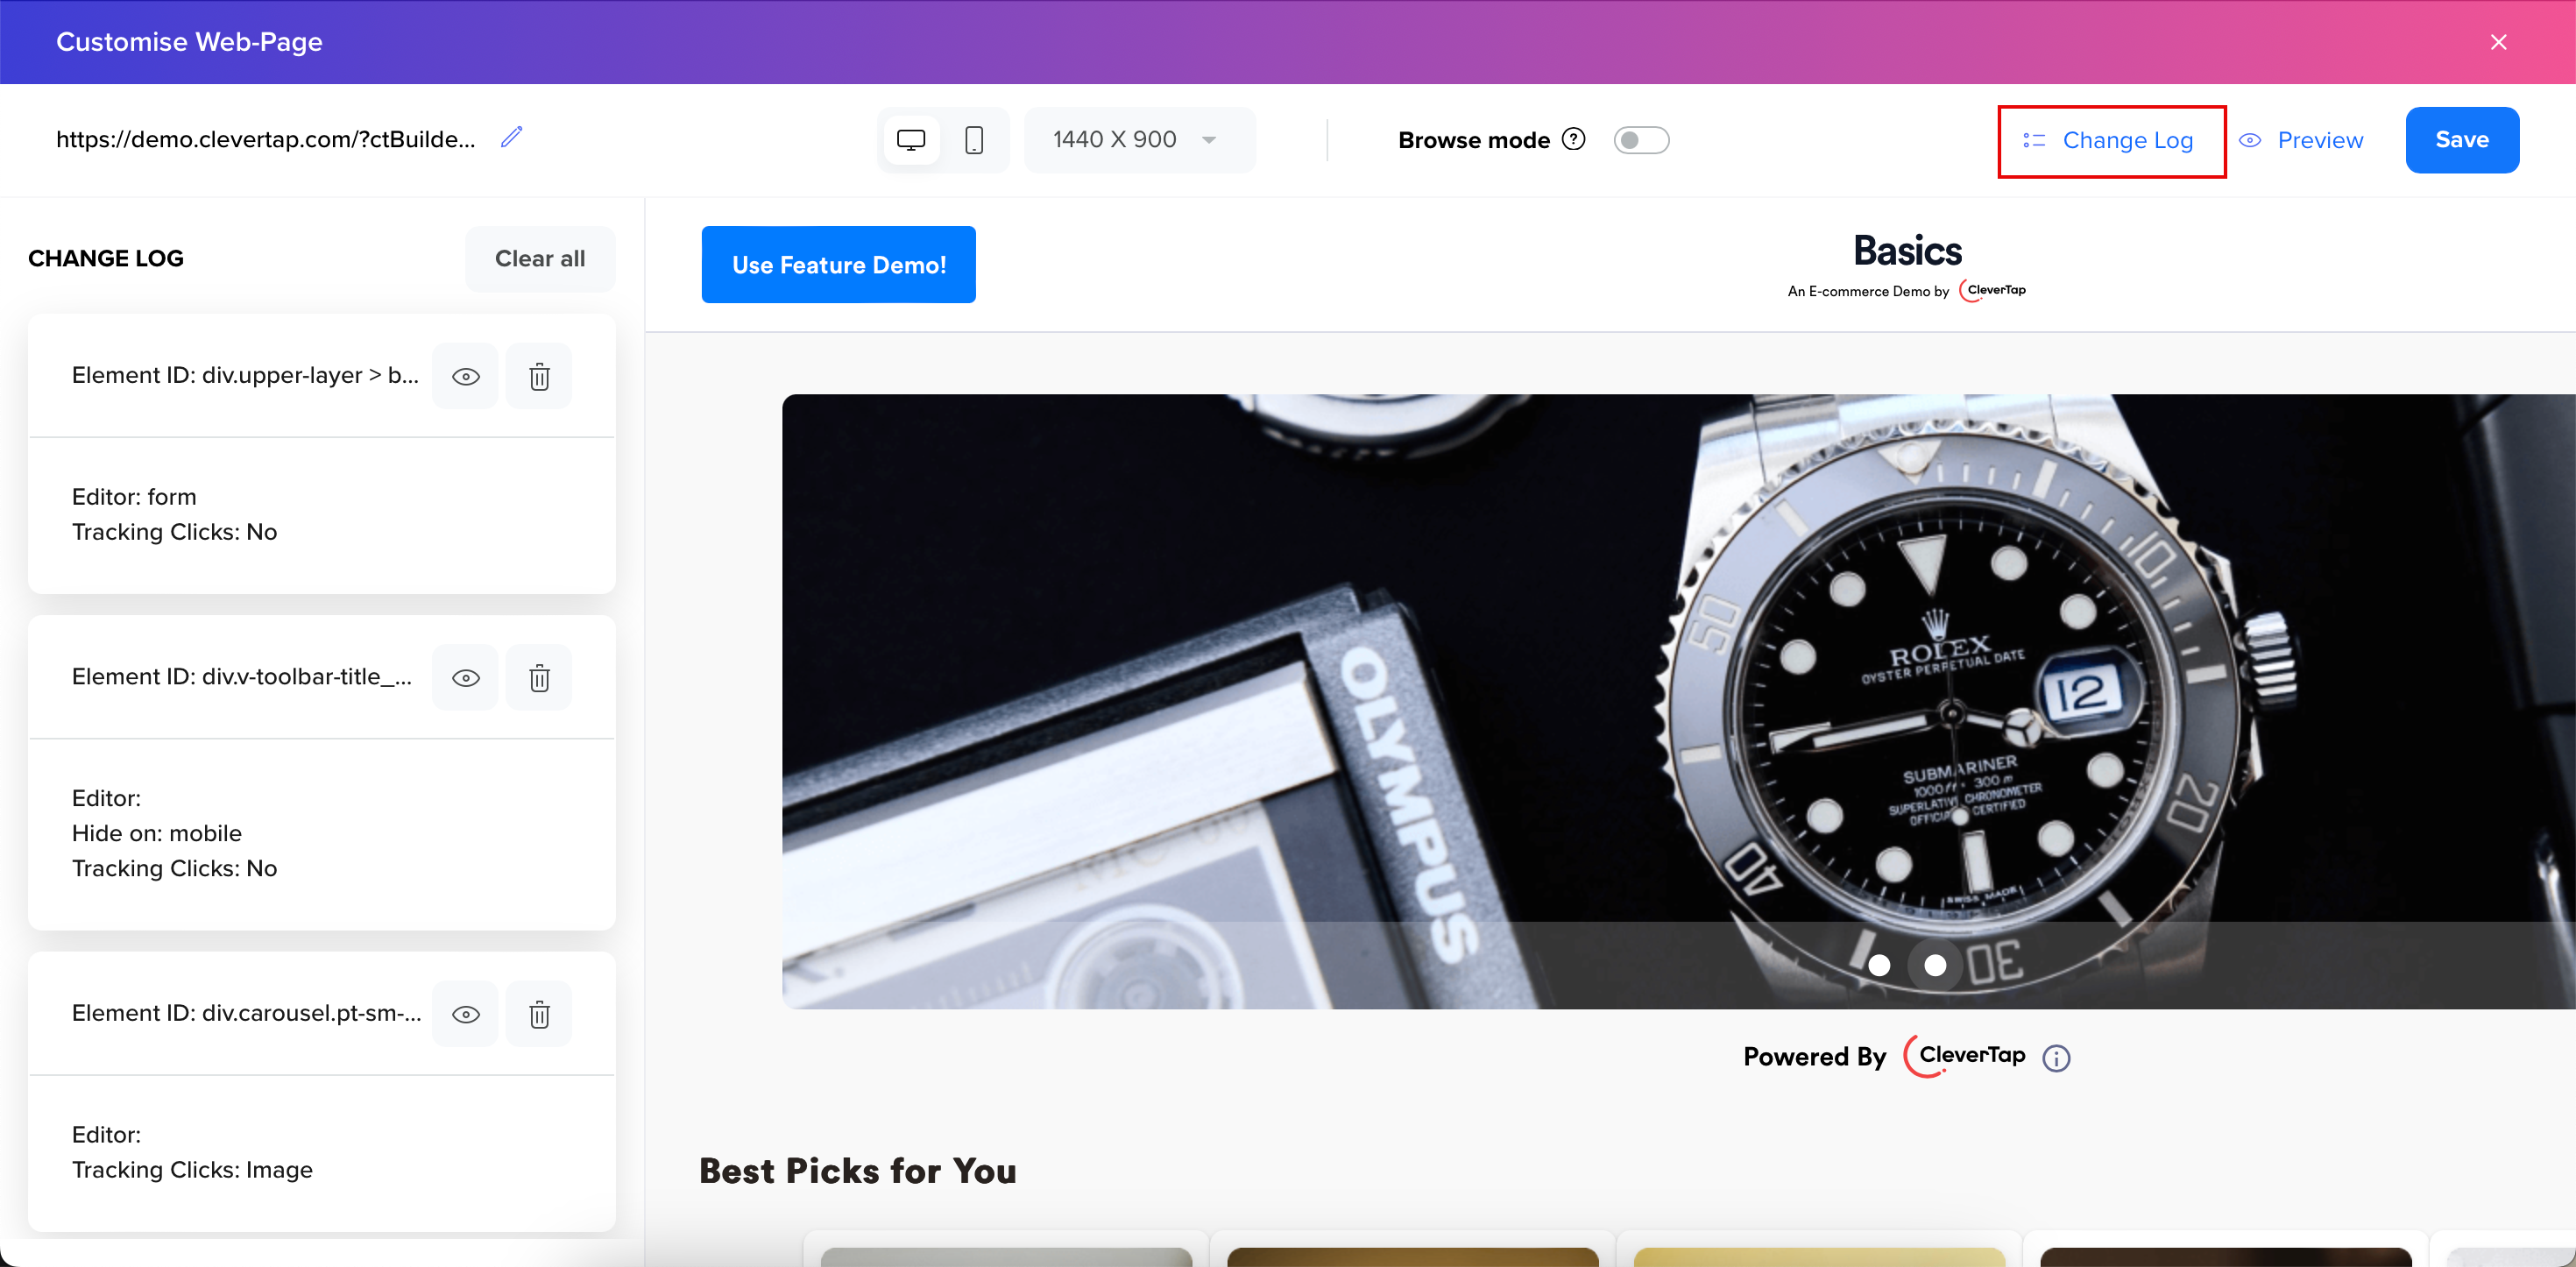
Changelog
- Click the Preview button at the top right corner to preview the HTML changes in a new tab.
- Click Save to apply your changes.
Custom Templates
For custom use cases, two new advanced web personalization templates are now available for Web Native Display campaigns. These templates are designed for creating more impactful campaigns and offer flexibility beyond basic UI-based templates. They allow for advanced web personalization use cases outside Visual Editor.
Note
- CleverTap offers Custom Templates as a part of the Advanced Web Personalization paid add-on.
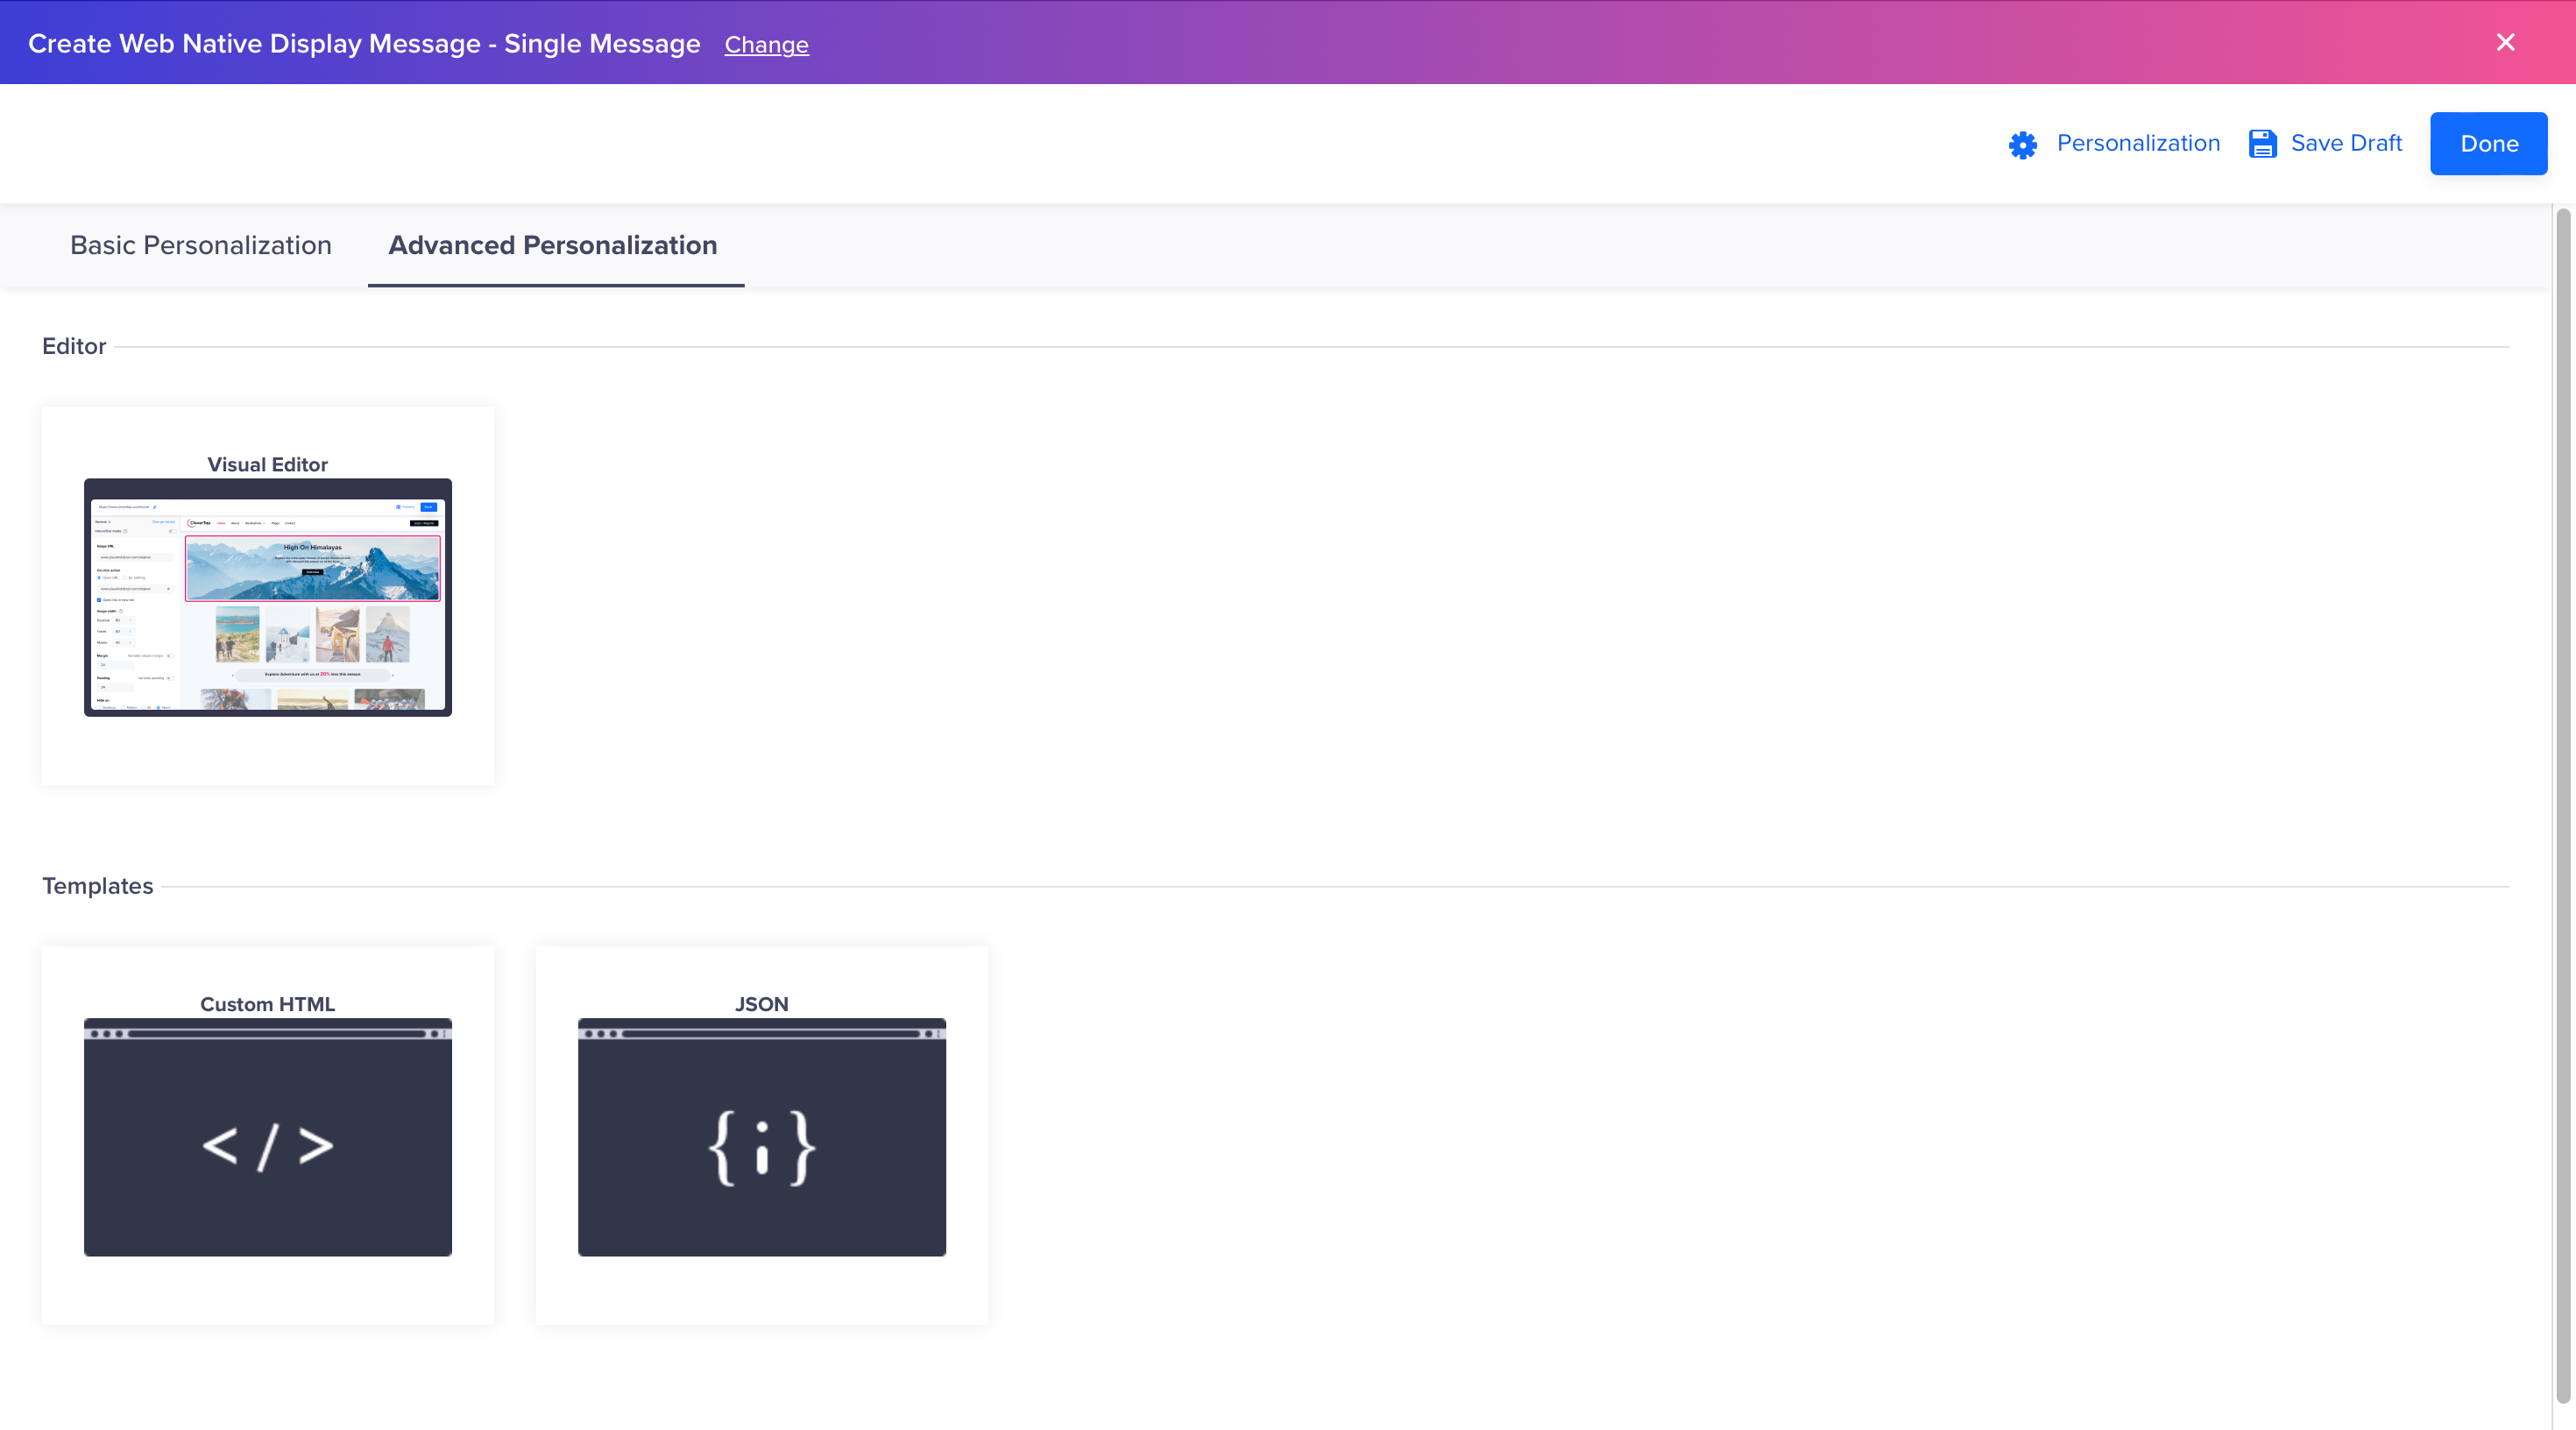
Custom Templates in Advanced Personalization
Custom HTML Template
Custom HTML Template allows you to add dynamic content to your website to achieve advanced use cases such as modifying website layouts. By adding HTML, CSS, and JavaScript code directly within a built-in code editor, marketers can enable product recommendations, reorder elements, and display personalized offers based on user behavior.
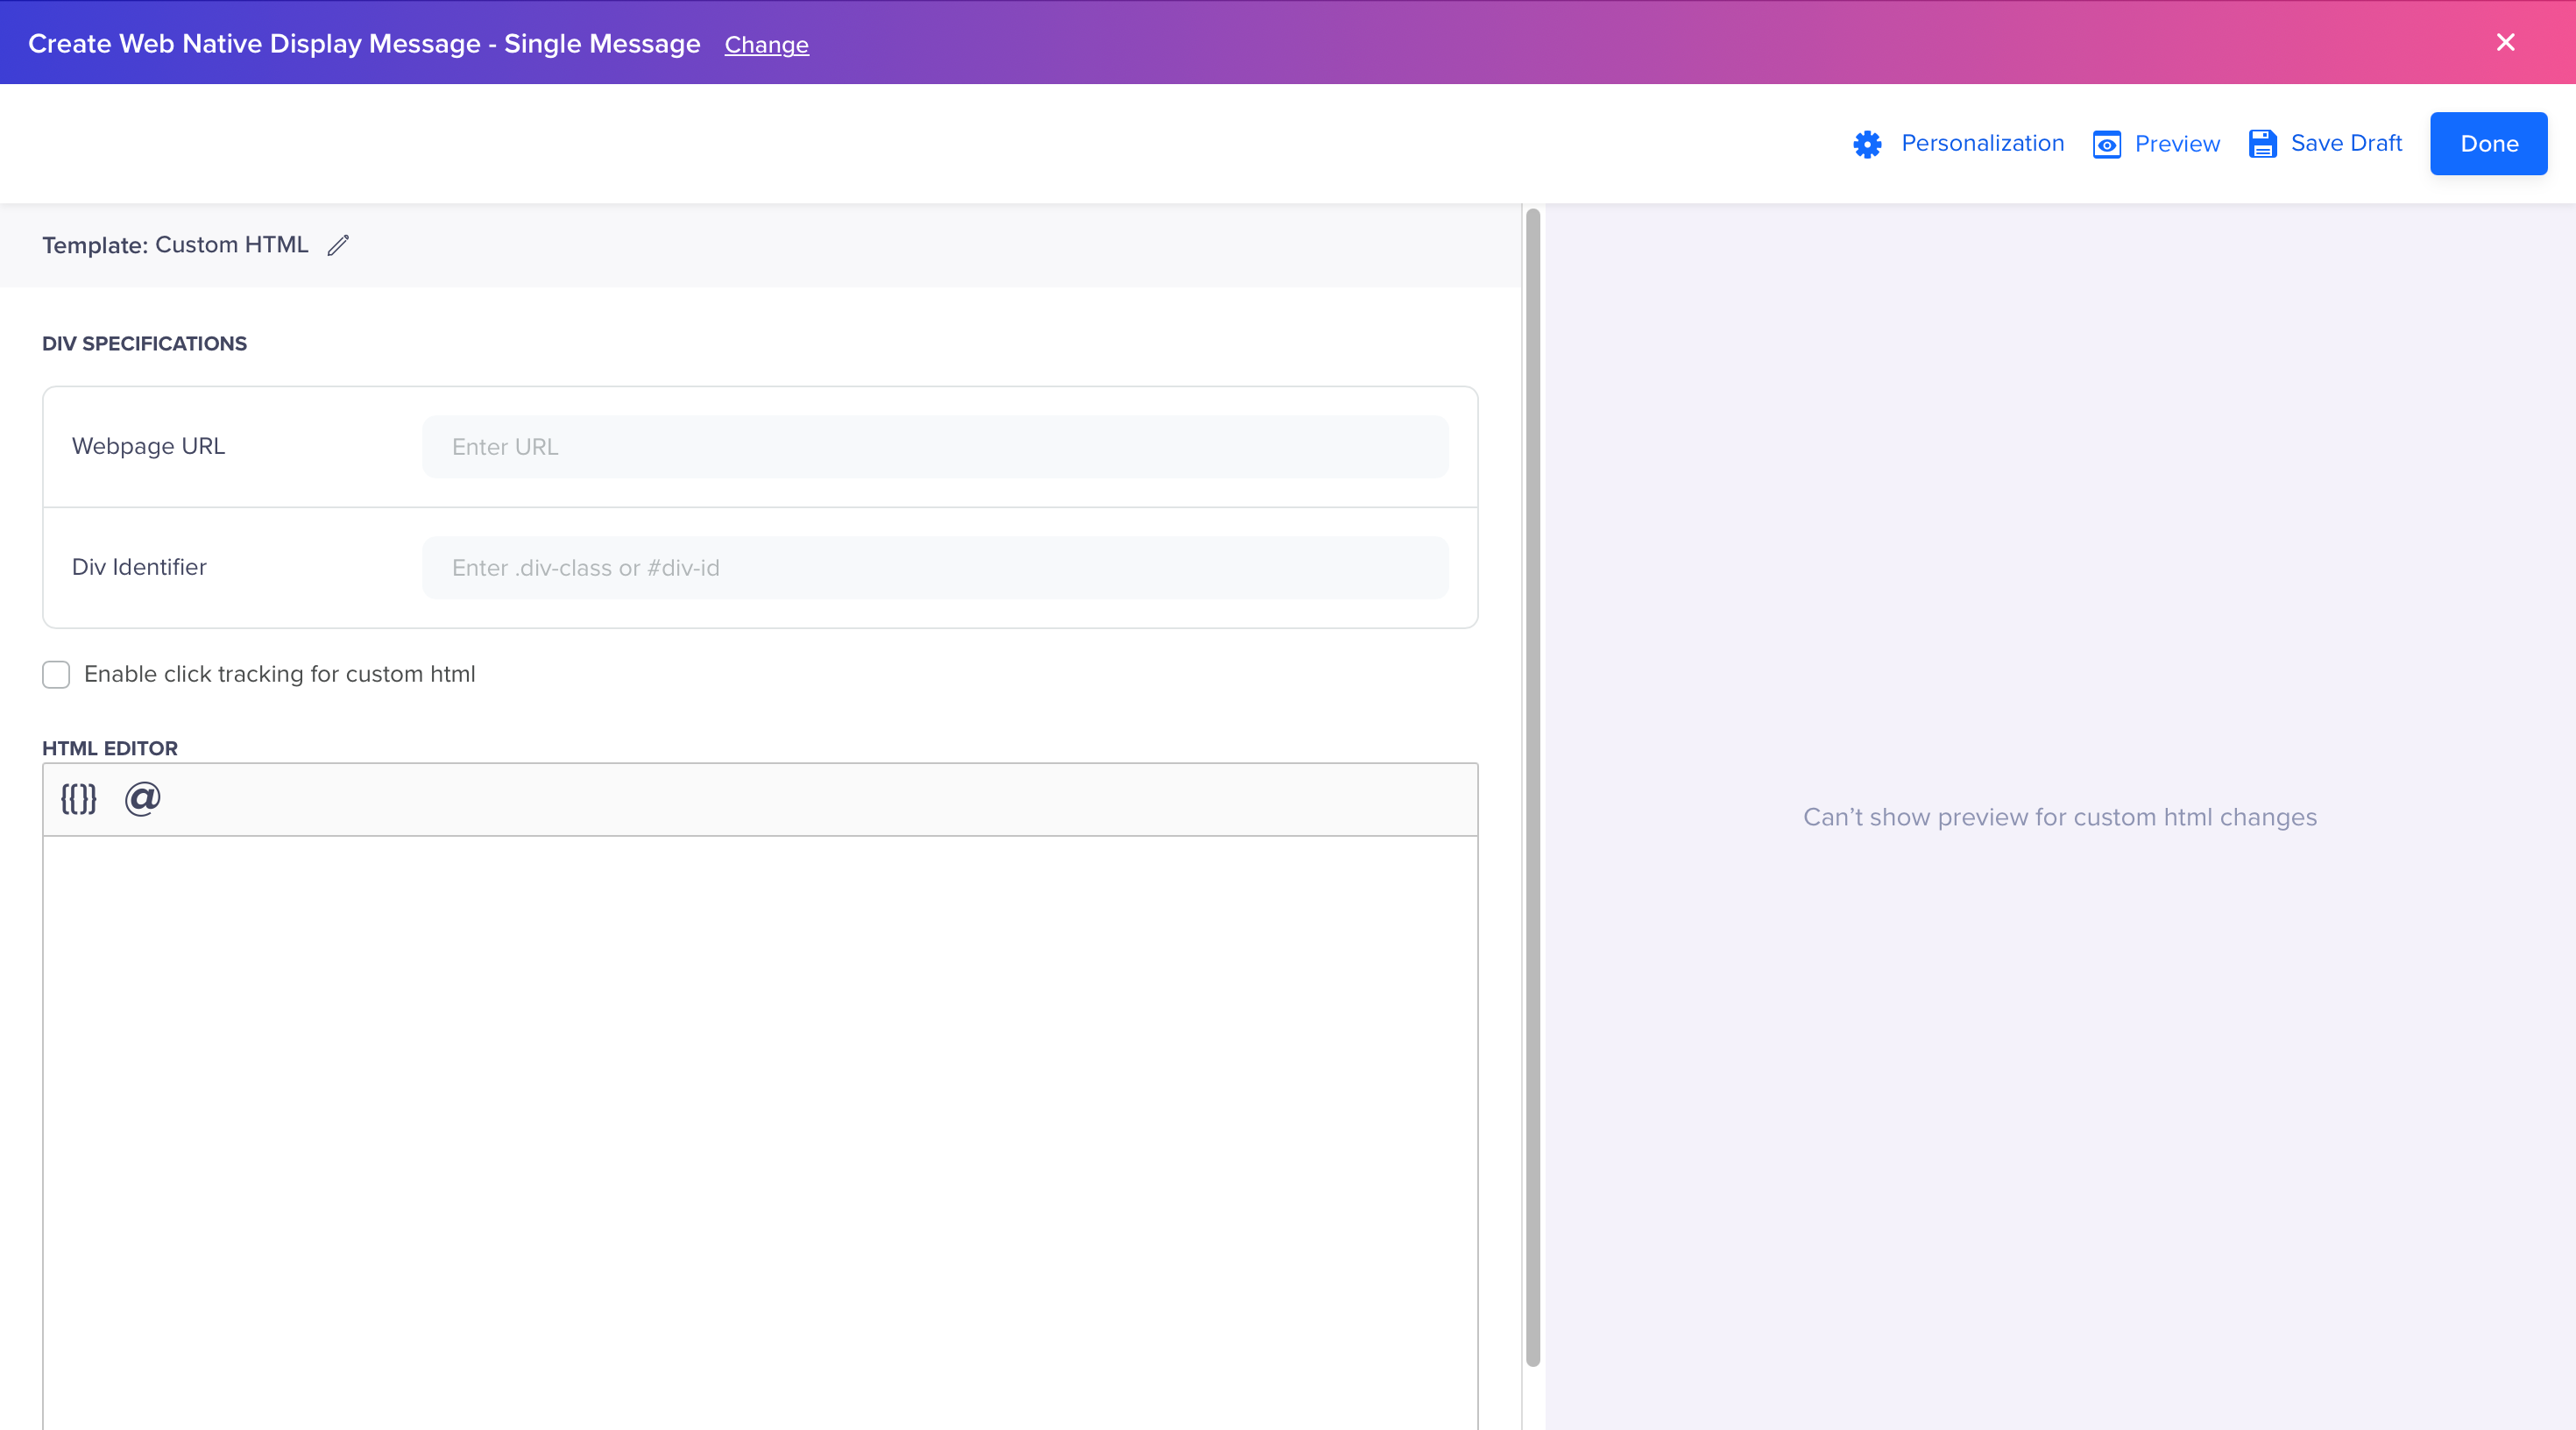
Custom HTML Template
Custom JSON Template
Custom JSON Template lets you send JSON data from CleverTap to your target user's website, allowing you to render advanced personalization use cases.
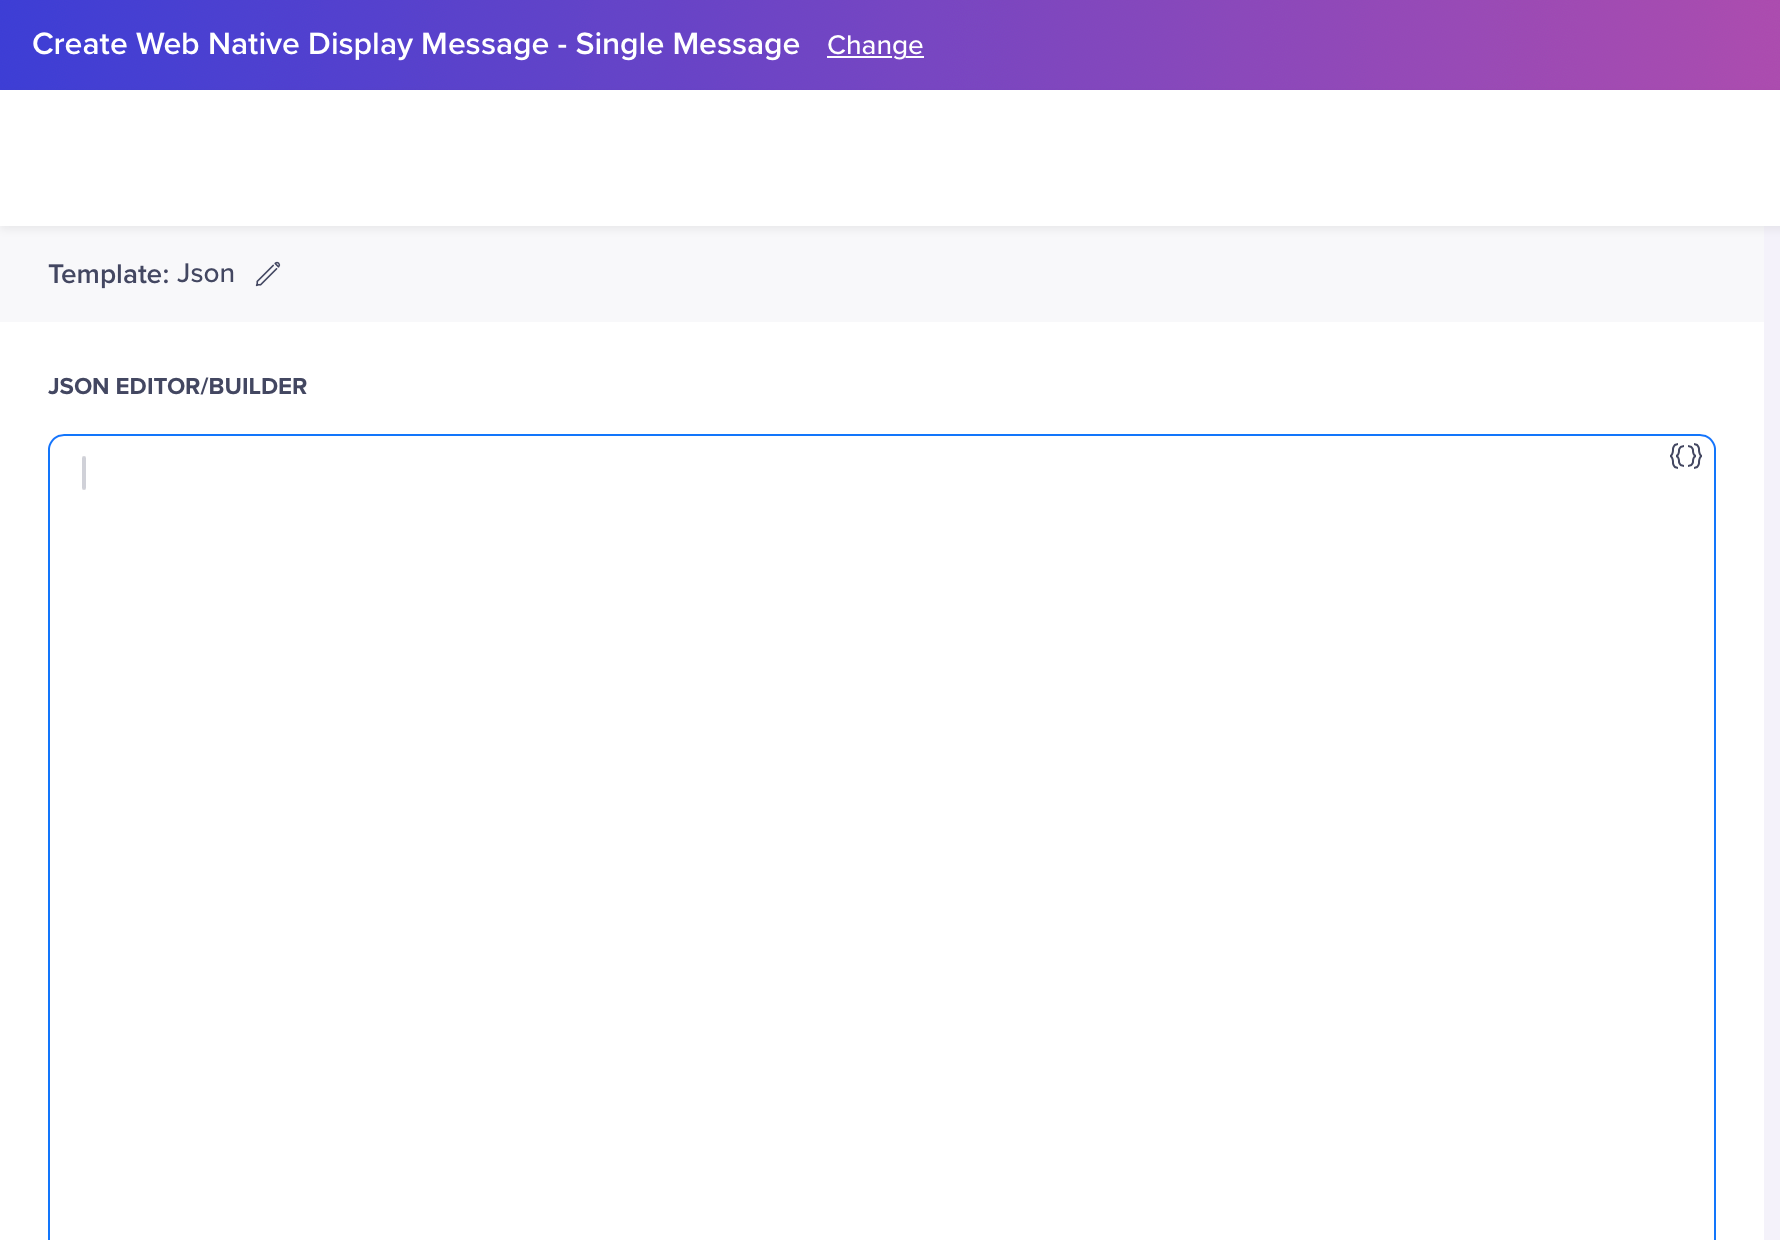
Custom JSON Template
Updated 5 months ago