Web Native Display Editor
Learn how to leverage Web Native Display Editor for creating personalized experiences.
Overview
The Web Native Display editor offers several templates to personalize your customer's website experiences. For example, you can personalize the banner or banner carousels on your customer's websites based on their past events. These templates are mobile responsive, which means marketers can deliver personalized campaigns across devices (mobiles, tablets, desktops, etc.).
Additionally, CleverTap offers Advanced Personalization tools such as the Visual Editor, which allows you to customize the website's look and feel in real-time through a user-friendly interface and minimal development effort. For more information, refer to Advanced Personalization.
From the What section in the Web Native Display campaign builder, select the message type and click Go to Editor. The Web Native Display Editor displays.
Web Native Display Editor
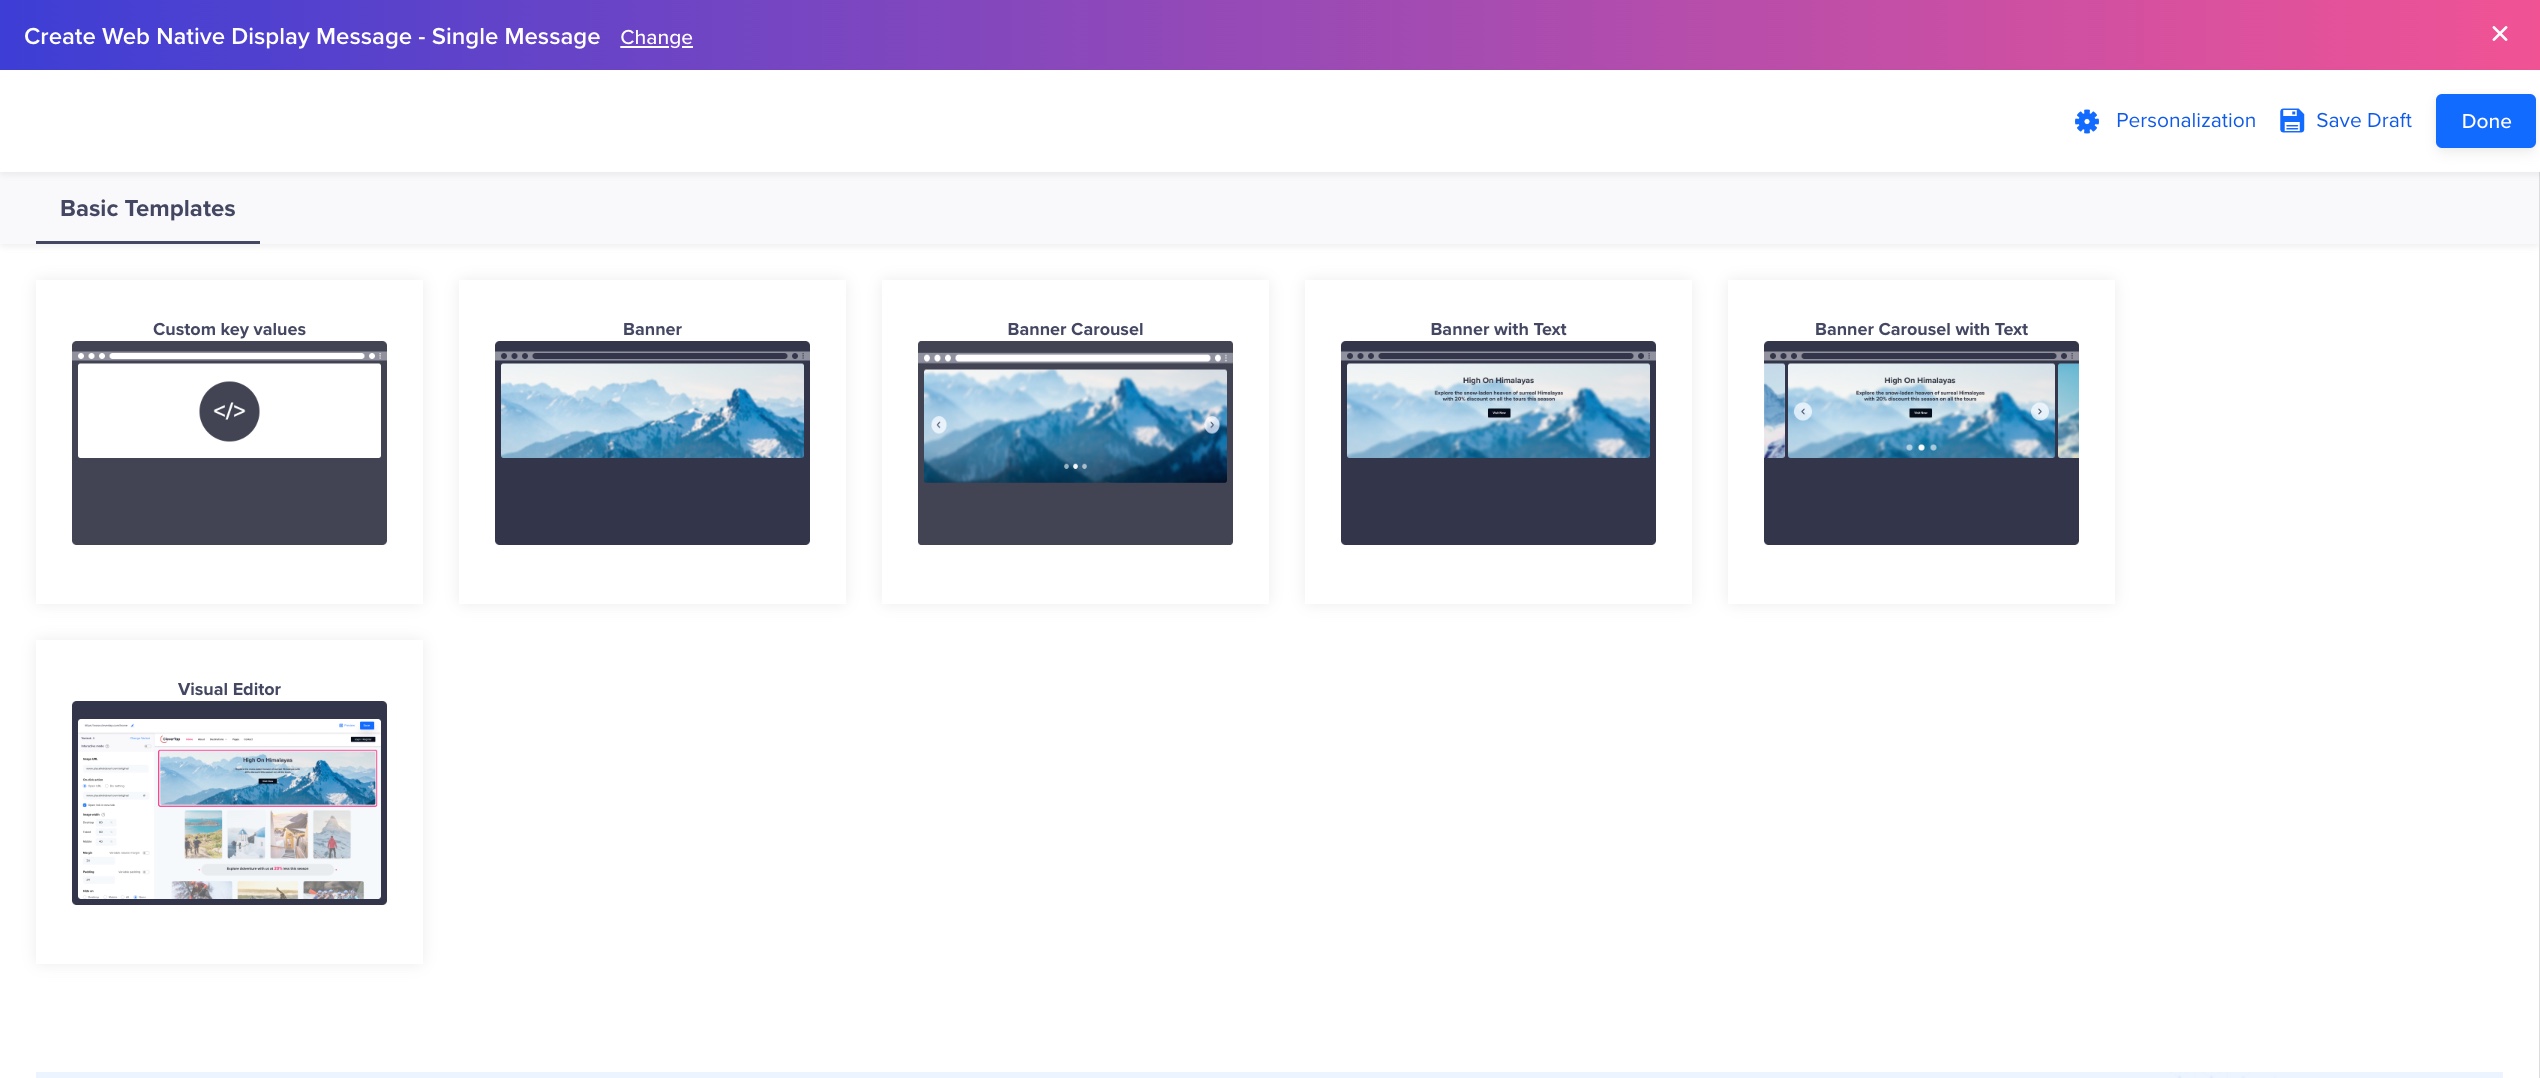
Basic Templates
The Web Native Display editor offers six basic templates:
Custom Key Value
Marketers can use the custom Key-Value template to deliver an engaging and personalized user experience.
The custom key value can have any value.
NoteThe first key of your object will always be topic. The marketer can provide the relevant value of this key while configuring the campaign. The developer must use this value to access the right payload for that campaign.
For example, if you want to change the carousel images for your users based on their language and favorite products, you can set the custom key-value pairs for this change.

Define Custom Key-Value Pairs
Refer to the sample key-value pair web native display campaign. It explains the steps you need to perform after creating a campaign in detail.
Banner
The banner template allows you to create visually appealing banners for your website. You can directly upload the banner image or add a URL to the banner. You also have the flexibility to upload a dedicated image for mobile users to deliver an optimal experience for mobile audiences.
You must enter the Div ID for the relevant container where you wish to render the banner on your website. Optionally, you can also define the Div height to adjust the appearance of your banner.
You can also provide a URL to redirect users to a specific web page when they click a banner.

Banner Template
Banner with Text
Similar to the Banner template, the Banner with Text template allows you to create visually appealing banners with personalized messages for contextual communications. Marketers can add Titles and Descriptions to their banners and personalize them to deliver individualized experiences. For example, marketers can target their audience by personalizing names in the banner title for enhanced engagement.
You must enter the Div ID for the relevant container where you wish to render the banner on your website. Optionally, you can also define the Div height to adjust the appearance of your banner.
You can also provide a URL to redirect users to a specific web page when they click the banner.

Banner With Text
Under the Style tab in the editor, you also have the option to align the title and description of your banner as per your design guidelines. You can also define the font style, size, and color of the title and description.

Banner with Text Editor
Banner Carousel
Banner Carousels allow you to display up to seven rotating banners that help you deliver engaging content faster. They primarily let you display broader and more engaging content within a restricted area on your website.
Using the Banner Carousel template, you can create promotional and engaging banner slides that can auto-rotate. You can use this template for various purposes, such as displaying the latest product releases on e-commerce sites, banners of web series on OTT platforms, and displaying festive offers on your application's home page.

Banner with Carousel
Enter the Div ID for the relevant container on your website where you wish to render the banner carousel. Optionally, you can define the Div height to adjust the appearance of the banner carousel.
You can also provide a URL to redirect users to a specific web page when they click a specific banner slide. Additionally, you can use a different image for mobile users to optimize the viewing experience for your mobile audience.
You need to define the Slider Time (in seconds) so that the banner slides auto-rotate after the defined time. You also have the option to enable the Carousel dots and Navigation arrows to scroll banner slides manually.

Define Scroll Time
Banner Carousel with Text
This template is similar to the Banner Carousel template with an additional option of adding a Title and Description on top of each banner in the carousel.

Banner Carousel with Text
Under the Style tab in the editor, you also have the option to align the title and description of your banner as per your design guidelines. You can also define the font style, size, and color of the title and description.
Updated 7 months ago