Personalize Message
Overview
You can personalize the push message for every user based on specific user property or event property values. For more information on user profile properties and events (dynamic replacements), refer to User Profiles and Events.
Inline Personalization
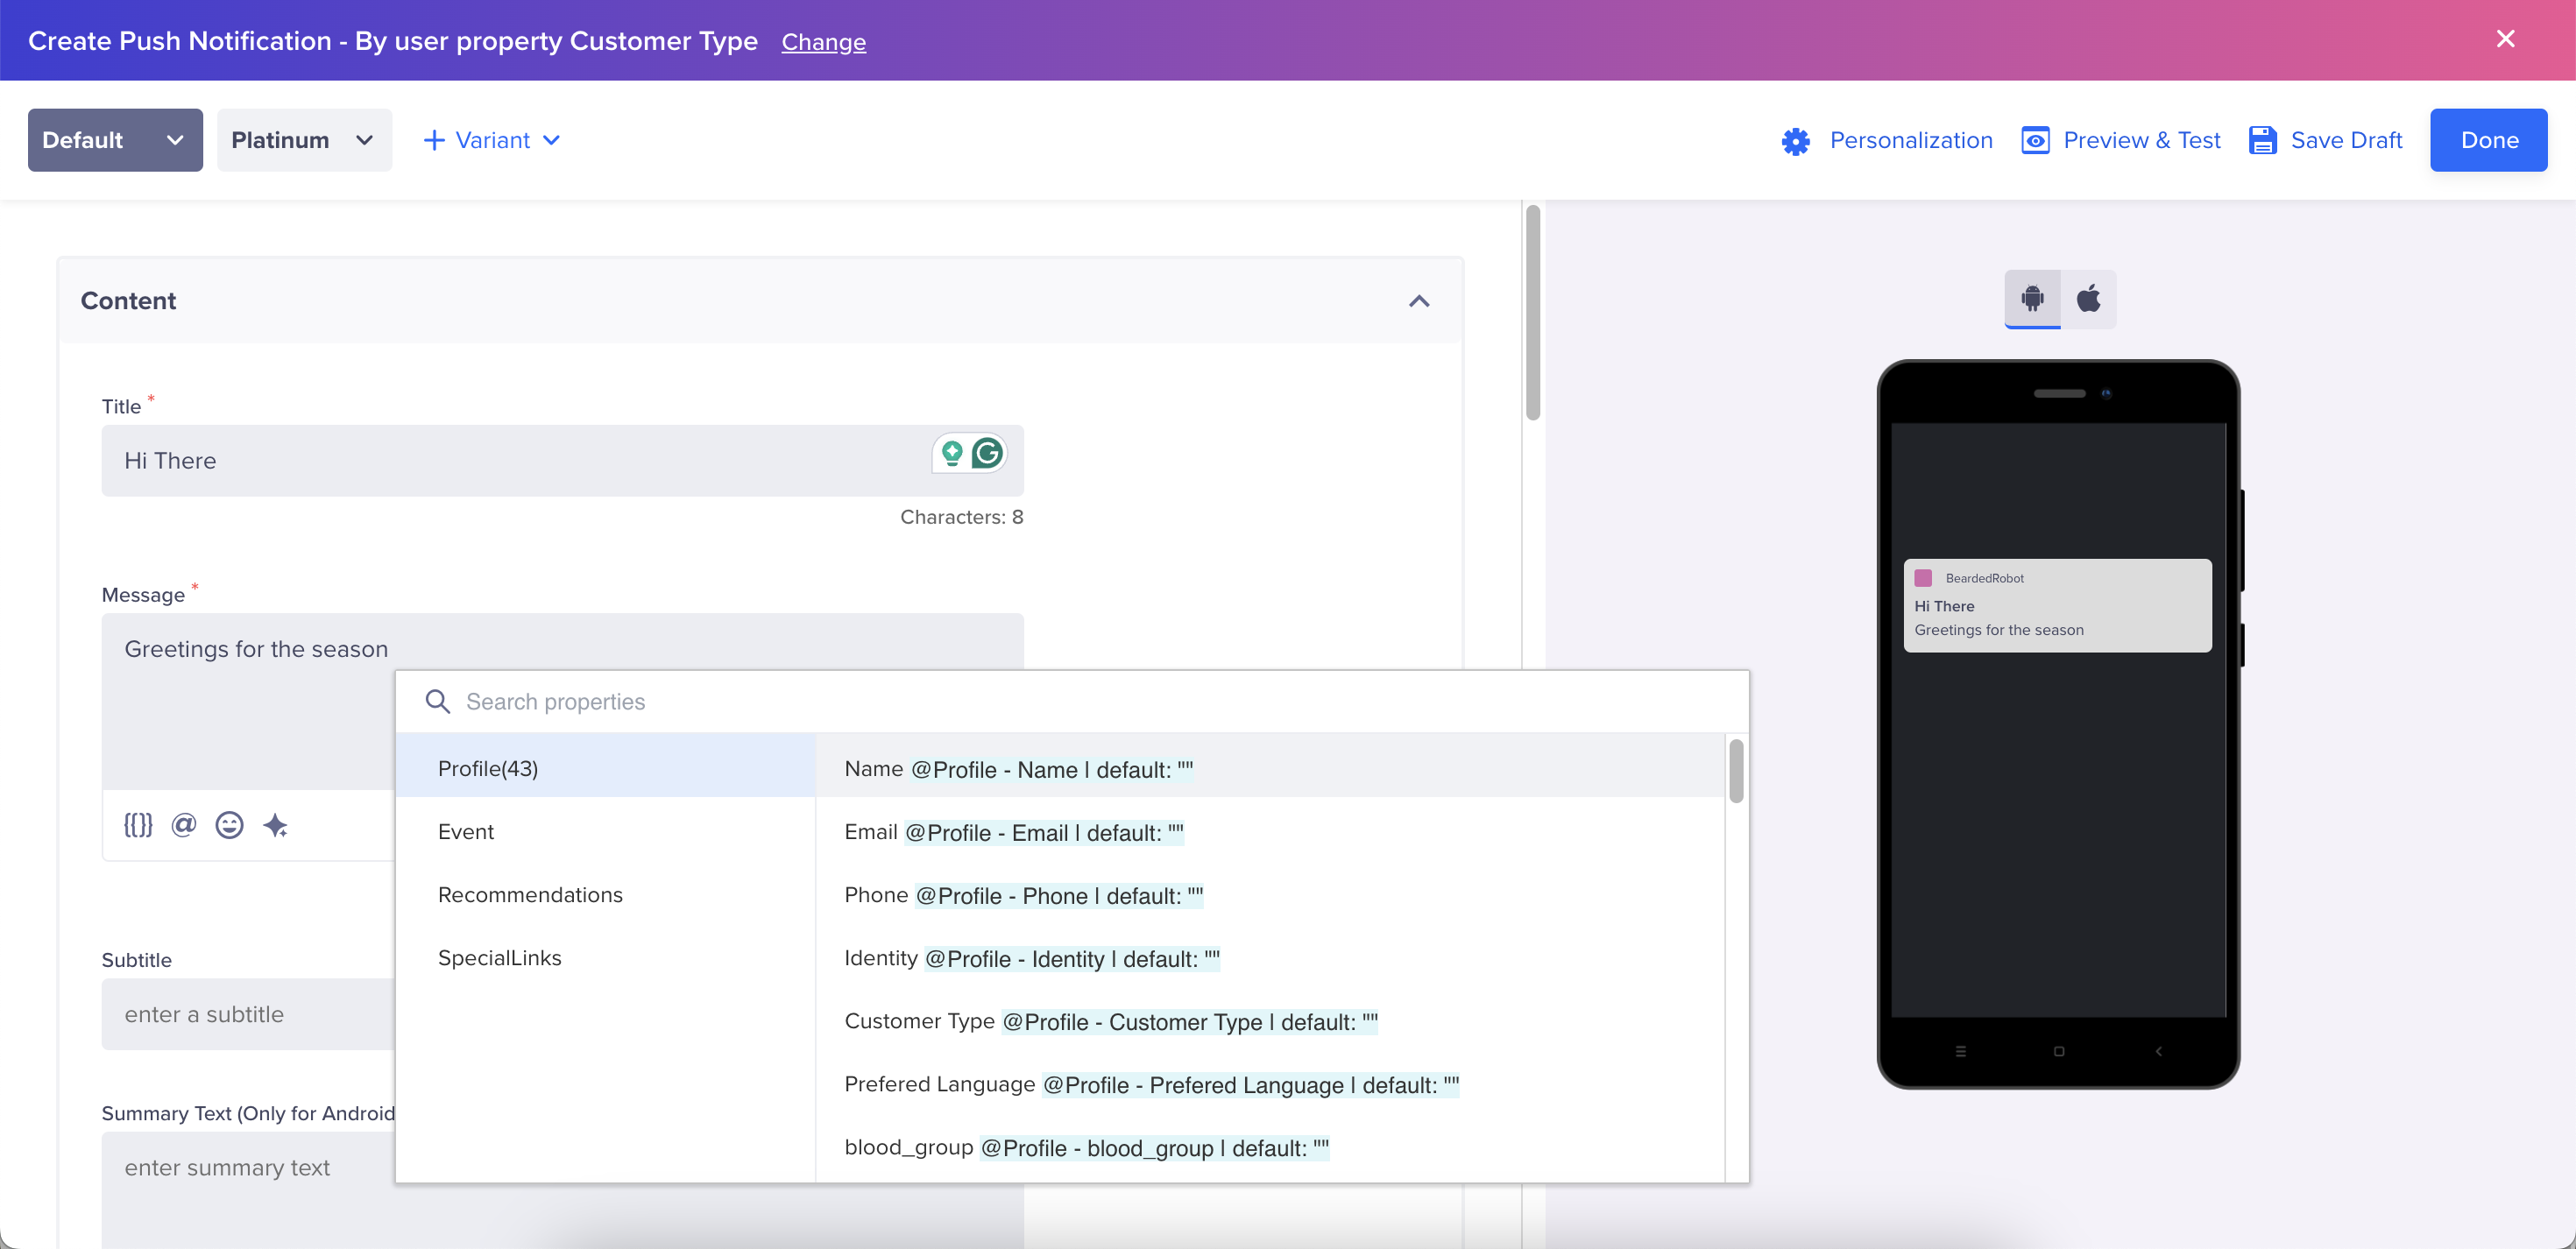
While creating a message, type the @ or the {{}}symbol in the Title or Text fields to invoke the personalization menu.
You can also add dynamic replacements in the title and body. Refer to the following preview image:
Inline Personalization
In addition to the title and body, you can also personalize other things, such as media URLs, deep links, or button text. An @ icon in a box indicates that it can be personalized.

Personalize Media URL
Liquid Tags
Liquid tags offer great flexibility when composing personalized messages. They allow adding logic using a scripting language, which can be leveraged to change the look and feel of your message.
The following is an example to send personalized coupon codes based on the type of membership:

Sample Liquid Tag
The following is a preview of the final message. Each notification is personalized to the receiver.
Hello John!

Here is a special coupon for you: Gold4All
For more information, refer to Liquid Tags.
Liquid Personalization in Campaign APIs
CleverTap supports Liquid personalization for Push Campaigns sent via the Campaign API. This feature enables you to dynamically customize push messages with user-specific values, improving user engagement.
Private BetaThis feature is released in Private Beta. If you want to access this feature, contact your Customer Success Manager.
Syntax
Use the following syntax to configure personalization placeholders:
- Profile Personalization:
{{Profile.name | default:"Name"}} - Campaign ID Personalization:
{{Campaign.campaignId | default:"0_0"}}
Supported and Unsupported VariablesSupported Variables
- You can personalize Push Campaigns using the following placeholders with Liquid syntax:
- Profile attributes: For example
{{Profile.name}},{{Profile.accounttype}}.- Campaign ID:
{{Campaign.campaignId}}- Liquid syntax can be used in specific fields in the Push API payload.
Unsupported Variables
- Catalog and recommendation variables fall back to default values.
- Event personalization is not supported as API campaigns only utilize Past Behavior Segments, which do not allow for event personalization.
- As @ Personalization is not supported, any variable prefixed with @ (for example, @Profile.name) is not parsed, that is, the variable is not replaced with a value.
- Messages with invalid Liquid Tag syntax are flagged as errors. The following is a sample error:
Invalid syntax for title field. Rectify and try again. Read more: https://developer.clevertap.com/docs/create-campaign-api
Linked Content
Linked content allows personalizing emails with rich and contextual data available outside of the CleverTap platform. Thus, you can send messages with send-time personalization.
For example, you deliver food across different geographies, and you want to personalize offers to each user based on the weather and location. The location can come from CleverTap personalization, and the weather information can come from an API that provides the current climate. If you want to add more information, you can opt for any source, such as third-party tools and in-house software, to include in your message. The following is an example of personalizing a message based on the weather conditions received from a weather API. For example, send a message to try a barbeque restaurant if the temperature is greater than 30 degrees Celsius, and try a hot pizza if the temperature is lower than 10 degrees Celsius.
Hi {{ Profile.name | default:"there!" }},

{% if Linked.cityBasedWeather.temp > 30 %}
It is a bright sunny day in {{ Profile.location | default:"your city" }}. How about a barbeque today?

Use the coupon code (BARBQ).
These are the top 5 restaurants near you:
{% for restaurant in Linked.RestaurantAPI.restaurants_info limit:5%}
{{restaurant.name}}  {{restaurant.user_rating.rating_text}}
{% endfor %}


{% elsif Linked.cityBasedWeather.temp < 10 %}
It is indeed cold today in {{ Profile.location | default:"your city" }}!!
Time for some hot pizza!

Use the coupon code (PIZZA). These are the top 5 restaurants near you:
{% for restaurant in Linked.RestaurantAPI.restaurants_info limit:5%}
{{restaurant.name}}  {{restaurant.user_rating.rating_text}}
{% endfor %}

{% else %}

It has  been a while in {{ Profile.location | default:"your city" }}.
Order something exotic!

Use the coupon code (EXOTIC).These are the top 5 restaurants near you:           {% for restaurant in Linked.RestaurantAPI.restaurants_info limit:5%}
{{restaurant.name}}  {{restaurant.user_rating.rating_text}}
{% endfor %}

{% endif %}
For more information, refer to Linked Content.
Recommendations
Click the  icon in the editor to open personalization options.
After you have uploaded a product catalog, you can display personalized recommendations to your customers. For example, you can display a sliding carousel to your customers based on their likes! For more information on recommendations, see Recommendations.

Create Recommendations
Catalog
Click the icon in the editor to open personalization options. Select a catalog from the list.
A Catalog provides the ability to personalize campaigns with dynamic information in messages from product prices to inventory levels. You can create a new product catalog by uploading a file that contains one row for each item in your product catalog. A Catalog can be uploaded directly on the CleverTap dashboard via a CSV file that is generated by your inventory management system. For more information on Catalogs, see Catalogs.

Upload a Catalog
Constant Event Property
Constant Event Property allows you to engage the user for multiple actions and inactions. For example, person A added to cart a white coat, and person B added to cart a pair of blue jeans. However, none of them purchased the items.
You can create a campaign for each product added to the cart, or you can use a constant event property to personalize the campaign to each user that did not purchase the item.
For example, you can map the prod_name property of the charged event to the product_name property of the added to cart event. You can then hold this property constant across both events. Based on this property, you can now personalize the message received by each user.

Constant Property and Catalog Send-Time Personalization
For more information on using a constant event property, see Constant Event Property.