Web Inbox Setup
Learn about the configurations required to set up Web Inbox on your website
Prerequisite
- Ensure that you have integrated CleverTap's new Web SDK.
- Follow the steps for integration mentioned in the Web Inbox developer guide.
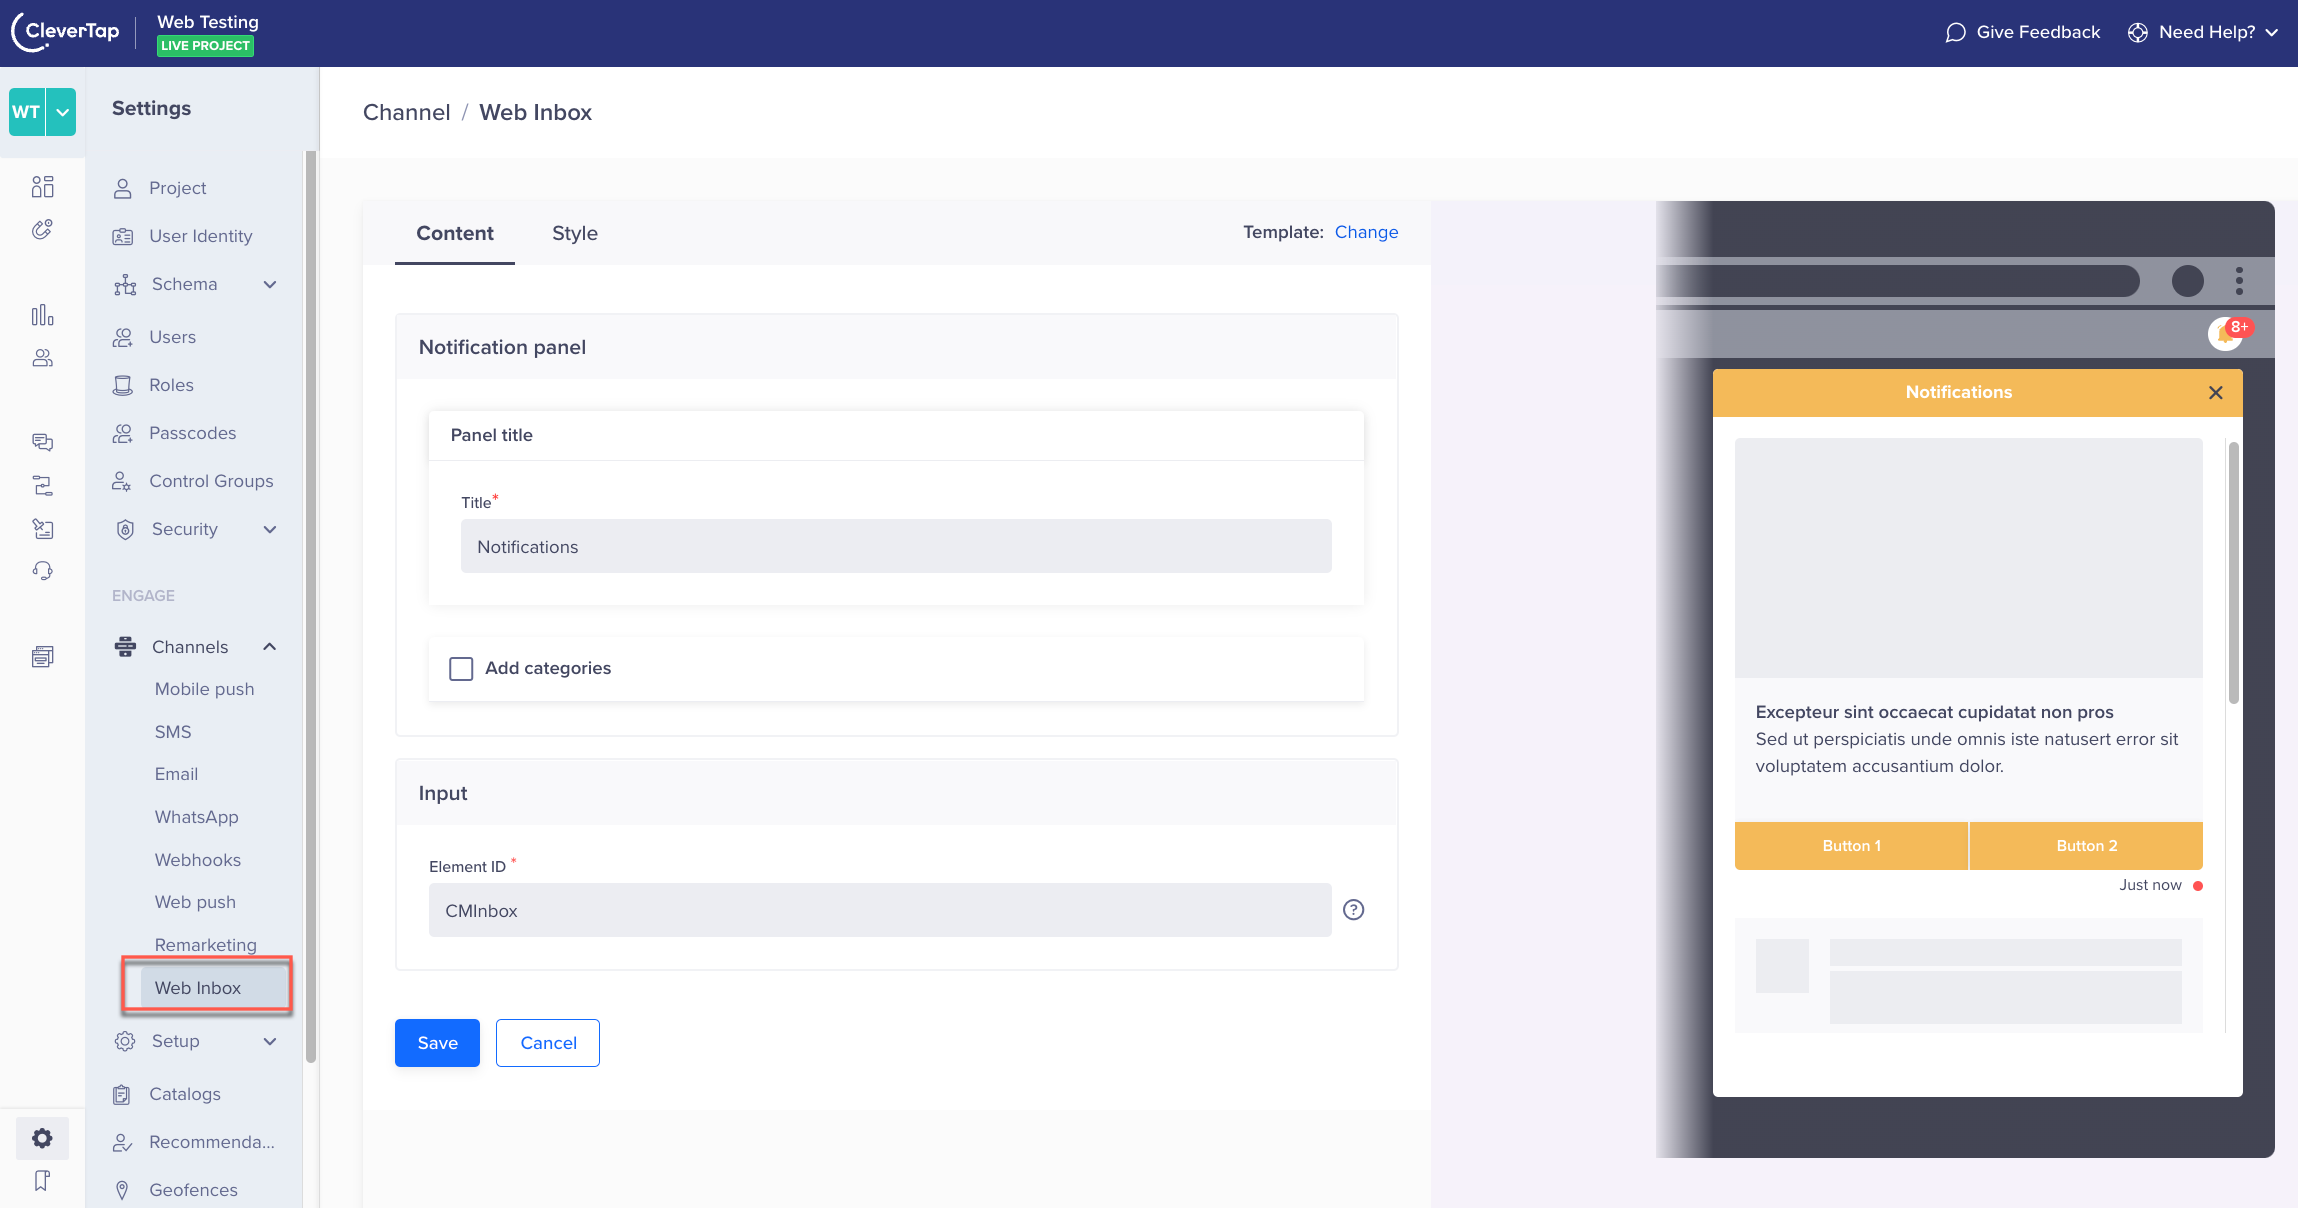
As a prerequisite for running Web Inbox campaigns, you must also complete the Web Inbox Setup. To complete the Web Inbox Setup, navigate to your CleverTap dashboard > Settings > Channels > Web Inbox. This configuration allows you to define the overall appearance of your Web Inbox window.

Prerequisite Setup for Web Inbox
Web Inbox Window Configuration
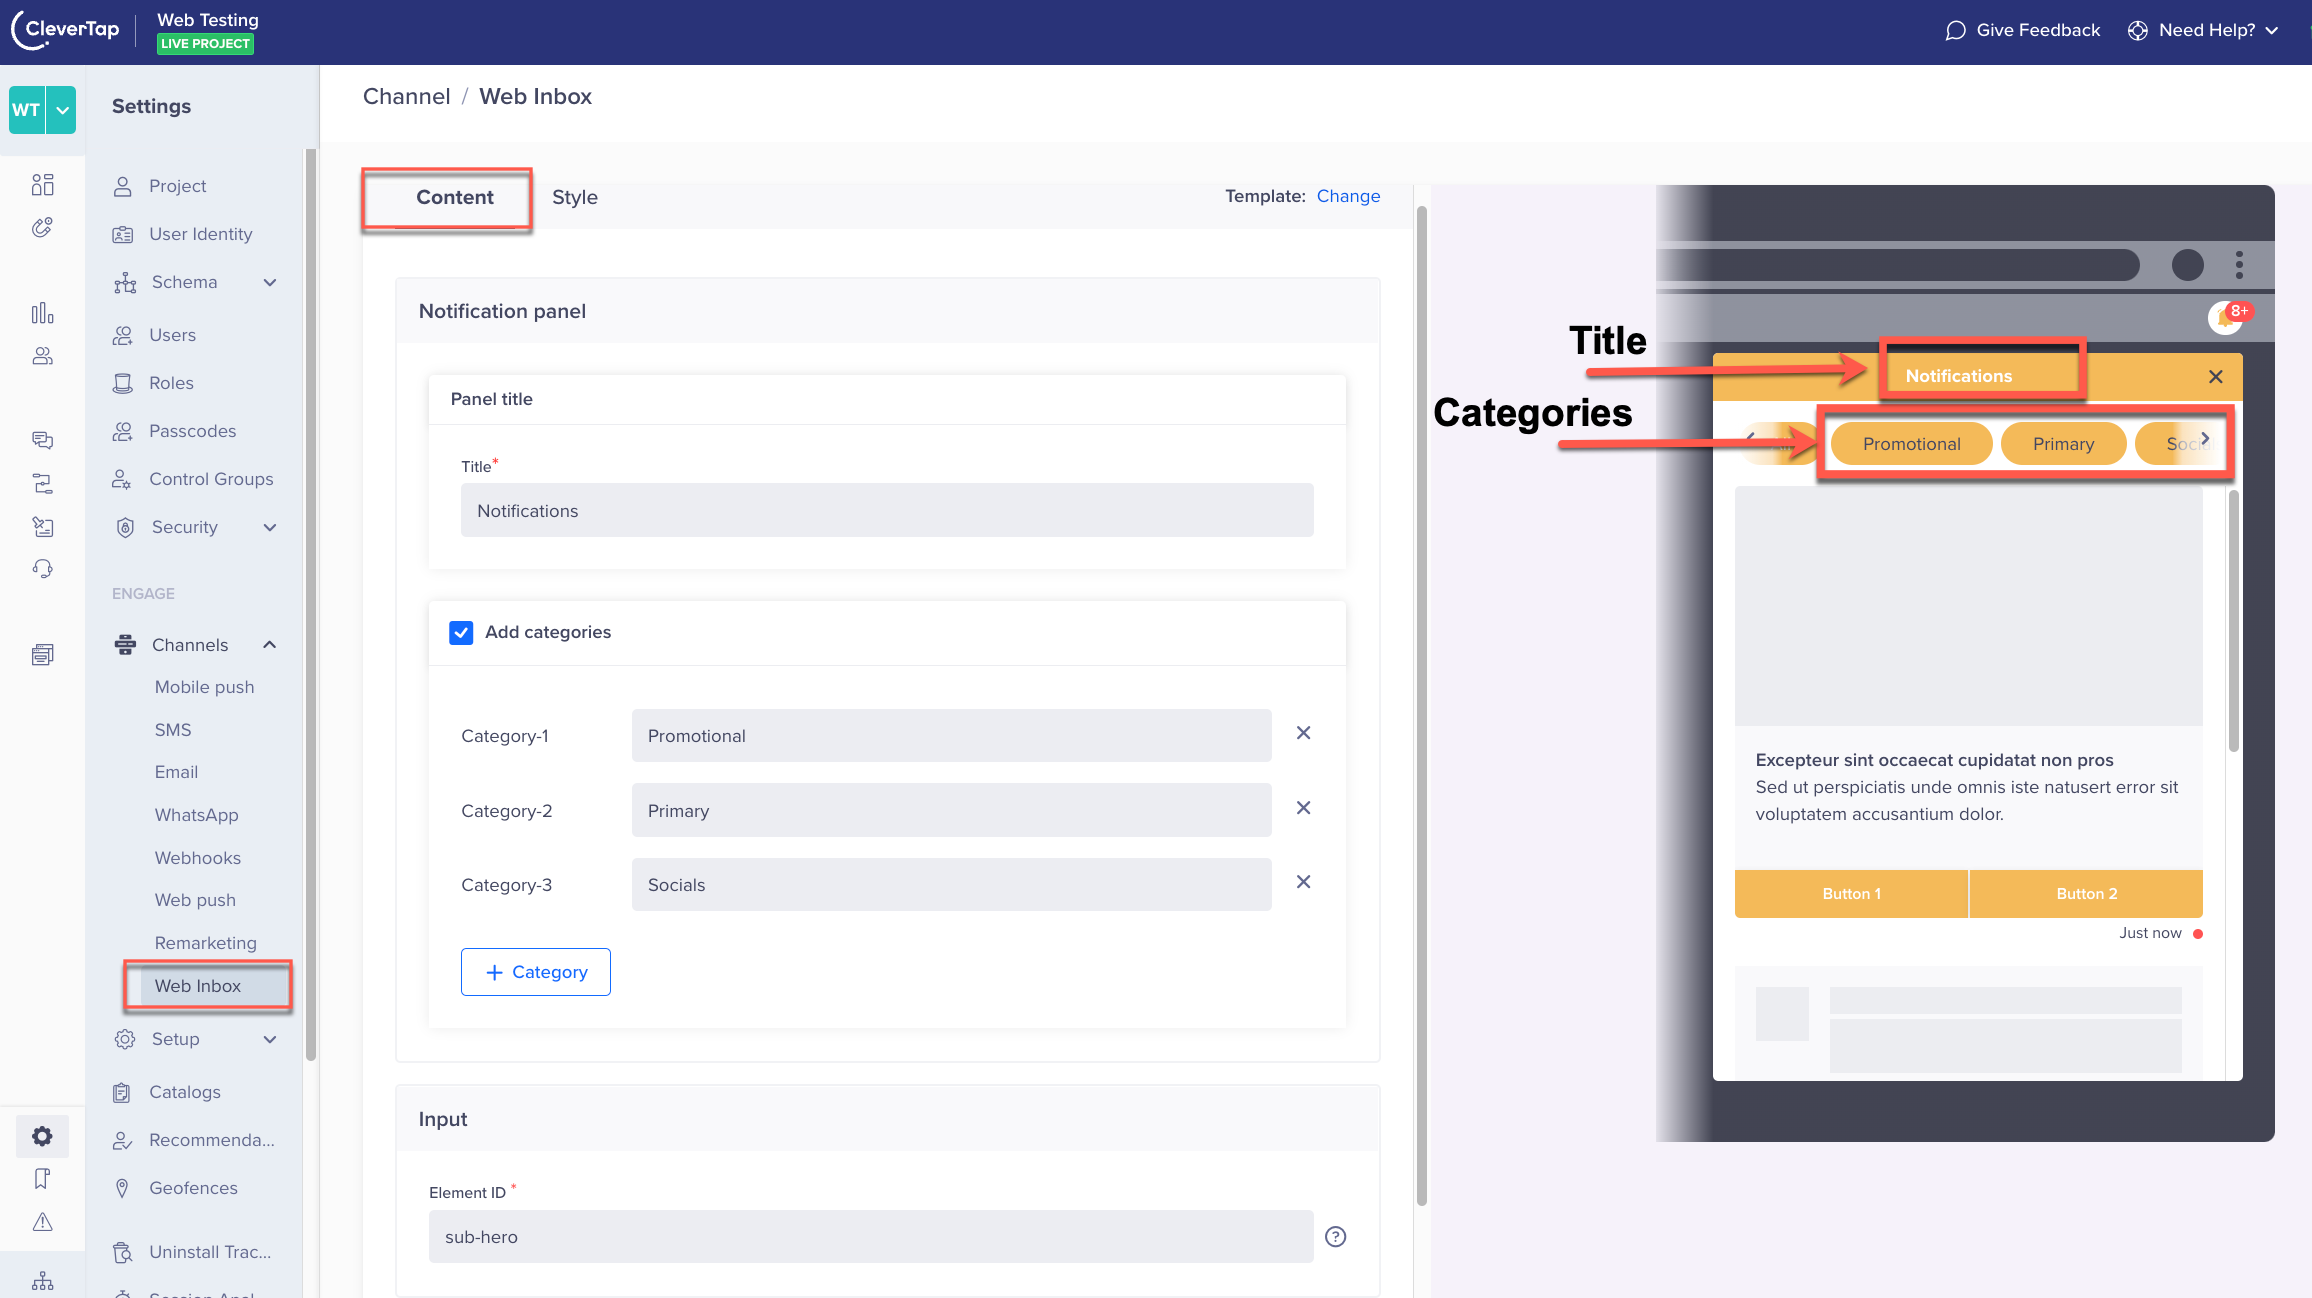
Under the Content tab, define the following as per your requirements:
- The Title for Notification Panel.
- The type of categories (maximum of ten) you wish to assign to your messages. For example, Promotional, Primary, Socials, etc.
- The Element ID of your website's element clicking upon which opens the Web Inbox window.
- You can also set the maximum number of messages that can be displayed in the user's inbox. The messages will be displayed on a first in first out basis.

Web Inbox Window Configuration
NoteThe Element ID is a mandatory input field. It helps CleverTap locate the web element on your website where it needs to display the Web Inbox window.
Web Inbox Window Styling
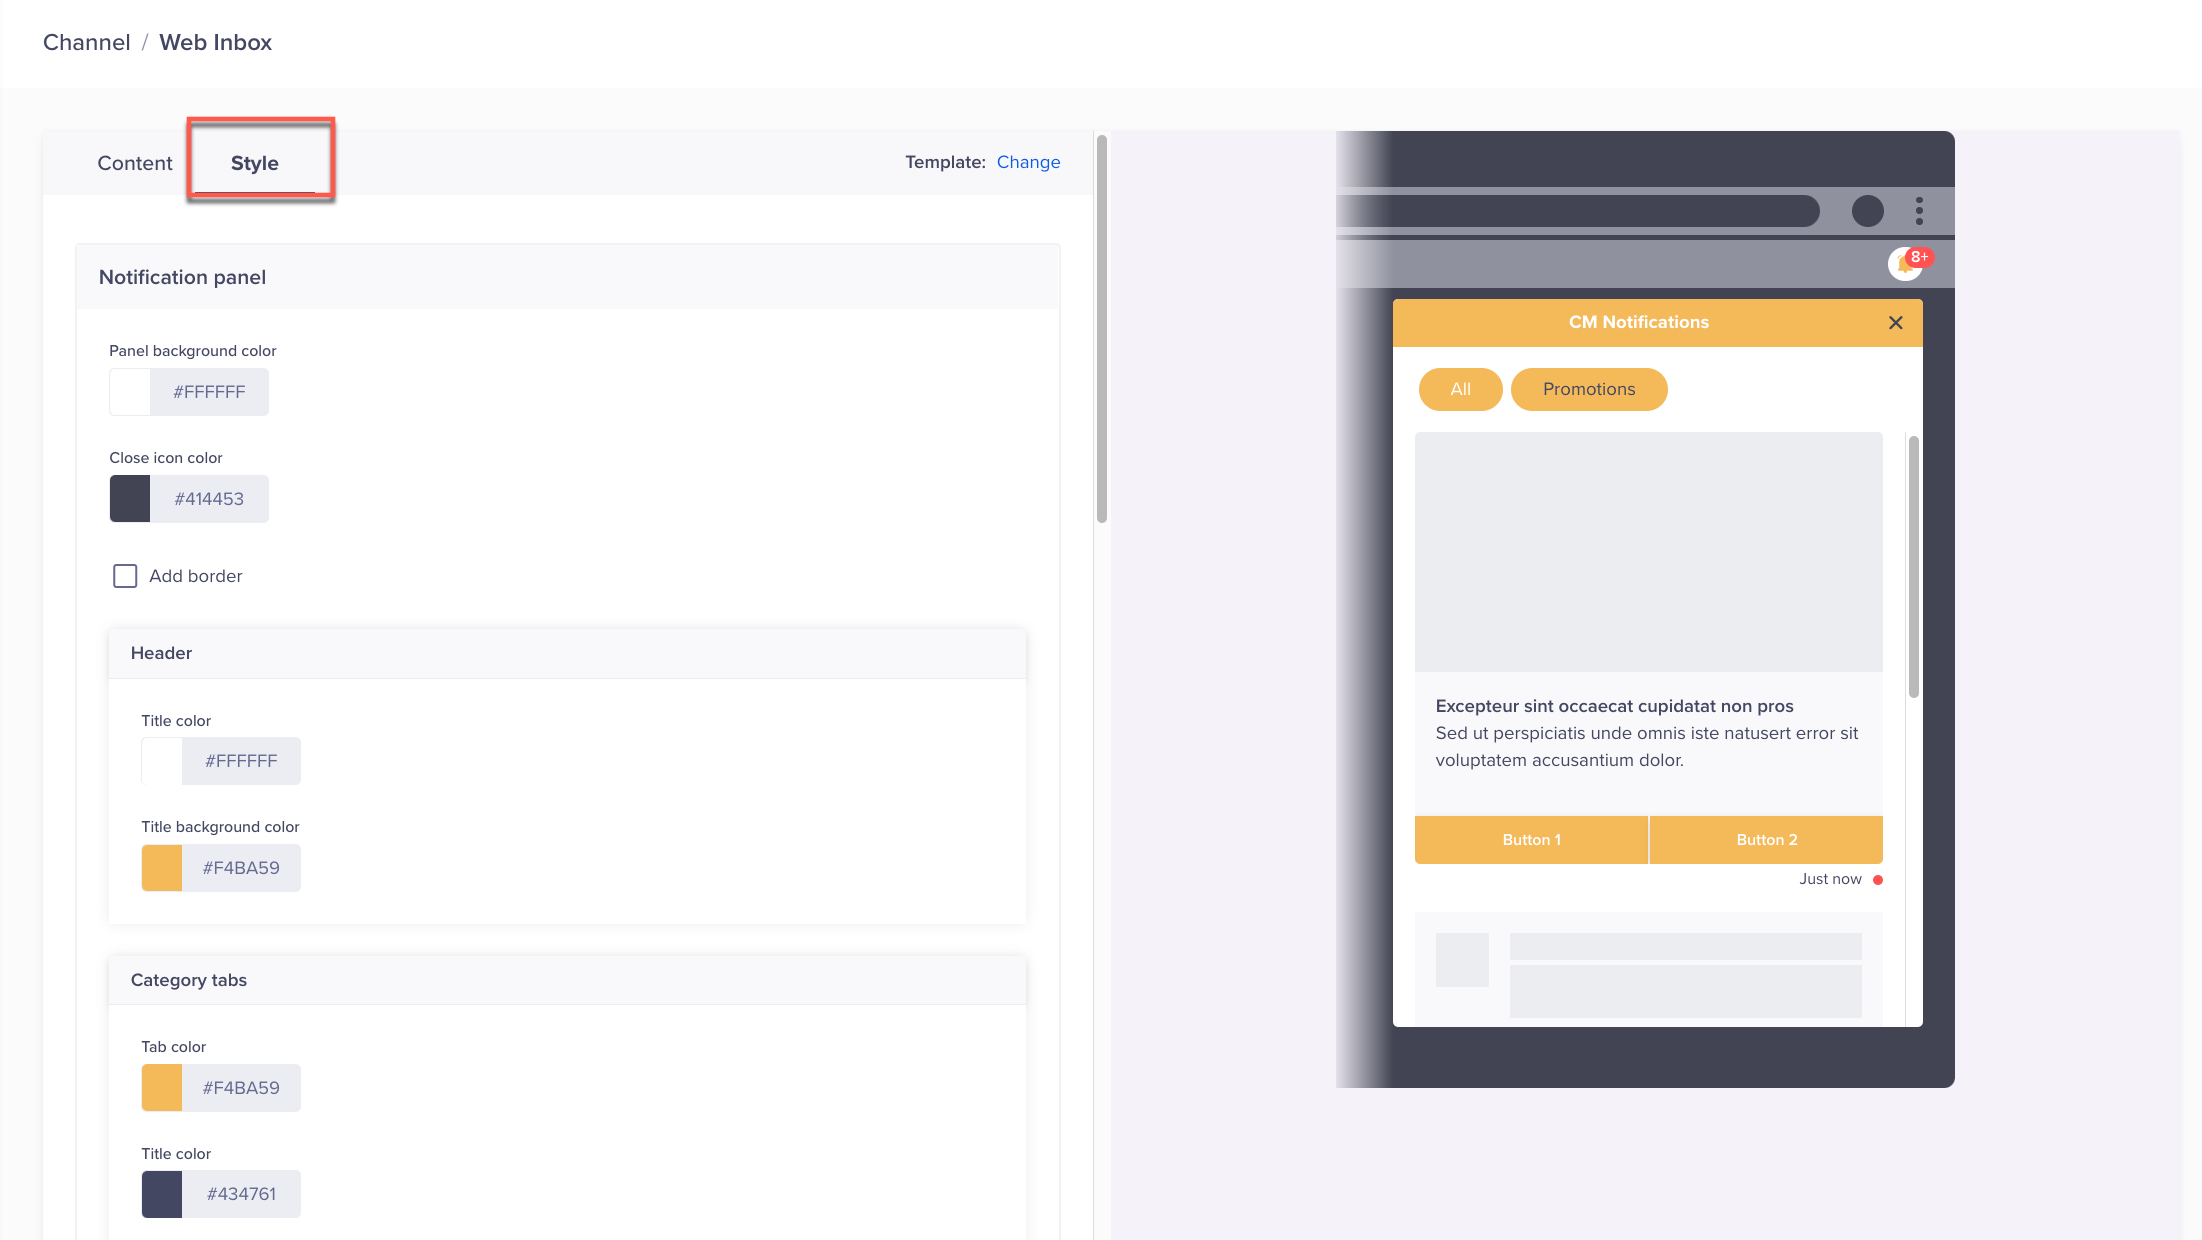
Under the Style tab, you get the complete flexibility to customize the colors for:
- Notification panel
- Header
- Category tabs
- Cards
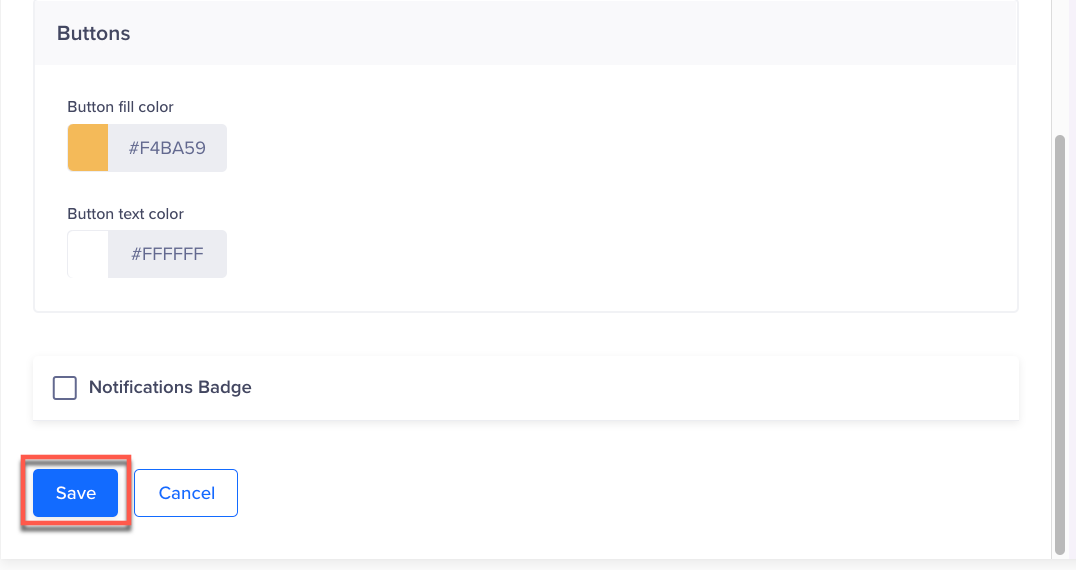
- Buttons
- Notification badge

Web Inbox Window Styling
After selecting the desired colors, click Save to save your configurations.

Web Inbox Customizations
After you save your configurations, you can start creating Web Inbox campaigns.
Updated about 2 months ago
