Mixpanel Export
Understand how you can export event data from CleverTap to the Mixpanel dashboard. To learn more about the import feature, refer to Mixpanel Import.
Overview
This section provides information about exporting event data from CleverTap to the Mixpanel dashboard. CleverTap also offers to import Mixpanel cohorts. To learn more about this feature, refer to Mixpanel Import.
Export Limit Per EventMixpanel supports exporting only 255 event properties per event. If the number of event properties exceeds the Mixpanel limit, the CleverTap exports the first 255 event properties.
Setup
The setup involves adding Mixpanel project details to the CleverTap dashboard. To add the project details:
- Log in to your CleverTap account.
- Navigate to Settings > Partners > Partner List.
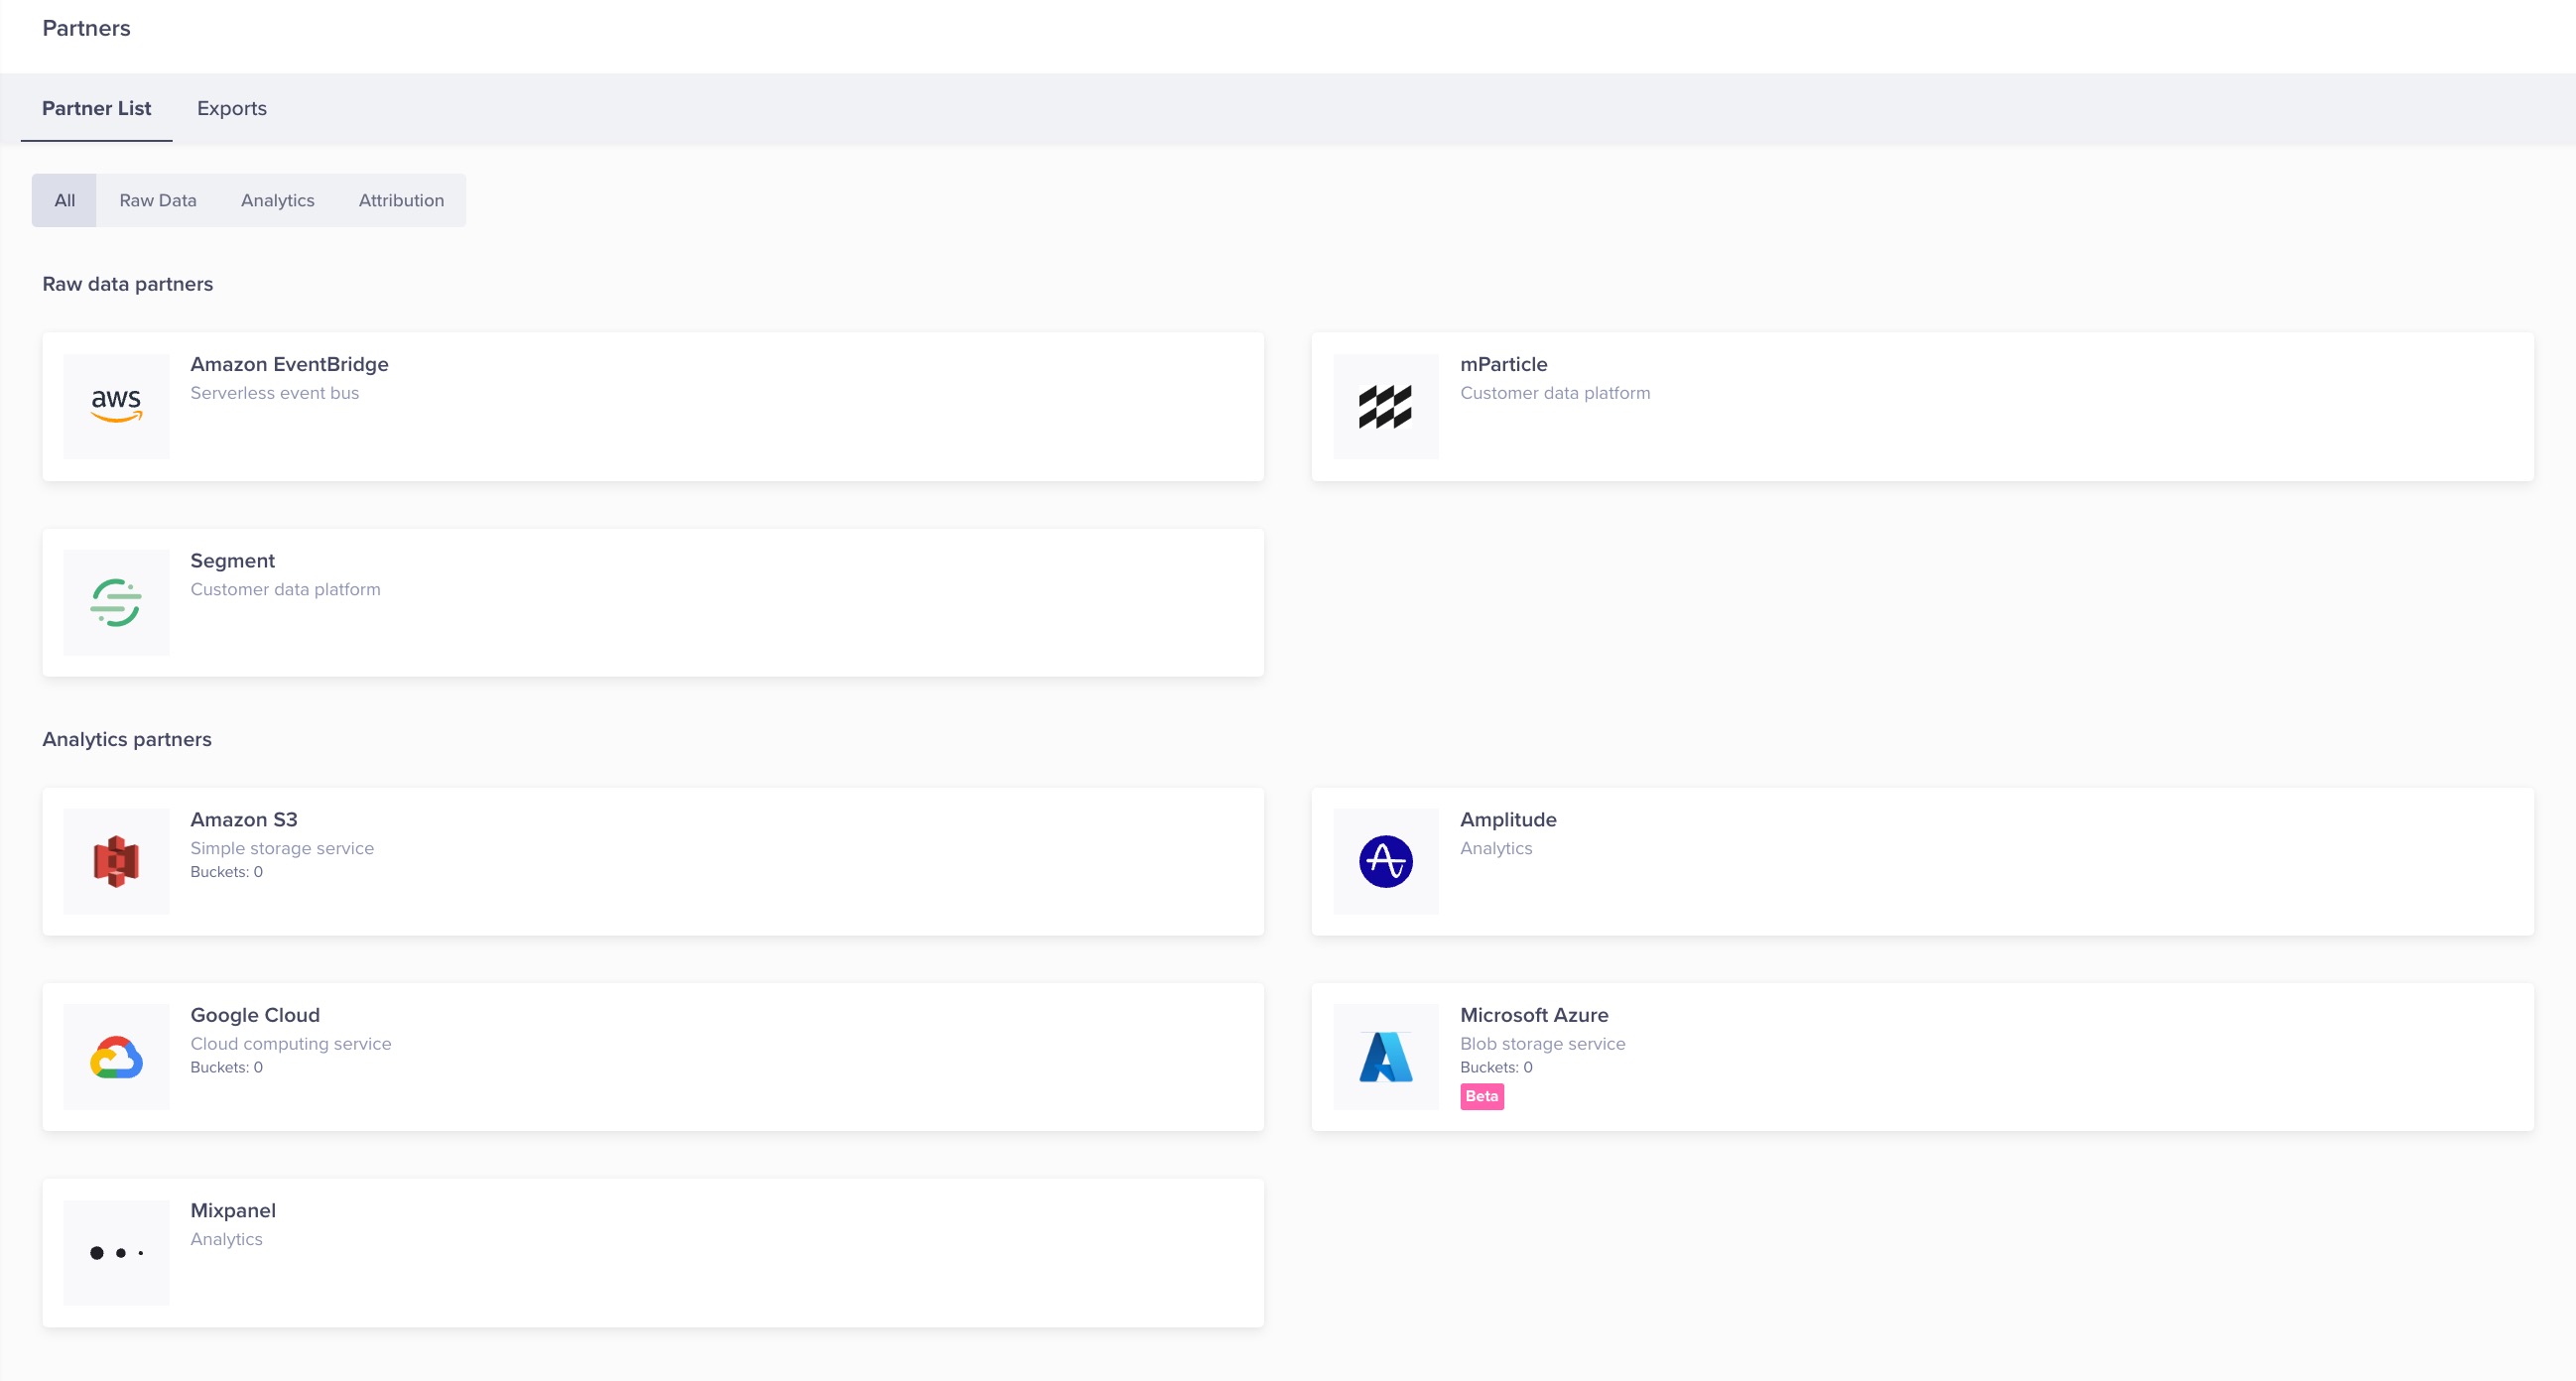
- Hover on the Mixpanel icon and click Integrate.
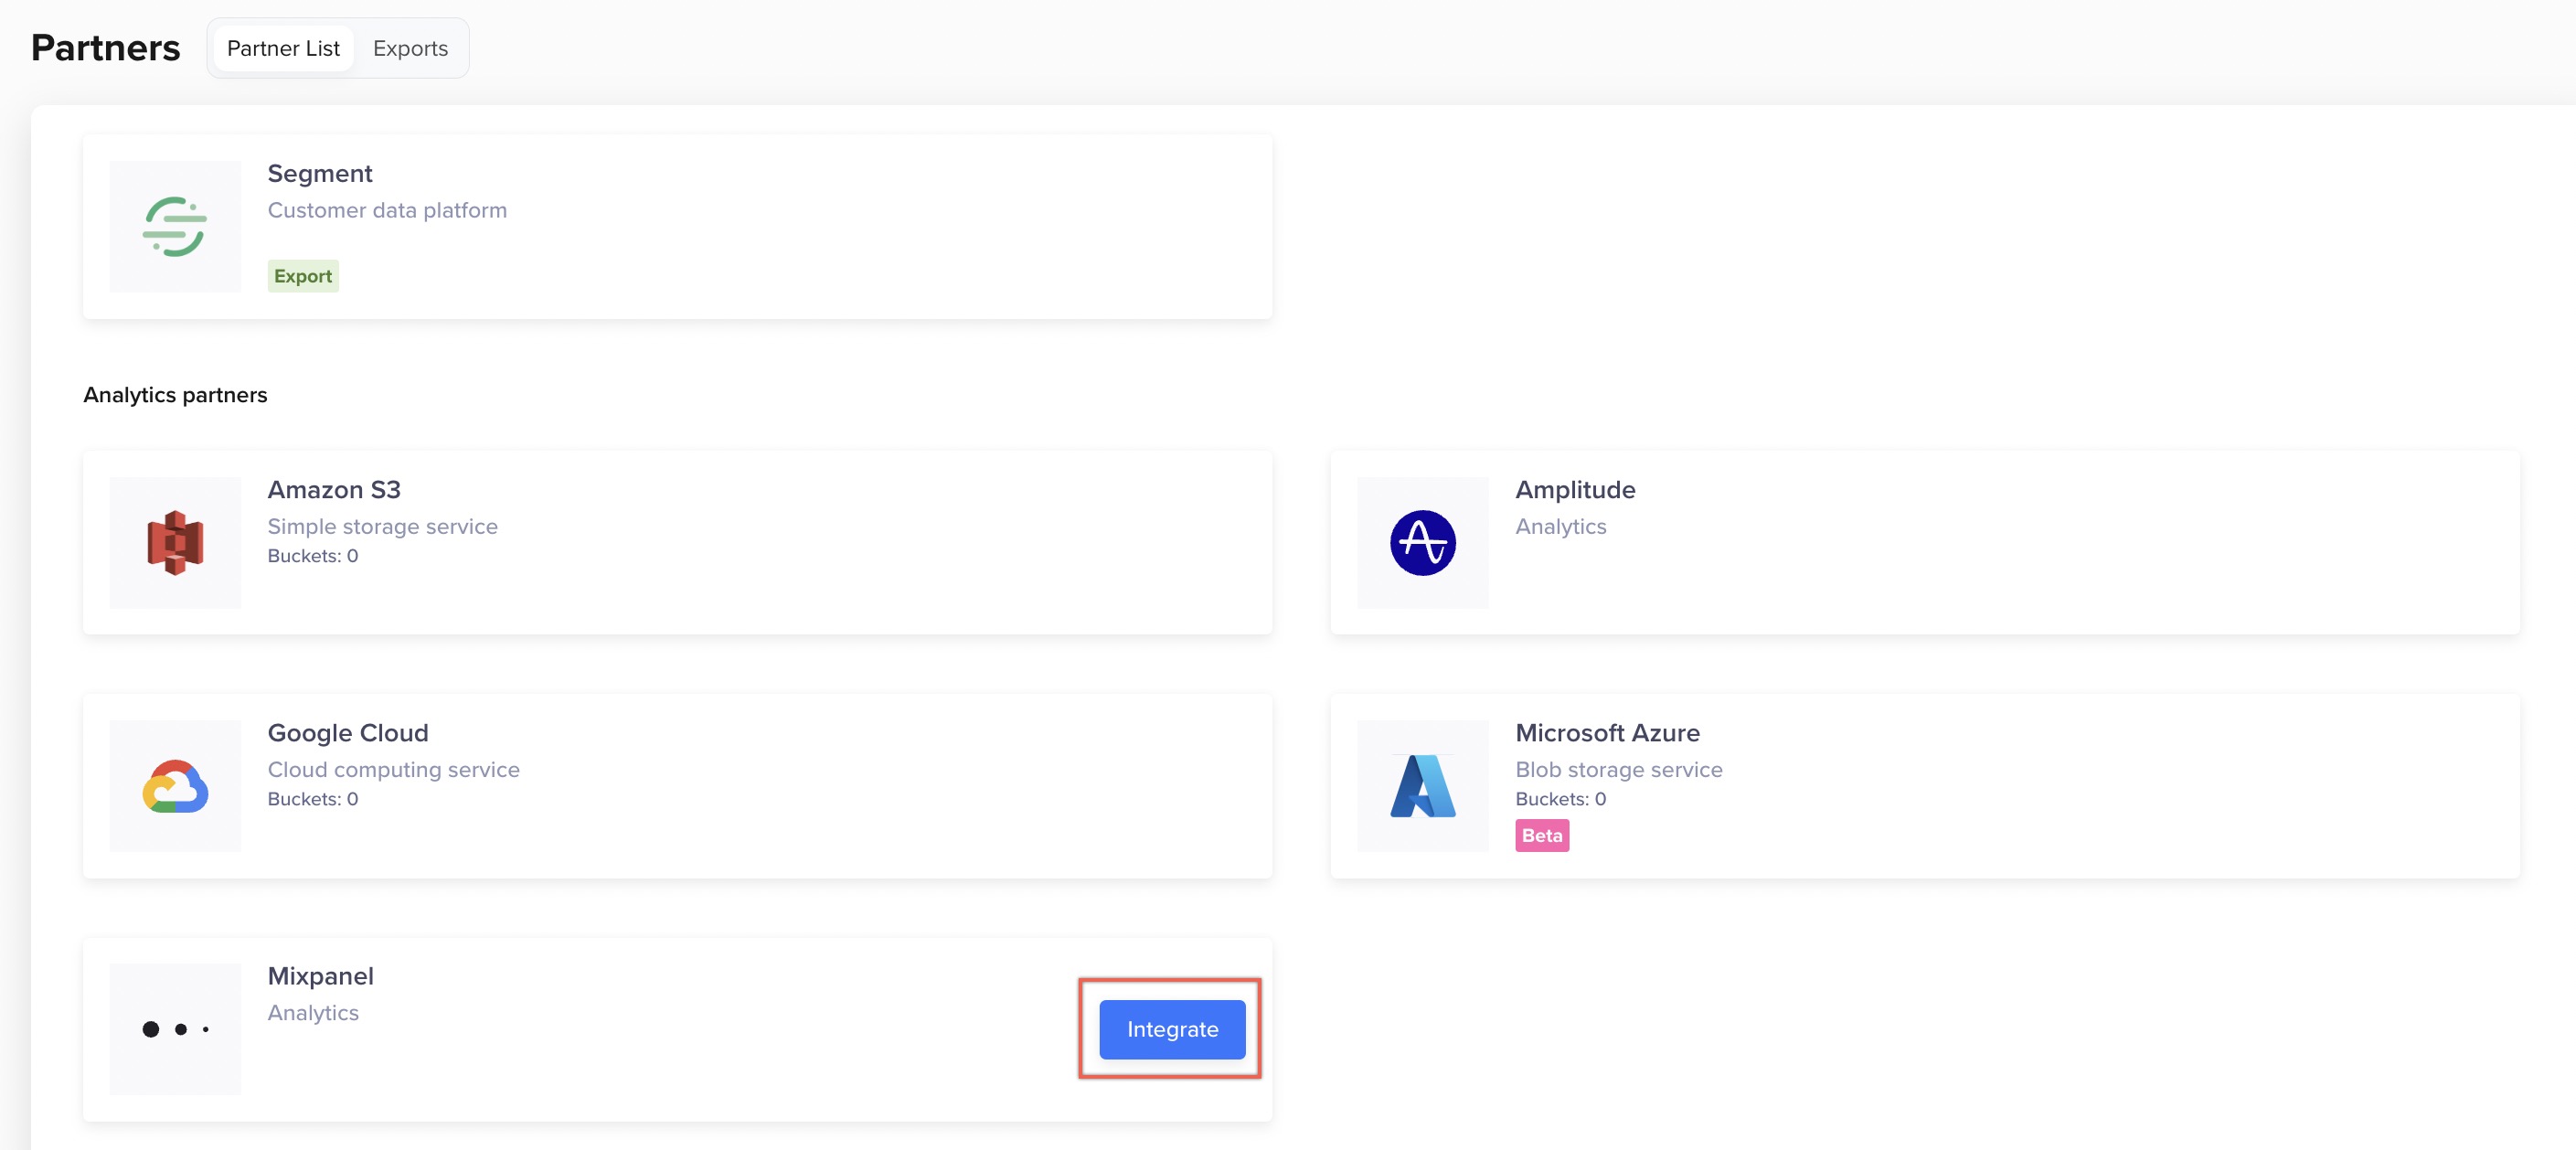
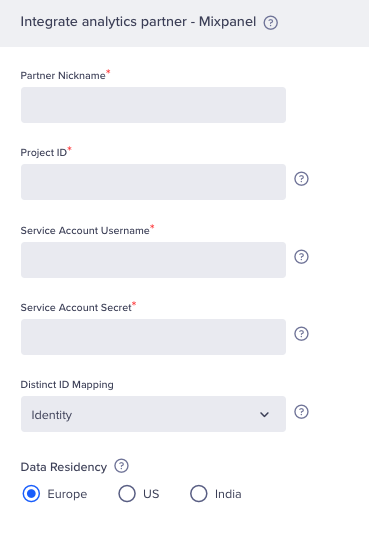
On clicking, the Integrate analytics partner - Mixpanel popup opens on the right side of the screen.
- Enter the following details and click Integrate:
Field | Description |
|---|---|
Mixpanel Project ID | The Project token is used to send event data to Mixpanel. For more information, refer to Project ID. |
Service Account Username | A descriptive name for the service account in Mixpanel. For more information, refer to Service Account Username. |
Service Account Secret | The secret API is the key that corresponds to your project. For more information, refer to Service Account Secret. |
Data Residency |
|
| Mixpanel Distinct ID Mapping | This user property is used as an identifier when sending event data to Mixpanel. For more information, refer to |
Integrate Partner - Mixpanel
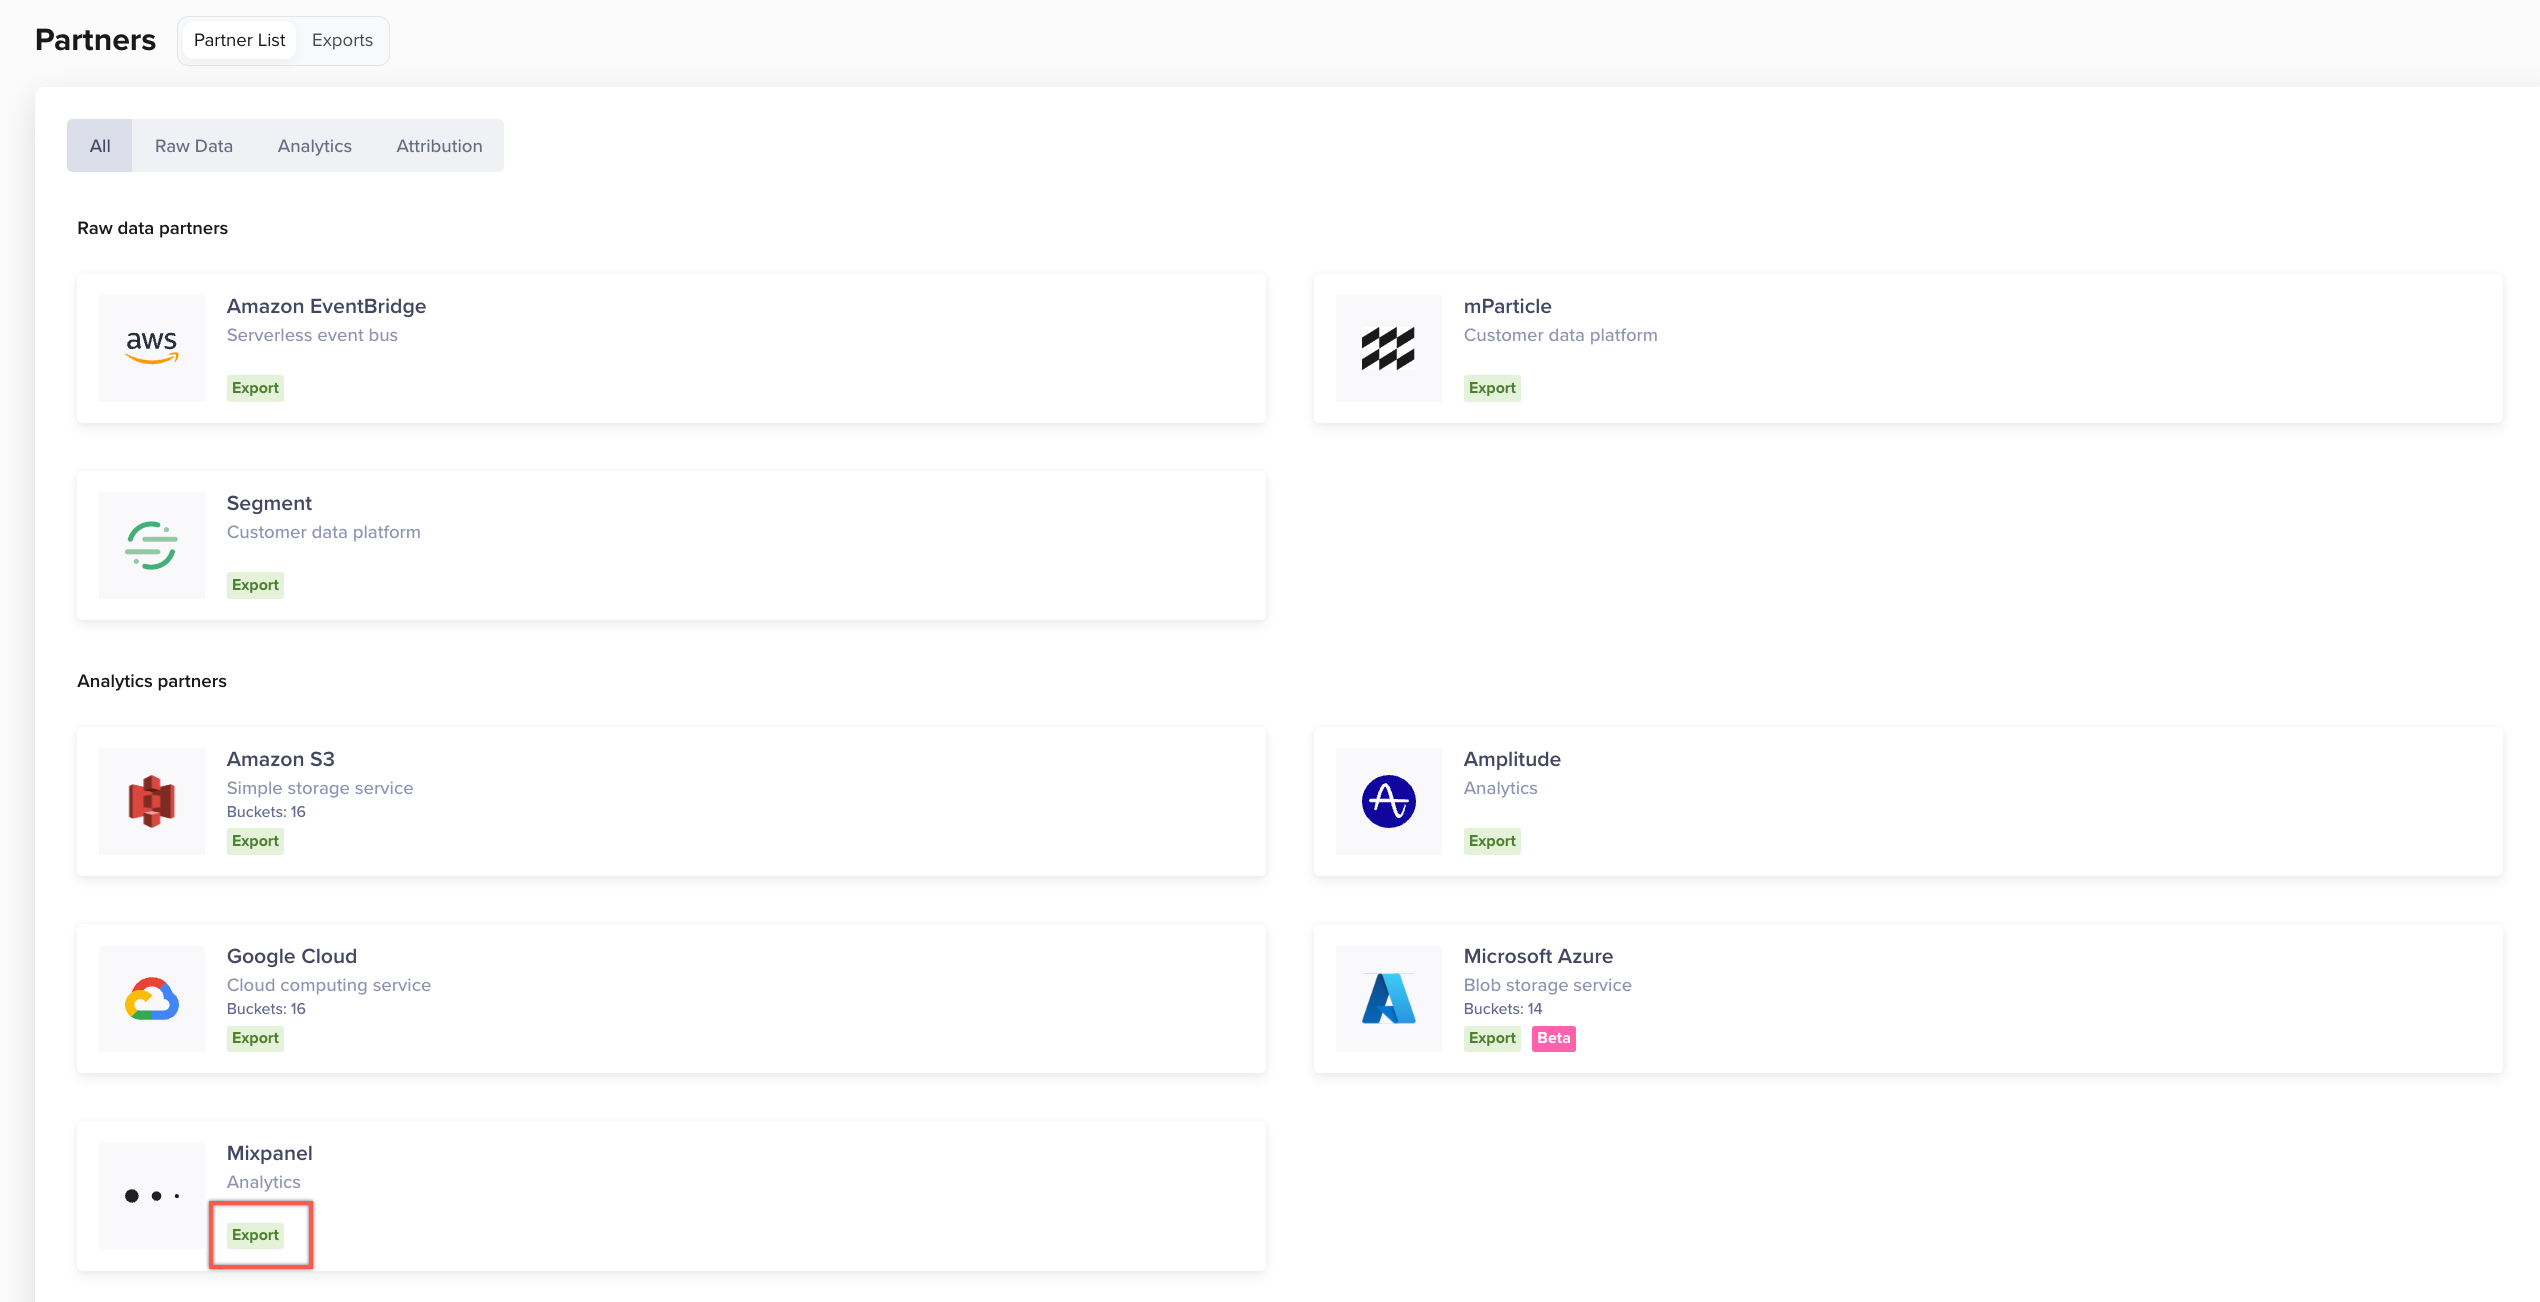
After successful integration, the Integrated tag displays against Mixpanel on the Partner List page.
Create New Export
To create a new export:
- Navigate to Settings > Partners > Exports.
- Click Create Export and select Mixpanel.
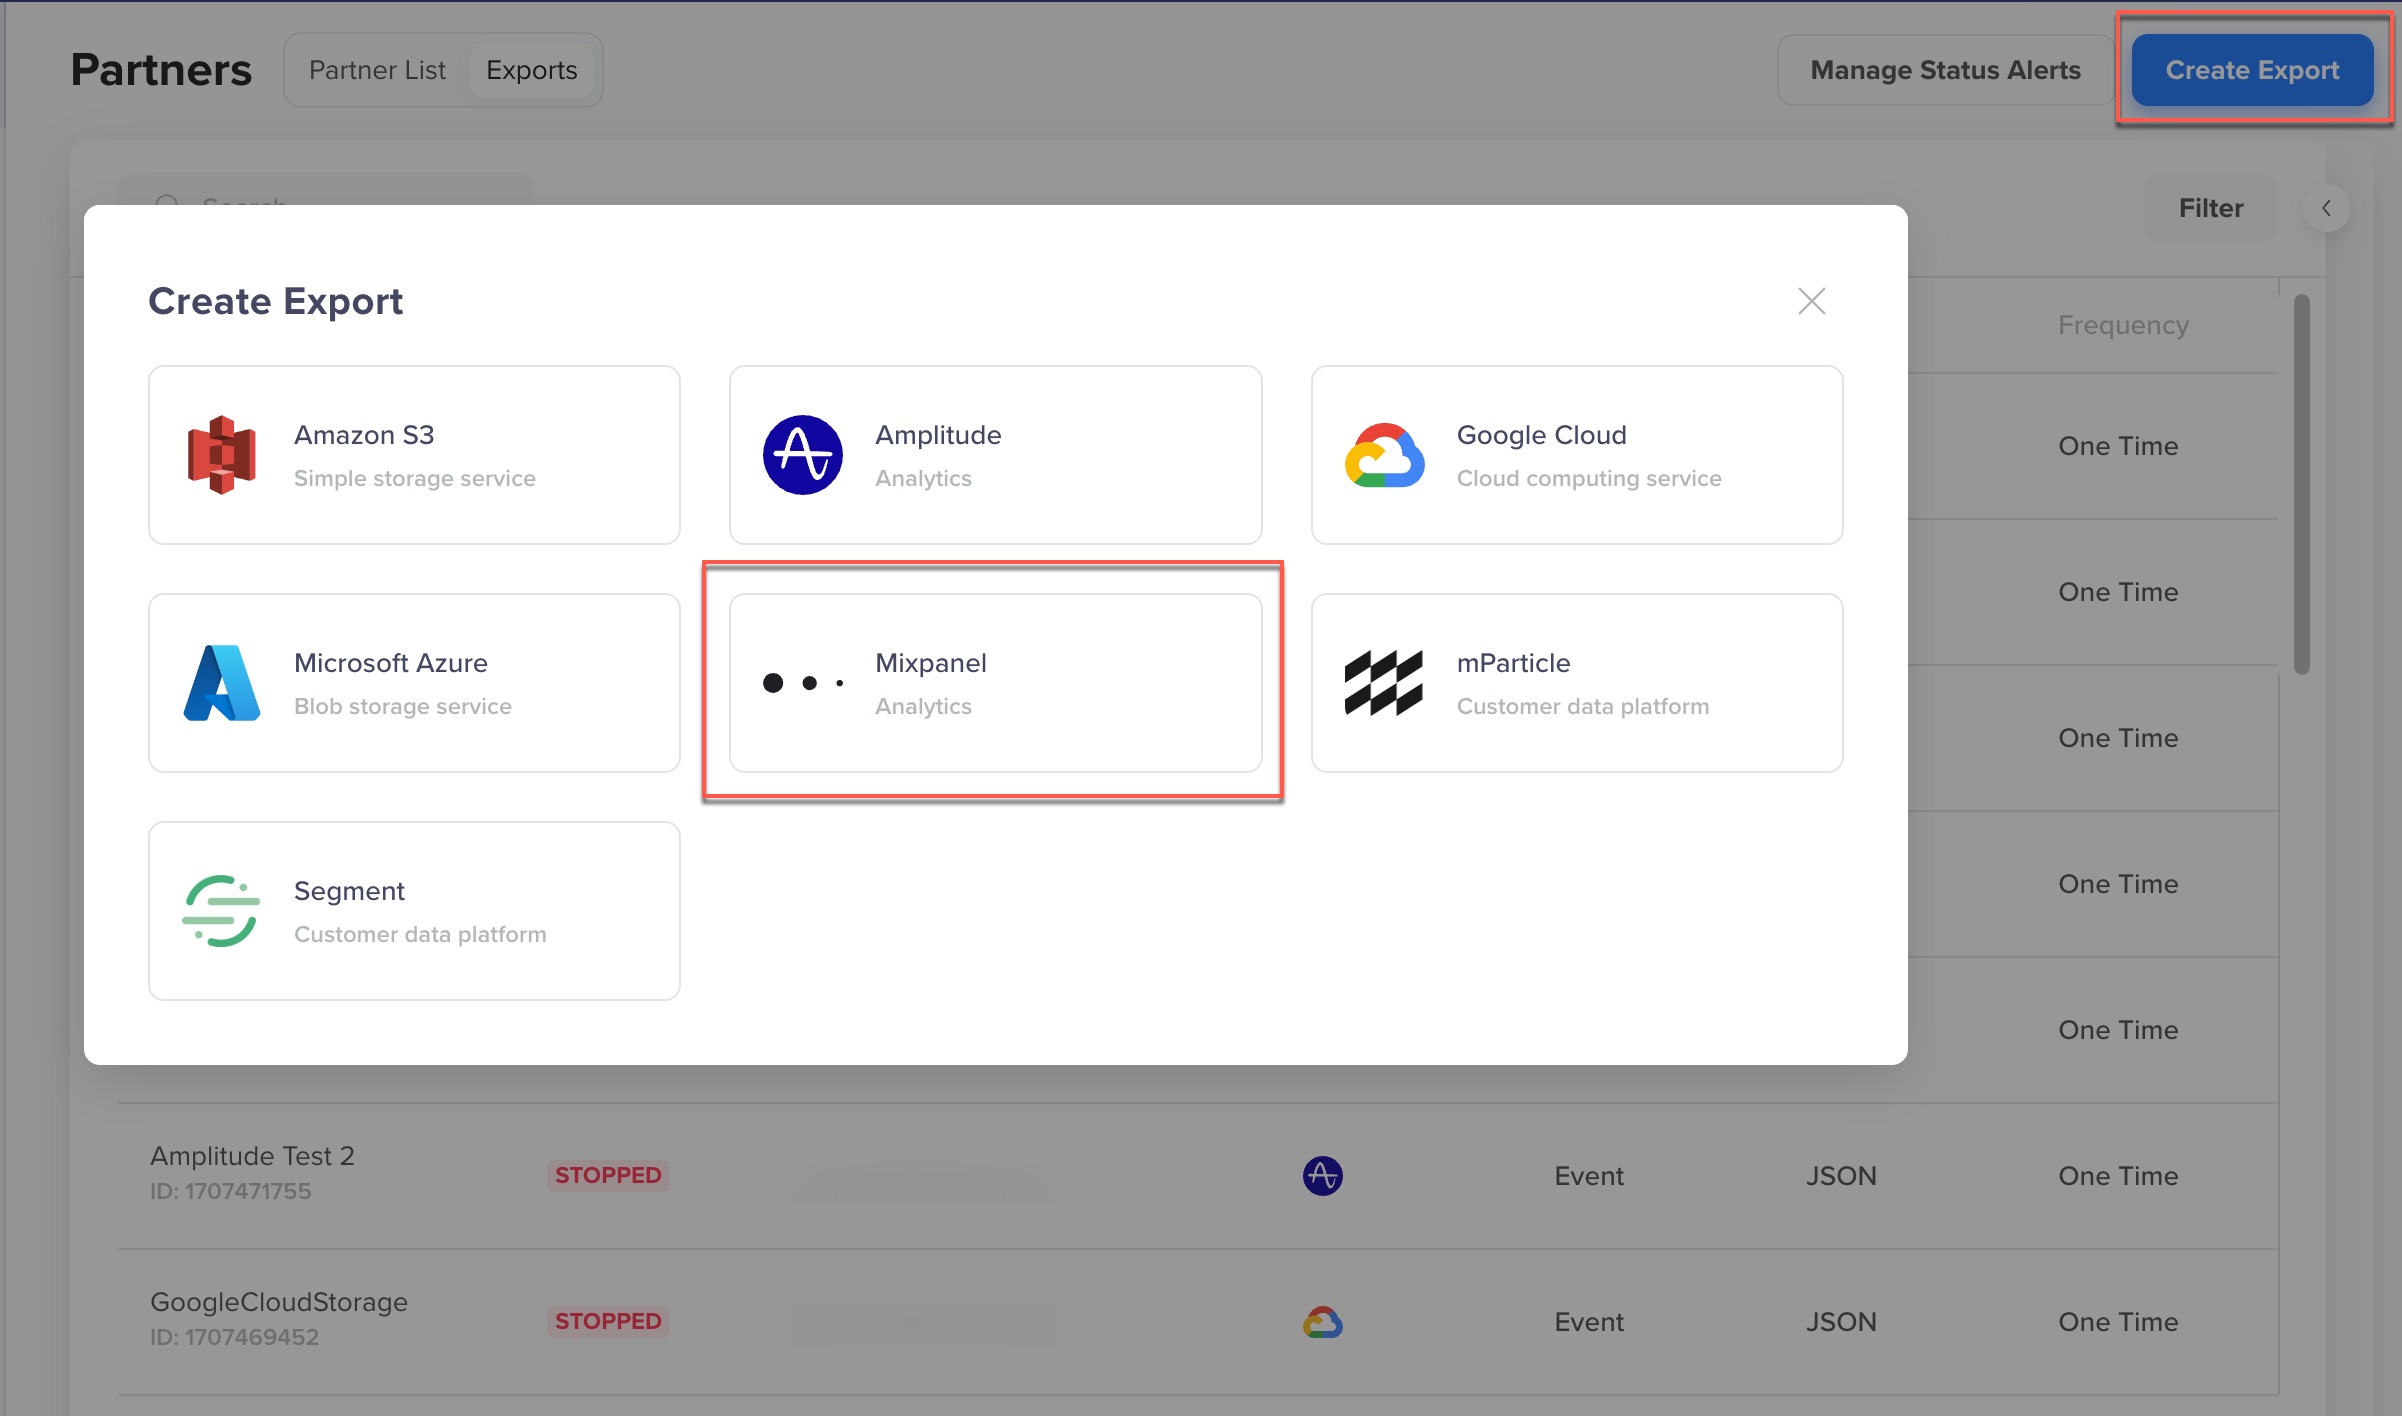
The Export to Mixpanel popup displays.
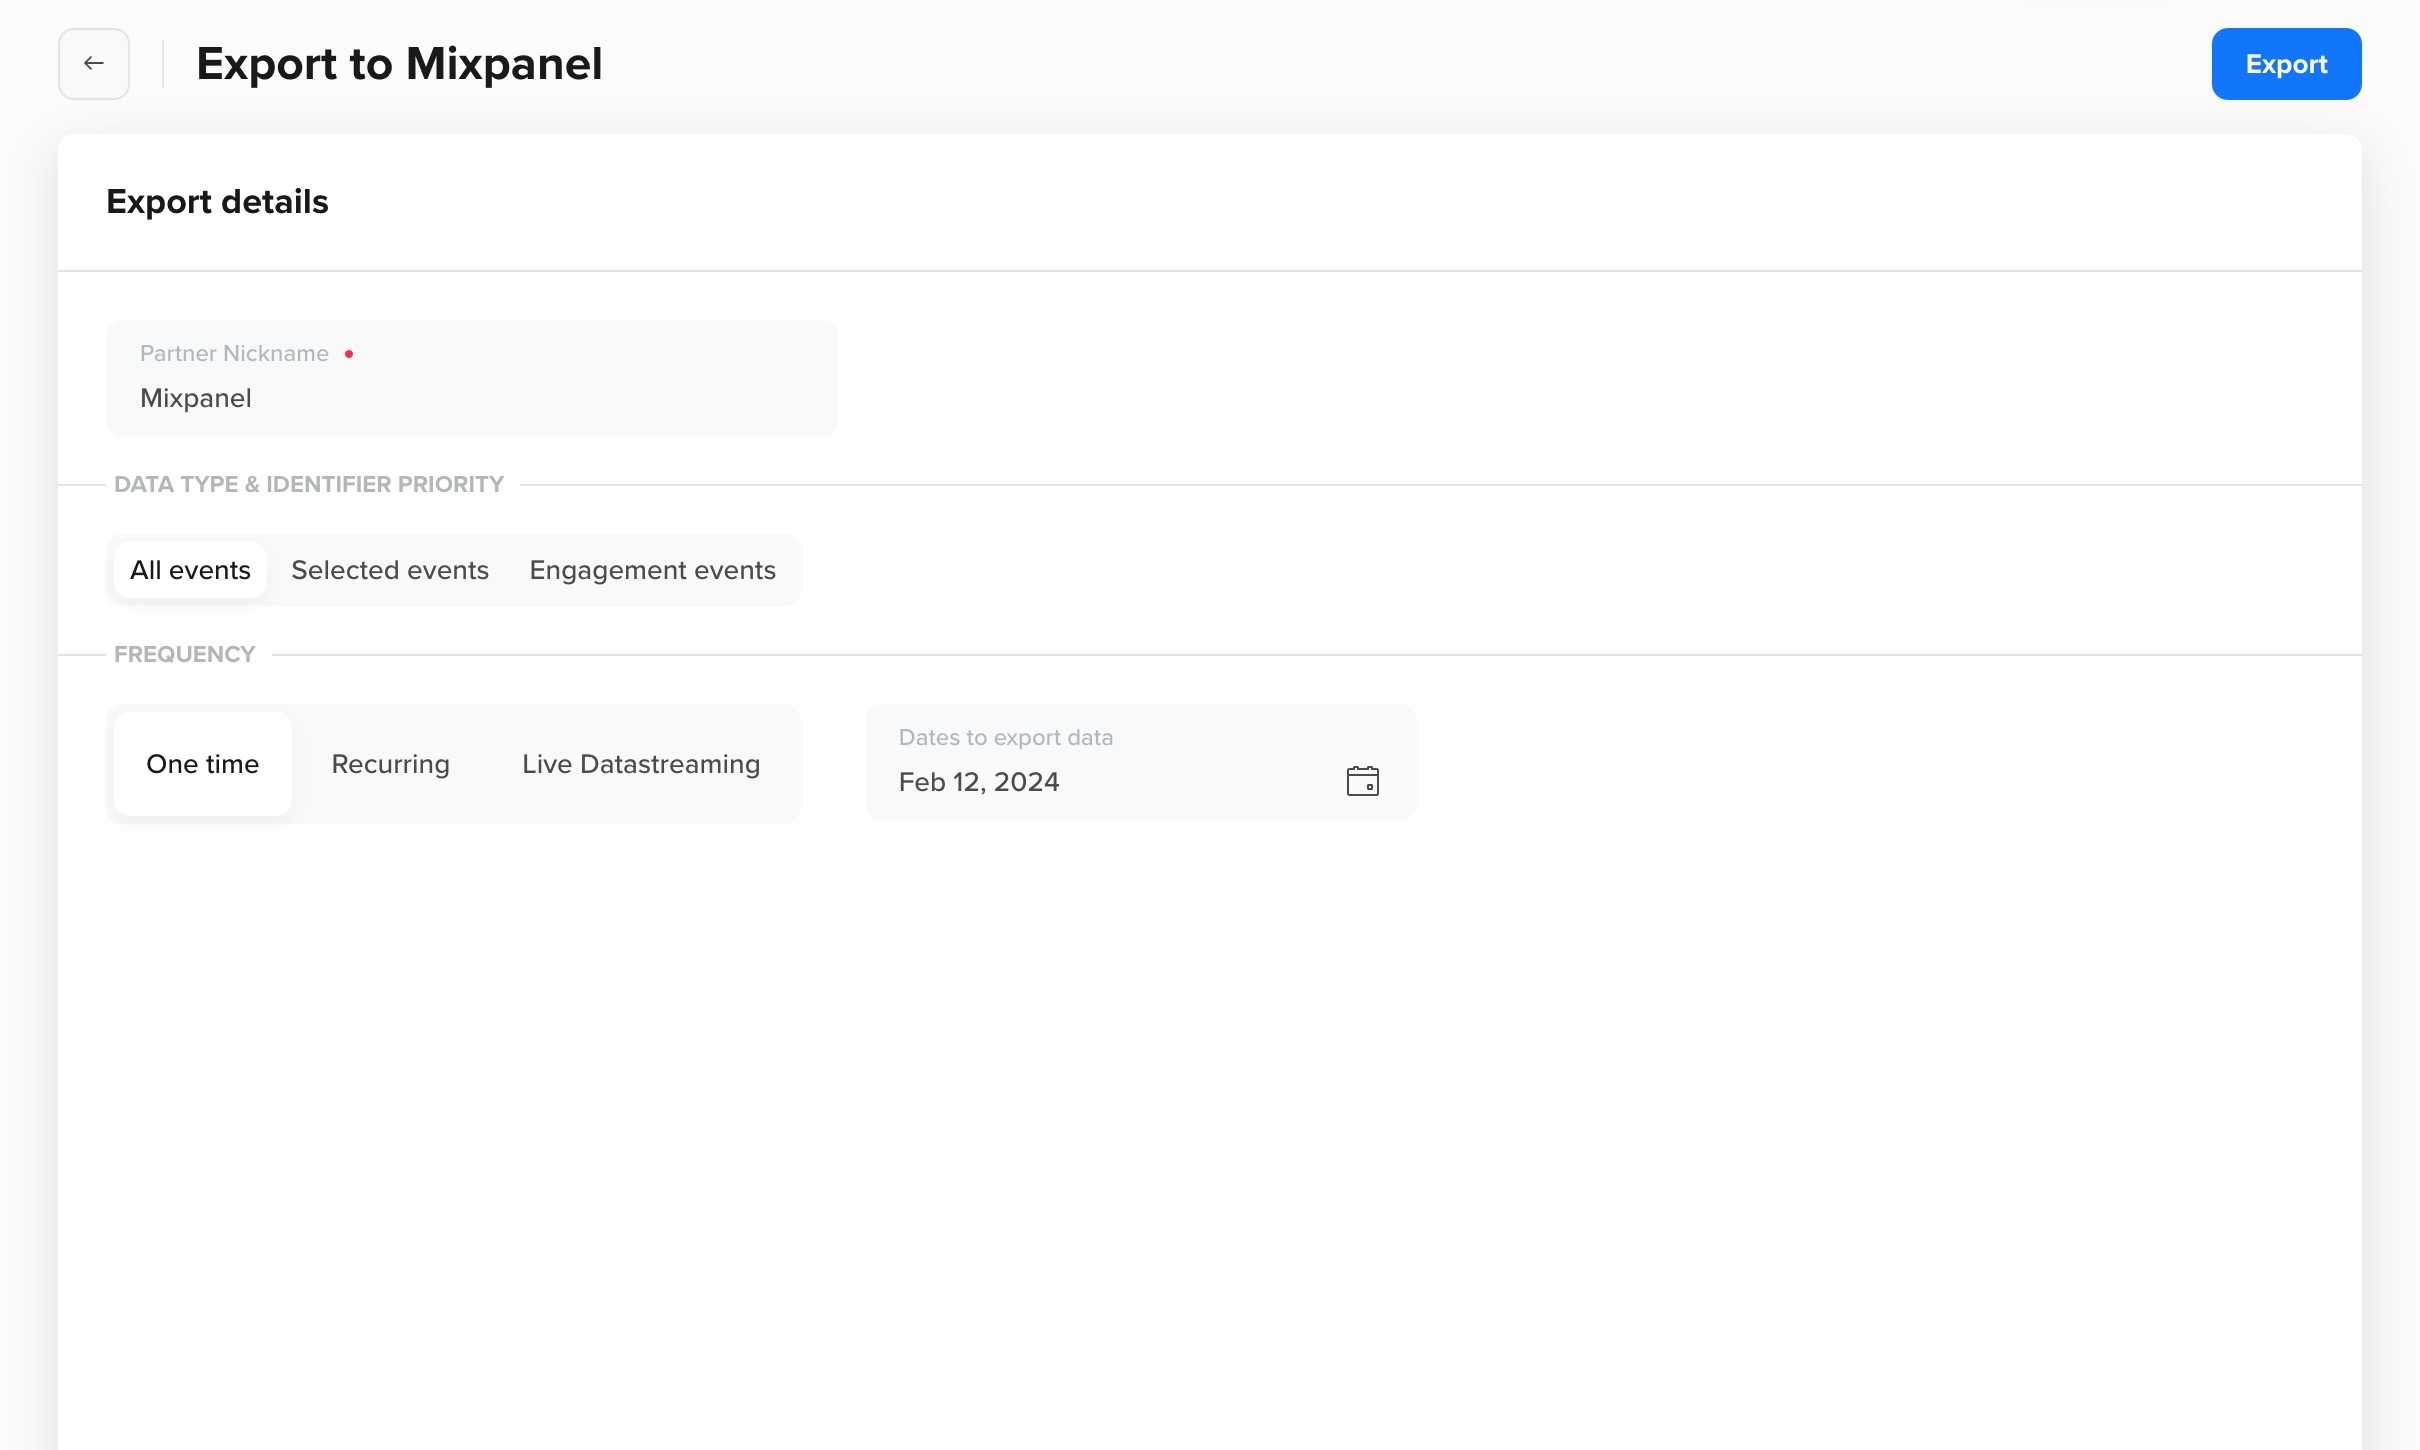
- Configure the settings as required.
- Partner Nickname: Nickname for the partner. To edit the nickname, go to Partner List.
- DATA TYPE & IDENTIFIER PRIORITY: Select the events from the available options to export. For more information, refer to Export Details.
- FREQUENCY: Select from one of the following options:
- One time: A single export for the selected export type. You can export data up to the last 60 days. You create an export for a specific day, date range, previous month, current month, and more.
- Recurring: Set up a recurring export that exports all the new events captured in the last window. You can export data as frequently as every 4 hours and up to once every 24 hours.
- Live Datastreaming: Exports data continuously in real-time.
- Date to export data: The export starts at 12:00 a.m. on the specified date by default.
Rate LimitsIf you are a Mixpanel enterprise customer and require a higher limit for a one-time backfill, contact [email protected] with your project_id and use-case.
- Click Export. On clicking, the popup closes, and the following message displays at the top of the Exports page:
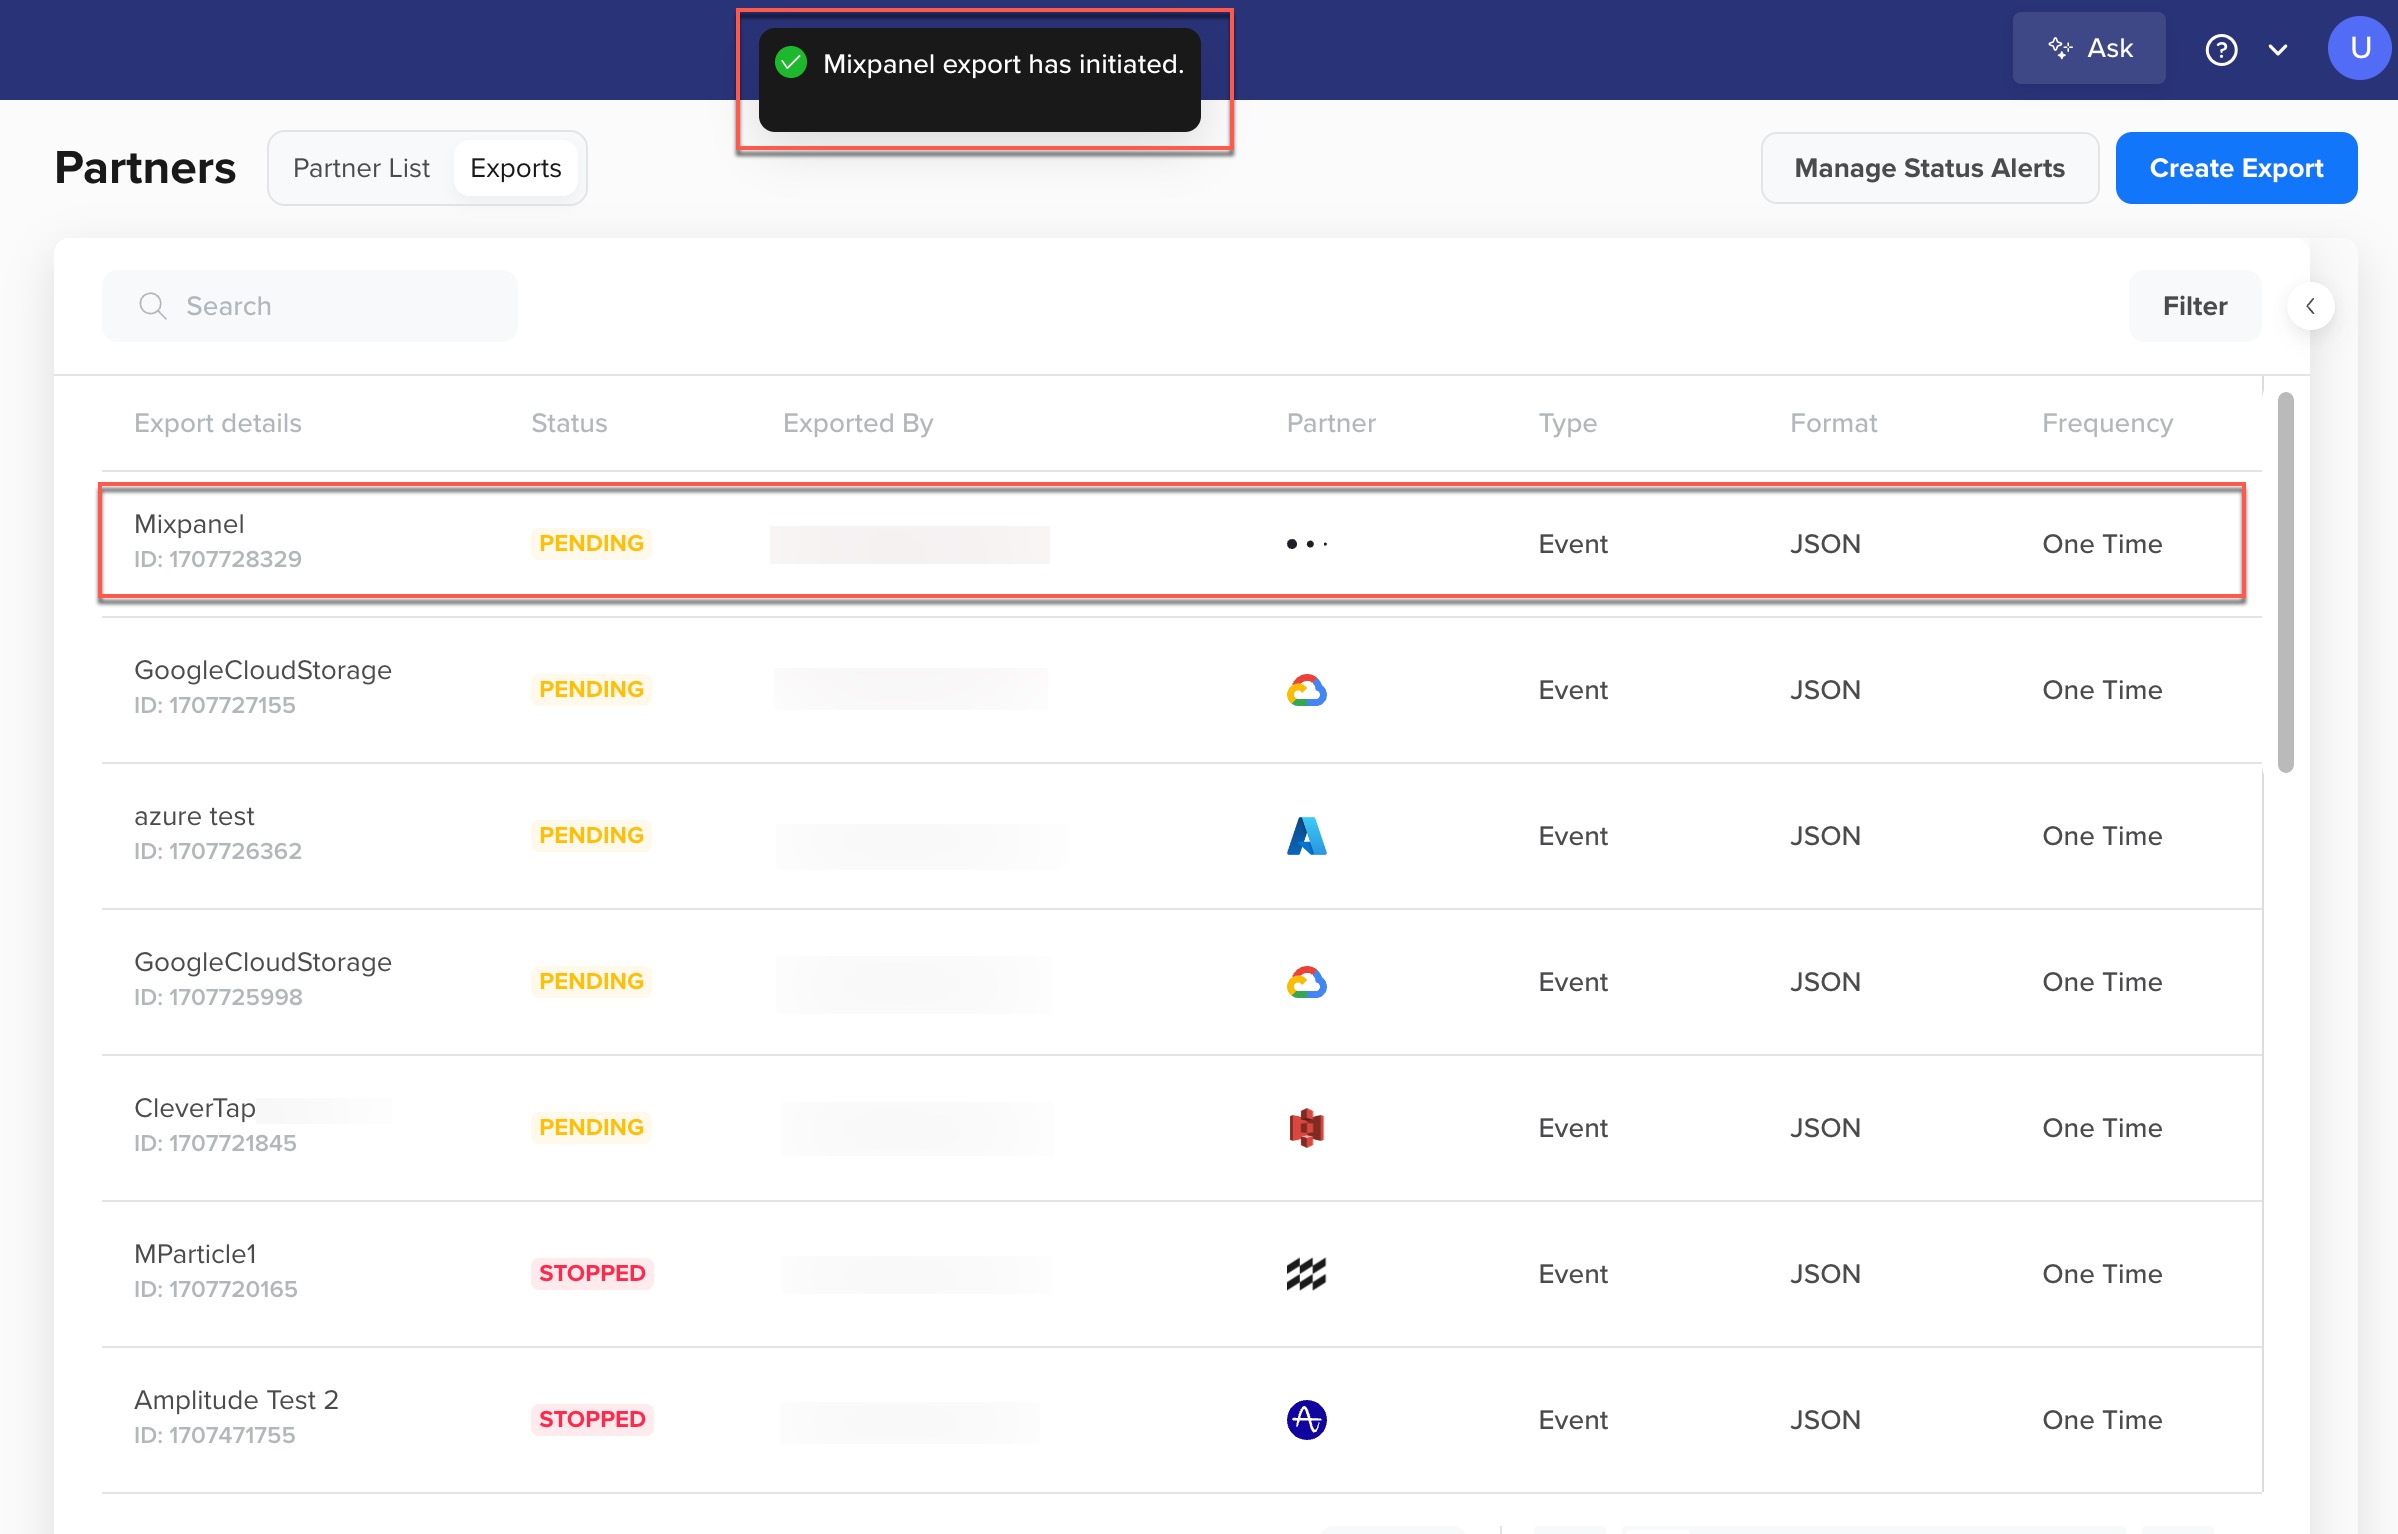
CleverTap processes the export, and you can now see the newly created export for Mixpanel.
The status for each export is displayed as PENDING as soon as the export is created. The status changes to RUNNING after the processing starts. It changes to DONE when the export is complete.
Stop Export
You can also stop the running export. Hover over the export. Click the Stop  button.
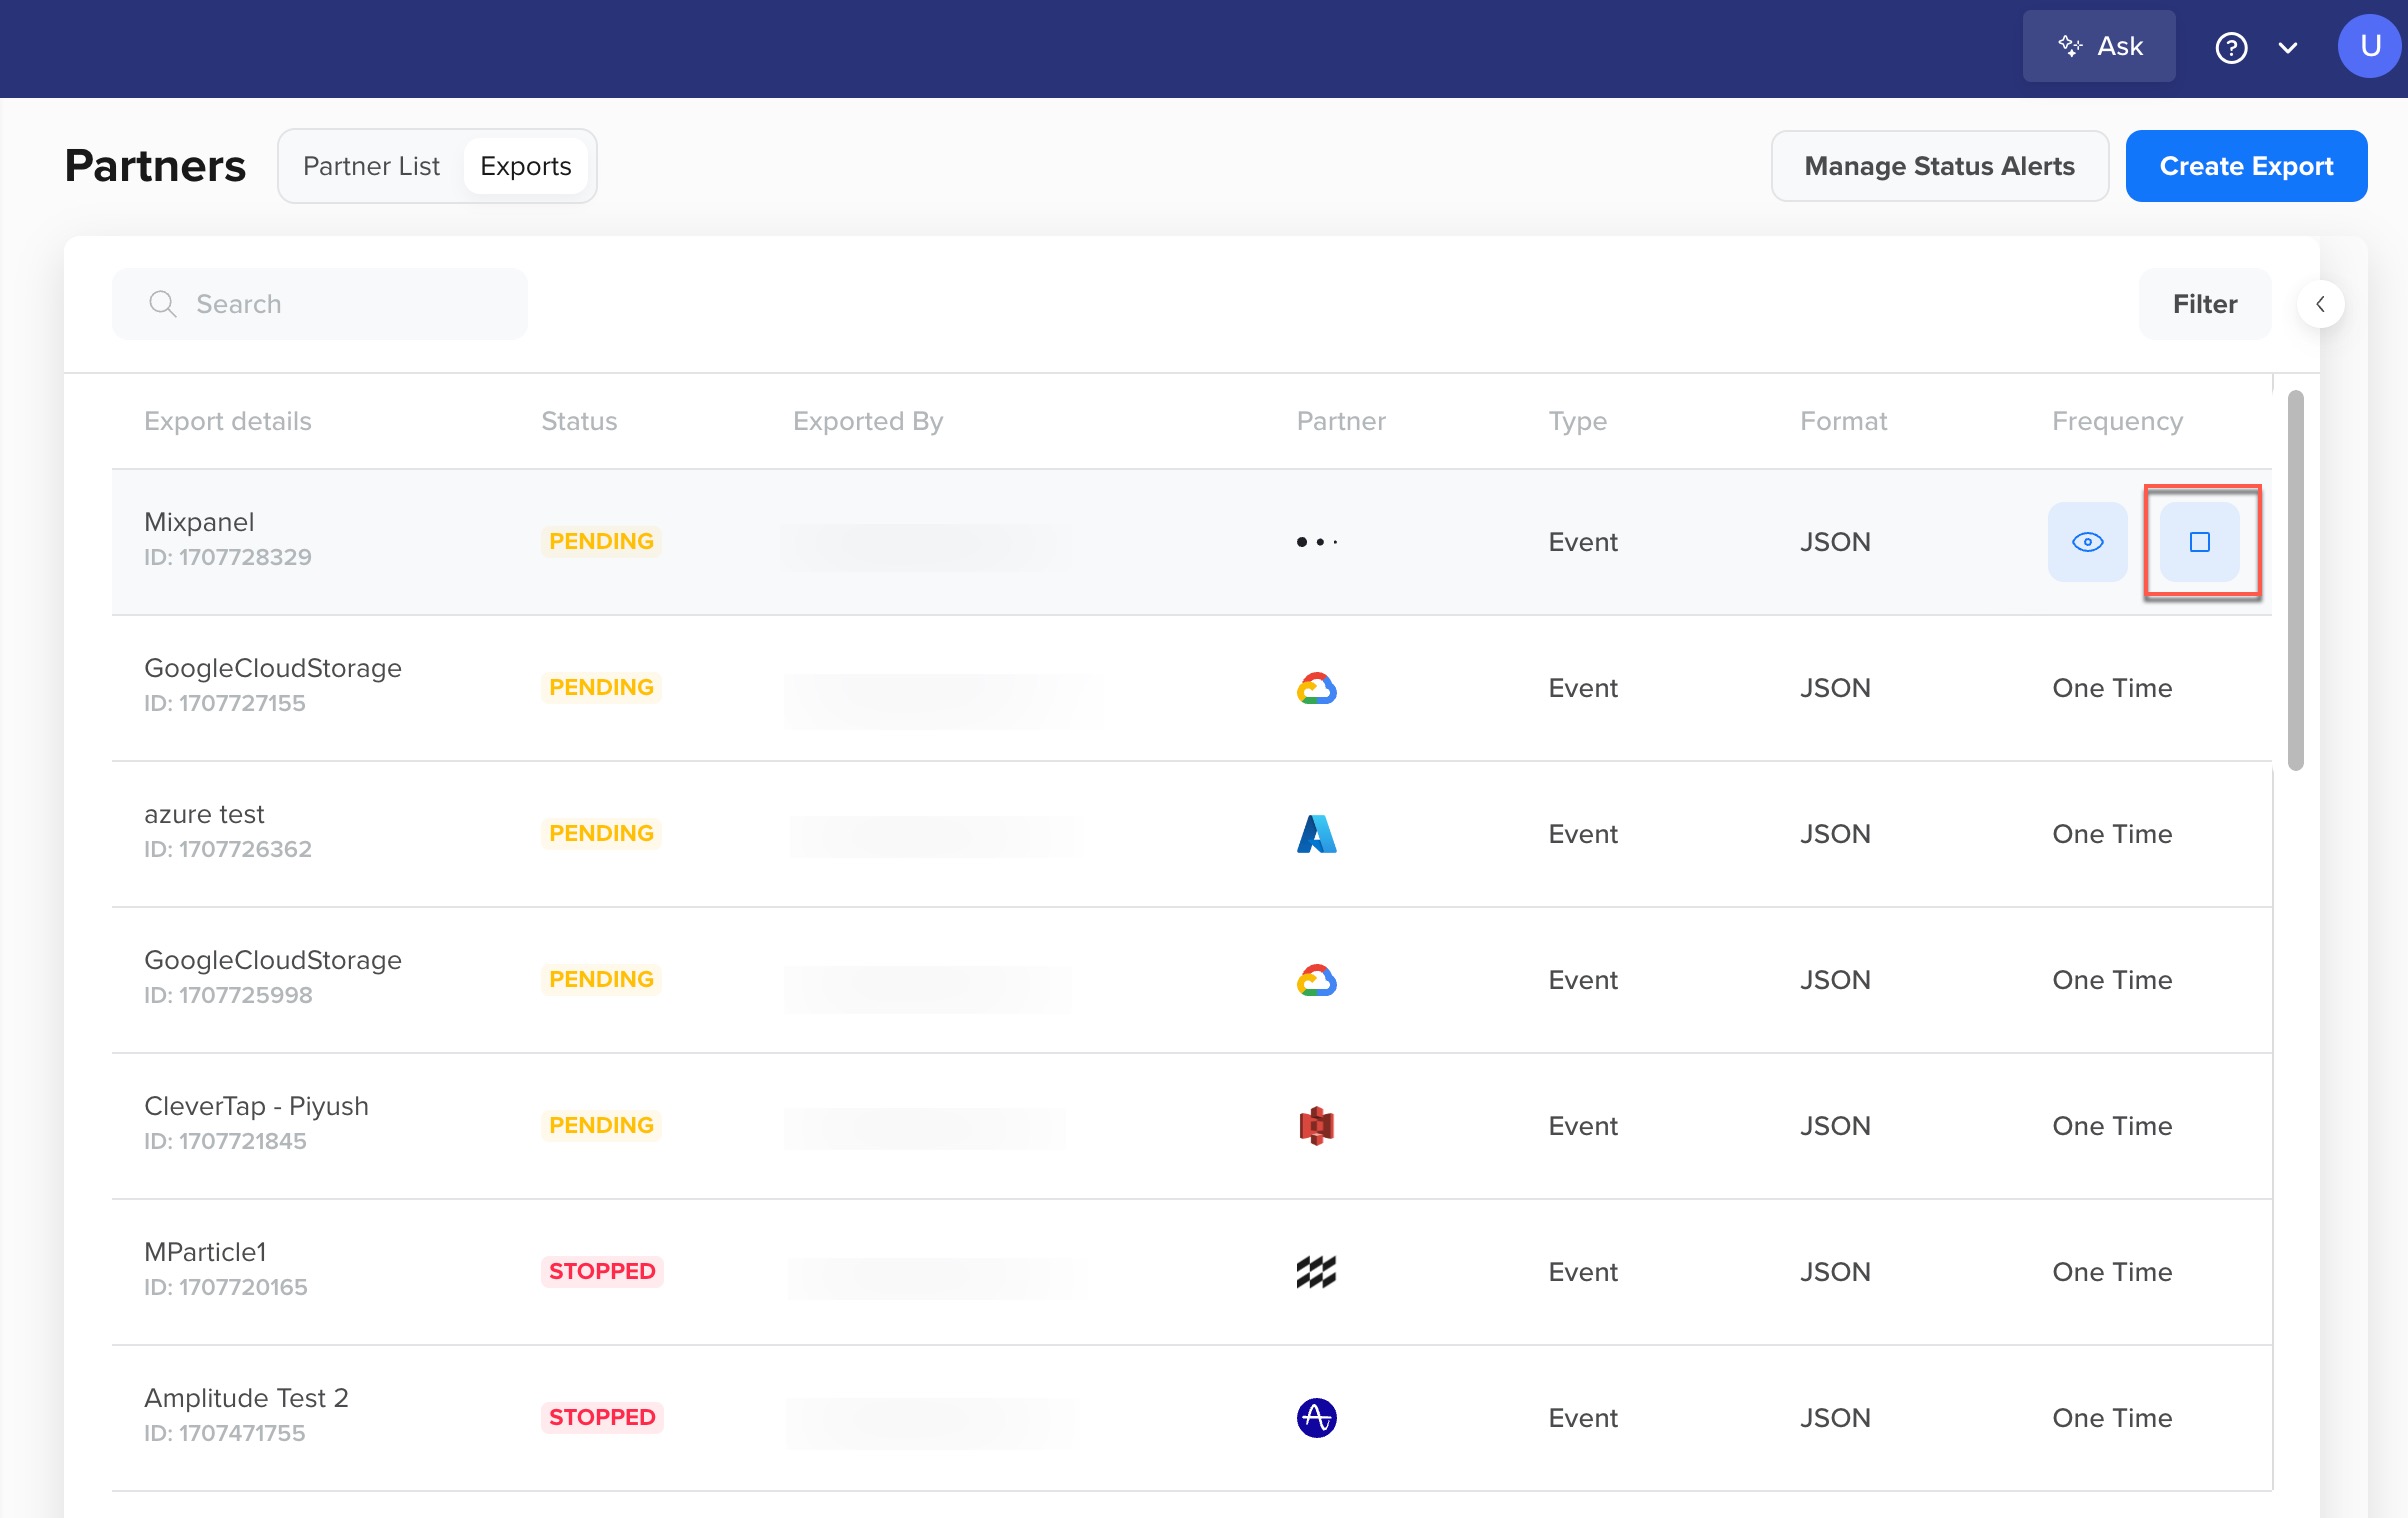
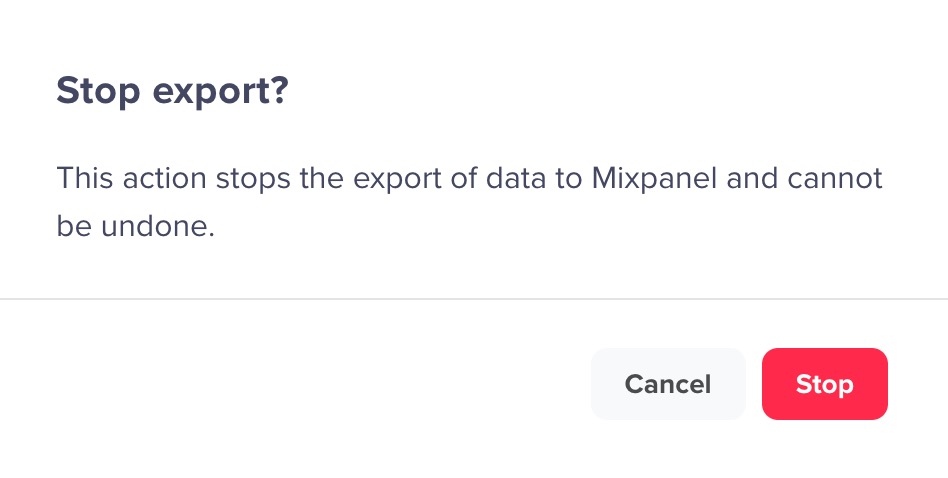
The Stop export? window appears. Click Stop to confirm your action.
You are navigated back to the Exports page. The Mixpanel data export stopped message displays at the top. The status of export is now displayed as STOPPED.

Edit an Export
You might need to modify an export to meet specific business requirements or while waiting for the next run. This section describes editing a Live Data Streaming and Recurring export in the RUNNING and PENDING(awaiting next run) state.
Points to Remember
- In case of running exports, the new changes will apply to the next run.
- You cannot edit a One-time export, regardless its status (RUNNING, PENDING, DONE, or STOPPED).
- You cannot change the export from User Profile to Event and vice-versa.
- You cannot modify exports marked as DONE or STOPPED.
- Export changes for Live DataStreaming take 10-15 minutes to take effect.
To edit an export:
- On the CleverTap dashboard, go to Partners > Exports.
- Hover over the required export. The View, Edit, and the Stop buttons appear.
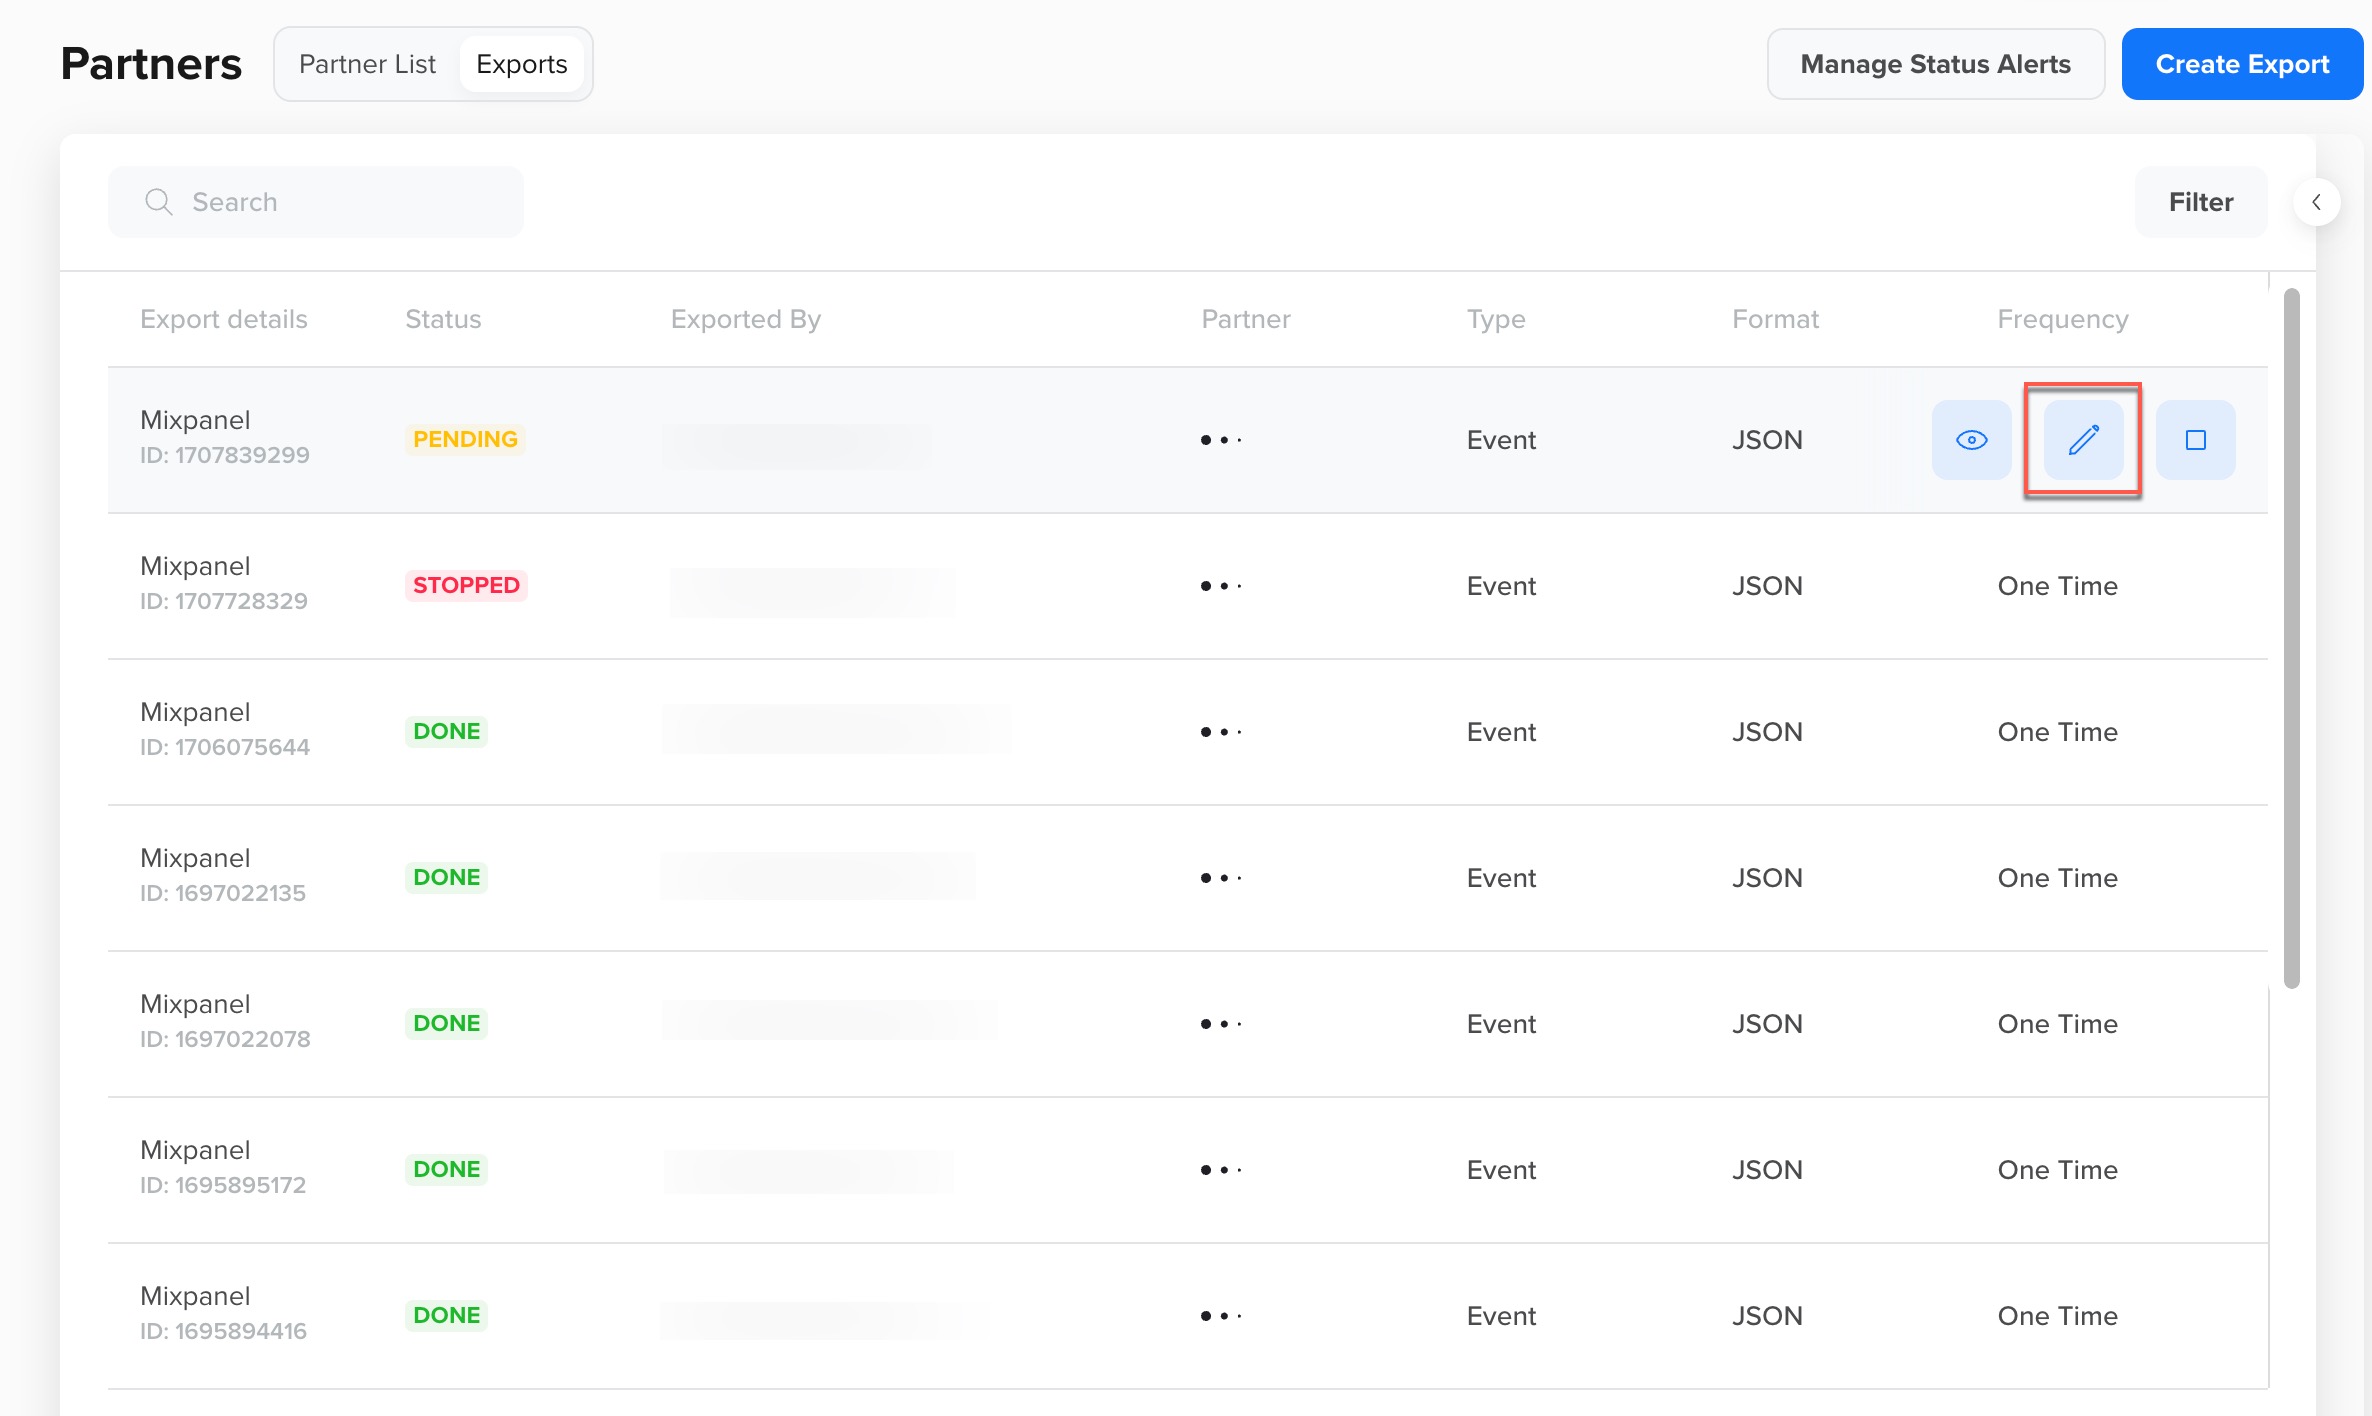
- Click the Edit button. The Export to Mixpanel section appears.
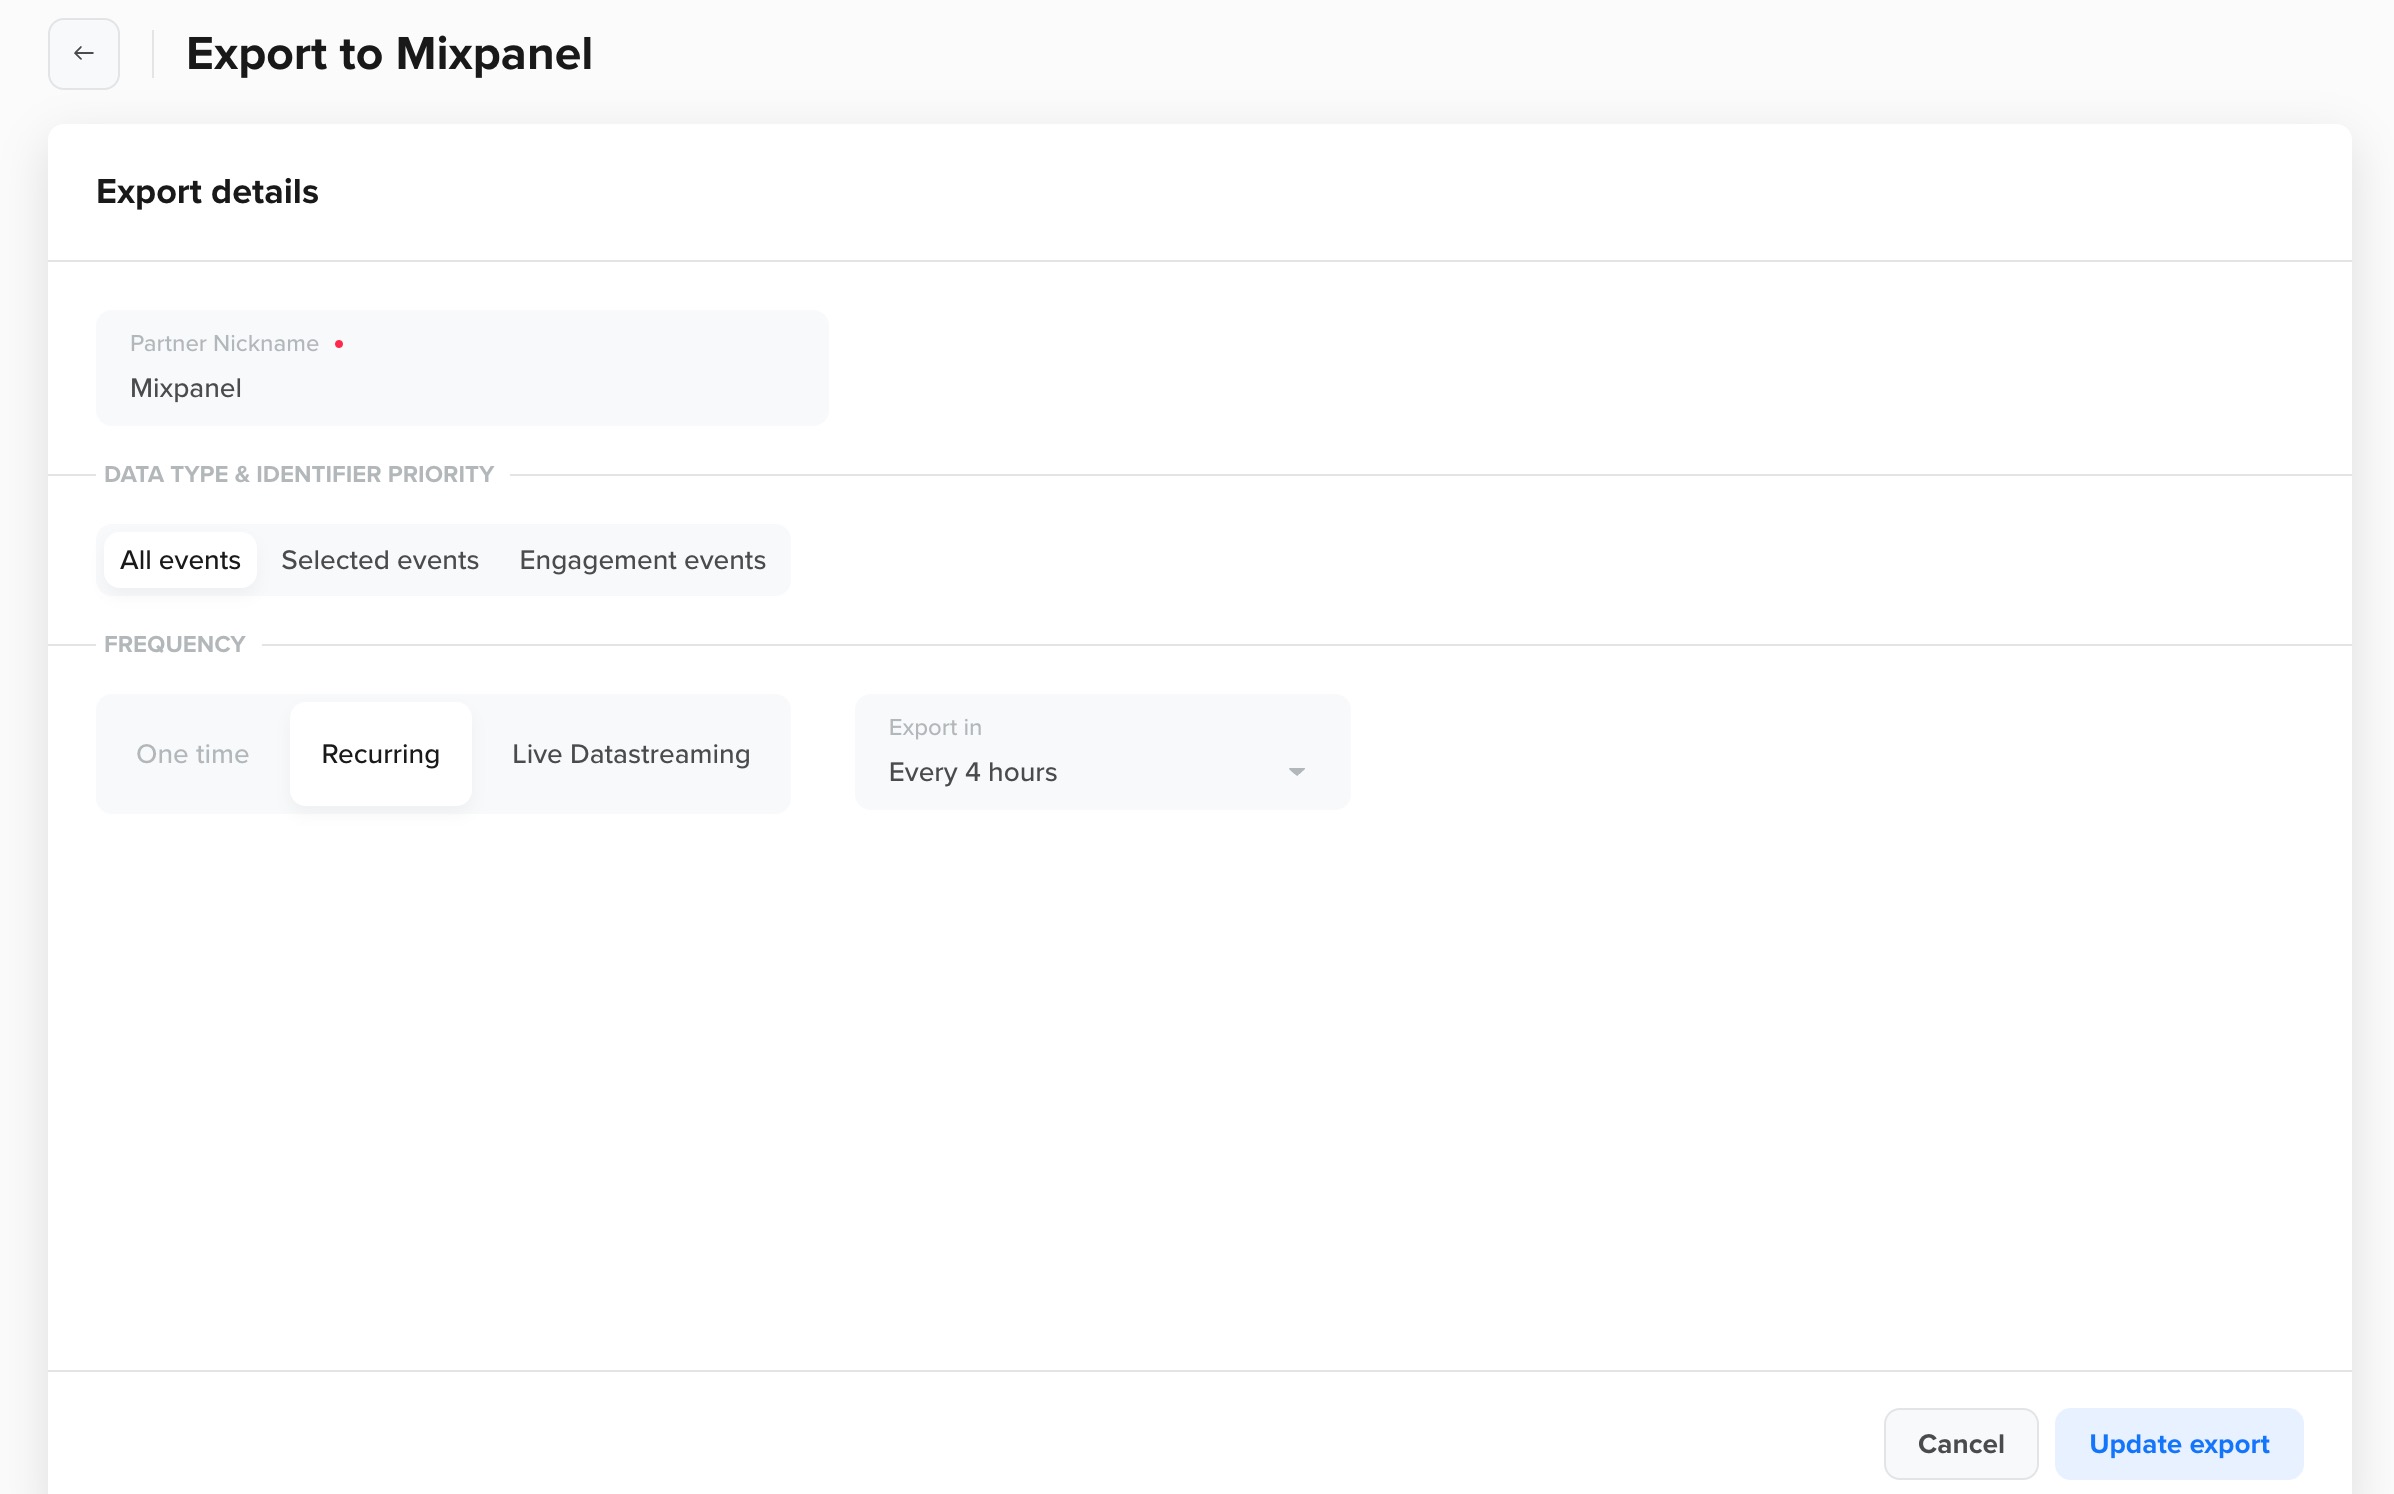
- Edit the export details and click Update export.
Filter Exports
This section describes the different ways you can filter exports.
Filter by Export Details
To filter by export details:
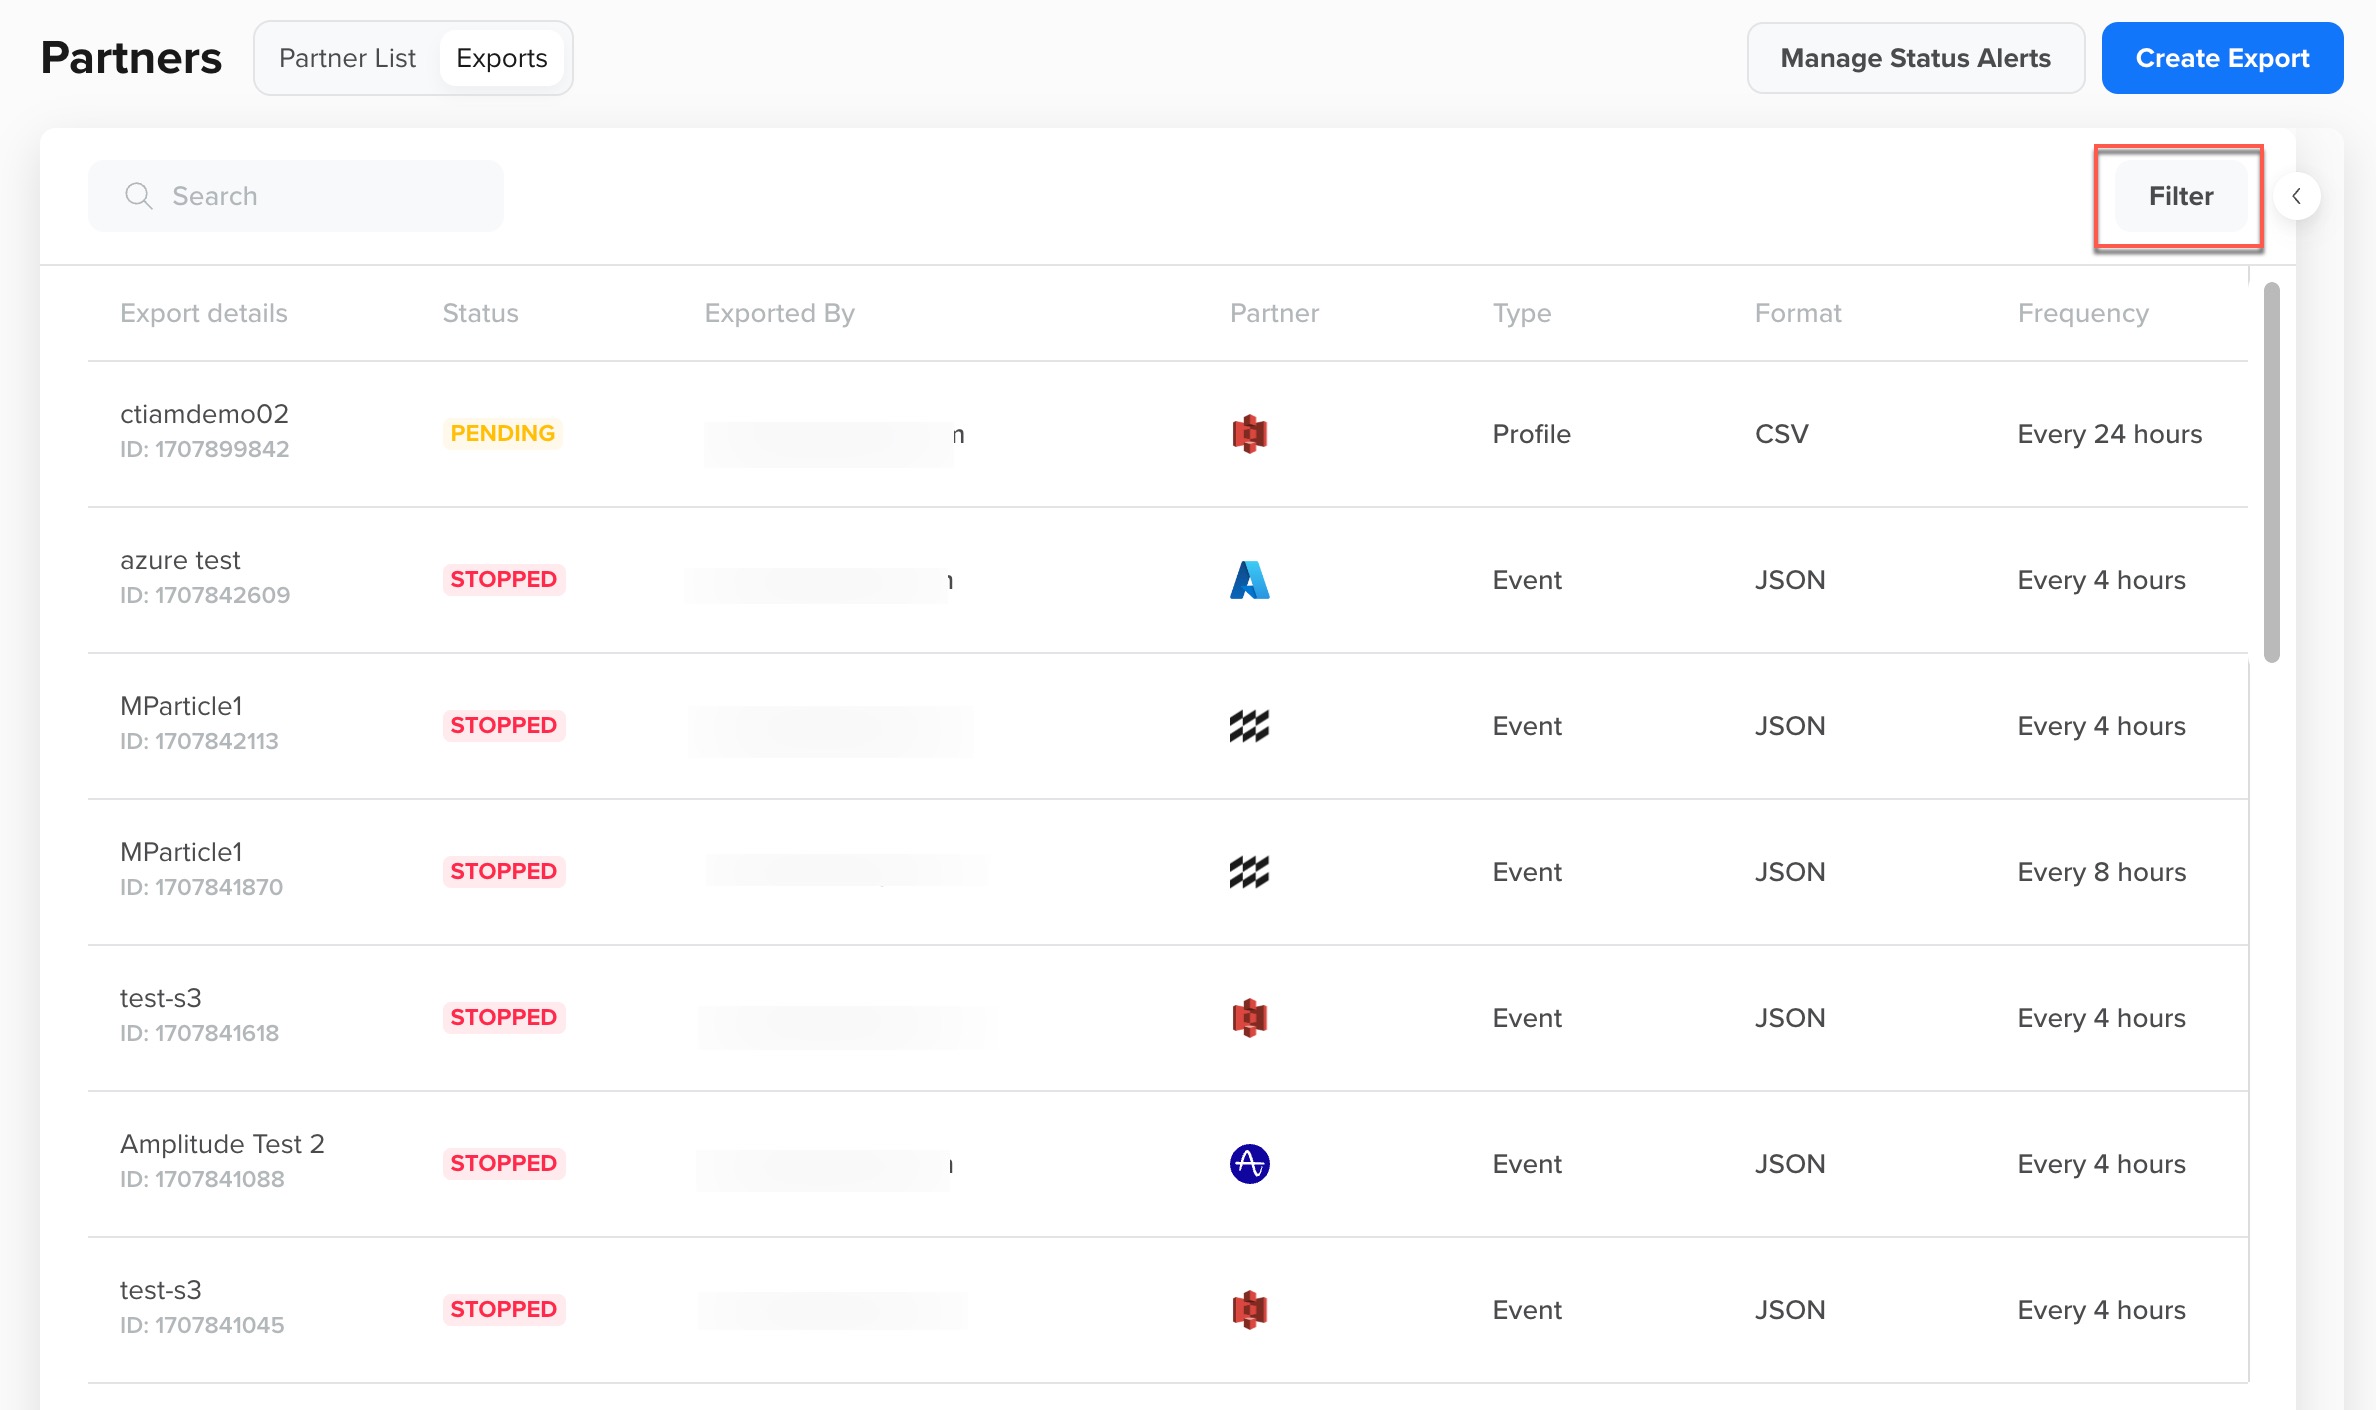
- Click the Filter button at the top right corner.
- You can filter exports by Partner, Type, Format, Status, or Frequency.
- To clear the filter, click Reset all.
Filter Exports by Date Range
You can also filter the exports based on the export date.
To filter exports by export date range:
- Click the Filter button at the top right corner.
- Click the Exported on button.
The Calendar widget appears.

- Choose the custom date range and click Apply.
The exports are filtered accordingly.
Filter Exports by Pagination
To choose how many export items you view per page:
- Use the Items per page drop-down at the bottom of the Exports page.
- Options include 10, 20, 30, or 40. By default, the Exports page shows 20 exports.
Export Details
Select from one of the following options to export events from CleverTap to the Mixpanel dashboard:
All Events
Export data for all defined events, including System and Custom events.
Selected Events
Select the specific events to export.
Engagement Events
Export the following engagement events:
CleverTap Event Name | Description |
|---|---|
Notification Sent |
|
Notification Viewed |
|
Notification Clicked | The event is tracked when a user clicks on a Mobile Push, In-App, Email, Web Popup, or Web Push message sent via the CleverTap dashboard or through the campaign API. |
Push Impressions |
|
Notification Replied | This event is tracked when the brand receives a reply from the user for WhatsApp. |
Push Unregistered |
|
Control Group | The event is tracked when a campaign is activated with a Control group. |
Channel Unsubscribed |
|
Reachable By | The event is tracked for a profile when:
|
Notification Delivered | The event is tracked when the WhatsApp provider confirms that the notification has reached the end user (double-tick of WhatsApp). |
AB Experiment Rendered | The event is tracked when you are using the Product A/B Tests feature and the variant reaches the device. |
AB Experiment Stopped | The event is tracked when you are using the Product A/B Tests feature and the AB experiment is stopped. |
AB Experiment Rolled Out | The event is tracked when you are using the Product A/B Tests feature and the winner variant is sent to all the devices. |
Geocluster Entered | The event is tracked when you enable the geofence feature and your device enters a geofence. |
Geocluster Exited | The event is tracked when you enable the geofence feature and your device exits a geofence. |
Reply Sent | The event is tracked against the user profile of the end-user when an agent (CleverTap user) replies to a WhatsApp message from the end user. |
App Uninstalled |
|
Webhook Delivered | The event is tracked when a webhook campaign is delivered successfully. |
State Transitioned |
|
UTM Visited |
|
FAQs
Q. Do CleverTap data exports allow special characters?
A. Yes, CleverTap data exports allow the following special characters:
- CleverTap's export system supports Unicode (UTF-8) character encoding. It facilitates the accurate representation of text in various languages and scripts. For example, Indian regional languages, Arabic, Korean, Russian, Japanese, Chinese, Spanish, Greek, Indonesian, etc.
- It replaces the following characters with a hyphen to avoid issues in output file generation:
- Whitespace
- Tab
- Slash
- null (\0)
- Control characters are replaced with ?. For more information, refer to Control Character.
- Supports emoji characters; however, some emojis (UTF-16) may not render properly.
Updated 28 days ago