KickBox
Email Validator
Overview
Kickbox enables businesses to verify email addresses in real time and ensure that only valid, deliverable emails are used in marketing communication. Integrating Kickbox with CleverTap lets you verify user email addresses in real time within In-App Messages, helping you display dynamic feedback to users based on email validity.
This integration allows you to:
- Verify and enrich existing email addresses before launching campaigns.
- Prevent messages from being sent to invalid or disposable email addresses.
- Personalize communication based on email verification results.
Support for IntegrationThis integration is managed and continuously improved by Kickbox. The CleverTap and Kickbox integration has undergone stringent testing to ensure seamless functionality. For any questions or issues, contact Kickbox for support and resolution.
Prerequisites for Integration
The following are the prerequisites:
- Access to your Kickbox account and dashboard.
- Permission to create and configure API Keys.
- Access to your CleverTap Dashboard with rights to create and manage Linked Content and Campaigns.
Integrate Kickbox with CleverTap
Integrating Kickbox with CleverTap allows you to verify user email addresses dynamically using Linked Content. When a campaign is triggered, CleverTap calls the Kickbox API in real time to validate the email address associated with each recipient and can adjust messaging accordingly.
The process includes the following three key steps:
Obtain Kickbox API Key
Begin the integration by generating an API Key in Kickbox. This key will authenticate CleverTap requests to the Kickbox API. To do so, perform the following steps:
- Log in to your Kickbox Dashboard.
- Go to Settings > API Keys.
- Click Generate API Key to create a new key.
- Assign permissions as required for your use case. For this example, full permissions are granted.
Obtain Kickbox API Key
The API Key acts as your authentication token, allowing CleverTap to securely communicate with Kickbox during each email validation request. For more information about Kickbox response parameters, refer to the Kickbox API documentation.
Configure Linked Content
Linked Content allows CleverTap to fetch dynamic data from external APIs at message rendering time. Here, it’s used to query Kickbox and verify the validity of each user’s email before sending a message.
To configure Linked Content:
- Go to Settings > Setup > Linked Content from the CleverTap dashboard.
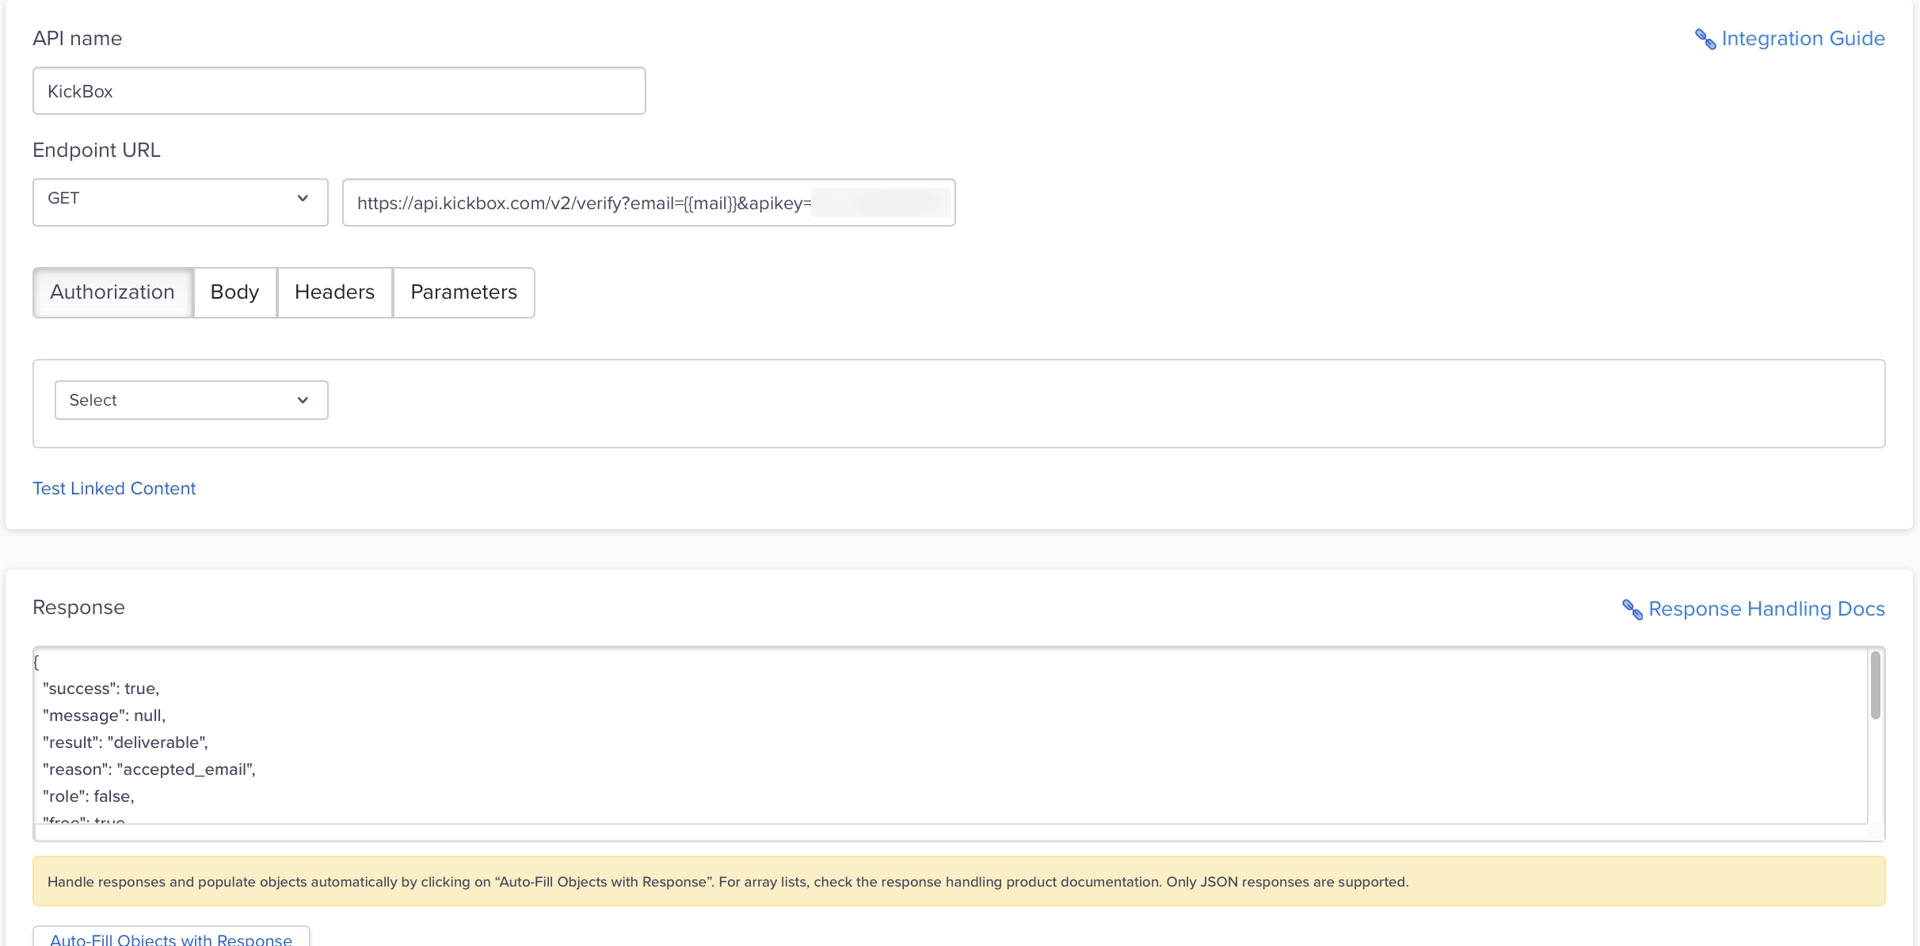
- Click + Linked Content and enter the following:
| Field | Description |
|---|---|
| Name | Provide a name for the Linked Content. For example: Kickbox Email Verification |
| Request Type | Select GET method. |
| Endpoint URL | Enter the following endpoint URL: https://api.kickbox.com/v2/verify?email={{Profile.Email}}&apikey=YOUR_API_KEY
|
- Click Test Linked Content to verify the connection. A successful response will look similar to the following sample:
{
  "success": true,
  "result": "deliverable",
  "reason": "accepted_email",
  "disposable": false,
  "free": true,
  "email": "[email protected]",
  "domain": "gmail.com"
}
Linked Content Setup
This response confirms that the connection between CleverTap and Kickbox is active and functioning correctly.
- Click Test and Save to complete your Linked Content configuration.
Test and Save
CleverTap can now access the Kickbox API response dynamically within campaigns.
Use Kickbox Verification in Campaigns
Once Linked Content is configured, you can use Kickbox verification results to show personalized In-App content to users based on whether their email is valid.
- Go to the Campaigns page, click + Campaign, and select In-App from the list of messaging channels.
- Define the campaign target segment, qualification criteria, and delivery schedule.
- Click Go to Editor under the What section and perform the following steps:
- Click Personalization in the top-right corner.
- Select the Linked Content configured in Configure Linked Content.
- Map the email parameter to:
{{ Profile.Email | default: "NULL" }}
This mapping ensures that CleverTap passes the user’s email to Kickbox for verification each time the campaign is triggered.
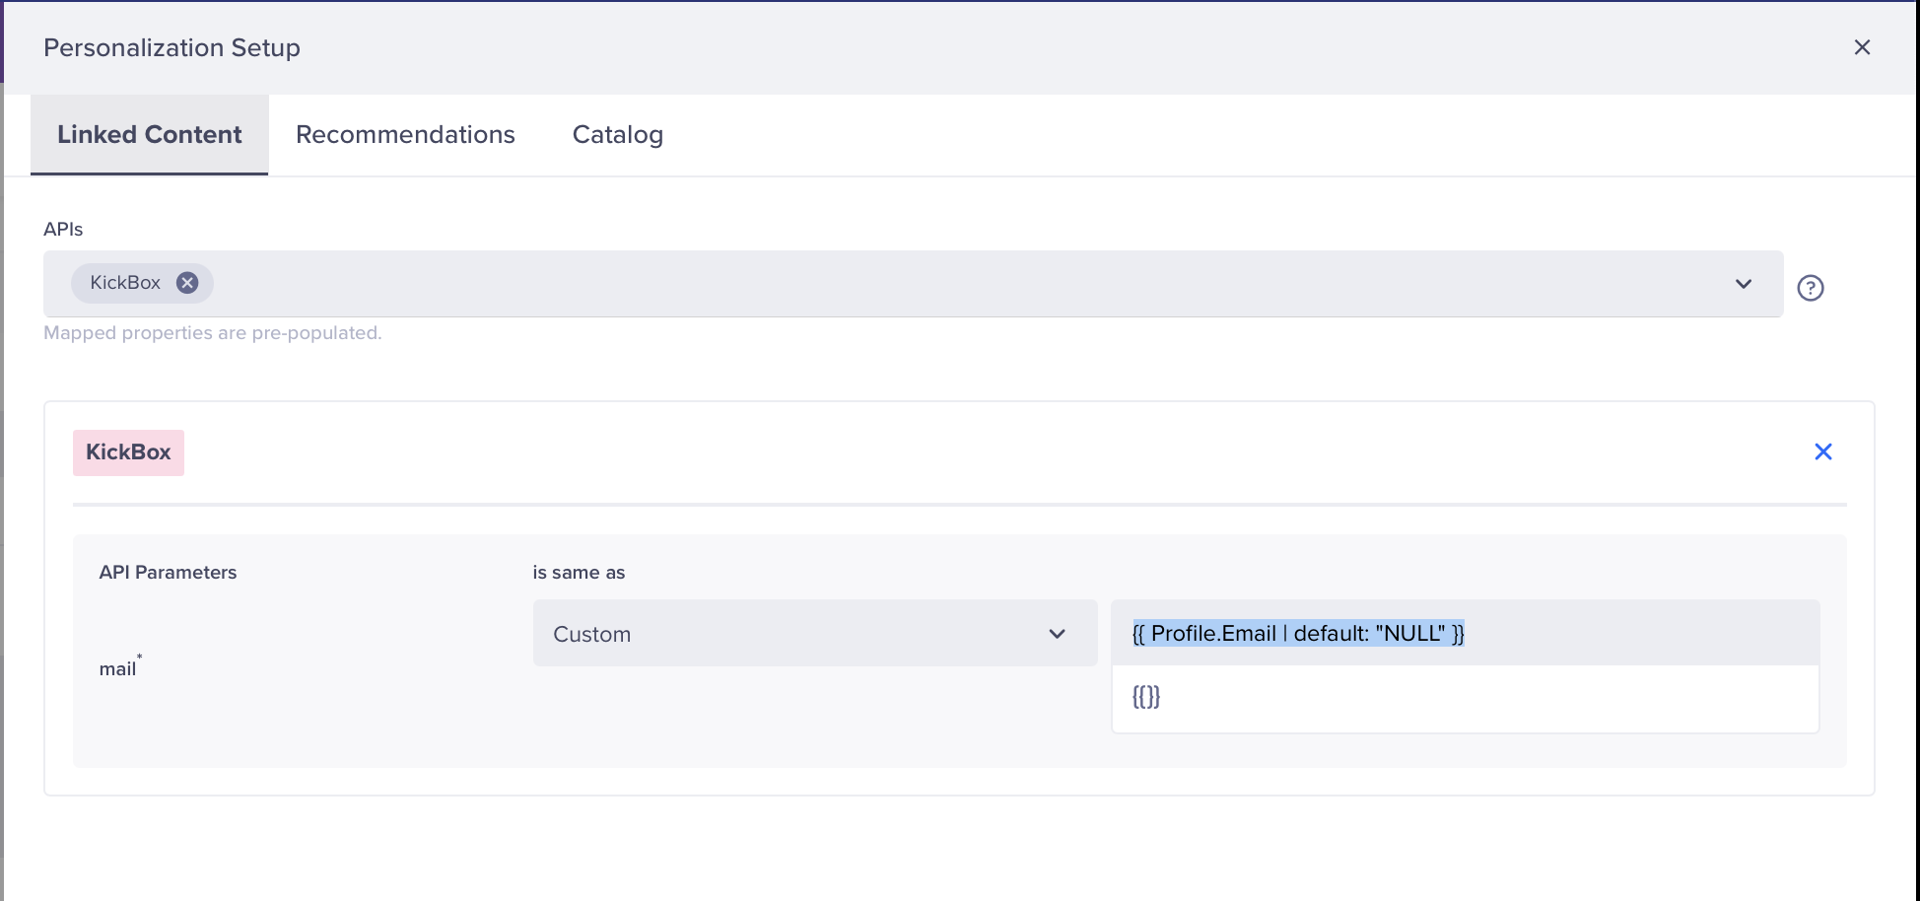
Personalization Setup
- Use Liquid tags to personalize your message based on email validity.
{% assign emailCheck = linkedcontent.result %}
{% if emailCheck == "deliverable" %}
  Your email address is verified! You’ll receive updates and offers soon.
{% else %}
  The email address you entered appears invalid. Please update your profile to continue receiving notifications.
{% endif %}
This allows you to show different text based on whether the user’s stored email address is valid.
NoteWhen using Linked Content responses, extract only the specific fields needed for display to maintain clarity and prevent unnecessary data exposure.
- Click Preview and Test to verify that the response values from Kickbox appear as expected.
- Once confirmed, click Publish to activate the campaign.
Example Output
The following examples show how the In-App message dynamically changes based on the Kickbox verification result.
- If the email is valid:
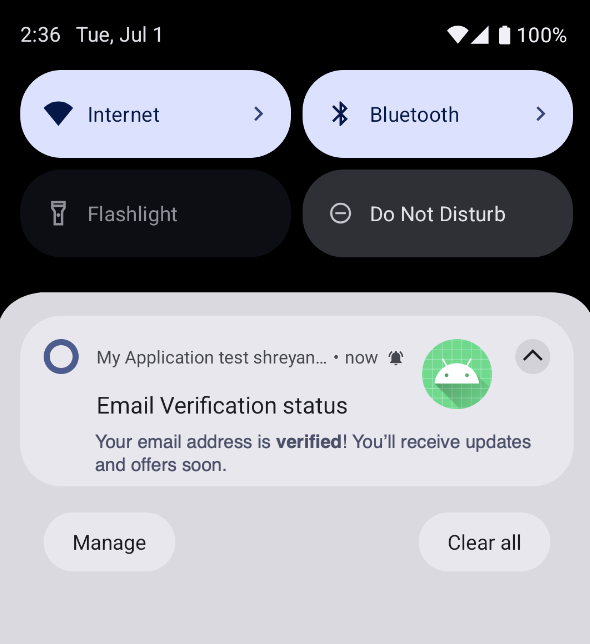
Verified email confirmation message
- If the email is invalid:
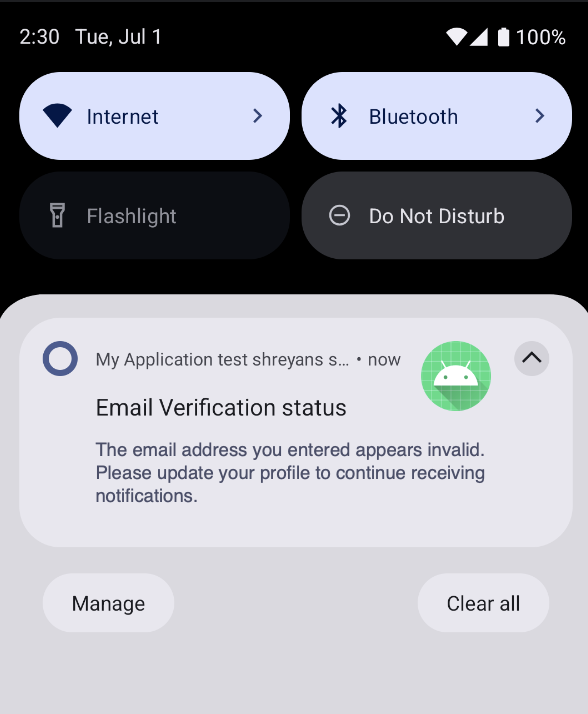
Invalid email prompt
The Kickbox-CleverTap integration enables real-time email validation, ensuring clean and reliable data across your campaigns.
Updated 7 months ago