HubSpot
Customer Relationship Management
Overview
HubSpot, a leading CRM platform, helps businesses manage customer relationships, automate workflows, and analyze performance to drive growth and improve customer engagement.
Using Zapier to integrate HubSpot with CleverTap, you can do the following:
- Automate Lead Sync: When a new contact is added in HubSpot, create a user profile in CleverTap with details such as name, email, and phone number to trigger personalized engagement campaigns.
- Keep Profile Data Updated: When contact details (such as email or phone number) change in HubSpot, update the user profile in CleverTap to ensure accurate segmentation and targeting in engagement campaigns.
- Track Contact Lifecycle Events: When a contact performs a key action in HubSpot (for example, completes a deal or fills out a form), upload an event in CleverTap with details such as event name, action type, and contact information. Use this event data to trigger relevant engagement campaigns or add contacts to tailored audiences for retargeting.
Prerequisites for Integration
The following are the prerequisites for HubSpot:
- Ensure you have access to your HubSpot account.
- Ensure you have access to an active Zapier account to create the CleverTap app.
- Ensure you have a CleverTap account with valid Account ID, Passcode, and Region.
Integrate HubSpot with CleverTap using Zapier
The integration process involves the following two major steps:
Create a Passcode on CleverTap Dashboard
CleverTap uses a header-based authentication model to authenticate requests to the API. Every CleverTap API call must include Account ID and Passcode as the request headers. To create a passcode, refer to Create Account Passcode.
Create/Update User Profiles
Consider an example where you want to automatically sync HubSpot contacts with CleverTap to trigger personalized engagement campaigns. This automation ensures that new HubSpot users are added to CleverTap while existing user profiles are updated when details change in HubSpot. To do so, perform the following steps:
- Log in to the Zapier dashboard and click + Create Zap. Zapier can connect different applications. In this case, it will be HubSpot.
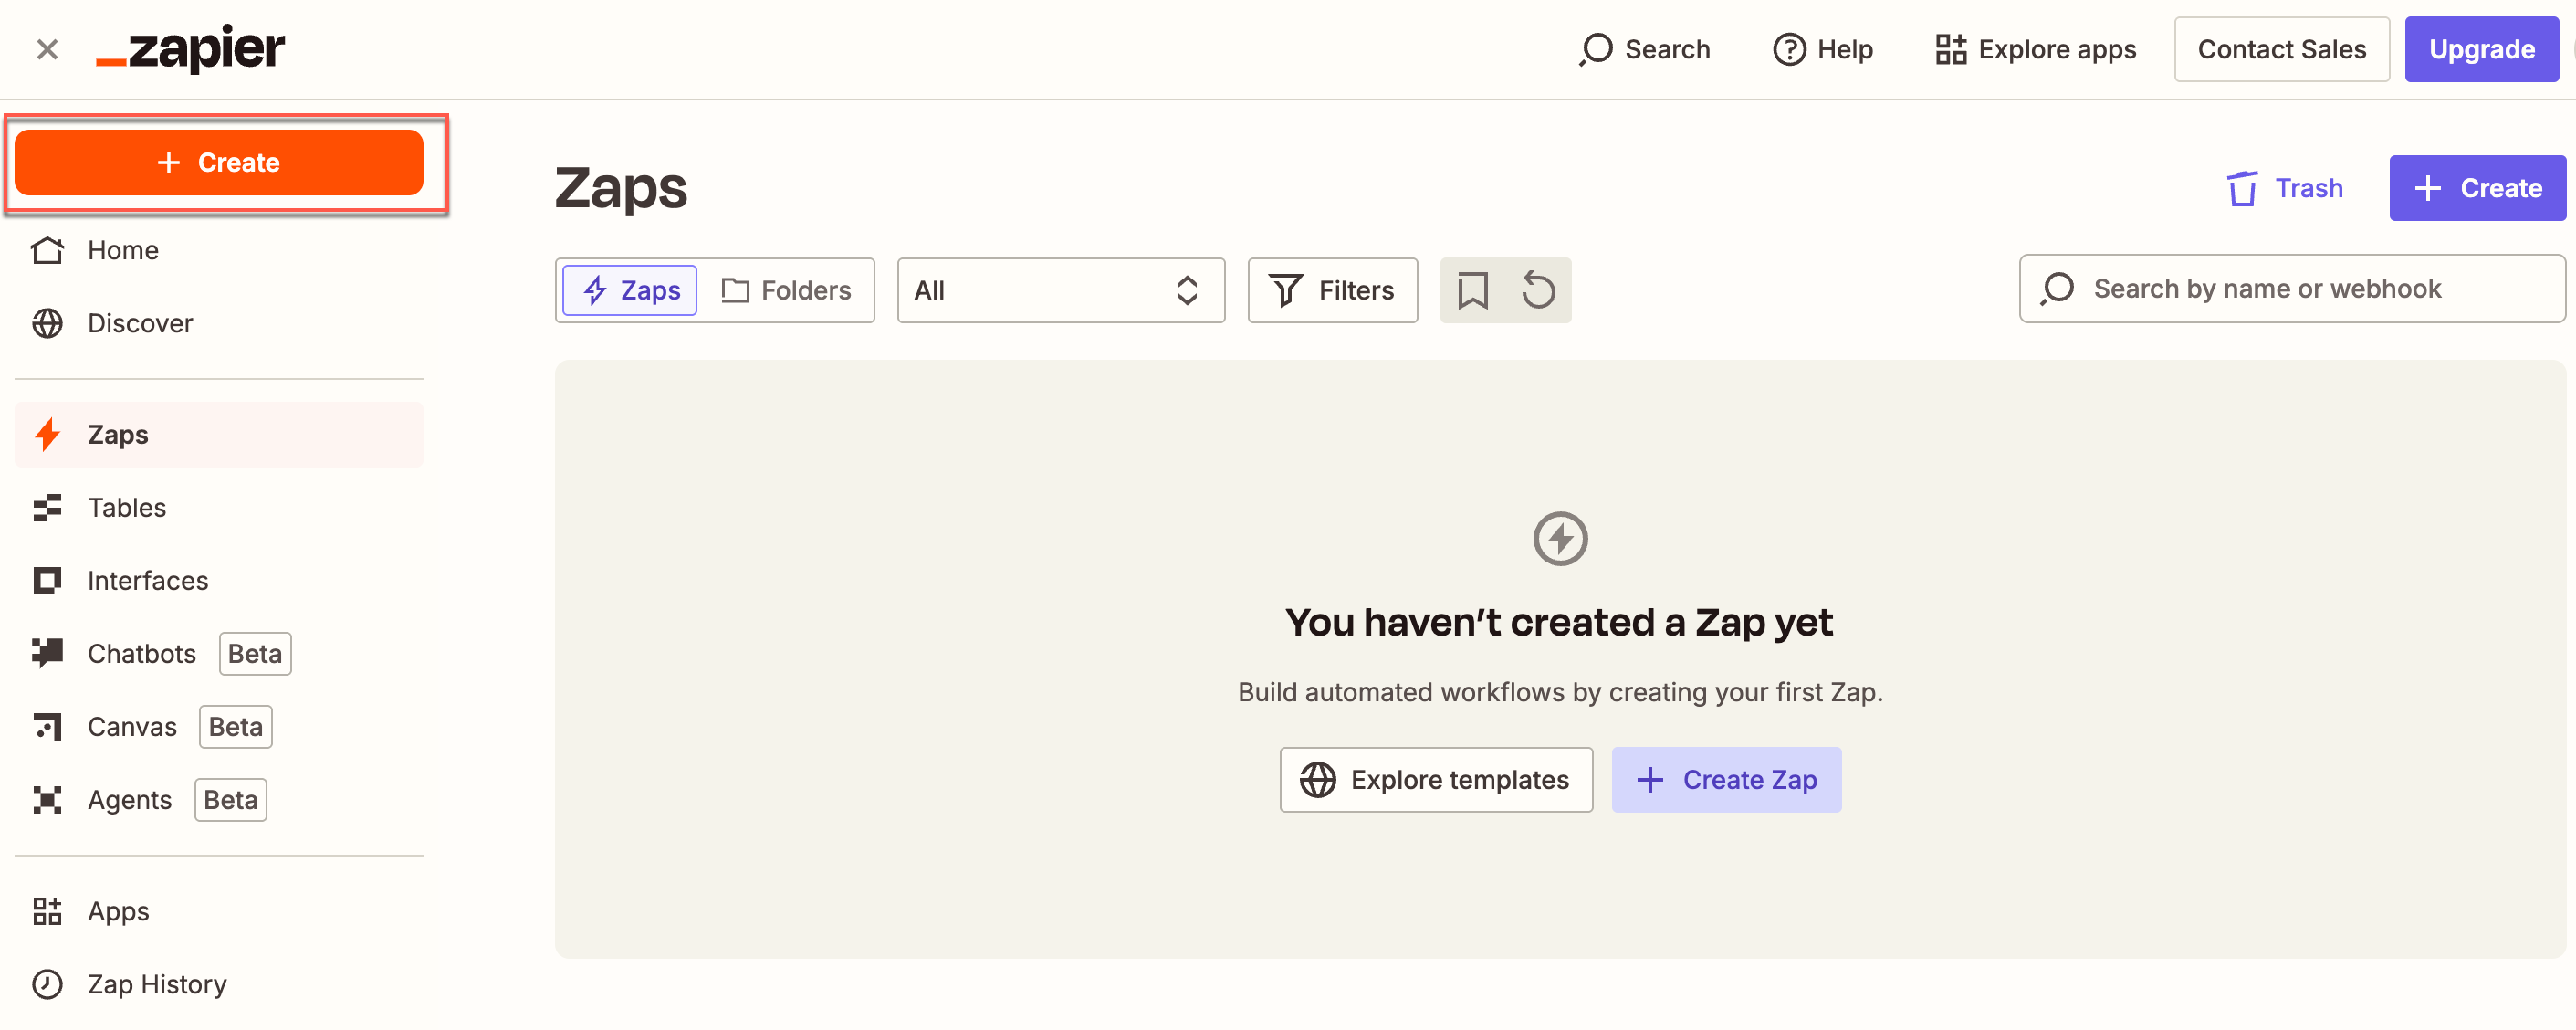
Create a Zap on Zapier Dashboard
- Set up a Trigger. To do so, perform the following steps:
- Select HubSpot from the App section. This starts the Zap when a trigger event takes place in HubSpot.
- Select Trigger Event from the dropdown list and then select New Contact for this use case.
- Select Account and sign in using your HubSpot account credentials. You can also connect a new account if your account does not appear in the dropdown.
- Click Continue. From the Configure section, default properties will be already defined. You can add Additional properties from the dropdown. For more information about the properties provided by HubSpot, refer to Properties.
- Click Continue.
Set Up Trigger Event
- Click Test Trigger. This ensures that the right account is connected and the trigger is set up correctly.
- Select any one record, and click Continue with selected record.
- Select the Action that the zap must perform after the trigger event occurs. To do so, perform the following steps:
- Select CleverTap from the App dropdown.
- Select Create/Update User Profile from the Action event dropdown. This implies that whenever a new lead is generated, a new user profile is created, or an existing user profile is updated with the new information.
- Select Account to connect the CleverTap account. The Zapier window opens. Enter all the required details to connect to the CleverTap account. Enter the same passcode you obtained during the Create a Passcode on CleverTap Dashboard step.
- Click Continue after successfully connecting your account.
Select Action for Zap
- Configure the Action. Map HubSpot data fields to CleverTap fields as follows:
| CleverTap Field | Description |
|---|---|
| Identity | HubSpot user ID field, email ID, or any unique identity field corresponding to the user. |
| Creation Date | Date of the user creation in HubSpot. |
| Profile Properties | Include user properties in JSON format (for example, name, email, role, and other custom properties). |
Mapping Identity and Object IDYou can keep the Identity field blank if you provide an Object ID, and vice versa.

Configure the Action
- Click Continue and click Test Step to test the zap after mapping the files.
- Click Publish.
After publishing this zap, a new user is created, or an existing user is updated on the CleverTap dashboard every time a trigger occurs. CleverTap uses the Identity field to identify if it is a new user or an existing user. You can verify this by checking your CleverTap dashboard to confirm the user profile has been created or updated.
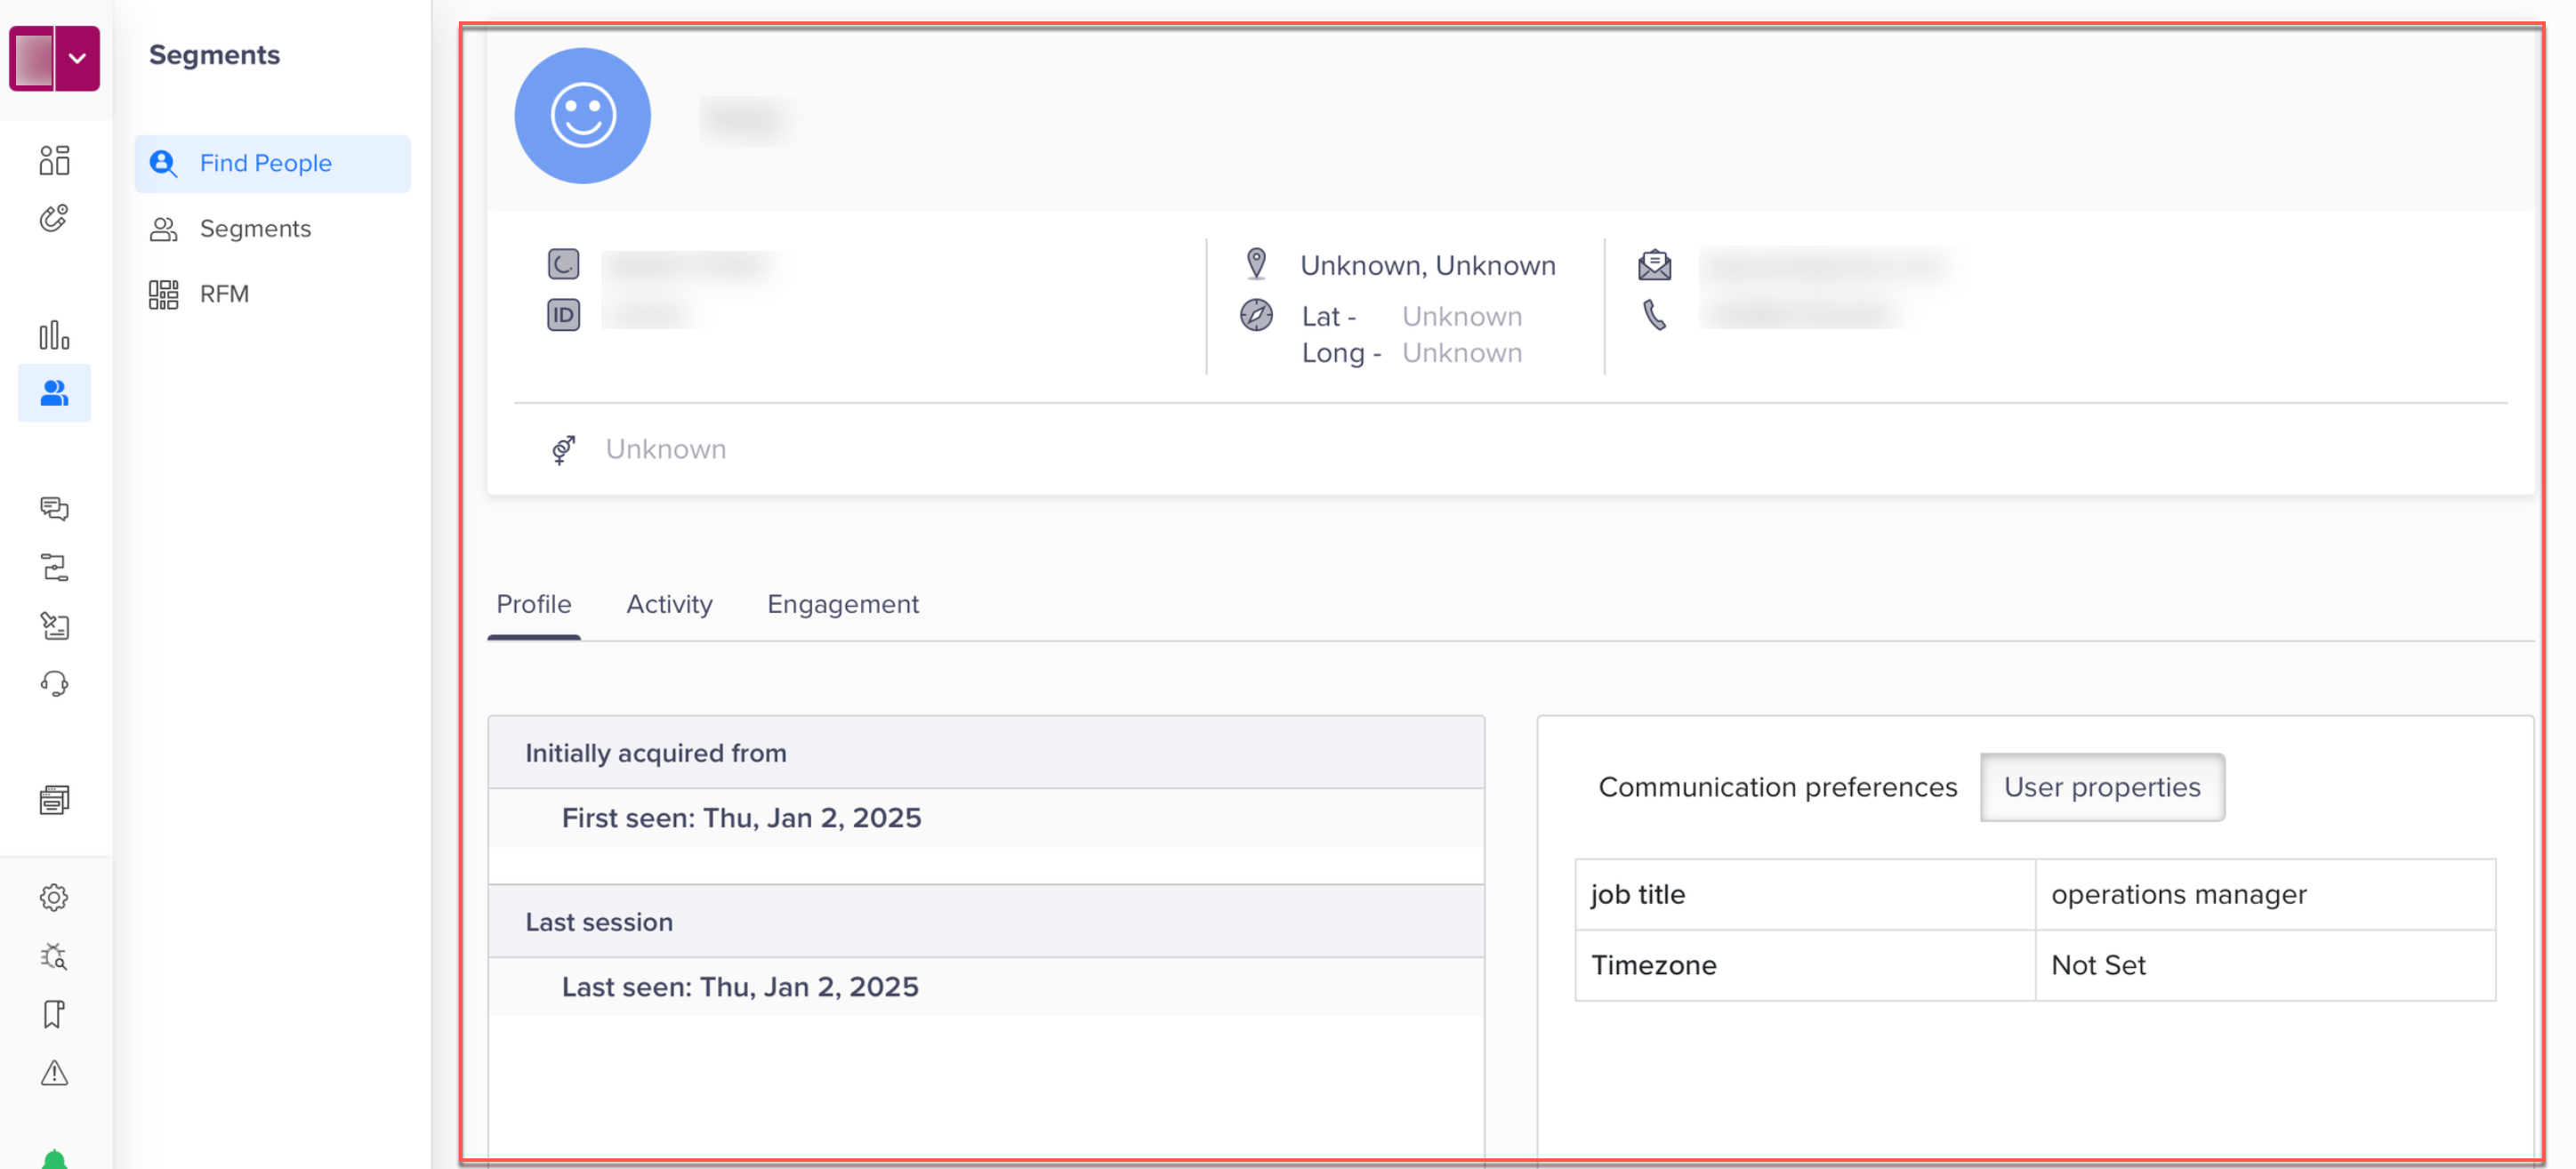
Verify user in CleverTap
Upload Event
Consider an example where you want to track user interactions, such as new contact added, in HubSpot and sync it with CleverTap for better engagement. This automation ensures that user actions recorded in HubSpot are seamlessly uploaded to CleverTap, enabling more precise tracking and personalized engagement strategies. To do so, perform the following steps:
- Log in to the Zapier dashboard and click + Create Zap.
- Set up a Trigger. For this example, perform the following steps:
- Select HubSpot from the App section. This starts the Zap when a trigger event takes place in HubSpot.
- Select Trigger Event from the dropdown list and select New Deal in this case.
- Select Account and Sign in with your HubSpot account credentials. If your account does not appear in the dropdown, you can also connect a new account.
- Click Continue. Under the Configure section, default properties are already defined. You can add Additional properties from the dropdown. For more information about the properties provided by HubSpot, refer to Properties.
- Click Continue.
Set Up Trigger Event
- Click Test Trigger. This ensures that the right account is connected and the trigger is set up correctly.
- Click Continue with selected records.
- Select the Action the zap must perform after the trigger event occurs. To do so, perform the following steps:
- Select CleverTap from the App dropdown.
- Select Upload Event from the Action event dropdown. This implies that whenever a new event is generated, an existing user profile is updated with the new information.
- Select Account to connect the CleverTap account. For more information about how to do this, refer to step 5 (iii) under Create or Update User Profiles.
- Click Continue after successfully connecting your account.
Select Action for Zap
- Configure the Action. Map HubSpot data fields to CleverTap fields as follows:
| CleverTap Field | Description |
|---|---|
| User ID | HubSpot user ID field, email ID, or any unique identity field corresponding to the user. |
| Creation Date | Event creation date. |
| Event Name | Select a predefined event or create a custom event. You can also map the event name using the HubSpot data fields. |
| Event Properties | Include metadata in JSON format (for example, event type, priority, event properties). |
Mapping Identity and Object IDYou can keep the Identity field blank if you provide an Object ID, and vice versa.
Configure the Action
- Click Continue. Click Test Step to test the zap after mapping the files.
- Click Publish.
After publishing this zap, an event is uploaded to the CleverTap dashboard every time a trigger occurs.
CleverTap uses the Identity field to identify if it is a new user or an existing user.
You can verify this by checking your CleverTap dashboard to confirm if the event has been logged.
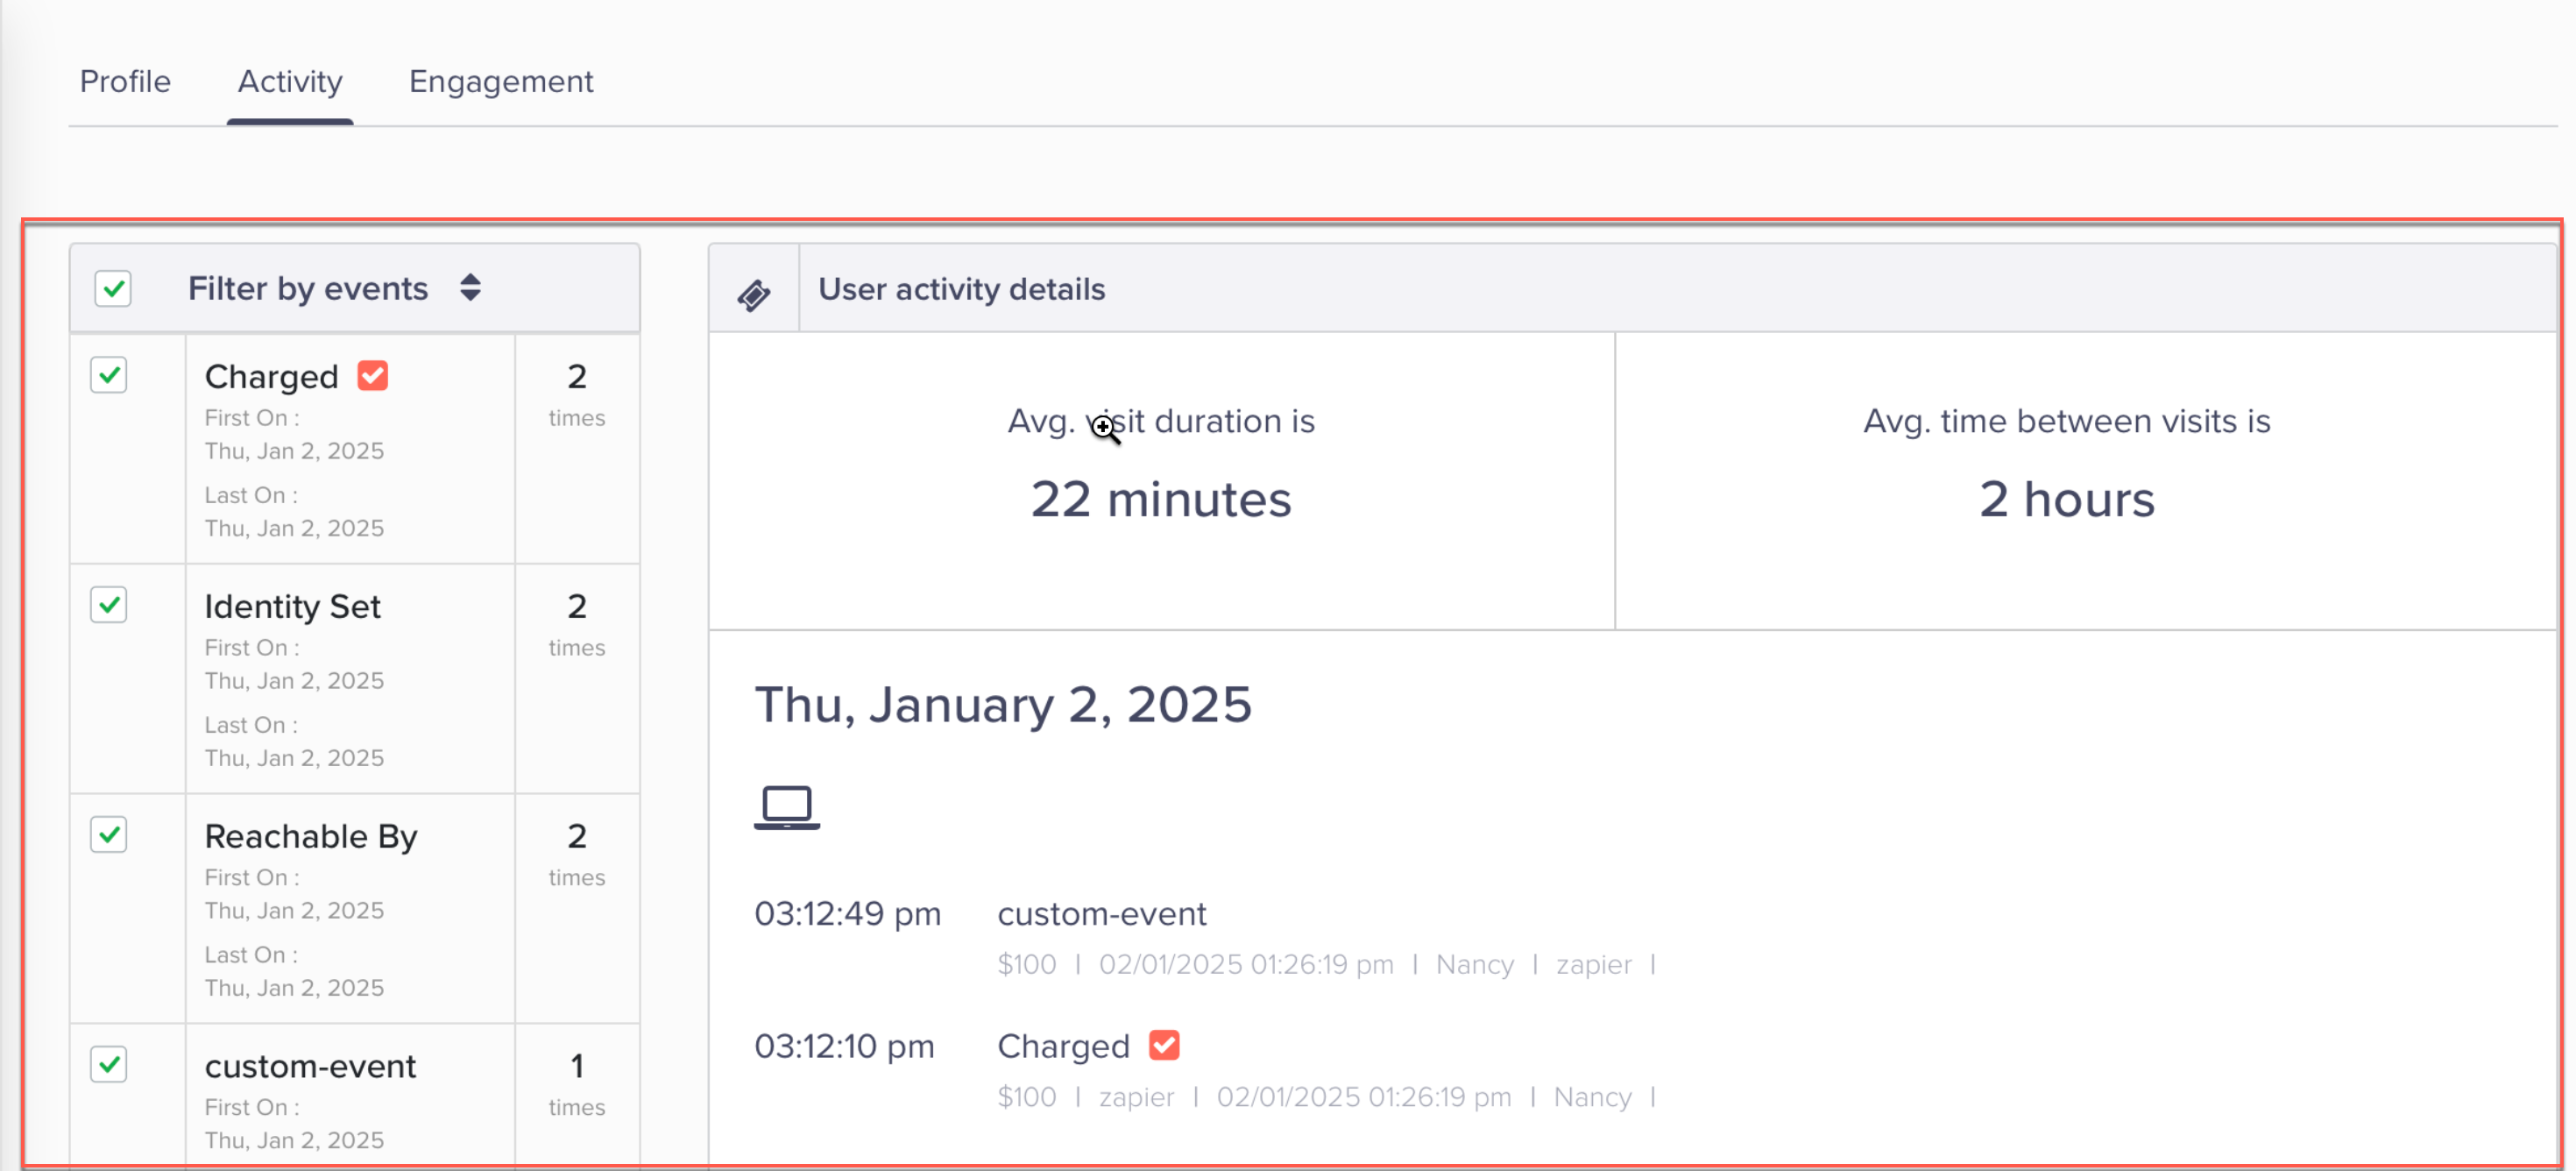
Verify Events in CleverTap
Updated 7 months ago