Inkit
Direct Mail
Overview
Inkit enables you to reach and communicate with customers through automated and personalized direct mail campaigns. It allows rendering of paperless documents at scale and validating customer mailing addresses with precision.
With the CleverTap Inkit integration, you can:
- Send personalized Inkit mailers (postcards, letters) to users or segments from CleverTap.
- Trigger document generation based on scheduled campaigns or qualifying user events.
- Deliver paperless communication through automated workflows.
Prerequisites for Integration
The following are the prerequisites for this integration:
- You must have an Inkit Account, an API token, and a Template ID to send requests from CleverTap using webhook.
- You must have an account with CleverTap.
Integrate Inkit with CleverTap
The integration process involves the following three major steps:
Create a Template in Inkit
Create a reusable document template in Inkit that will be triggered from CleverTap. To do so, perform the following steps:
- Log in to the Inkit platform.
- Create or select a template you want to use in your CleverTap campaign.
- Copy the Template ID from the URL. For example, in the URL:
< https://app.inkit.io/#/templates/design/<The_Template_ID> >Refer to the Inkit API documentation for guidance on template usage.
Create Webhook in CleverTap
Connect CleverTap with Inkit by setting up a webhook that sends user-specific data to Inkit's API. To do so, perform the following steps:
- Go to Settings > Channels > Webhook in the CleverTap dashboard.
- Click + Webhook to add a new webhook.
- Enter the following configuration:
| Field | Value |
|---|---|
| Name | Enter the nickname for your webhook to identify it uniquely. For example:Inkit |
| HTTP Method | Select POST |
| Endpoint URL | Paste the URL https://api.inkit.com/v1/generate |
| Content-Type | application/json |
| Headers | X-Inkit-API-Token: <API_token> |
You can check out the Inkit API documentation to learn about various endpoints, their uses, and the steps to set them up.
- Click Save to register the webhook.
Create Webhook Campaign in CleverTap
Trigger Inkit document generation based on user activity by configuring a Webhook Campaign in CleverTap. To do so, perform the following steps:
- Go to Campaigns > + Campaign > Webhook.
- Select the Webhook configured in Create Webhook in CleverTap.
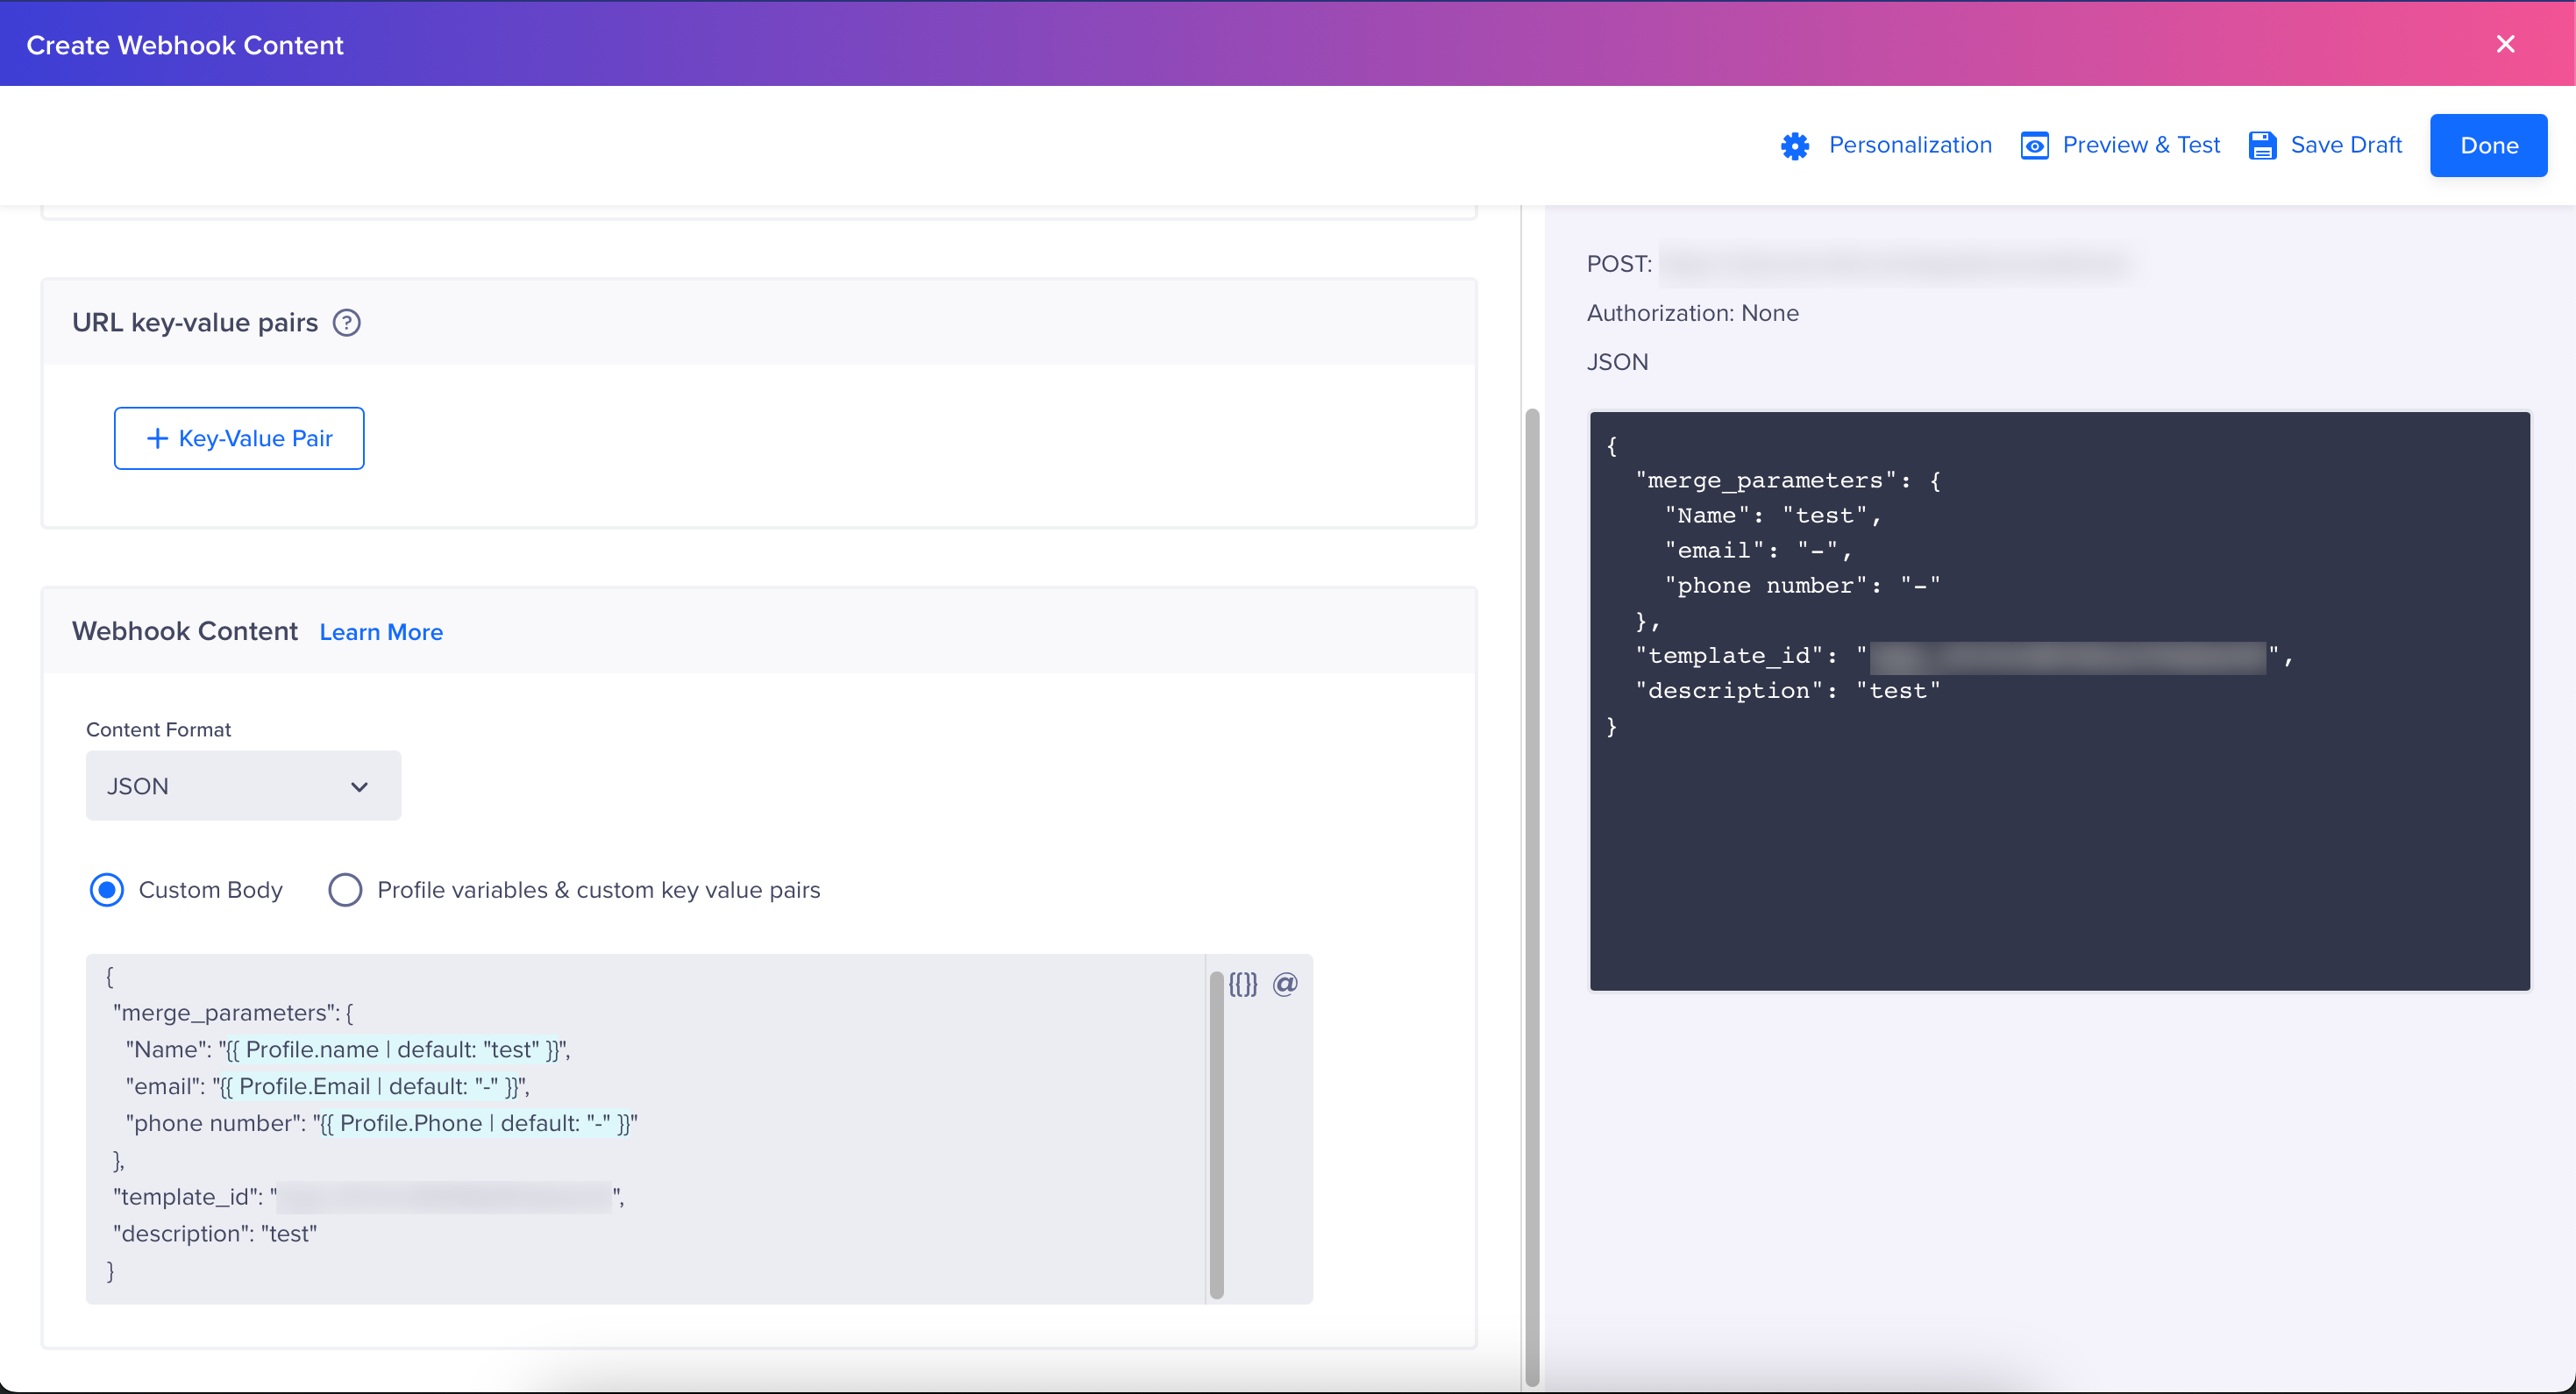
- In the What section, under the Webhook Content section, select the Content Format as
JSONand click the Custom body option.
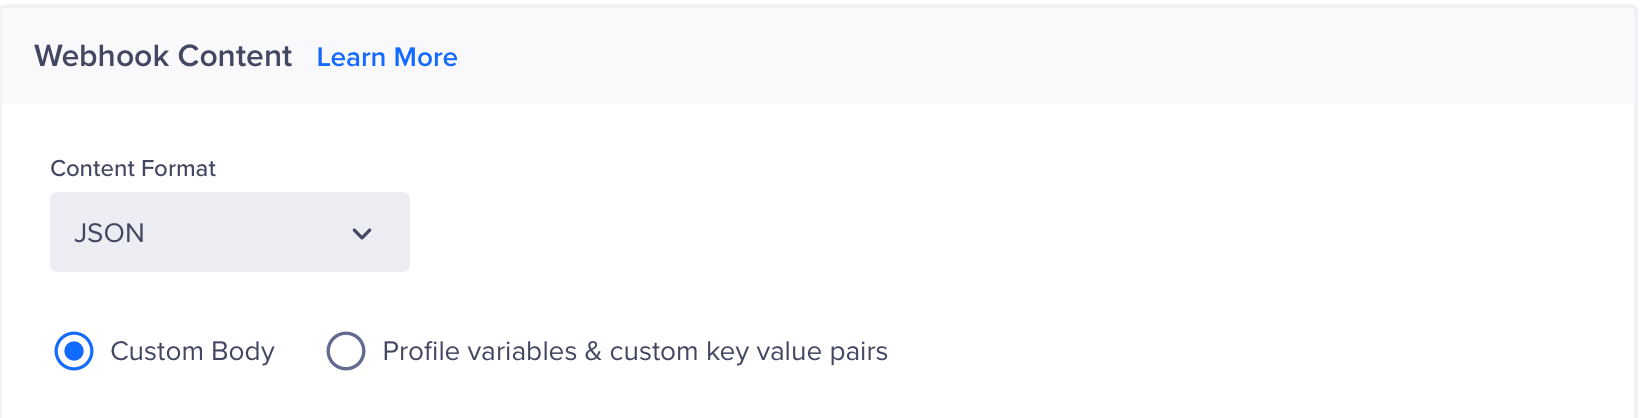
Webhook Content
- Paste the following JSON payload:
{
 "merge_parameters": {
   "Name": "{{ Profile.name | default: "test" }}",
   "email": "{{ Profile.Email | default: "-" }}",
   "phone number": "{{ Profile.Phone | default: "-" }}"
 },
 "template_id": "<id of the template you created at the start>",
 "description": "test"
}
Use the personalization toolbar {, {{, or @ to dynamically populate user attributes. For more information about all the different types of payload Inkit supports for various use cases, refer to this doc here.
- Click Preview and Test to validate the setup.
Preview and Test
- Check the Inkit dashboard to confirm that the data has been received and processed under the History section.
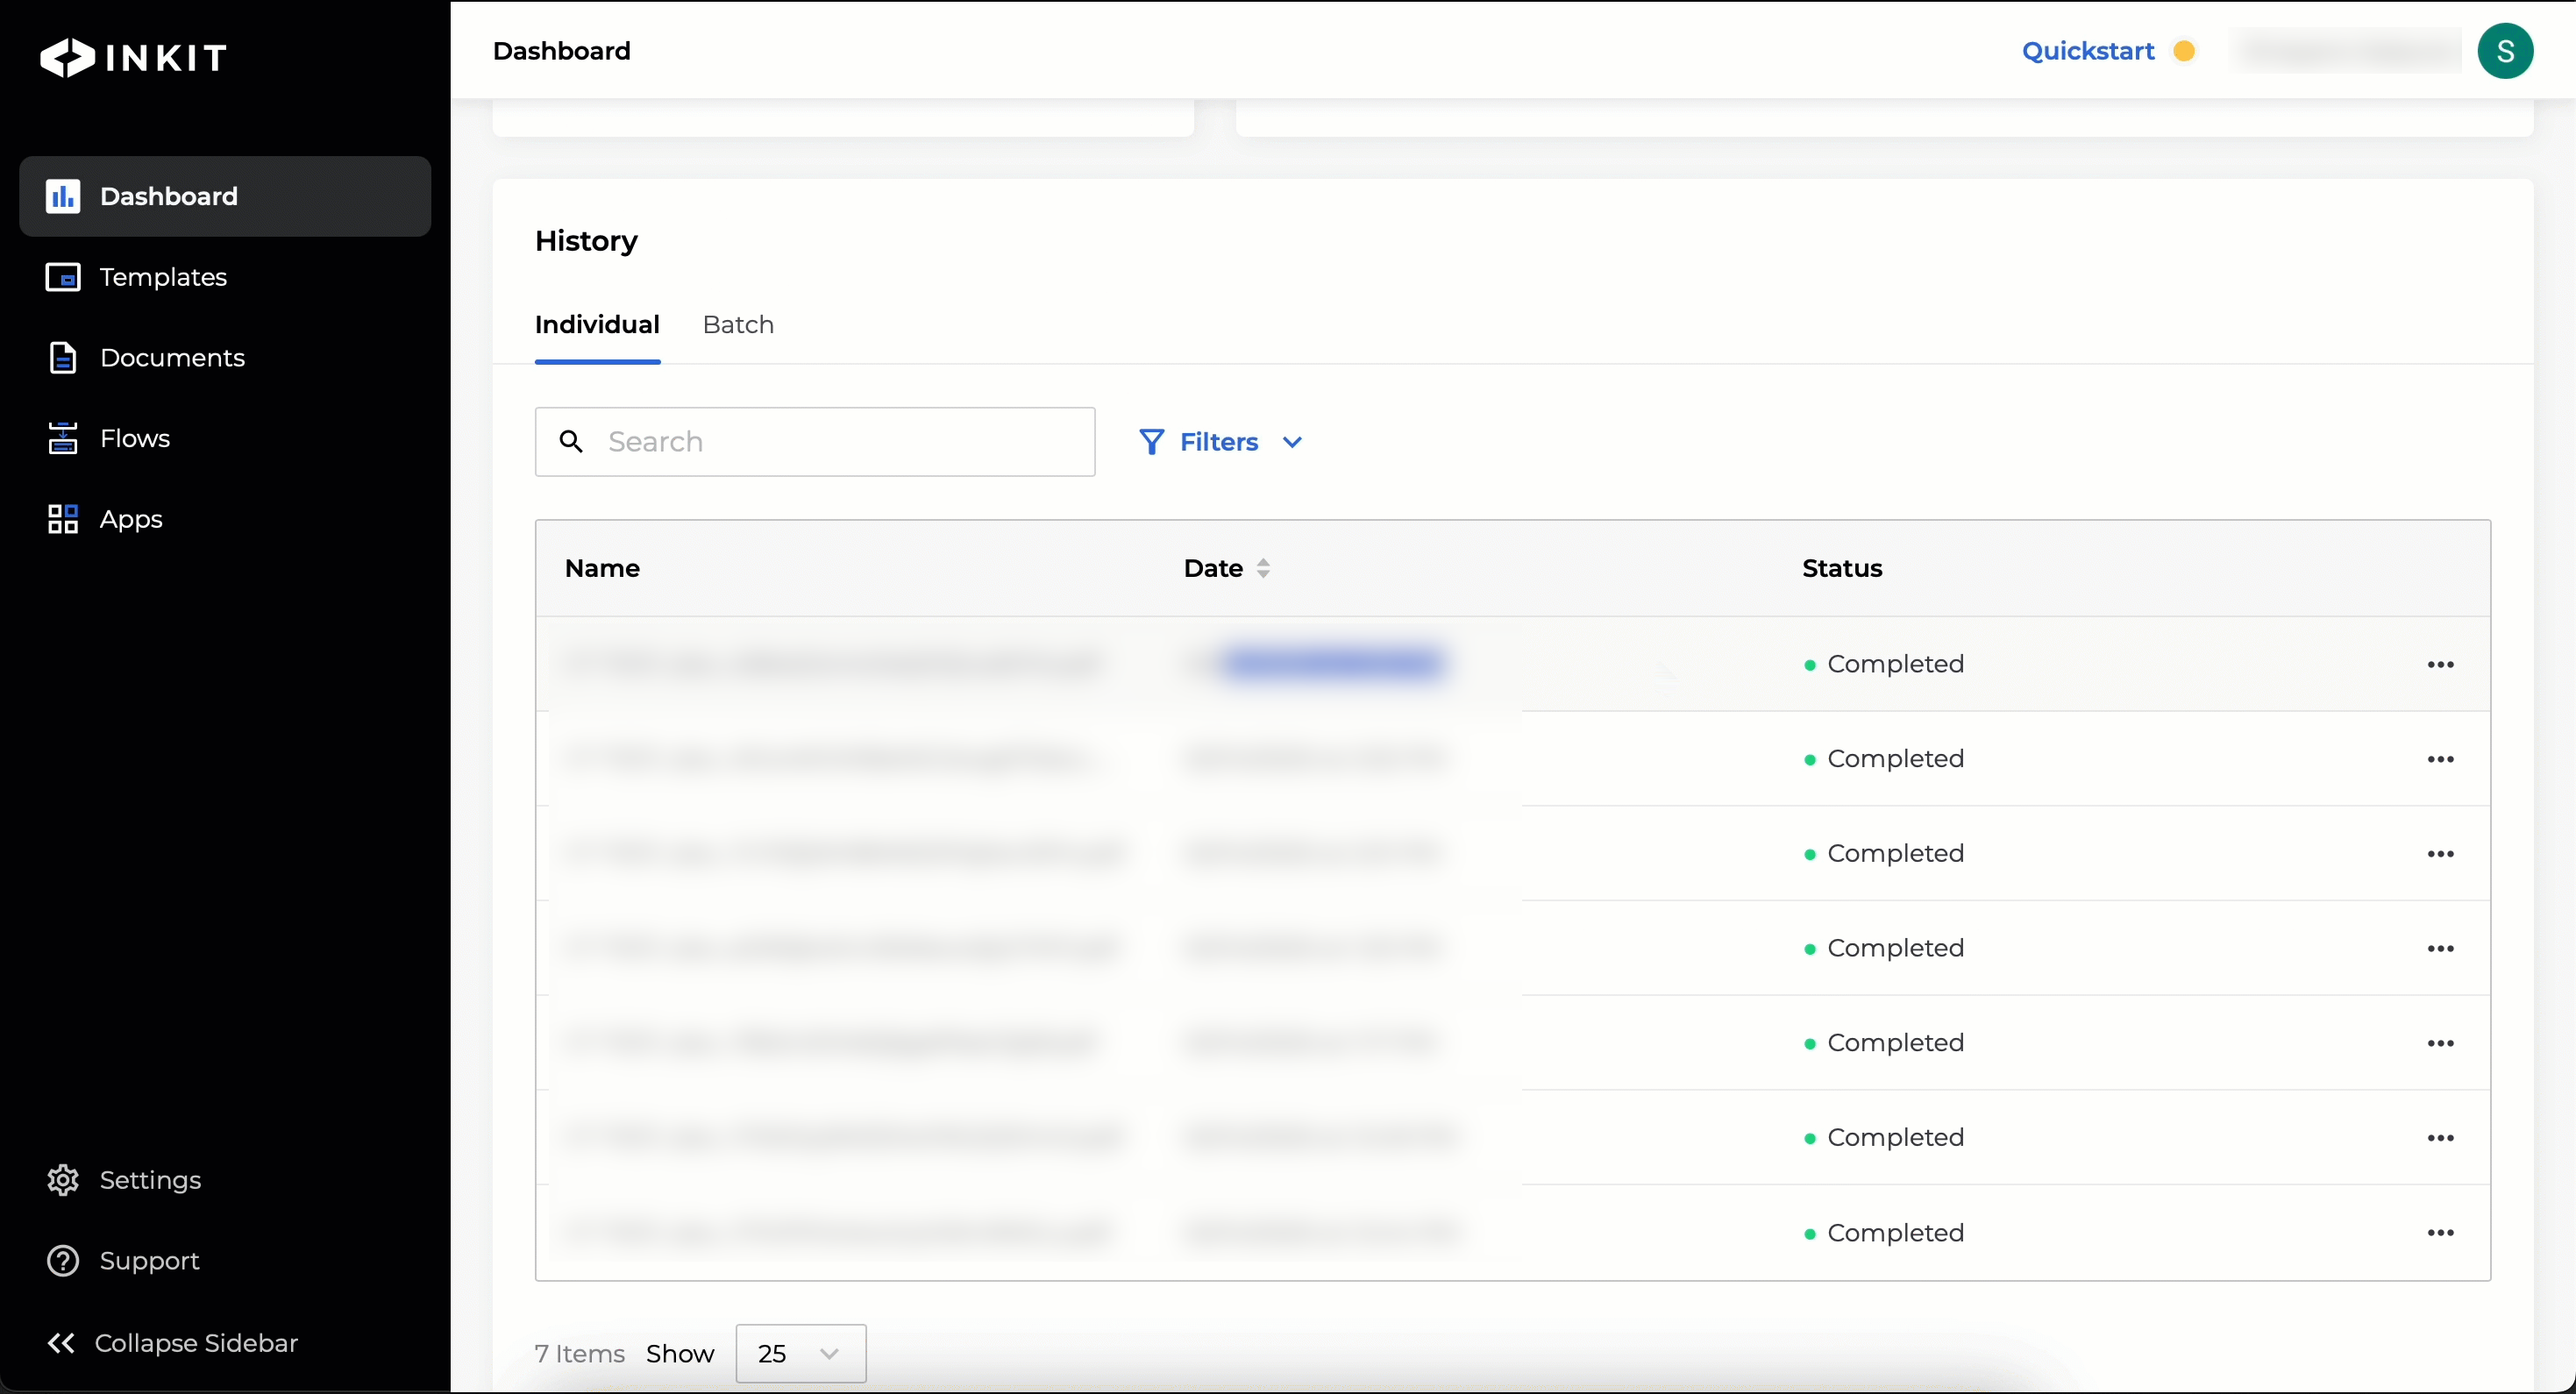
Verify the data on Inkit
- Once validated, click Publish in CleverTap.
By integrating Inkit with CleverTap, you can seamlessly extend your engagement strategy beyond digital channels, automating timely, personalised direct mail campaigns that resonate with your users at scale.
Updated 7 months ago