Qualtrics
Dynamic Content
Overview
Qualtrics is a Customer Experience Management (CXM) platform that helps organizations collect and analyze customer insights. The integration with CleverTap enables automated distribution of Qualtrics surveys when users perform specific actions in your app or website.
With this integration, you can:
- Automatically trigger Qualtrics survey distributions based on CleverTap events.
- Configure survey payloads using user-specific data via Liquid tags.
- Track feedback loops directly tied to user behavior.
Prerequisites for Integration
The following are the prerequisites for Qualtrics:
- A valid Qualtrics API Key and access to the Qualtrics XM Directory.
- Access to the CleverTap dashboard with permission to configure Webhook campaigns.
Integrate Qualtrics with CleverTap
The integration process involves the following two major steps:
Create Qualtrics Distributions via CleverTap
This integration is enabled using CleverTap’s Webhook Campaigns, which allow you to send Qualtrics survey distribution payloads to targeted users.
Configure Webhook in CleverTap
Set up a Webhook in CleverTap to send POST requests to the Qualtrics API whenever a user triggers a defined event.
NoteContact CleverTap Support to enable the Webhook channel on your account before proceeding.
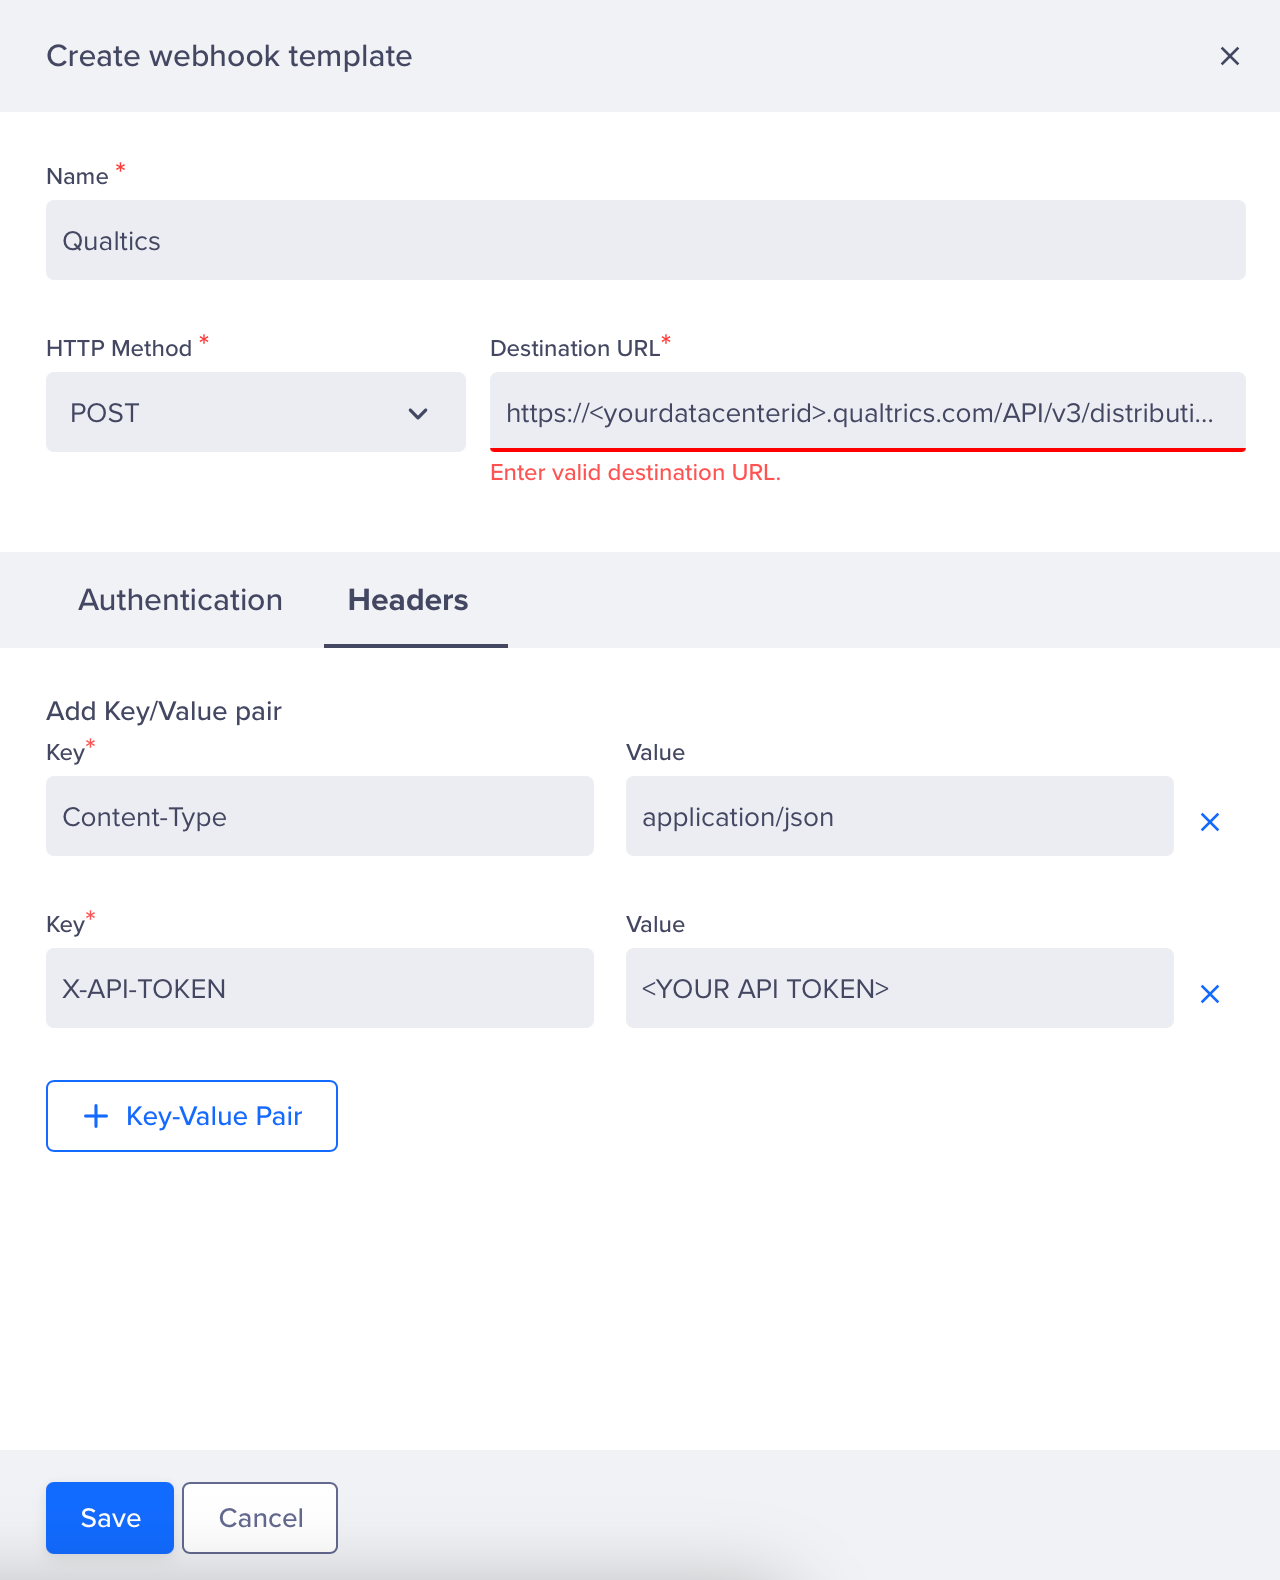
To set up the Webhook:
-
Go to Settings > Channels > Webhook in the CleverTap dashboard. Click + Add Webhook.
-
Enter a name for the Webhook.
-
Set the HTTP method to
POST. -
In the Webhook URL, enter:
https://<yourdatacenterid>.qualtrics.com/API/v3/distributionsReplace
<yourdatacenterid>with the actual data center ID. You can find it in Qualtrics Base URL. -
Add the following headers:
| Key | Value |
|---|---|
Content-Type | application/json |
X-API-TOKEN | <Your Qualtrics API Key> |
- Click Save.
Refer to the Qualtrics API documentation for more information.
Create Webhook Campaign
Create a Webhook campaign to distribute personalized Qualtrics surveys based on real-time user actions captured in CleverTap. To do so, follow these steps:
- Go to the Campaigns page, click + Campaign, and select Webhook from the list of messaging channels.
- Under the What section, select the Webhook created in the Configure Webhook in CleverTap section.
- Select JSON as the content format.
- Select Custom Body.
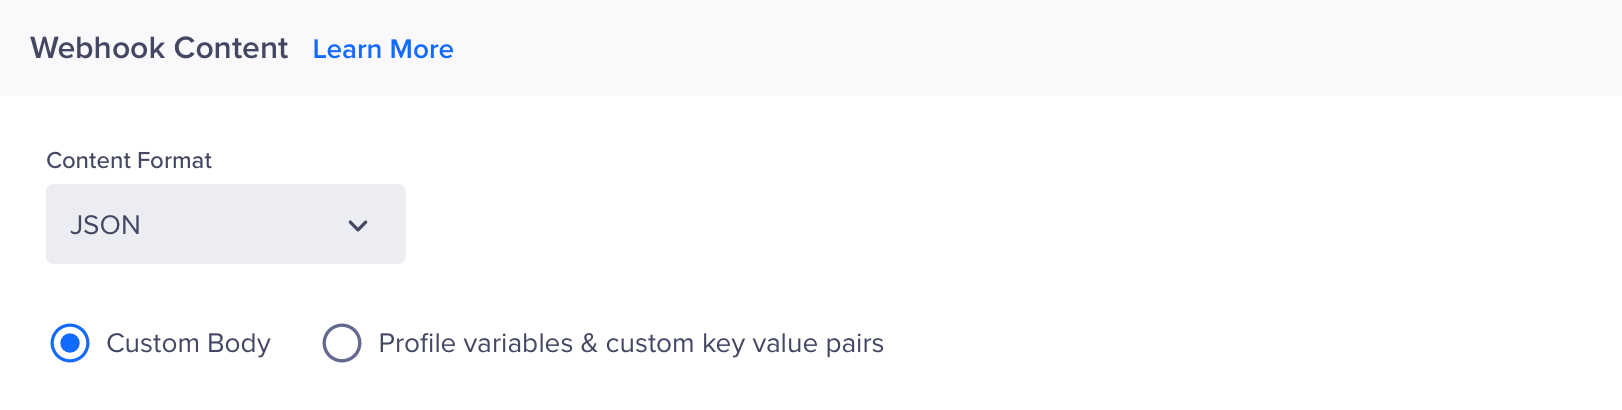
Webhook Content
- In the Webhook Content, paste the following sample payload:
{
 "message": {
   "libraryId": "UR_1M4aHozEkSxUfCl",
   "messageId": "MS_0Vdgn7nLGSQBlYN",
   "messageText": "Example Message Text"
 },
 "recipients": {
   "contactId": "{{ Profile.QualtricID | default: 'test' }}"
 },
 "header": {
   "fromEmail": "[email protected]",
   "replyToEmail": "[email protected]",
   "fromName": "Test Name",
   "subject": "Example Subject"
 },
 "surveyLink": {
   "surveyId": "SV_cHbKMOdeT8NetF3",
   "expirationDate": "2025-02-24T14:15:22Z",
   "type": "Individual"
 },
 "embeddedData": {
   "property1": "string",
   "property2": "string"
 },
 "sendDate": "2025-02-24T14:15:22Z"
}
You can dynamically personalize values using Liquid tags ({{ }}). For example, {{ Profile.QualtricID }} picks the Qualtrics ID associated with the user.
- Click Preview and Test to validate the payload and campaign behavior.
- If everything works as expected, click Publish.
Updated 7 months ago