Project Setup
Learn how to set up your Project on the CleverTap dashboard.
Overview
A project can be an individual app, website, or product. You can combine multiple platforms, such as Android, iOS, Web, and so on, in a single project. You can also have separate projects for each platform, depending on your business goals.
Create a Project
After you log on to the CleverTap platform for the first time, you can create a project. From the setup page, perform the following steps:
- Enter a Project name.
- Select the Business category from the list.
- Define the Account Timezone.
What Affects TimezonesCampaign delivery, Journeys, and scheduled data exports are based on timezones.
- Choose from the following platforms:
- Android
- iOS
- Web
- API
- Choose the platform for your app. Select Native for native Android and iOS apps. You can also select the other hybrid platforms for Android and iOS, such as:
- Click Create Project. A project with the specified name is created.

Create a Project
Create a Test Project
CleverTap automatically creates a Test project for testing when you create a Live project. You can perform all your tests on this project before you actually roll out the changes. However, you also have the flexibility to create additional test projects within a Live project if needed.
PermissionsTo create a Live or Test project, you must have the Admin access.
To create a Test project:
- Go to Organization > Projects from the CleverTap dashboard.
- Click + Test Project.
- Enter Project name.
- Click Add.
The Test project is created on the Projects page.
Create a Test Project
Edit a Project Name
The admin can edit a project name later, and it will not affect the project in any other way except for the name change. To modify a project name, perform the following steps:
- From the CleverTap dashboard, navigate to Settings > Project.
- Click the
 icon next to the project name.
 - Modify the project name.
- Click Save.
Change a Project Name
Add Billing Details
This section on the dashboard allows organization admins to configure and manage billing information for the CleverTap account.
To view the billing details, go to Organization > Billing > Billing details from the CleverTap dashboard. The Billing details page opens. It is split into three main areas:
Primary Billing Contact
This form specifies the primary individual responsible for receiving all billing-related communications. This person is the main recipient of billing emails and will be contacted for any payment or invoice issues.
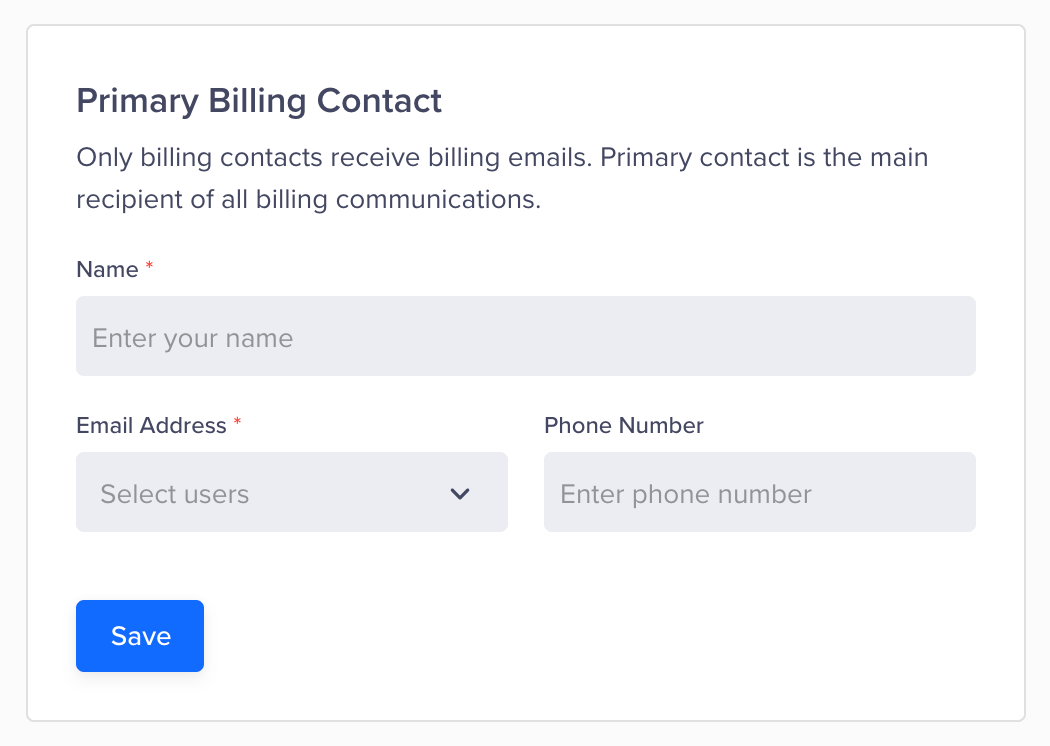
Primary Billing Contact
This form has the following fields:
- Name (Required): Enter the full name of the primary contact.
- Email Address (Required): Select from a list of registered users.
- Phone Number (Optional): Enter the phone number of the billing contact.
Secondary Billing Contacts
This form allows you to add up to 10 additional users as secondary billing contacts. In addition to the primary contact, these users will also receive billing communications. This form has a searchable list to select multiple users.
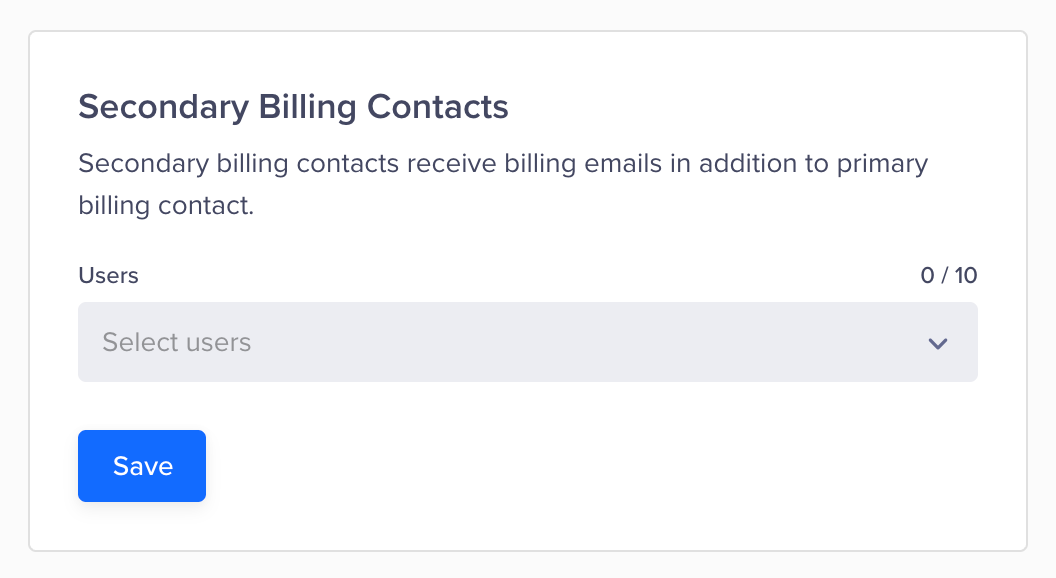
Secondary Billing Contacts
Billing Details and Address
These details are required for tax and legal compliance purposes. It includes organization and billing address details that are split into three main areas:
Billing Details
This section allows the user to provide details of the organization for tax and legal compliance.

This form has the following fields:
- Organization Name (Required): Enter the legal name of the organization.
- DBA (Doing Business As) (Optional): Specify any alternate business name.
- Tax Number (Optional): Enter the tax identification number.
Billing Address
This section allows the user to provide a billing address.

This form has the following fields:
- Billing Address Line 1 (Required): Street, apartment, or company address.
- Billing Address Line 2 (Required): Additional location details (area, sector, and so on).
- Country (Required): Select from the list.
- State/Province/Region (Required): Select from the list.
- City/Town (Required): Enter the name of the city or town.
- Postal Code (Required): Enter the postal/ZIP code.
Shipping Address
This section allows the user to provide a different shipping address if necessary.
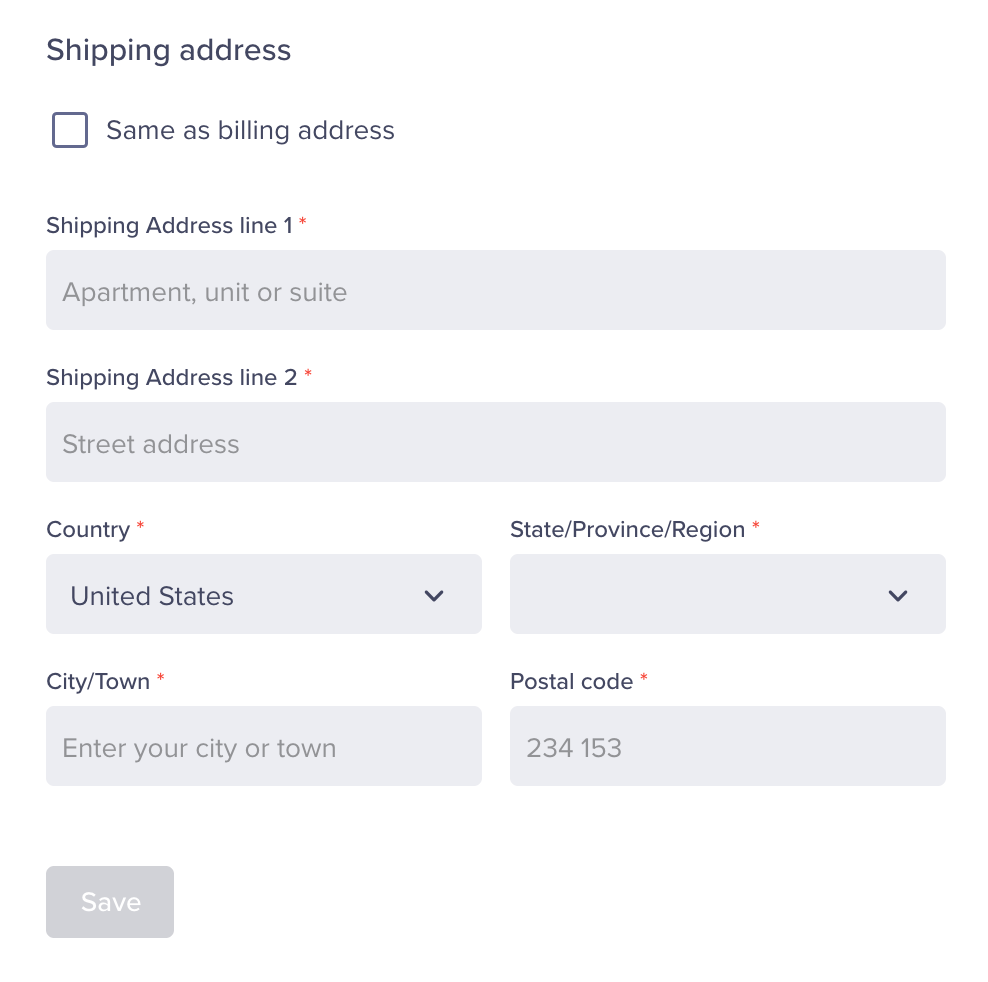
This form has the following fields:
- Checkbox: Same as billing address auto-fills the shipping address fields, same as billing address.
- Shipping Address Line 1 (Required): Apartment, unit, or suite.
- Shipping Address Line 2 (Required): Street address.
- Country (Required): Select from the list.
- State/Province/Region (Required): Select from the list.
- City/Town (Required): Enter city or town name.
- Postal Code (Required): Enter postal/ZIP code.
Updated 8 months ago