LeadSquared Export
Learn how to export lead data from CleverTap to LeadSquared.
Overview
LeadSquared allows you to receive lead data from CleverTap, enabling automated lead capture and CRM updates in real time.
Support for IntegrationThis integration is managed and continuously improved by LeadSquared. The CleverTap and LeadSquared integration has undergone stringent testing to ensure seamless functionality. For any questions or issues, contact LeadSquared for support and resolution.
Export Lead Data from CleverTap to LeadSquared
To push lead data from CleverTap to LeadSquared using webhooks. To do so, follow these steps:
- Install the CleverTap Connector in LeadSquared
- Generate a Webhook URL in LeadSquared
- Configure Webhook in CleverTap
- Create Webhook Campaign
Install the CleverTap Connector in LeadSquared
Install the CleverTap connector to start capturing leads from CleverTap into LeadSquared. To do so, follow these steps:
- Go to Apps > Apps Marketplace in LeadSquared.
- Search for CleverTap and click Install.
- After installation, click Configure.
Install the CleverTap Connector in LeadSquared
- Grant connector access by role or user-level settings:
- Based on Role: Choose roles from the Specify Roles dropdown.
- Advanced (User Level): Select a user boolean field that controls access.
User-level settings
- Click Save Details to apply settings.
NoteAll Admin users have access to the connector by default.
Generate a Webhook URL in LeadSquared
Generate a webhook URL in LeadSquared to push lead data into CleverTap. To do so, follow these steps: in LeadSquared that can be used to automate the data push into CleverTap.
- Go to Apps > CleverTap.
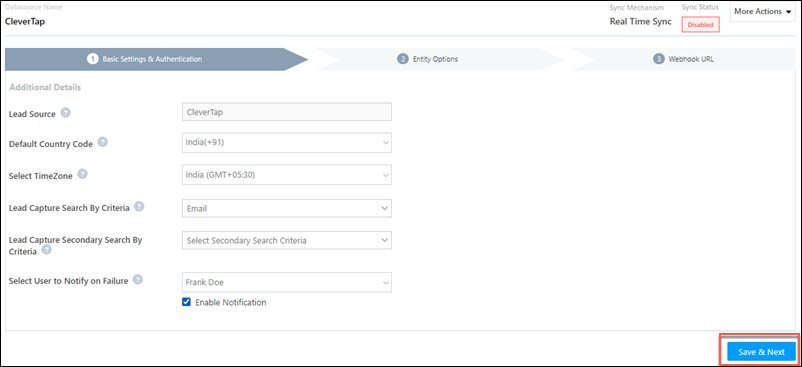
- Enter the following details:
| Property | Description |
|---|---|
| Lead Source | Define the lead source (for example, CleverTap). |
| Default Country Code | Adds country code if missing in leads. |
| Select Time Zone | Aligns with your CleverTap account time zone. |
| Lead Capture Search By Criteria | Primary lead identifier (for example, email or mobile). |
| Lead Capture Secondary Search By Criteria | Fallback identifier if the primary fails. |
| Select User to Notify on Failure | Select the user who receives sync failure alerts. |
| Enable Notification | Toggle to send failure alerts via email. |
-
Configure Entity Options to define sync behavior:
- Capture (Create and Update existing)
- Create only new record
- Update only existing record
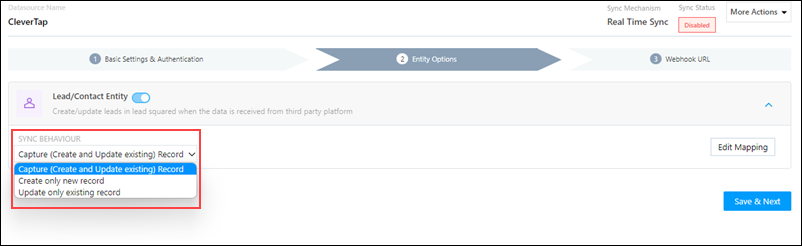
Configure Entity Options
- On the Mapping screen:
- Review auto-mapped CleverTap to LeadSquared fields.
- To set default values, click the edit icon, enter value, and save.
- Disable any fields not needed.
- Use the search key icon to mark a unique identifier.
- Add custom fields if required and map them accordingly.
Mapping
- Click Save & Next to generate the webhook URL.
- Copy the webhook URL for use in CleverTap.
- Go to More Actions > Enable Sync Job to activate data flow.
Copy Webhook URL
NoteTo view job history, Go to More Actions > View Logs.
Configure Webhook in CleverTap
To enable real-time lead capture, create and configure the CleverTap webhook using the URL generated in LeadSquared. To do so, follow these steps:
- Go to Settings > Channels > Webhook in the CleverTap dashboard.
- Click + Add Webhook.
- Enter the following configuration:
| Field | Value |
|---|---|
| Name | Enter a unique nickname for your webhook (for example, LeadSquared) |
| HTTP Method | POST |
| Endpoint URL | Paste the URL copied in step 6 of Generate a Webhook URL in LeadSquared. |
| Authentication | Select No Authentication. |
| Headers | Add a Key/Value pair to the events that trigger this webhook. |
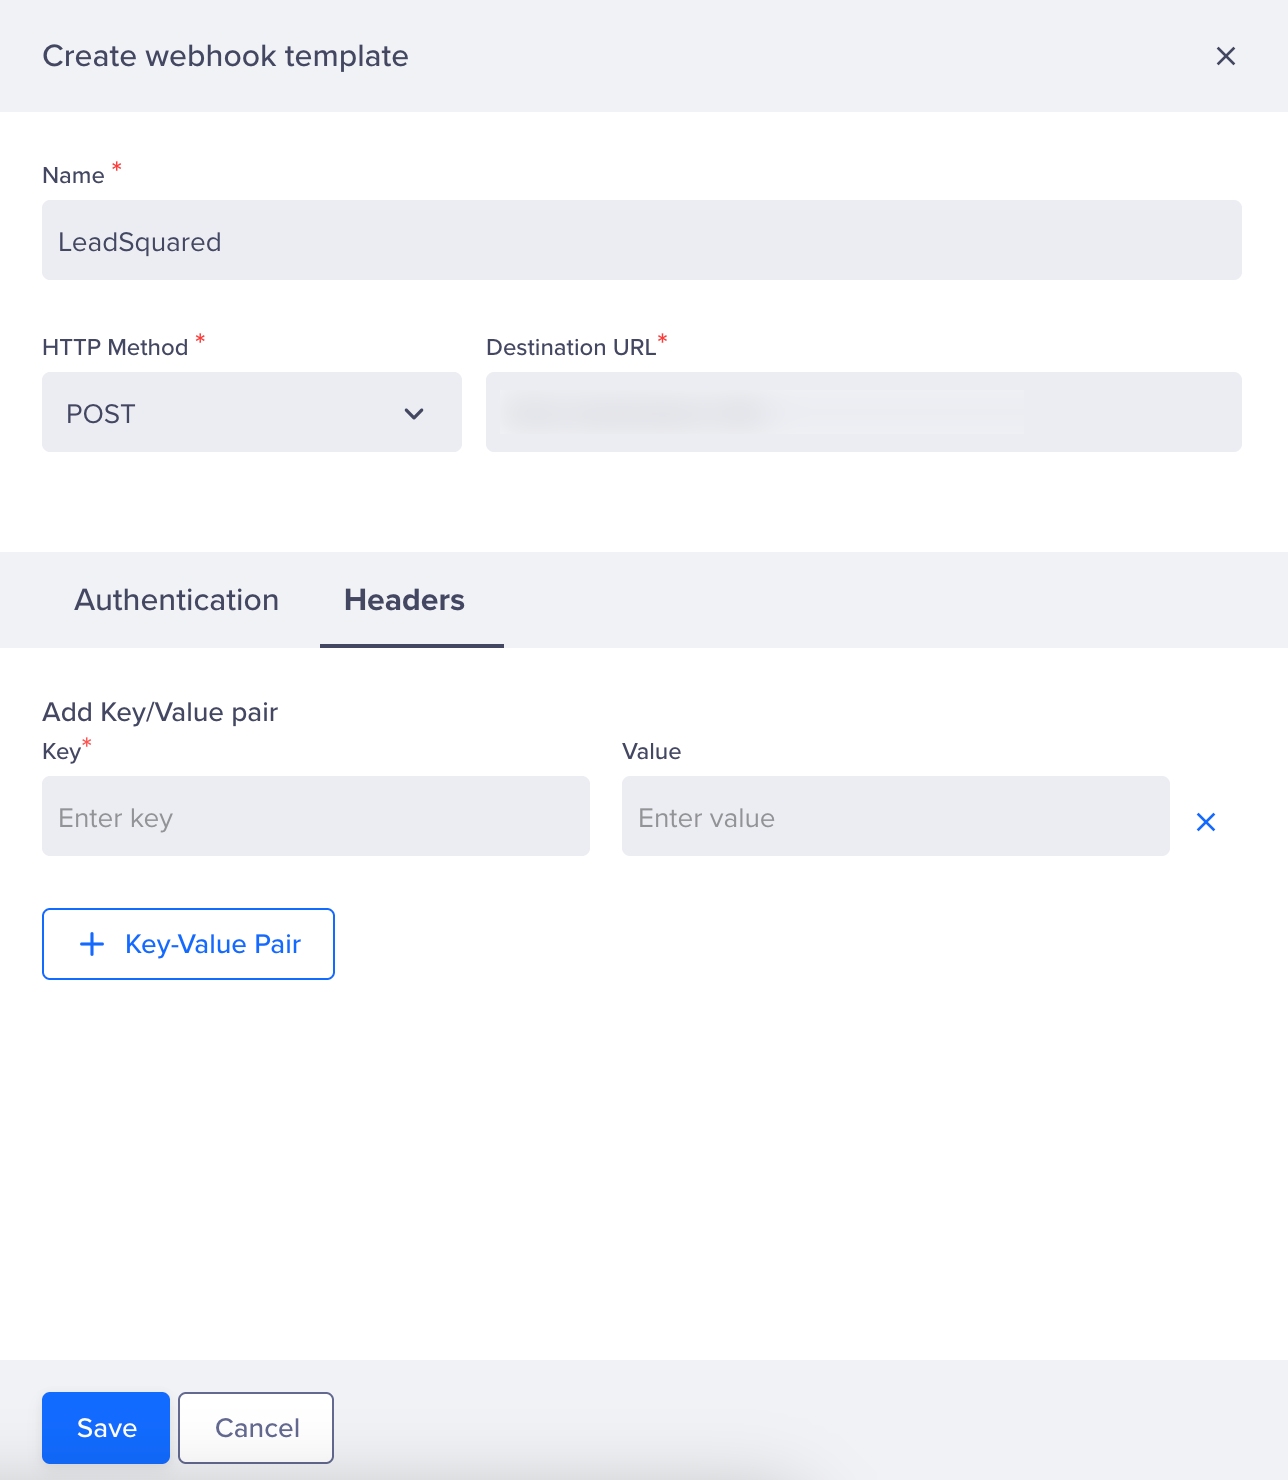
Configure Webhook in CleverTap
- Click Save to validate the configuration.
Once saved and tested successfully, the webhook can export lead data from CleverTap to LeadSquared.
Create Webhook Campaign
After configuring your webhook in CleverTap, you must create a campaign that triggers the webhook and sends data to LeadSquared. To do so, follow these steps:
- Go to the Campaigns page, click + Campaign, and select Webhook from the list of messaging channels.
- Under the What section, select the Webhook created in the Configure Webhook in CleverTap section.
- Select JSON as the content format.
- Select Custom Body.
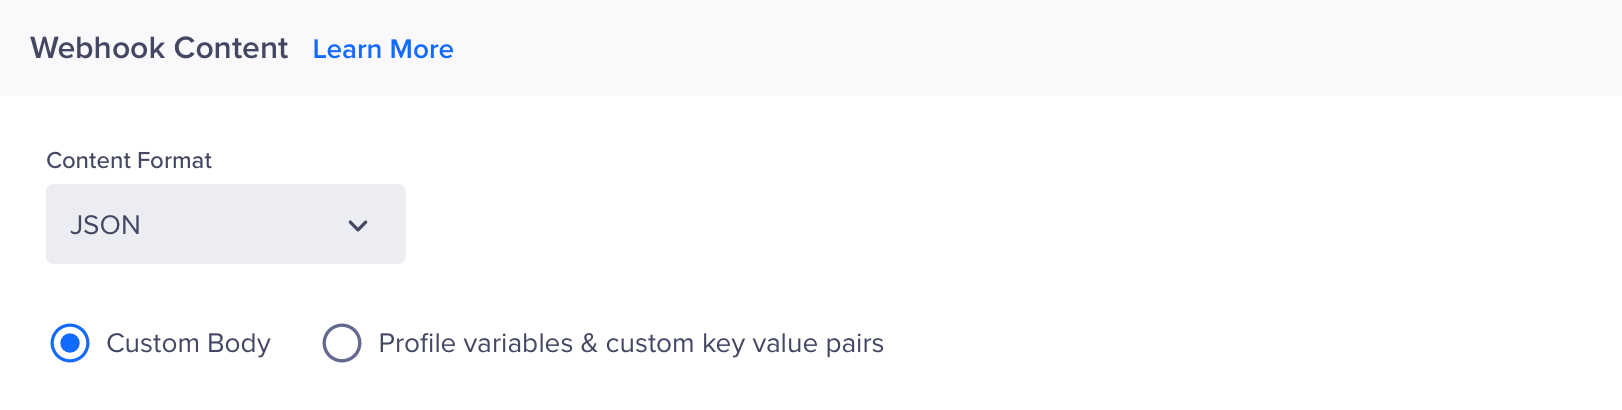
Webhook Content
- In the Webhook Content, paste the following sample payload:
{
  "RelatedProspectId": "{{ Profile.Identity | default: 'NULL' }}",
  "ActivityEvent": 201,
  "ActivityNote": "Lead has read the email at {{ Profile.data | default: '0' }} tracked via CleverTap",
  "ActivityDateTime": "{{ Profile.purchase_date | default: '0' }}",
  "Fields": [
    {
      "SchemaName": "Platform",
      "Value": "Email"
    },
    {
      "SchemaName": "mx_Custom_2",
      "Value": "{{ Profile.QualtricID | default: 'N/A' }}"
    },
    {
      "SchemaName": "mx_Custom_3",
      "Value": "custom_value"
    }
  ]
}
You can dynamically personalize values using Liquid tags ({{ }}). For example, {{ Profile.Identity }} picks the LeadSquared prospect ID of the user, and {{ Profile.purchase_date }} dynamically fills in the user’s last purchase date.
- Click Preview and Test to validate the payload and campaign behavior.
- If everything works as expected, click Publish.
Once launched, CleverTap will trigger the webhook to LeadSquared when the specified event and audience conditions are met, ensuring real-time data sync.
Updated 7 months ago