Airtable
Workflow Automation
Overview
Airtable is an intuitive platform for building and sharing relational databases online. With the CleverTap and Airtable integration, you can automatically send user data and event details from CleverTap to Airtable using webhook campaigns.
This integration allows you to:
- Store CleverTap user data centrally in Airtable.
- Automate data transfer via Webhook campaigns.
- Enrich external databases for further analysis or processing.
Prerequisites for Integration
To integrate Airtable with CleverTap, ensure the following prerequisites are met:
- Access to your Airtable dashboard and ability to create API tokens
- Access to your CleverTap dashboard with permissions to configure webhooks and campaigns
- Airtable Base and Table IDs available for the integration
Integrate Airtable with CleverTap
The integration process involves the following three major steps:
Generate Airtable API Token
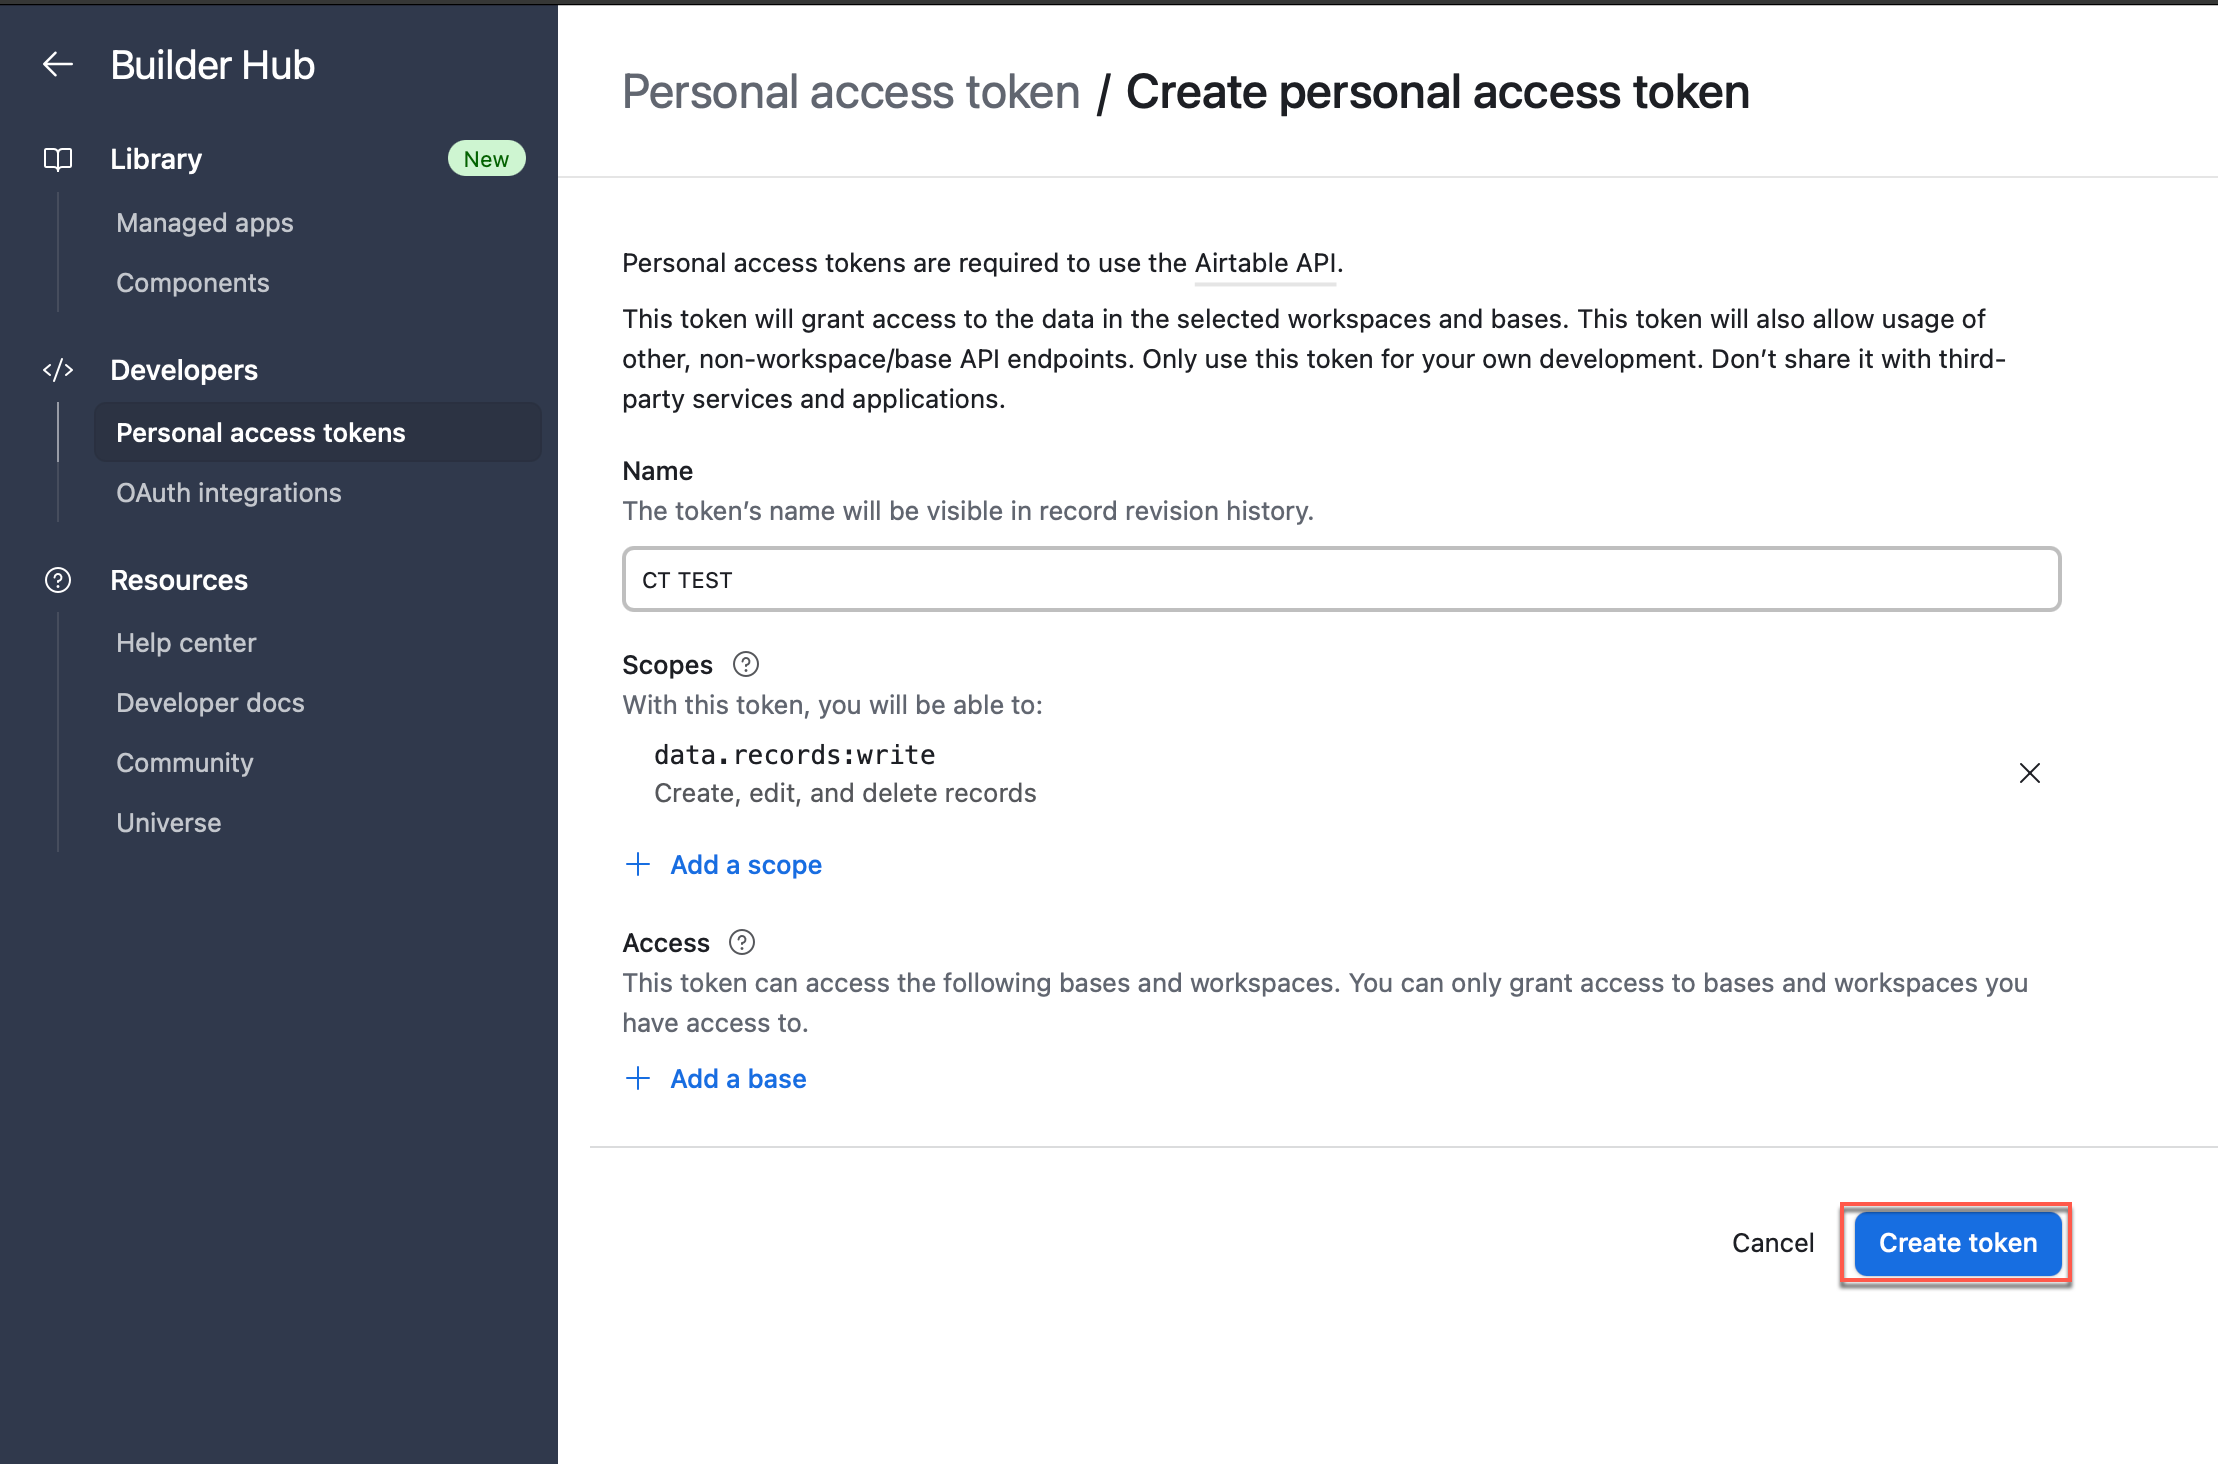
Generate a secure access token from your Airtable account, which will be used to authorize CleverTap API calls. To do so, follow these steps:
-
Log in to your Airtable account.
-
Click on your Profile > Builder Hub or visit
https://airtable.com/create/token. -
Click Create token.
-
Assign a token name and enable the following scope:
data.records:write: Create, edit, or delete records using API.
-
Define Access based on your Airtable workspace requirements.
-
Click Create token and copy the token. Airtable will not display it again.
Generate Airtable API Token
NoteThis token must be included in the authorization header for every CleverTap webhook call.
To understand more about Airtable's supported authentication methods, refer to the Airtable Authentication.
Set Up Webhook in CleverTap
To begin the integration, you will first create a webhook in CleverTap. This webhook sends recipient and campaign-specific data to Airtable whenever the campaign is triggered. It ensures real-time delivery of user profile data to your Airtable base based on campaign actions.
To do so, follow these steps:
- Go to Settings > Channels > Webhook.
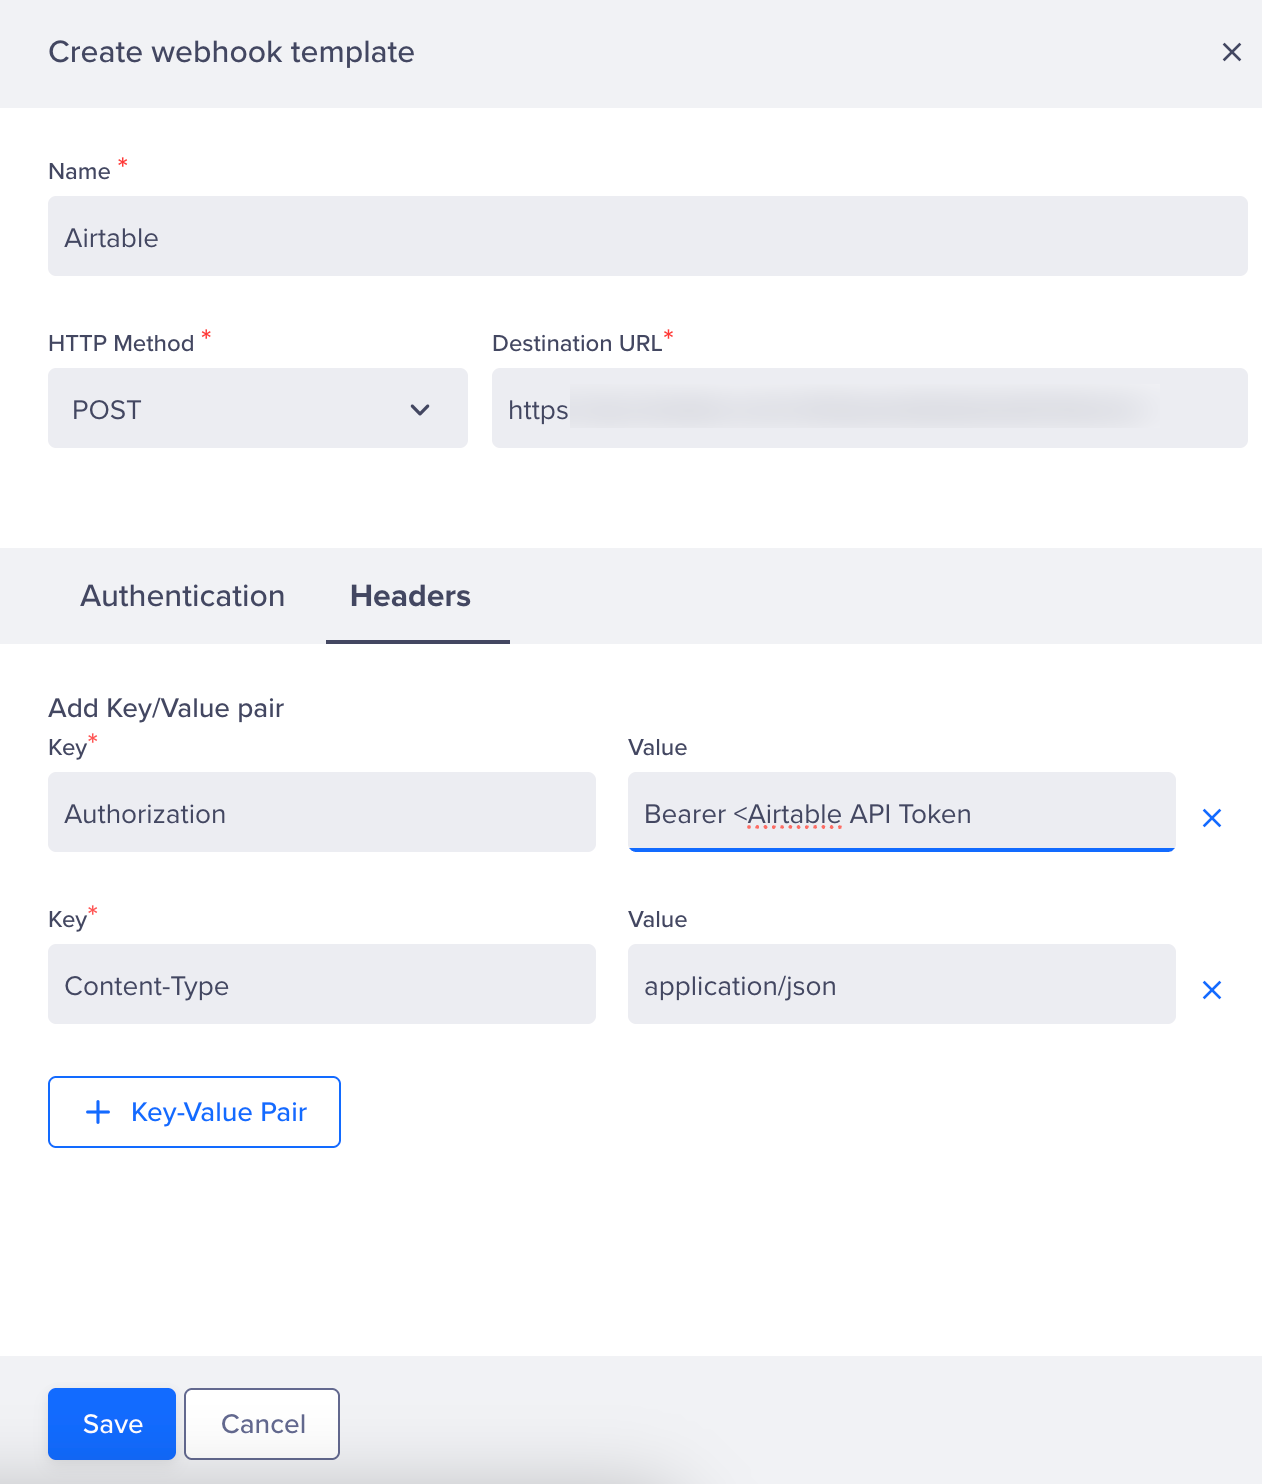
- Click + Add Webhook and enter the following:
| Field | Value |
|---|---|
| Name | Airtable |
| HTTP Method | POST |
| Endpoint URL | https://api.airtable.com/v0/{baseId}/{tableIdOrName} |
Retrieve yourbaseIdandtableIdOrNamefrom the Airtable URL.
- Base ID starts with
app- Table ID starts with
tbl- View IDs starts with
viw
- Add the following key-value pair under Headers:
| Key | Value |
|---|---|
| Authorization | Bearer <Airtable API Token> |
| Content-Type | application/json |
Create Webhook
- Click Save to create the webhook.
After saving the webhook, CleverTap will be ready to send user profile data directly to Airtable.
Create a Webhook Campaign in CleverTap
Design and launch a webhook campaign in CleverTap to dynamically push selected user data to Airtable.
To do so, follow these steps:
- Go to Campaigns > + Campaign > Webhook.
- Select the Webhook configured in Set Up Webhook in CleverTap.
- In the What section, under the Webhook Content section, select the Content Format as JSON and click the Custom body option.
- Paste the following JSON payload:
{
   "records": [
     {
       "fields": {
         "Name": "{{ Profile.name | default: "-" }}",
         "Email": "{{ Profile.Email | default: "[email protected]" }}"
       }
     }
   ]
}
ImportantEnsure that the field names used in your payload (for example, Name, Email) exactly match the column names in your Airtable table. If the fields don't match, data will not be recorded.
You can customize the payload to align with your table structure. Learn more about Airtable request fields.
Use the personalization toolbar ({, {{, or @) to insert dynamic user profile values.
- Click Preview and Test to validate the integration.
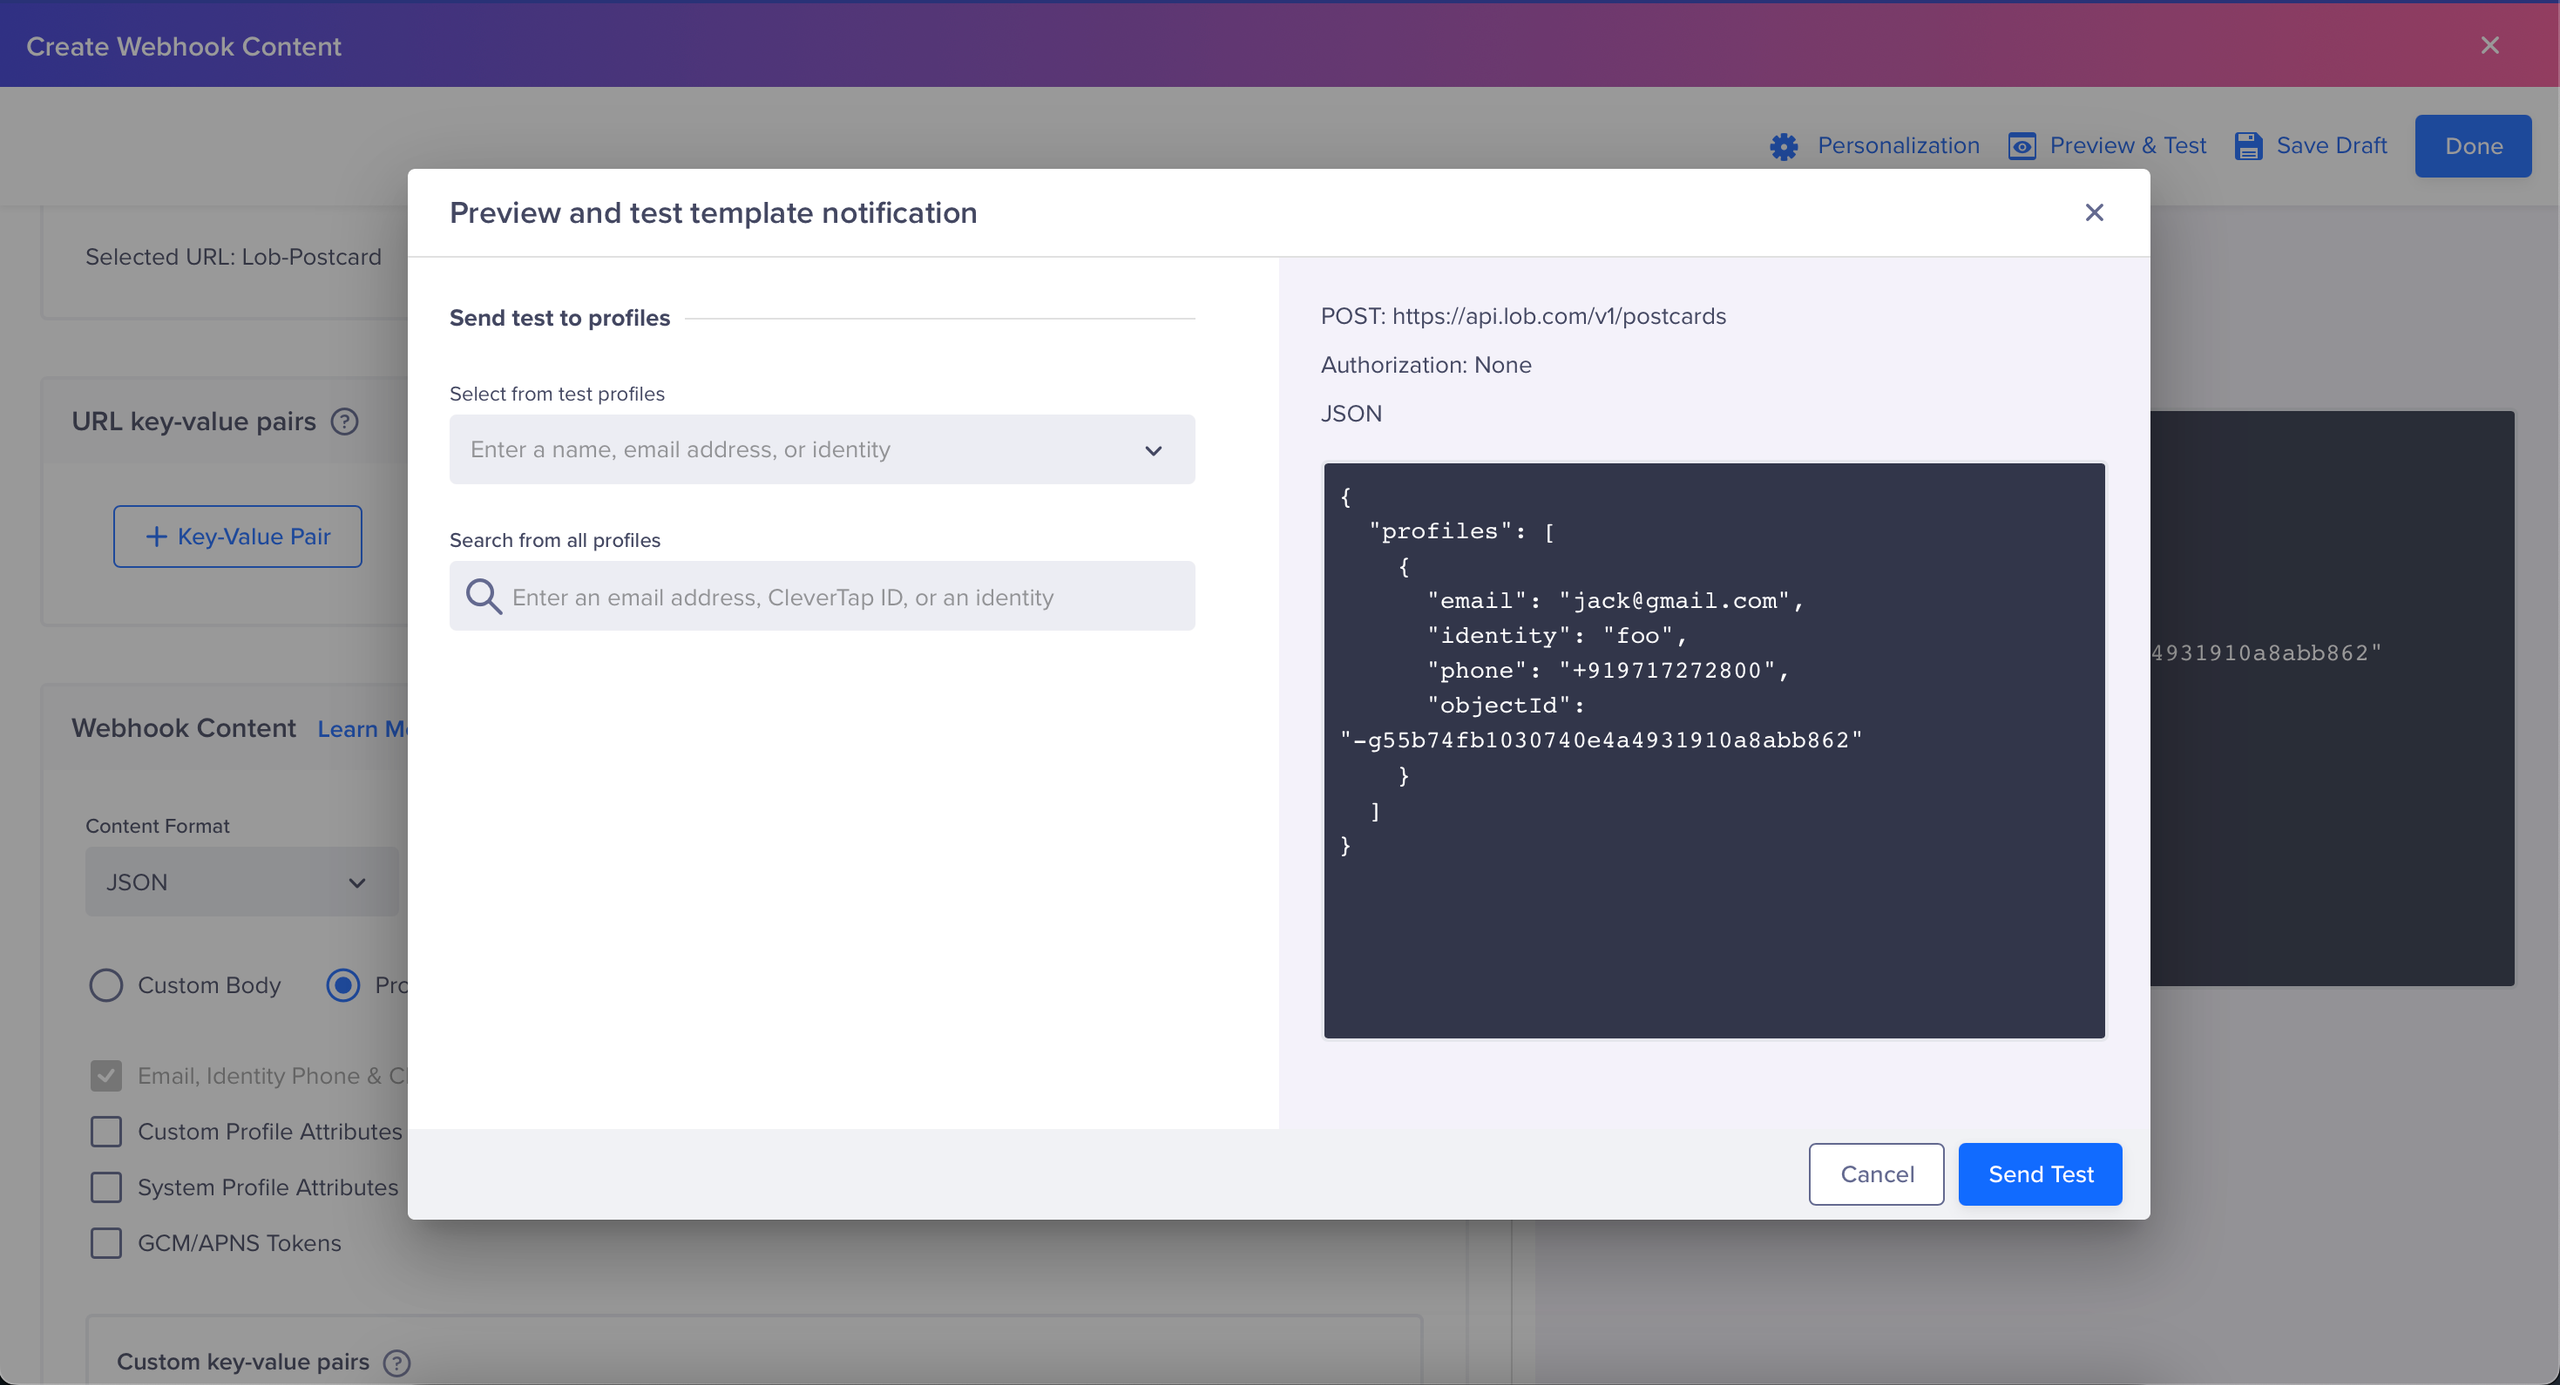
Preview and Test
- Open your Airtable base and verify that a new row has been created with the test data (for example, Name, Email).
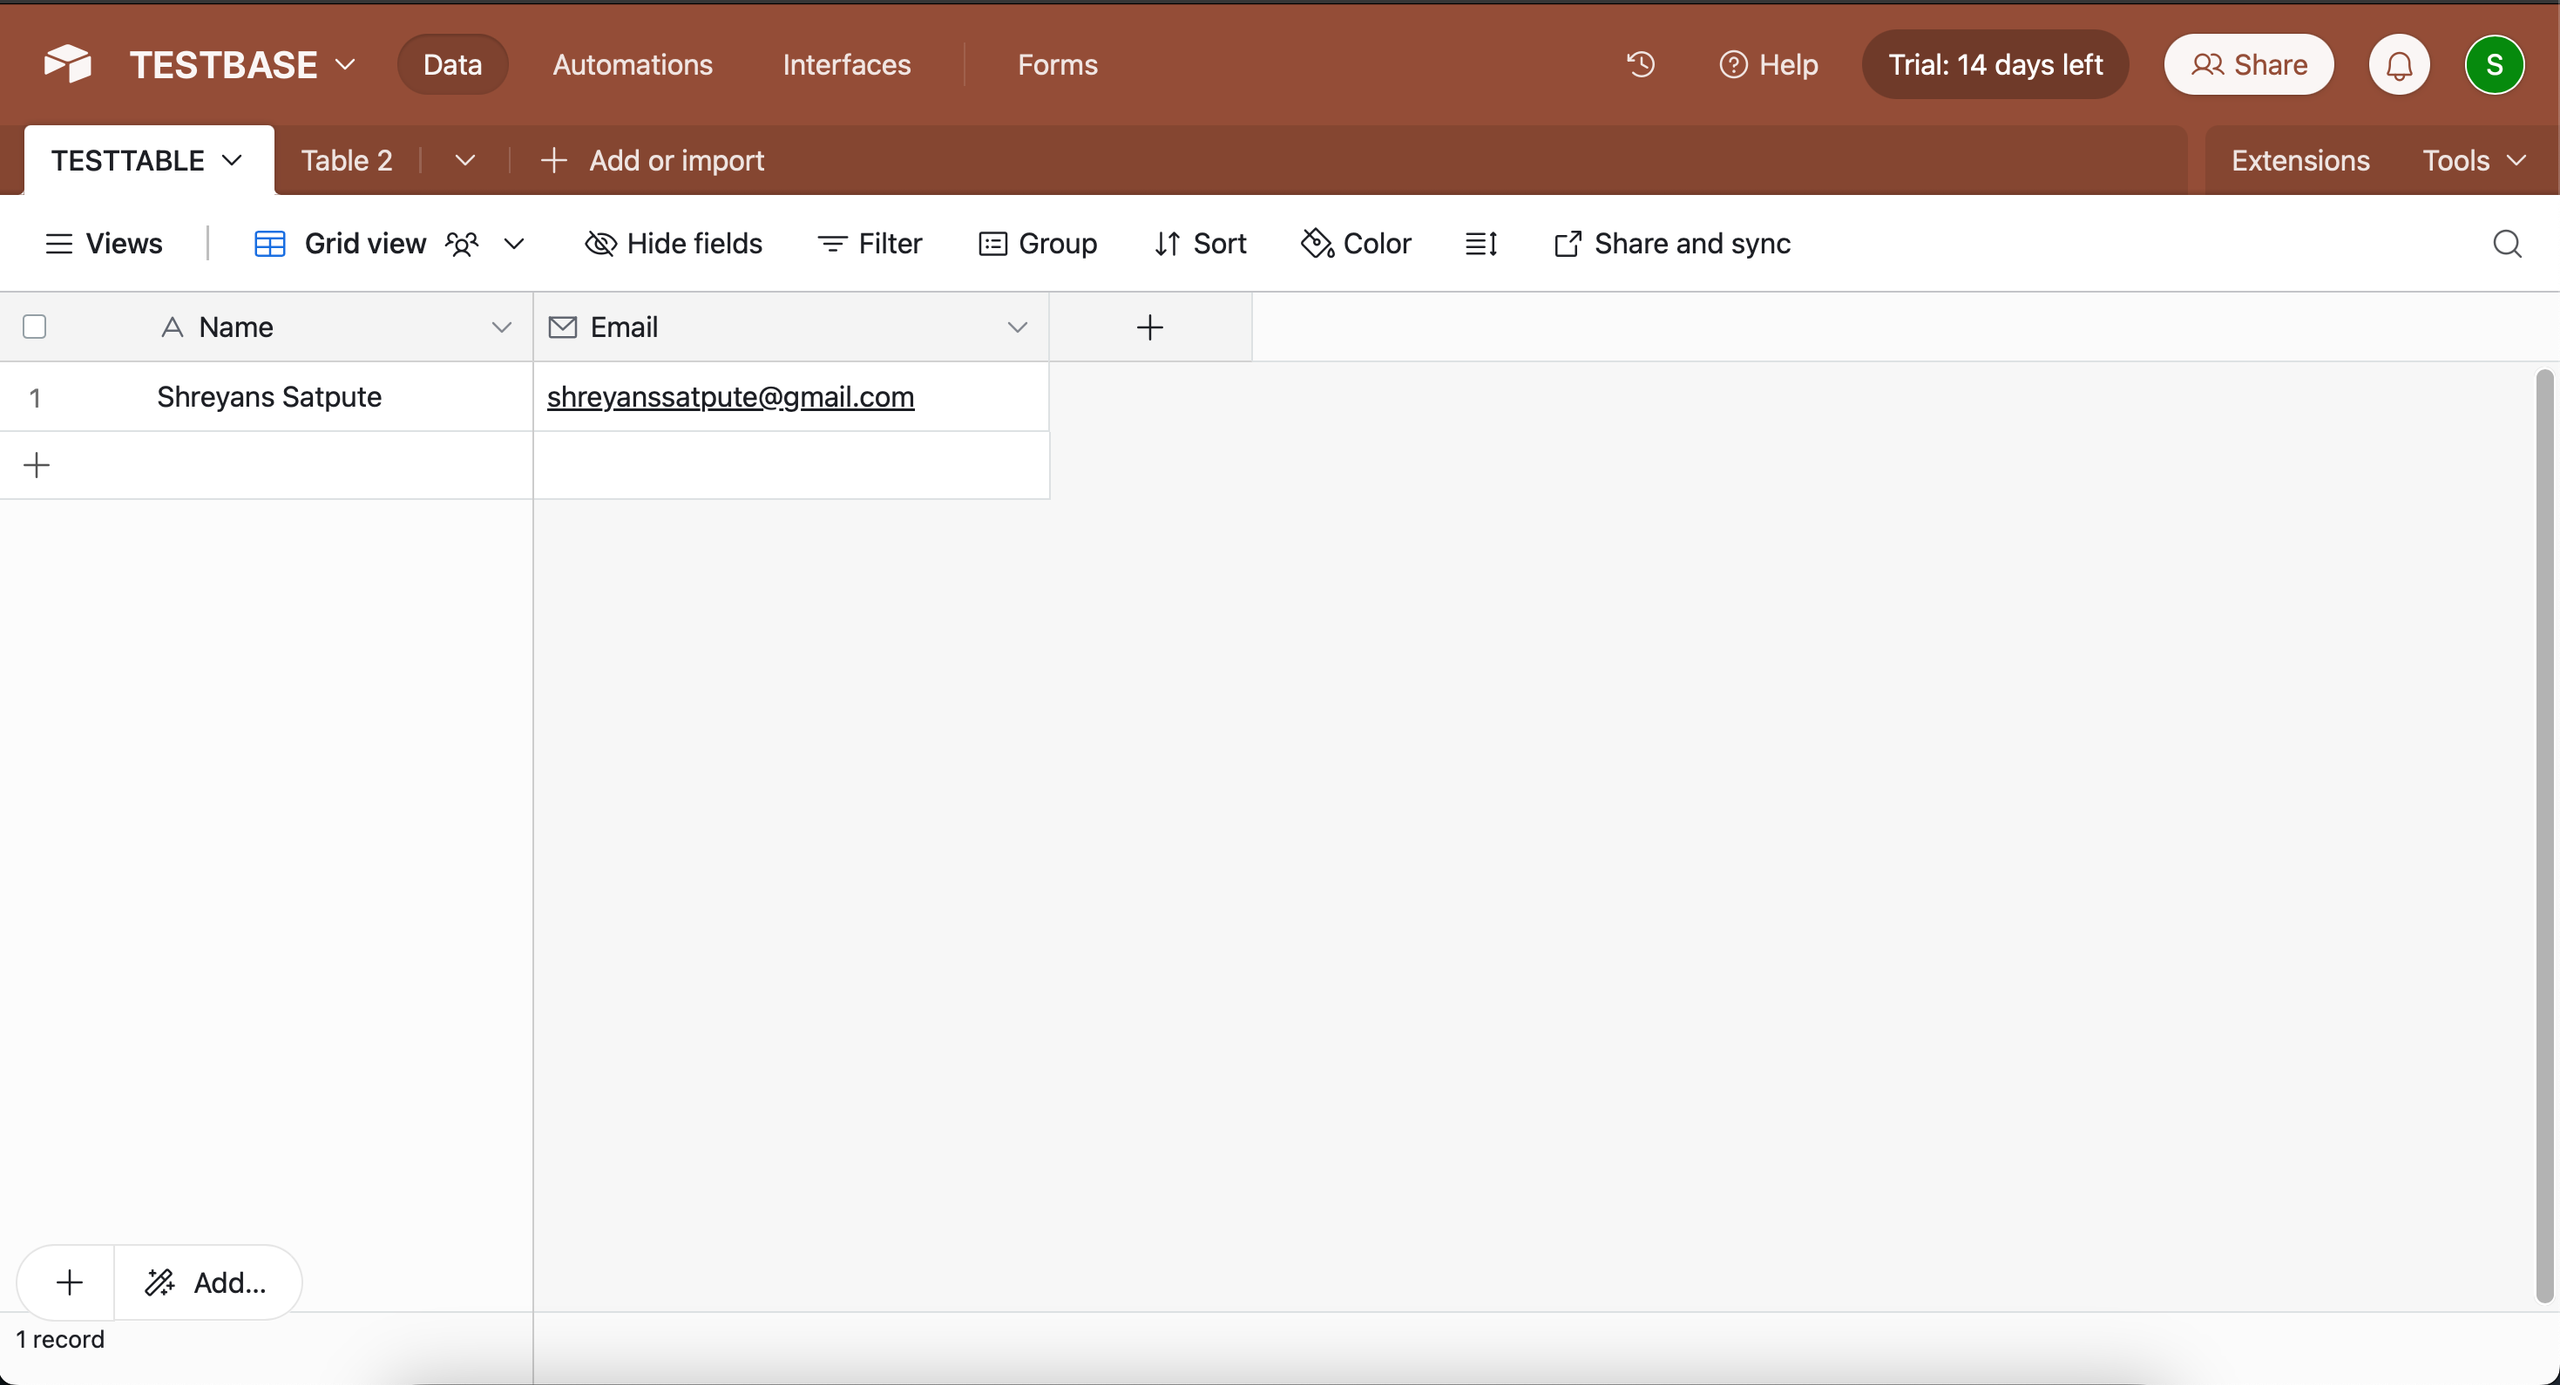
Test entry successfully reflected in Airtable
- Once confirmed, click Publish in CleverTap.
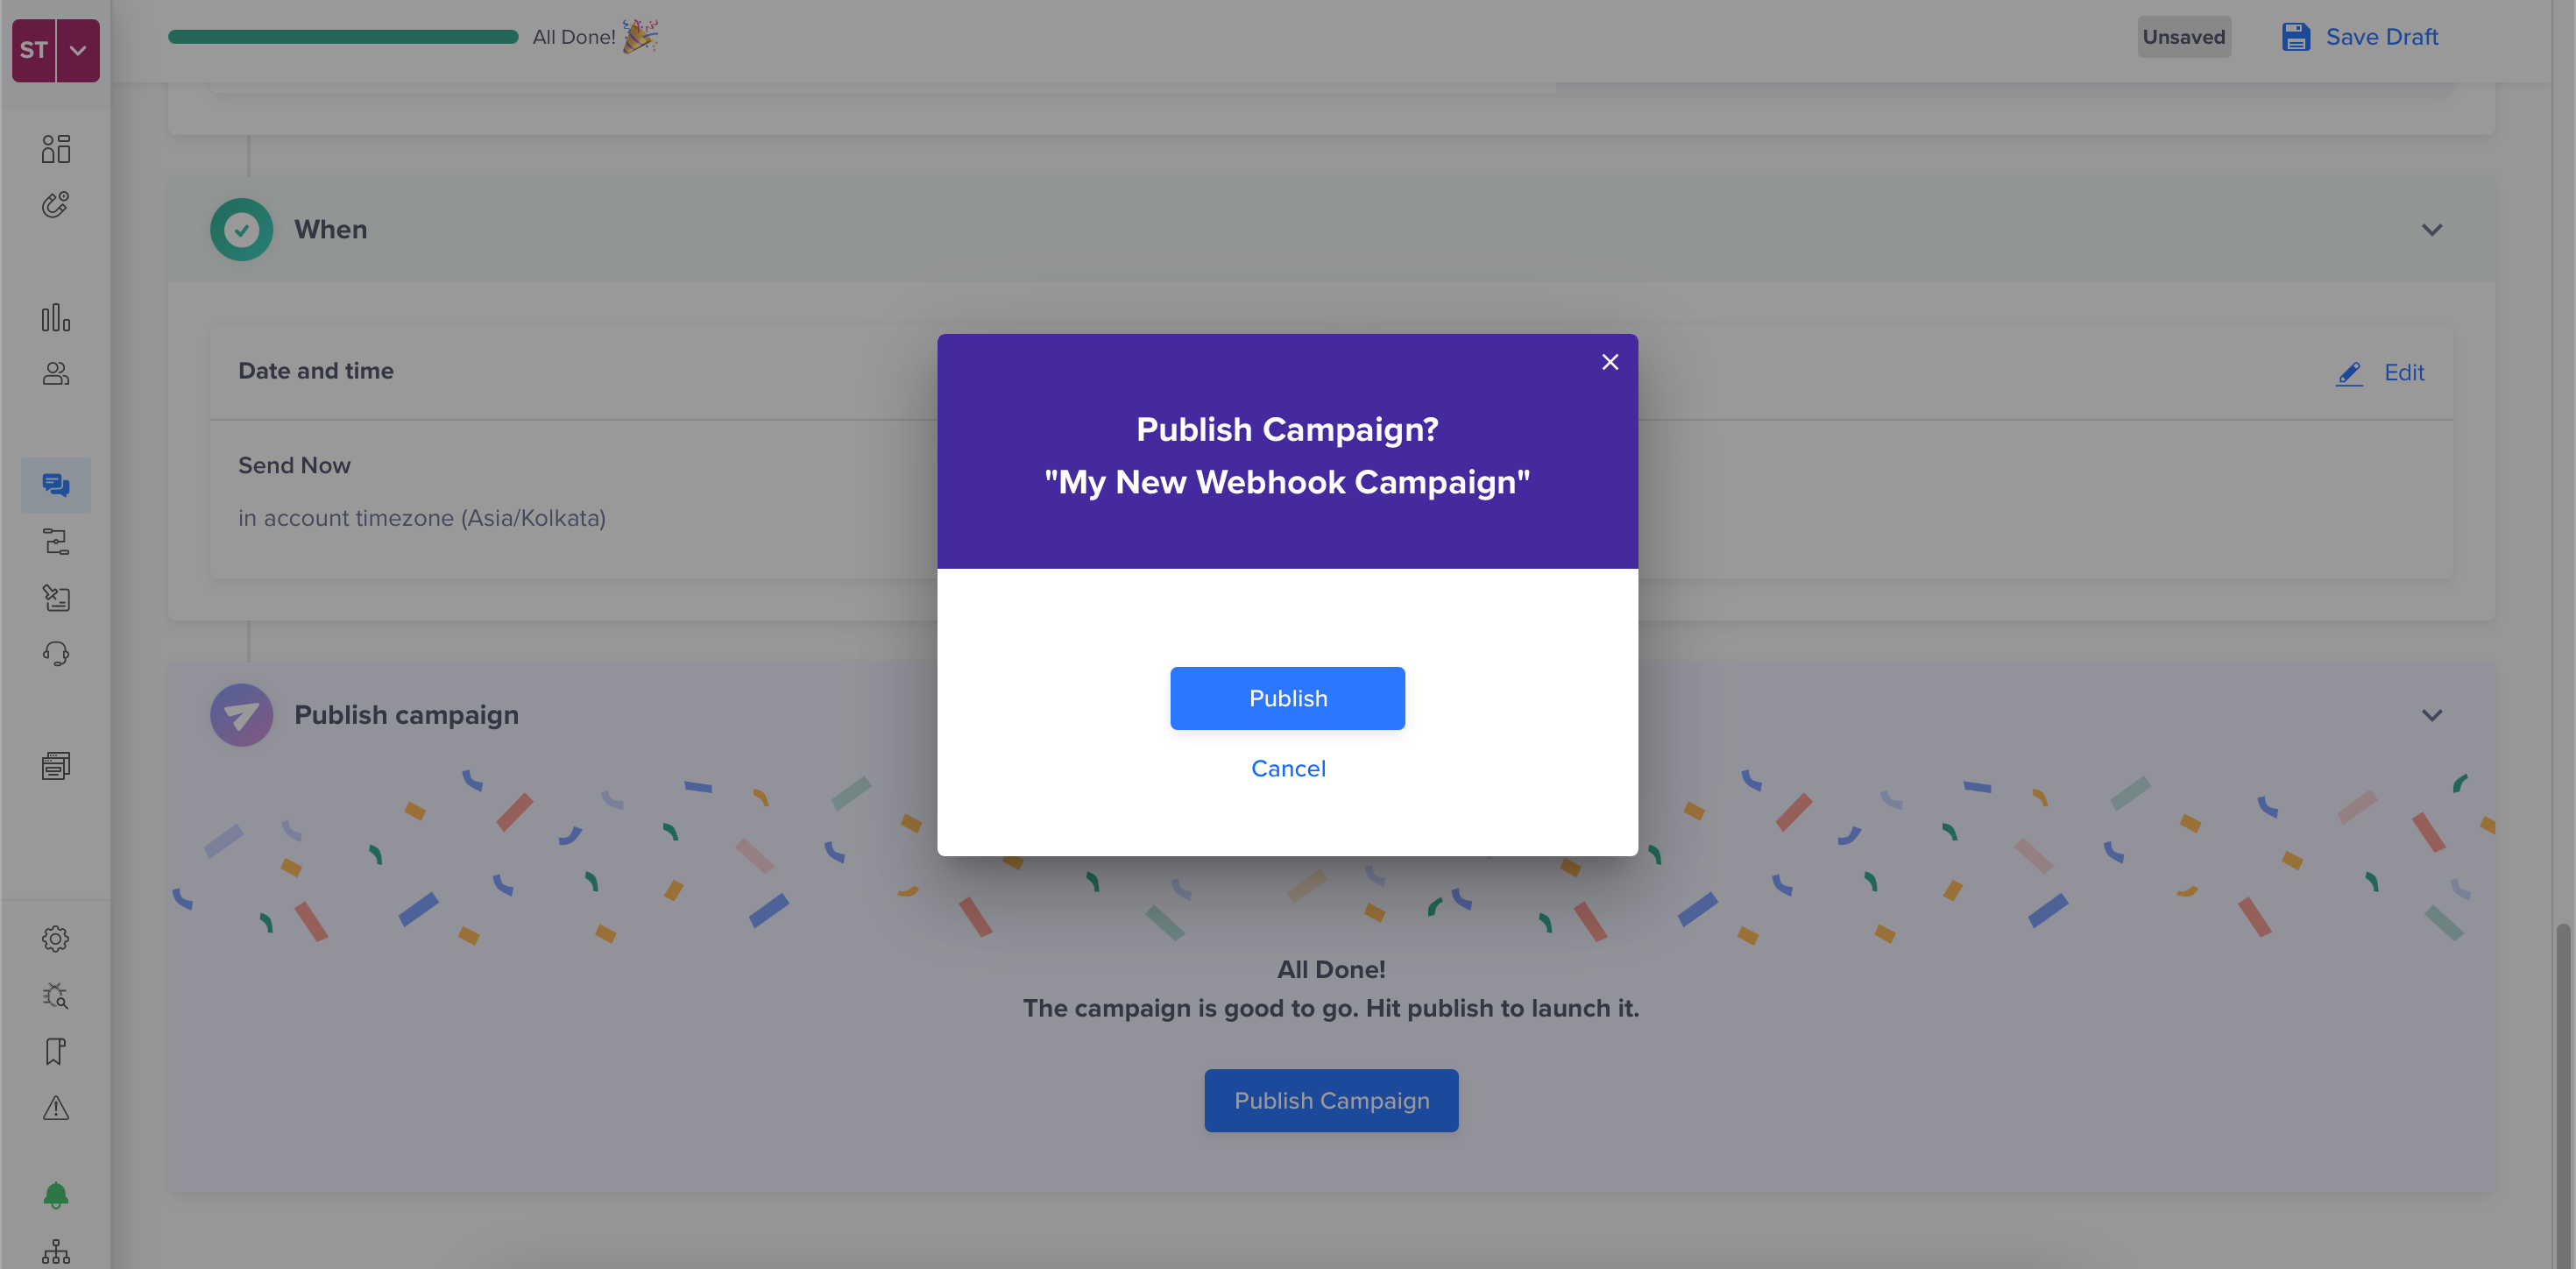
Integrating Airtable with CleverTap allows you to streamline your data operations and centralize analytics across platforms.
Updated 7 months ago