Email Editor
CleverTap enables users to customize and save email templates for current and future campaigns with ease.
Overview
The Email Editor tool is a feature available when building an email message in CleverTap. It allows you to add content to pre-built templates or build your customized templates. After creating an email template, you can use it in the current campaign or save it for future campaigns.
From the What section in the Email builder, click Go to Editor.
The Email Editor tool displays.

Email Editor Templates
Template Types
You can choose from the following template options:
- Basic Templates: You can choose from pre-built or empty templates available from this tab.
- AMP Templates: You can choose from pre-built Templates, Email with custom HTML & AMP, and Email with drag and drop from this tab. CleverTap currently offers 10 pre-build email AMP templates.
You can also save customized templates and view them under Saved Templates.
Basic Templates
You can choose from the following types of templates:
- Email with rich media: Create a rich message with text and images using the built-in email editor. You can also use the Source mode to type or paste your HTML code. You can also add personalization by using the @ and {{}} icons. For more information about personalization, refer to Personalize Email Message.
- Email with drag and drop: Drag and drop elements such as text, images, and buttons to create a beautiful email message. Convert to HTML to add further customization.
- Ready-to-use templates: These are drag-and-drop types of templates. Select from the list of ready templates to suit your purposes, such as a blog with photos, order confirmation, offers and deals, feedback forms, and so on.
Rich Media Template
Create rich messages using rich text and images. The following are the two ways in which you can create a message:
Using Built-in Editor
To create a message using a built-in editor:
- Select Email with rich media.
- Create a template using the built-in editor:
i. Add the text.
ii. Click the icon to insert images.
iii. Click the icon to insert links.

Create a Template using Build-in Editor
Using Source Mode
To create a message using a source mode:
- Select Email with rich media.
- Click Source mode and add your HTML content.
Grammarly Extension
If the Grammarly extension is enabled on your device when creating the Email campaign using Rich Media Editor, it may add unwanted <p> tags to the code in Source mode. To maintain clean code, we recommend disabling Grammarly and refreshing the page before adding content. If content has already been added, disable Grammarly, refresh, and re-add the content.
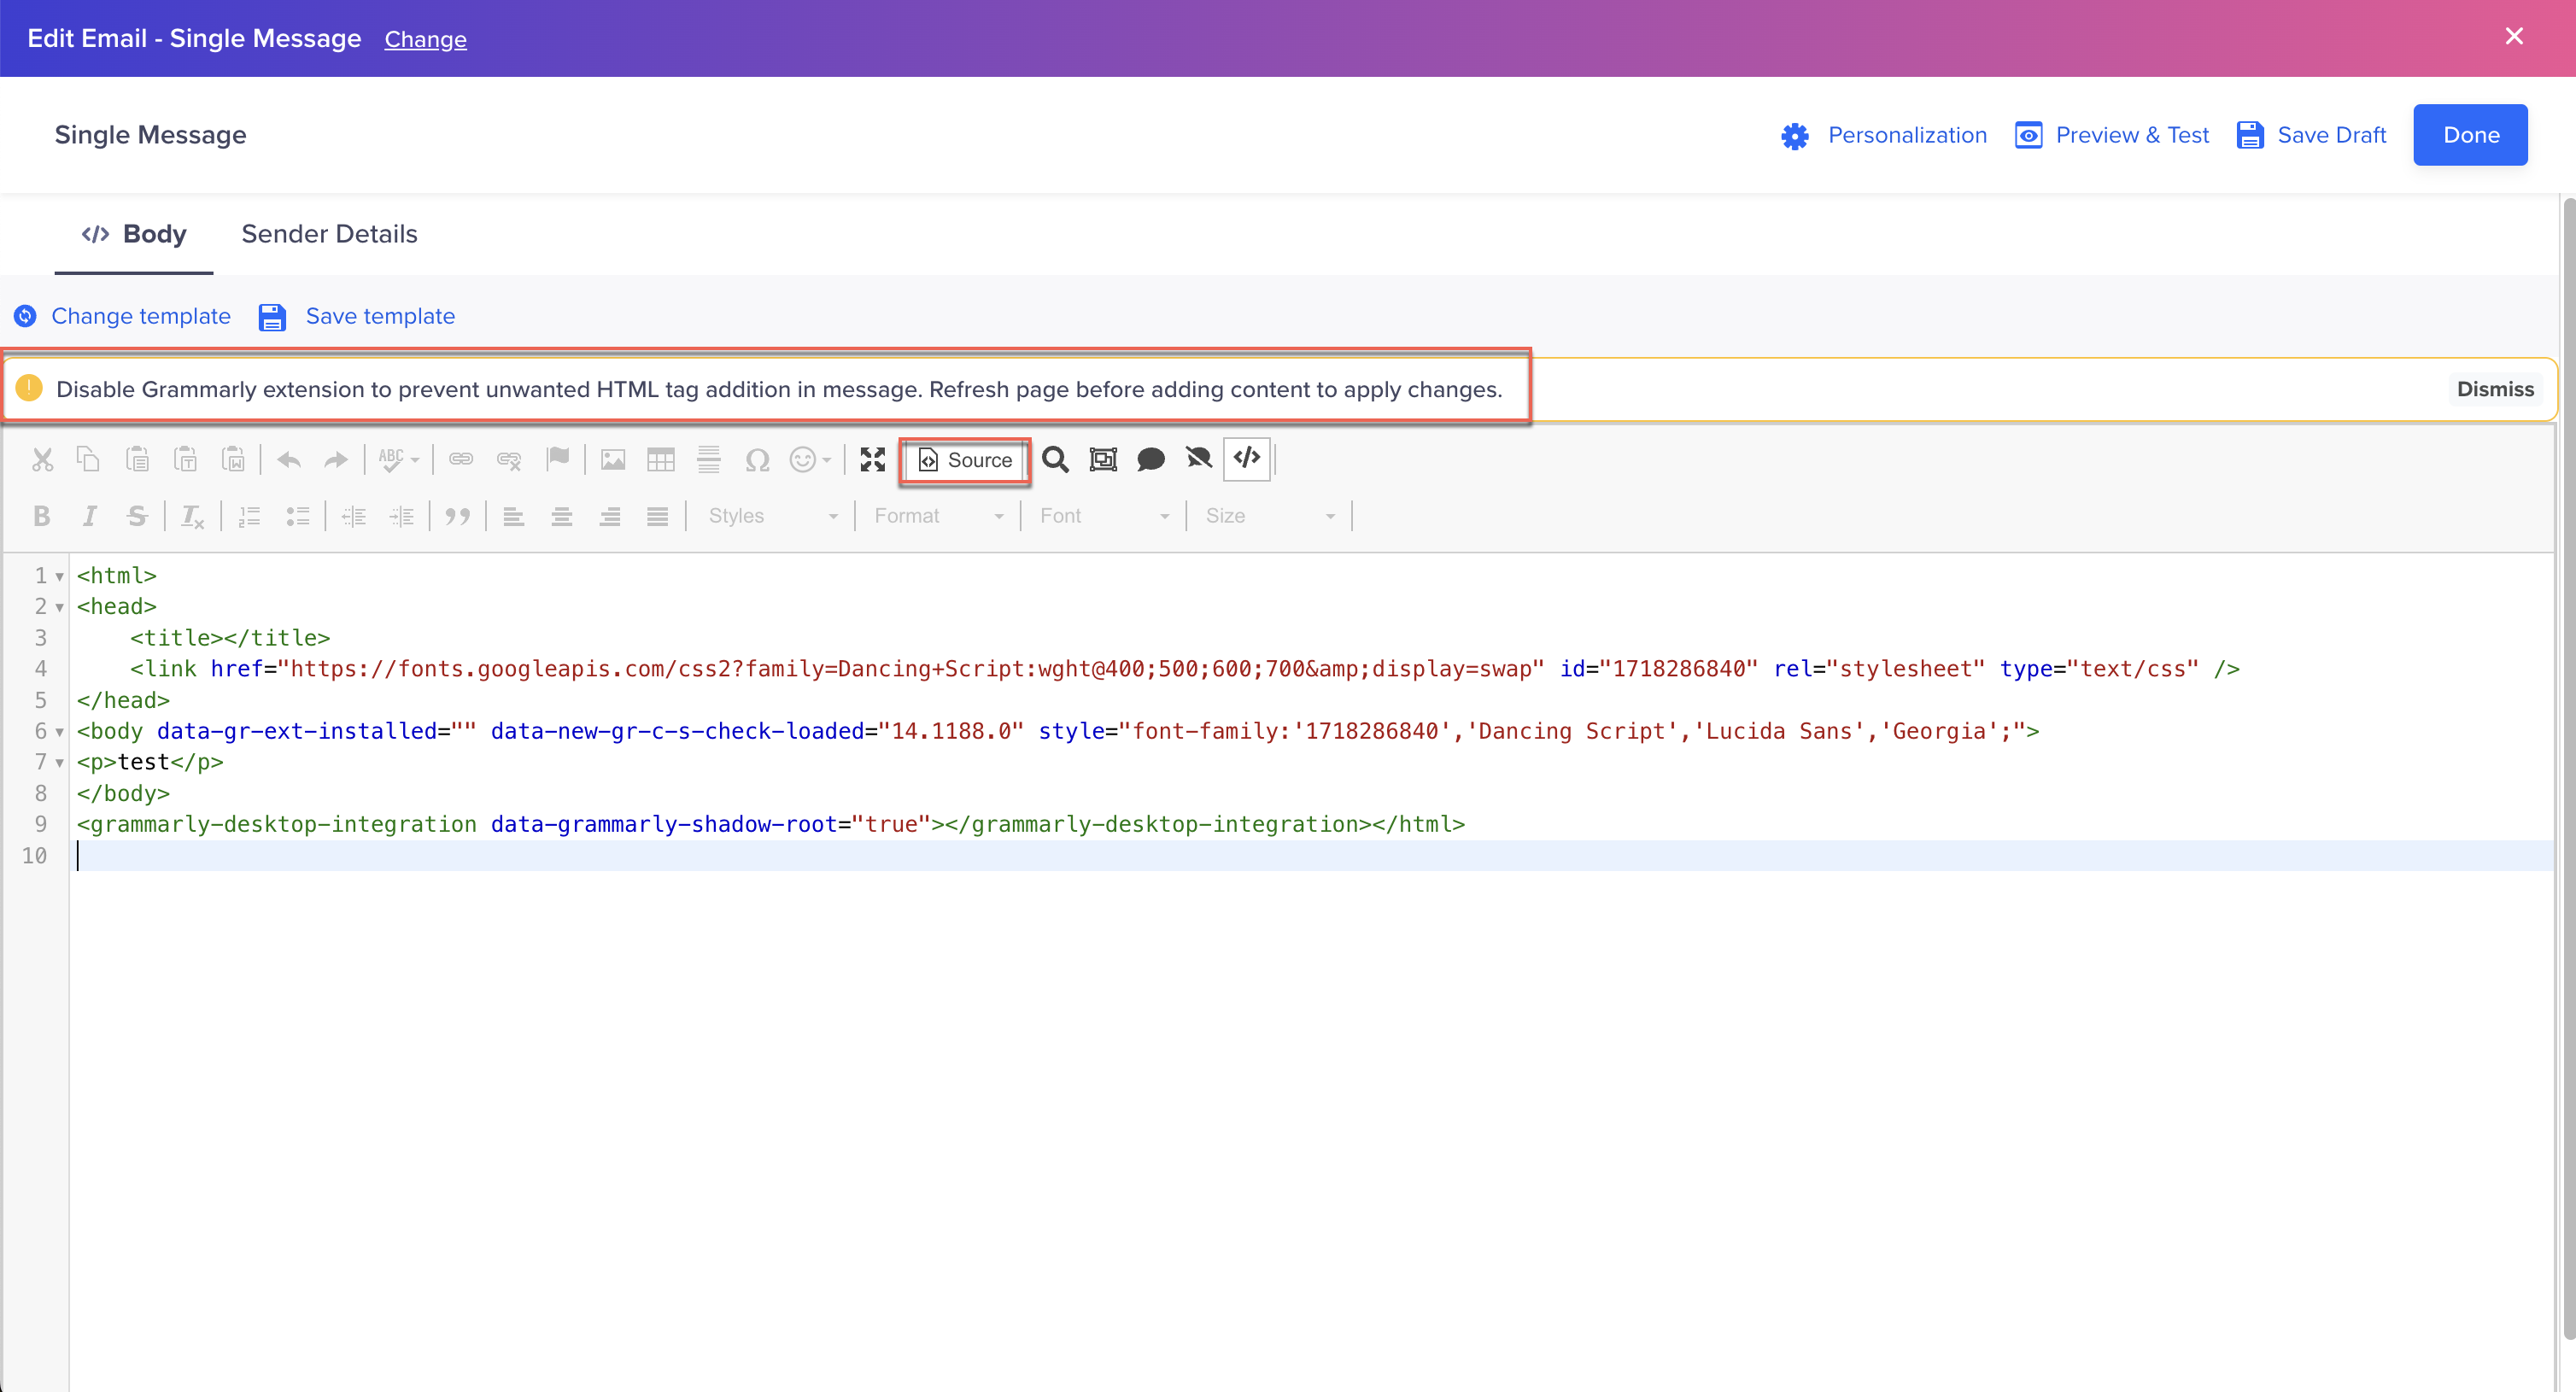

Add HTML Content using Source View
- Click the @ and {{}} icon to add personalization. For more information on personalization, refer to Personalize Message.
- (Optional) Enter the template Name and save your customized template for future use under Saved Templates.

View Saved Templates
Drag and Drop Template
Learn how to use an Email with drag and drop template. You can leverage this feature to personalize and save email templates, streamlining the customization process for current and future campaigns. In this step, we will look at three of them: Add an Element, Delete an Element, Change an Image, and Manage Rows.
Change an Image
- Click inside the box of the image you want to change.

Create Content in Email Campaign's Body
- Click the image.

Change and Existing Image Content
- Click the Change Image button. The File manager displays.
- Select an image from the gallery or upload a custom image.

Upload an Image from the Gallery
- Click Insert. Your new image will appear in the selected box.

Insert the Uploaded Image
Add a New Text Block
- Under the Content tab, find Text.

Add a Text Box to Email Content
- Drag the Text icon to the desired location.
Now, you have a new text block.
Similarly, you can also drag other elements, such as Images, Buttons, or Videos, into your template. You can also add personalization by using the @ and {{}} icons. For more information about personalization, refer to Personalize Message.
Delete an Element
- Click the box of the element you want to delete.

Delete an Element from Email Content
-
Click the trashcan icon.
-
Click Delete.
The element you deleted will no longer appear.
Manage Rows
You can drag and drop, delete, rename, or re-organize your saved rows right inside the editor.
- Select the Email with a drag and drop template.
- Click the ROWS tab.
- Select the Empty, Default, or Saved Rows from the list.
- Drag and drop the row to the editor.
Save Rows
To save a row:
- Double-click the row.
- Click the
 icon to save the row for future use.
Delete Rows
To delete rows:
- You can delete saved rows from the editor.
- Click the ROWS tab in the editor.
- Select the saved row and click the ellipsis.
- Click Delete.

Delete a Saved Row
Display Condition
Display conditions determine when and under what circumstances certain content is rendered to the recipients.
- Click the row to which you want to add the display condition.
- Click Add Condition under the DYNAMIC CONTENT section. The Add display conditions pop-up window appears. The following columns appear.
| Column Name | Description |
|---|---|
| Name | Add your condition name. |
| Description | Add your description for the condition. |
| Add display condition before the selected row | Add a criteria that is checked before the selected row from the email is rendered. This feature ensures that particular rows are shown only to recipients who meet specific criteria. |
| Add display condition after the selected row | Add a criteria that is checked after the selected row from the email is rendered. This feature controls the visibility of the content that follows the selected row. |
Email Editor Display Condition
- Click Add to add the display condition and its details. Click Cancel to discard the changes.
Mobile View
You can switch between the mobile and desktop views of your message to view and edit content. You can check how the content will display on a mobile phone without going to Previews or sending a test message. Any changes made to the mobile view will be reflected on the desktop view as well. It is a What You See is What You Get (WYSIWYG) editor.

AMP Templates
AMP for email brings interactivity to the inbox, letting your user take action without leaving a message. It offers engaging content such as forms, carousels, and more for a seamless experience.
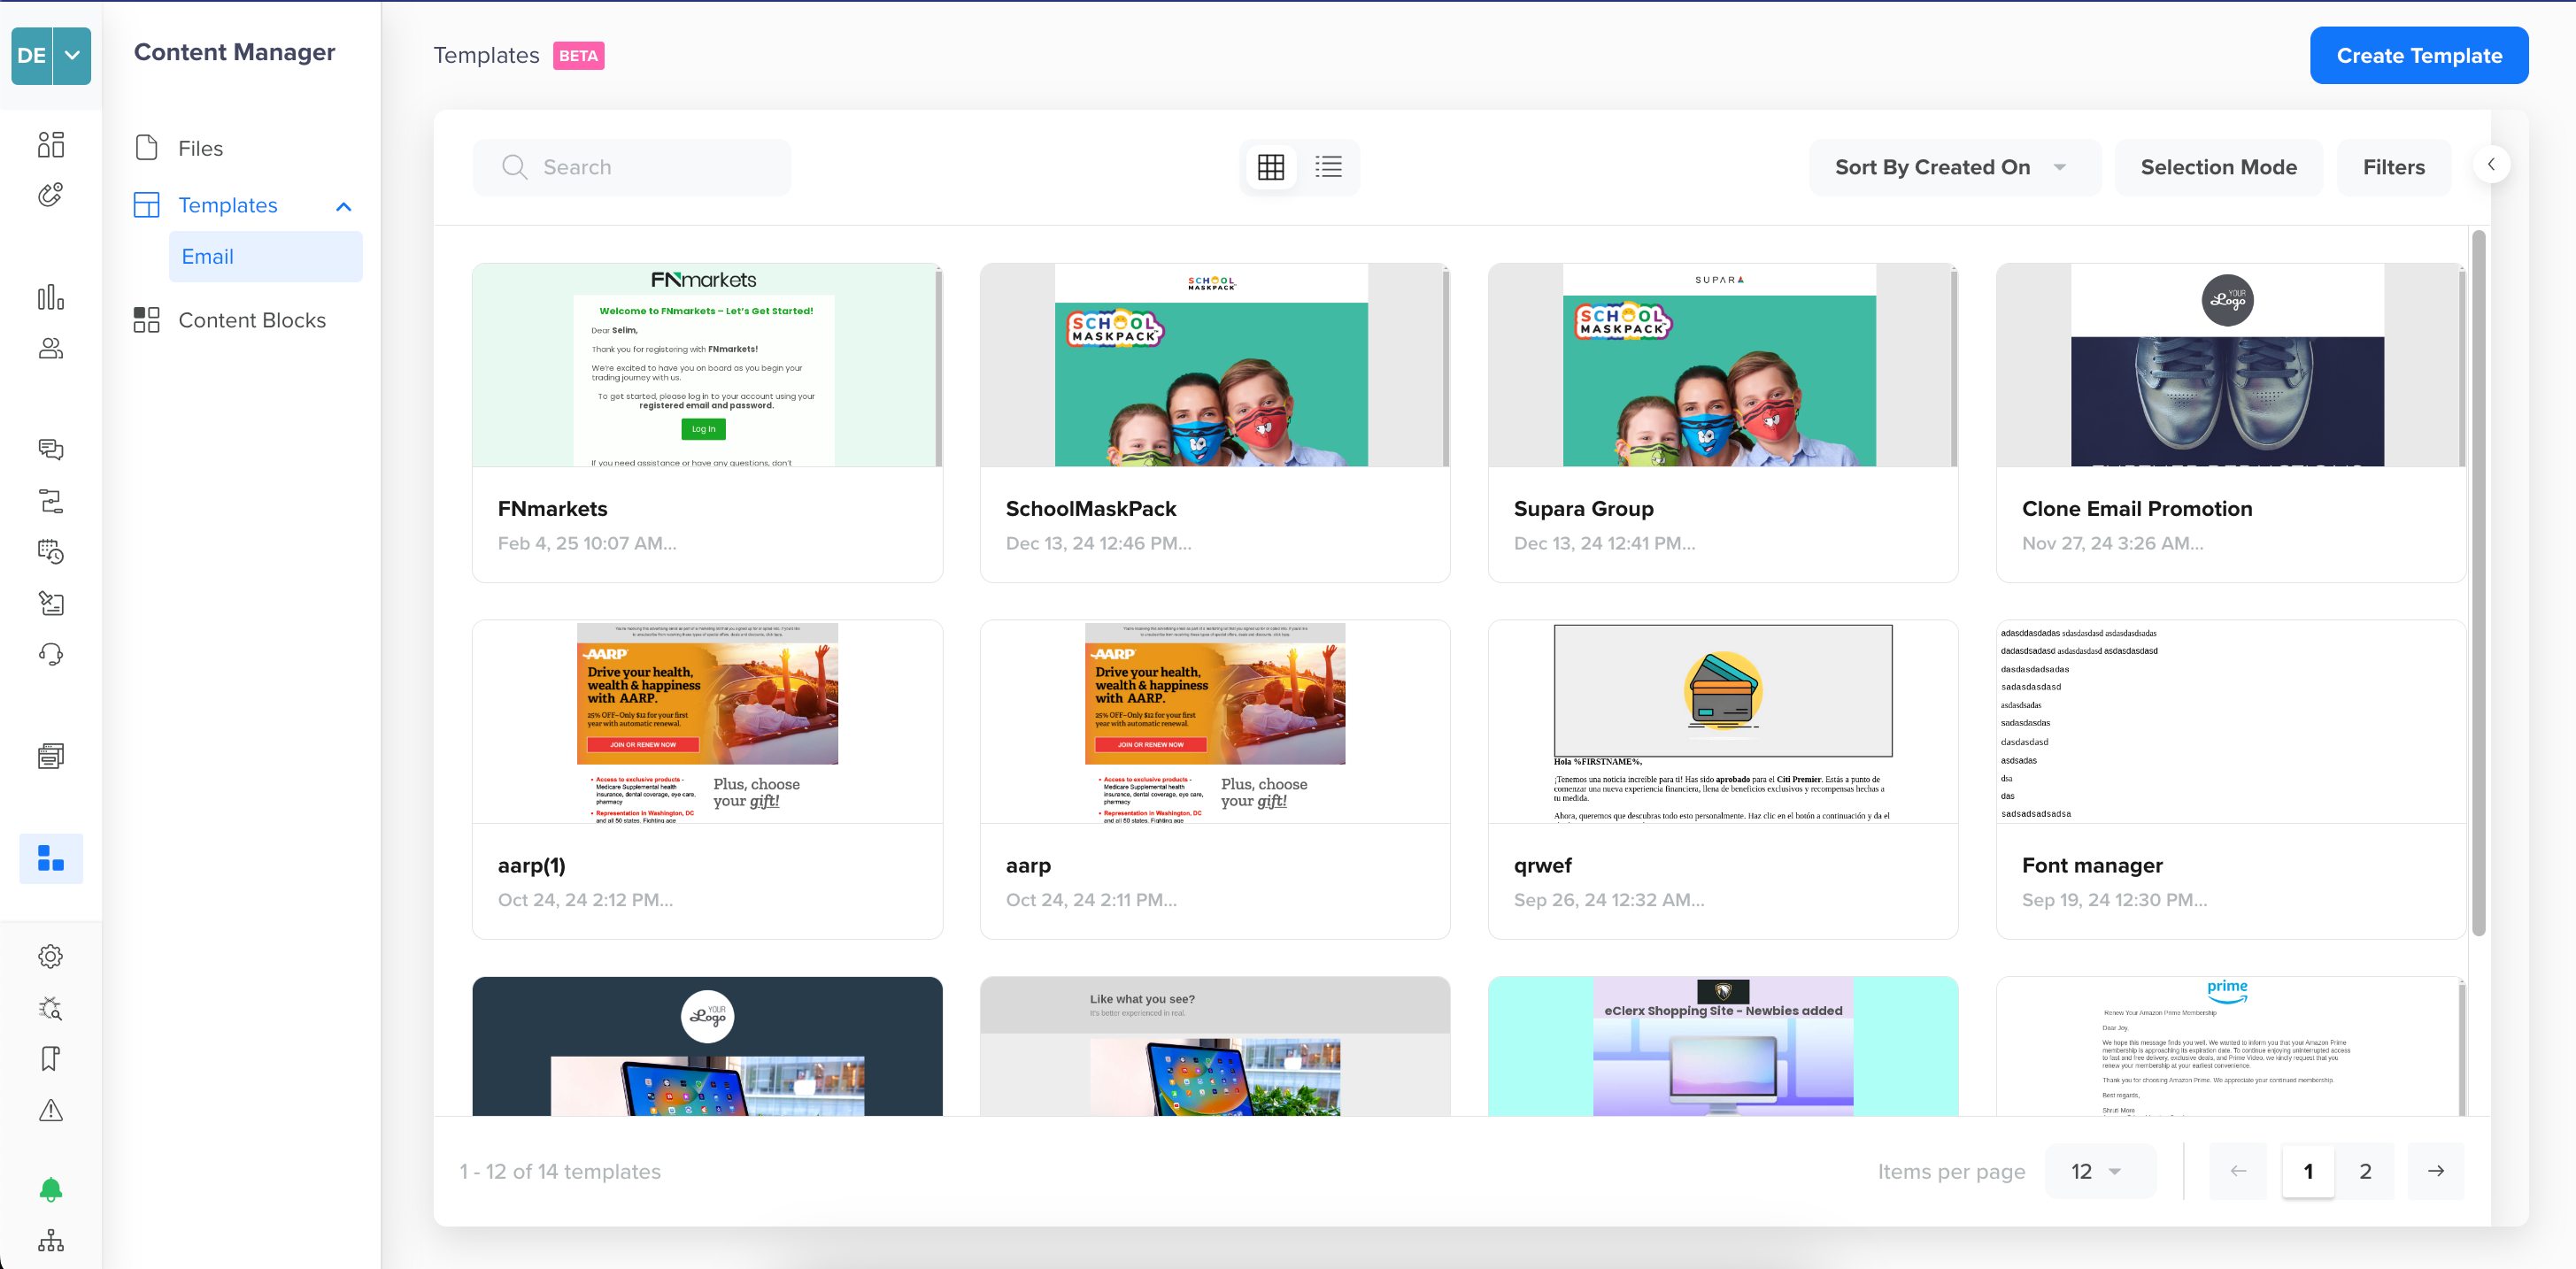
Saved Templates
The Saved Templates tab in the email editor enables you to quickly reuse or access the existing templates and maintain consistency in branding across campaigns. Within this tab, you can preview the template before using it. The Saved templates are managed from the Content Manager > Templates > Email page. Updates made in Content Manager are reflected in this tab.
Template Operations
You can perform basic template operations directly from the Saved Templates tab in the email editor during campaign creation. These include:
-
Select View: Switch between
 list and card
  view for templates.
Select View
-
Filter Templates: Filter templates based on the following criteria: Time Period, Created By, Labels, Editor Type, and Amp Type.

Filter Templates
-
Sort Templates: Sort by template name, created date, and last modified date.
Sort Templates
-
Delete Templates: Deleted templates are permanently removed and cannot be recovered. Select multiple files and click the
 delete icon. Alternatively, enable Selection Mode to delete templates in bulk.
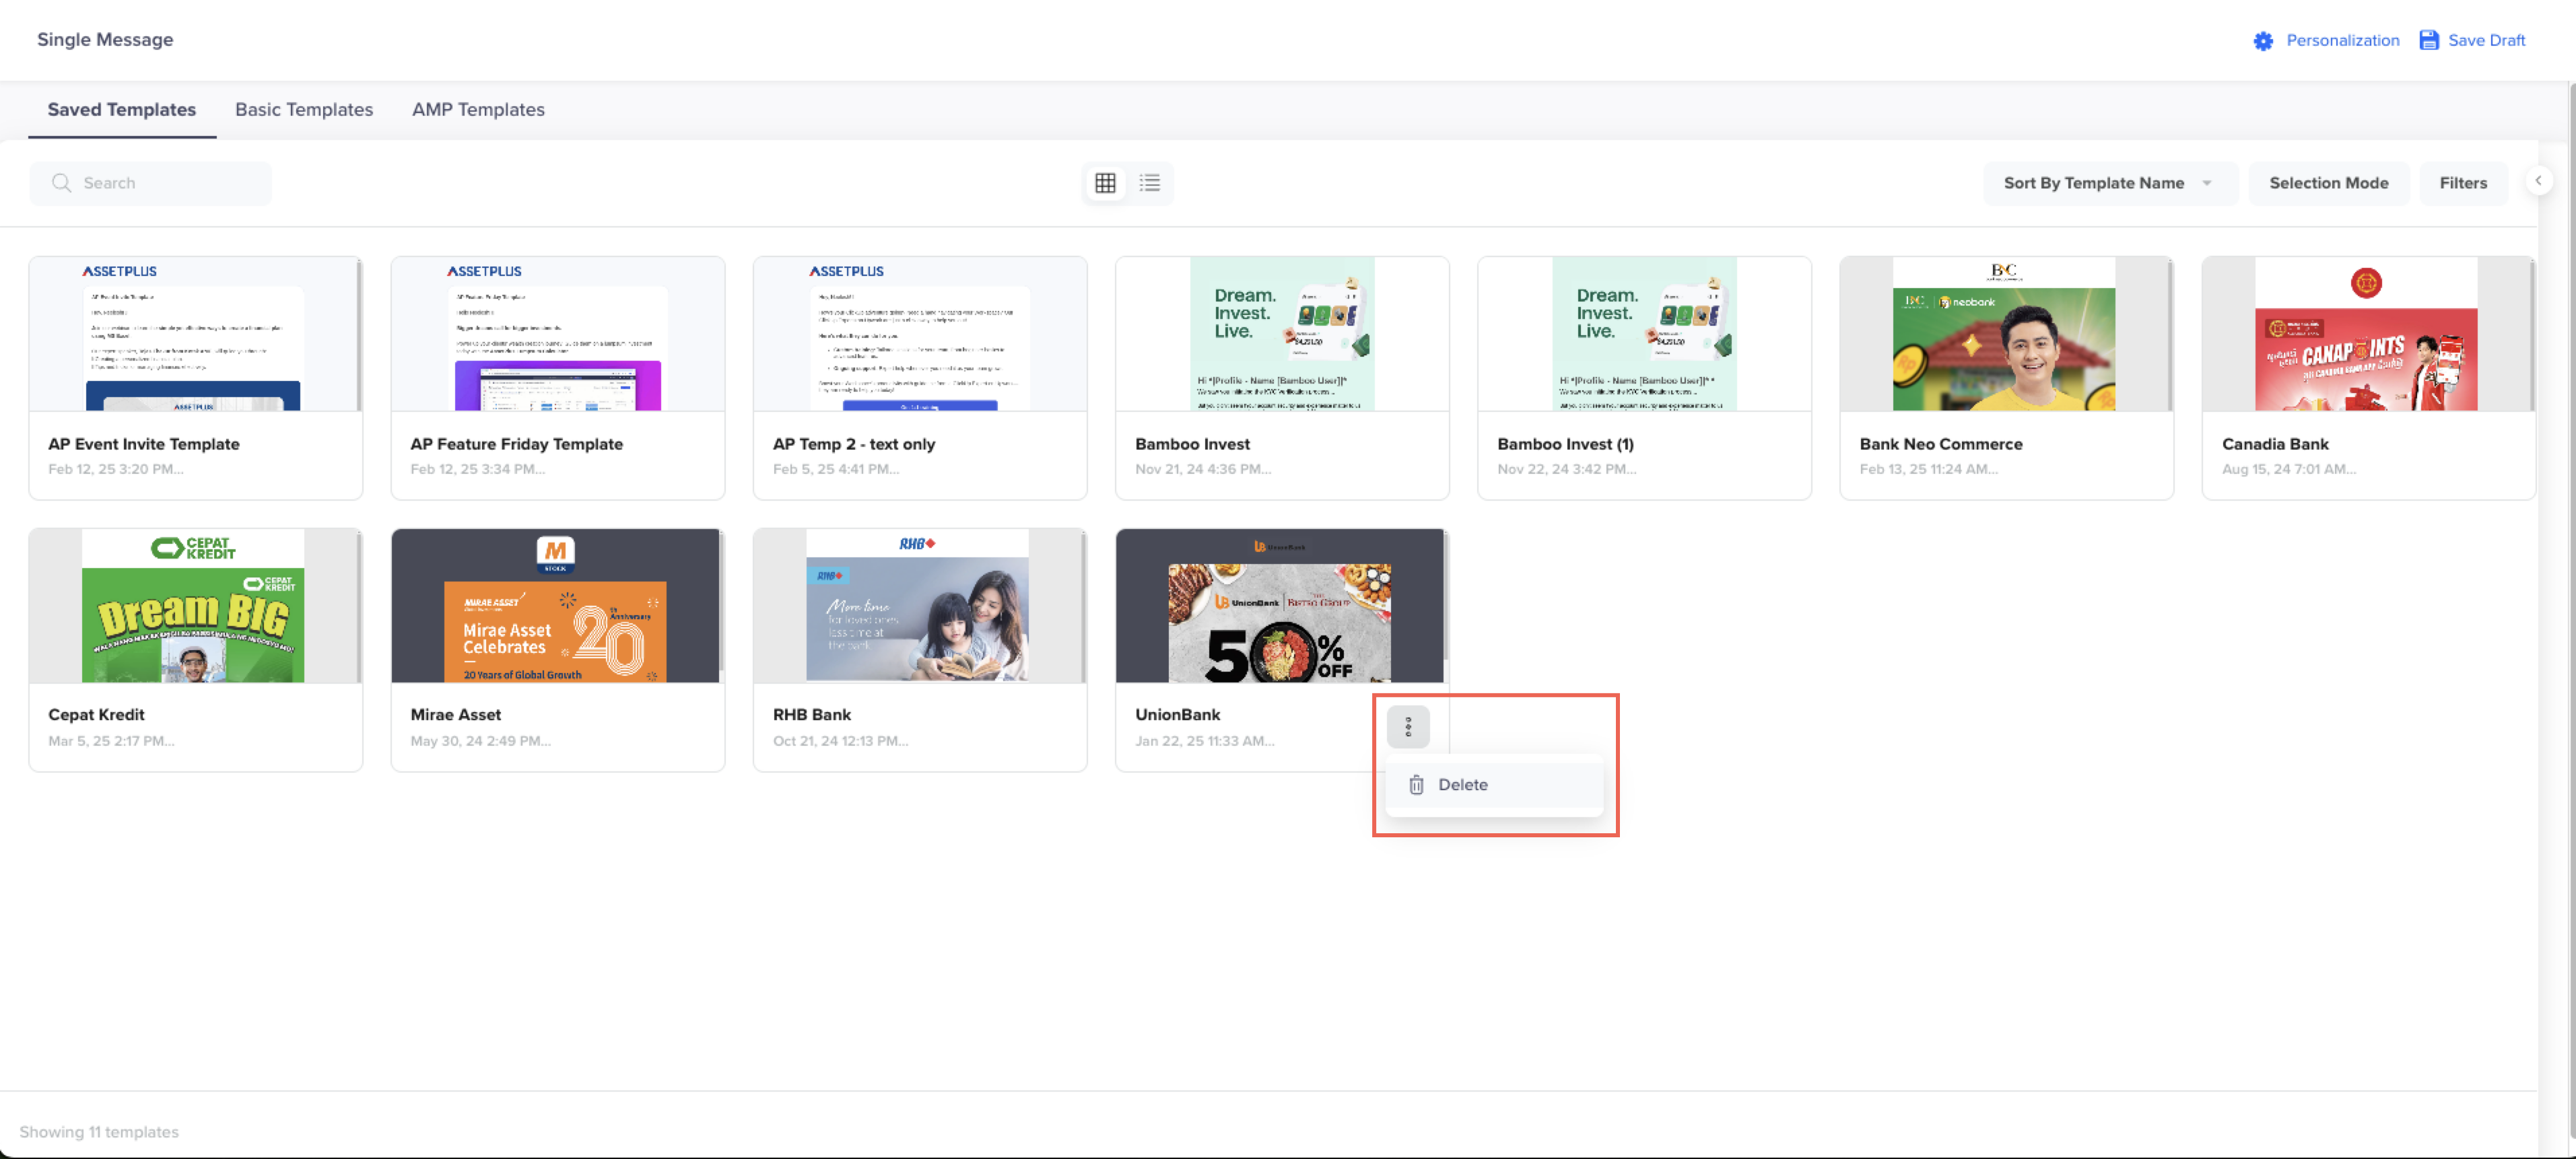
Delete Template
-
Search Templates: Search a template by its name.
You can perform the following template operations by navigating to the Content Manager > Templates > Email page: Edit, Clone, Rename, and Add labels. For more information, refer to Content Manager Templates.
Device Preview
Dark Mode
You can preview how your email displays in dark mode on a desktop or a mobile phone.
Note
Dark Mode is only available in the Email with drag and drop editor.
Follow the steps to preview your template in Dark Mode:
- Select the Email with drag and drop editor.

Select the Email with Drag and Drop
- Draft your message.

Create the Email Content
- Click the Preview and Test button. The Preview and test window displays. You can preview how the email will look in dark mode by turning the Dark Mode toggle ON.

Preview Content in Dark Mode
Dark Mode Preview
Dark Mode support varies across email clients and devices. Test the mails on an email client with dark mode enabled for best results. The Dark Mode preview generates a generic dark mode color scheme when enabled.
Refer to the links below for dark mode email design tips:
Inbox Previews with Code Analysis
Inbox Previews with Code Analysis offers you an analysis of your HTML code. It also provides you previews across devices and inboxes before you send out a campaign. The Email Add-On offers you 100 inbox previews a month.
Before we begin, check that you have enabled Inbox Previews. To enable the Inbox Previews, see Enable Email Previews. To preview the inbox:
-
Select the template.
-
Create your message.
-
Click the Preview and Test button. The Previews and test window displays.
-
Click the Inbox Previews tab.
-
Click the Generate Report button. The display may take some time if you have selected multiple inboxes. We will render the results and send you a notification email to know when the preview is ready.

Generate Report of a Campaign
-
Click Inbox Previews tab to view the preview report. The tests will display email previews across all the selected inboxes. It displays the errors, if any, for each inbox. For selecting inboxes, see Enabling Previews.

View the Preview Report
The Code Analysis tab displays the error type and details. You can sort these errors by severity or property.

View the Code Analysis
Templates for Inbox Preview
Code Analysis with Inbox Preview is available for the Custom HTML template and Rich Media Template.
-
Click the Fix issues in the editor link to fix the issues. You are redirected to the email editor.
Rerun the preview tests to check that the previews are in order.
Spam Report
A spam report allows you to test your email for deliverability by creating a spam report. The Email Add-On offers you 100 spam reports a month.
Follow the steps to generate the spam report.
- Select the template.
- Create your message.
- Click the Preview and Test button. The Previews and test window displays.
- Click the Spam Report tab.
- Click the Generate Report button. The display may take some time if you have selected multiple inboxes. We will render the results and send you a notification email to know when the preview is ready.
Generate Spam Report
Updated 7 months ago