SheetDB
Workflow Automation
Overview
SheetDB turns a Google Spreadsheet into a RESTful JSON API. It enables you to use spreadsheets as dynamic data sources that can be read from or written to in real time.
With this integration, you can:
- Pull dynamic content (for example, titles, messages) into your CleverTap campaigns using Linked Content.
- Push user data from CleverTap into a Google Sheet via Webhook campaigns.
Prerequisites for Integration
The following are the prerequisites for SheetDB:
- Ensure you have a valid SheetDB account.
- Ensure your spreadsheet has column headers such as
ID,Title,Message, andButton. - Ensure you have access to the CleverTap dashboard.
Integration Overview
The integration process involves the following three major steps:
- Create an API in SheetDB
- Configure the Linked Content API
- Create a Personalized Campaign Using Linked Content
Import Your Spreadsheet into SheetDBTo begin, connect a Google Sheet or upload a new one in the SheetDB dashboard. Your spreadsheet should include headers such as
ID,Title, andMessagefor use in CleverTap campaigns.
Create an API in SheetDB
-
Log in to your SheetDB dashboard and click + Create New API.
-
Select your source:
- Existing spreadsheet
- Create new spreadsheet
- Create new spreadsheet JSON
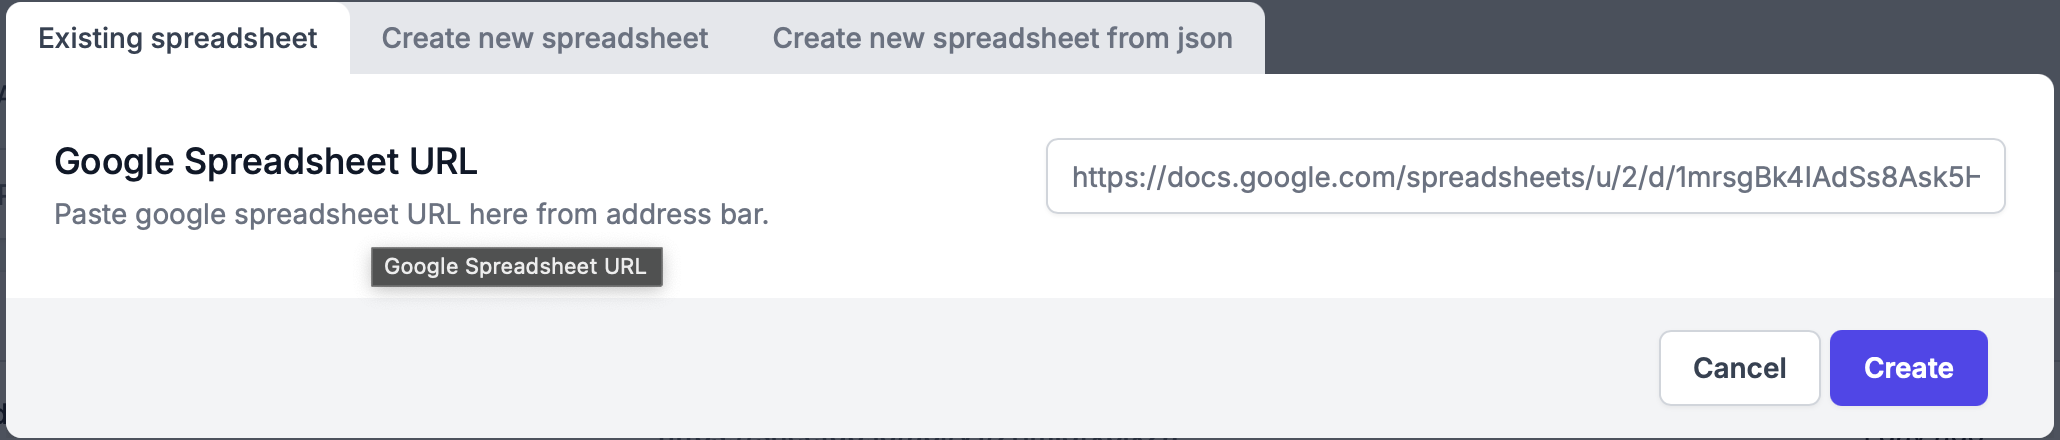
Select Source
- Paste the Google Sheet URL to generate the API for your spreadsheet.
- Once setup is complete, copy the generated API URL for your spreadsheet.
Configure the Linked Content API
Set up Linked Content in CleverTap to connect your SheetDB API and retrieve dynamic campaign content using user profile parameters.
- Go to Settings > Setup > Linked Content in the CleverTap dashboard. Click + Linked Content.

Add Linked Content
- In the URL field, paste the API URL copied in the previous step, and append the filter query using a profile parameter:
https://sheetdb.io/api/v1/<API KEY>/search?ID={{id}}&single_object=trueIn this example, ID is used to identify the user from the spreadsheet based on their CleverTap Identity.
- Click Test Linked Content and enter a sample ID to preview the response.
Example Response
{
  "ID": "1234",
  "Titile": "Hey",
  "Message": "How are you been?",
  "Button": "Buy Now!"
}- Click Auto-Fill Objects with Response to automatically map the fields from the API response to custom labels, as shown below.
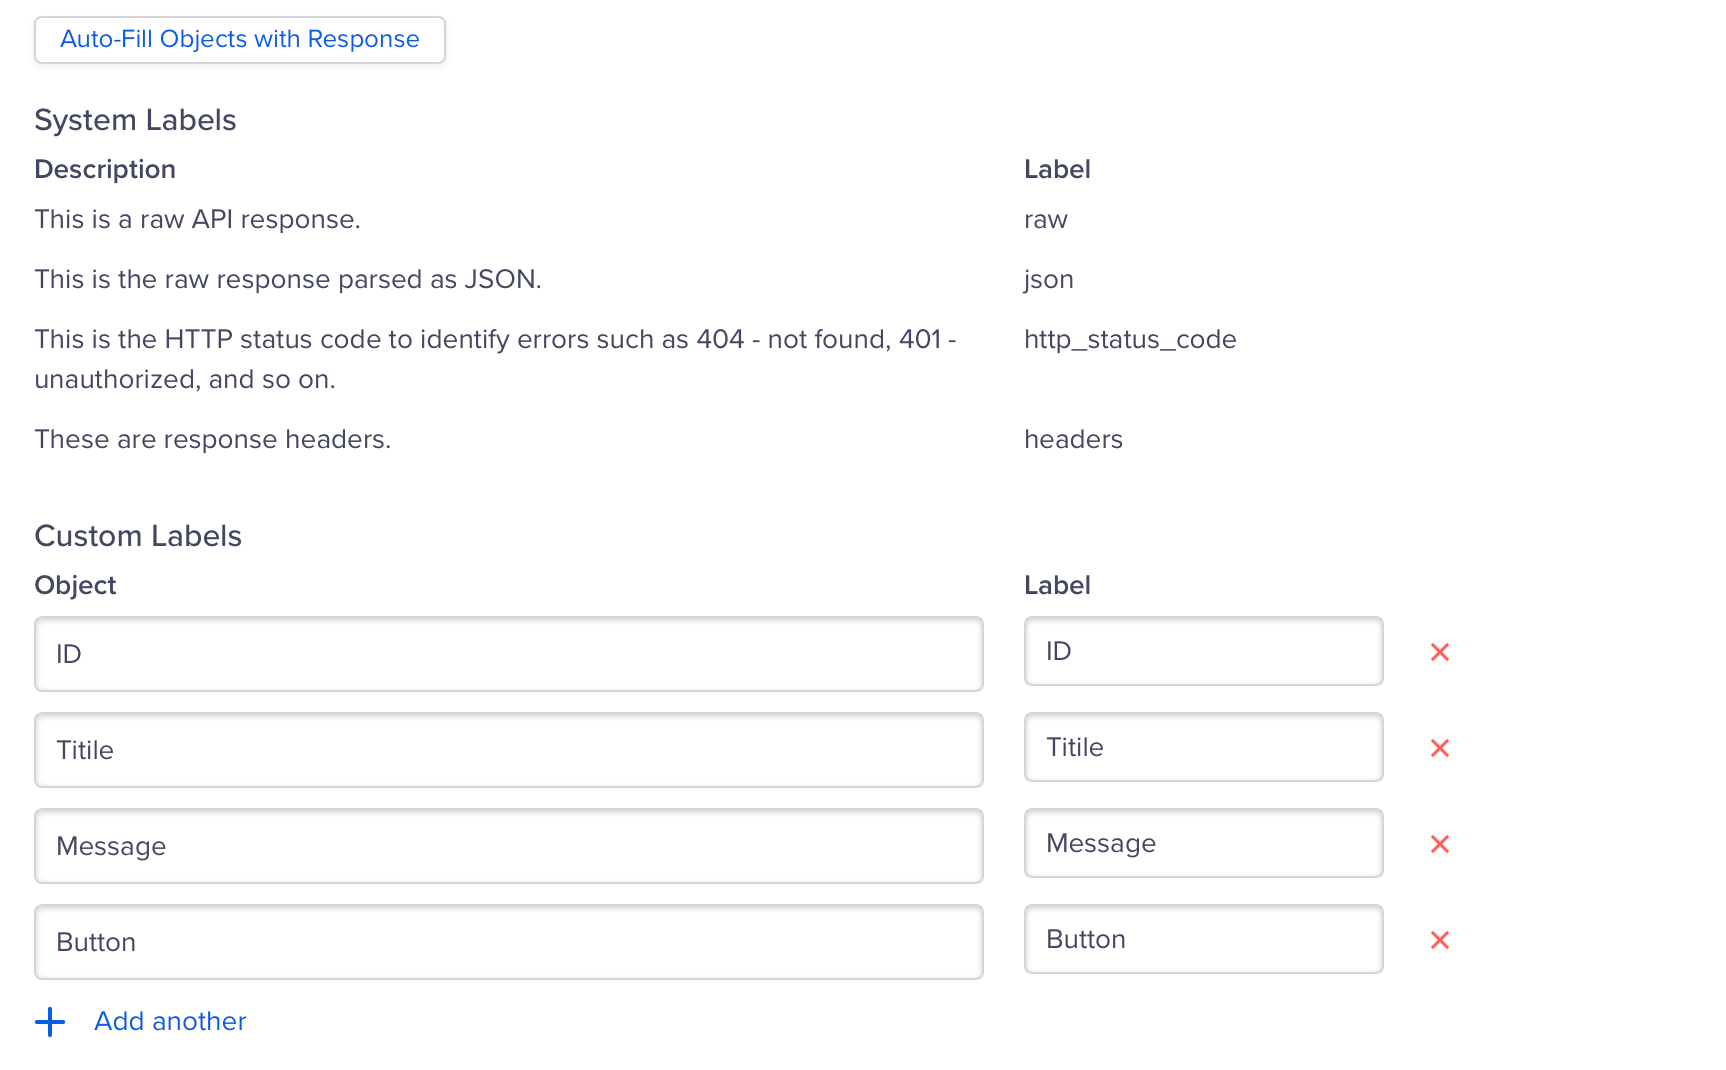
Auto-Fill Objects with Response
- Click Test and Save to save this API.

Save Linked Content
Once the SheetDB data is available through Linked Content, you can use it in any CleverTap campaign that supports personalization, such as Push Notifications or Email Campaigns.
Create a Personalized Campaign Using Linked Content
Use the Linked Content API inside a Push Notification campaign to personalize the message with SheetDB.
To do so, perform the following steps:
- Go to Campaigns from the CleverTap dashboard and click + Campaign.
- Select Push Notification from the Messaging Channels list.
- Configure all the campaign settings and then go to the What section:
- Click Personalization
- Select the Linked Content configured under Configure the Linked Content API and click Apply.
Personalization
- Type
{,{{, or@to view available personalization options. For more information about how to personalize a message using Linked Content, refer to CleverTap Liquid tag.
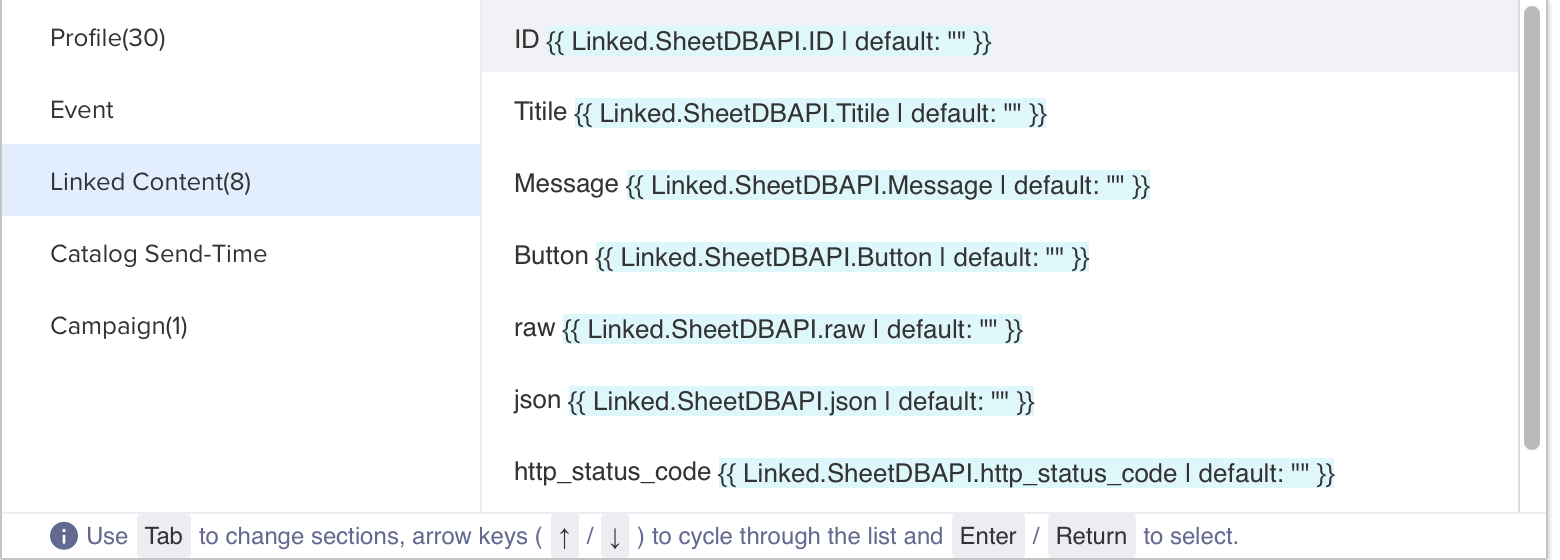
Create Personalized Message Using Linked Content
- Click Preview & Test to see if the campaign pushes the default values you configured.
- Click Publish to launch the campaign. Verify that everything works as intended. Users will receive a push notification like the one below.
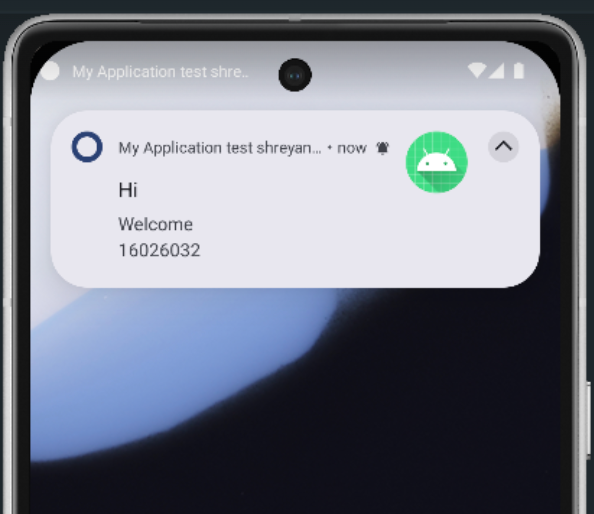
Push Notifications
Similarly, you can apply this setup to other CleverTap campaigns using linked content, such as Email, Web Push.
Updated 7 months ago