B.Layer
Dynamic Content
Overview
B.Layer is Phiture’s no-code In-App message builder that enables CRM teams to design and launch custom, on-brand In-App messages quickly and without developer support. With the CleverTap and B.Layer integration, you can use B.Layer’s intuitive visual builder to craft responsive, high-conversion In-App messages and seamlessly launch them via CleverTap campaigns.
You can use B.Layer to build the following:
- Personalized product recommendation sliders
- Multi-step onboarding or survey flows
- Countdown banners for limited-time offers
Prerequisites for Integration
The following are the prerequisites for B.Layer and CleverTap integration:
- Ensure you have access to your B.Layer account.
- Ensure you have a CleverTap account with access to campaign creation.
Support for IntegrationThis integration is managed and continuously improved by B.Layer. The CleverTap and B.Layer integration has undergone stringent testing to ensure seamless functionality. For any questions or issues, contact B.Layer for support and resolution.
Integrate CleverTap with B.Layer
To set up the CleverTap integration with your B.Layer account, perform the following steps:
Create In-App Messages in B.Layer
Add your brand assets before designing the In-App message to ensure your messages reflect your brand identity. To do so, perform the following steps:
- Log in to your B.Layer account and go to Brand Assets from the left menu (
 ).
). - Set your primary/secondary brand colors and fonts.
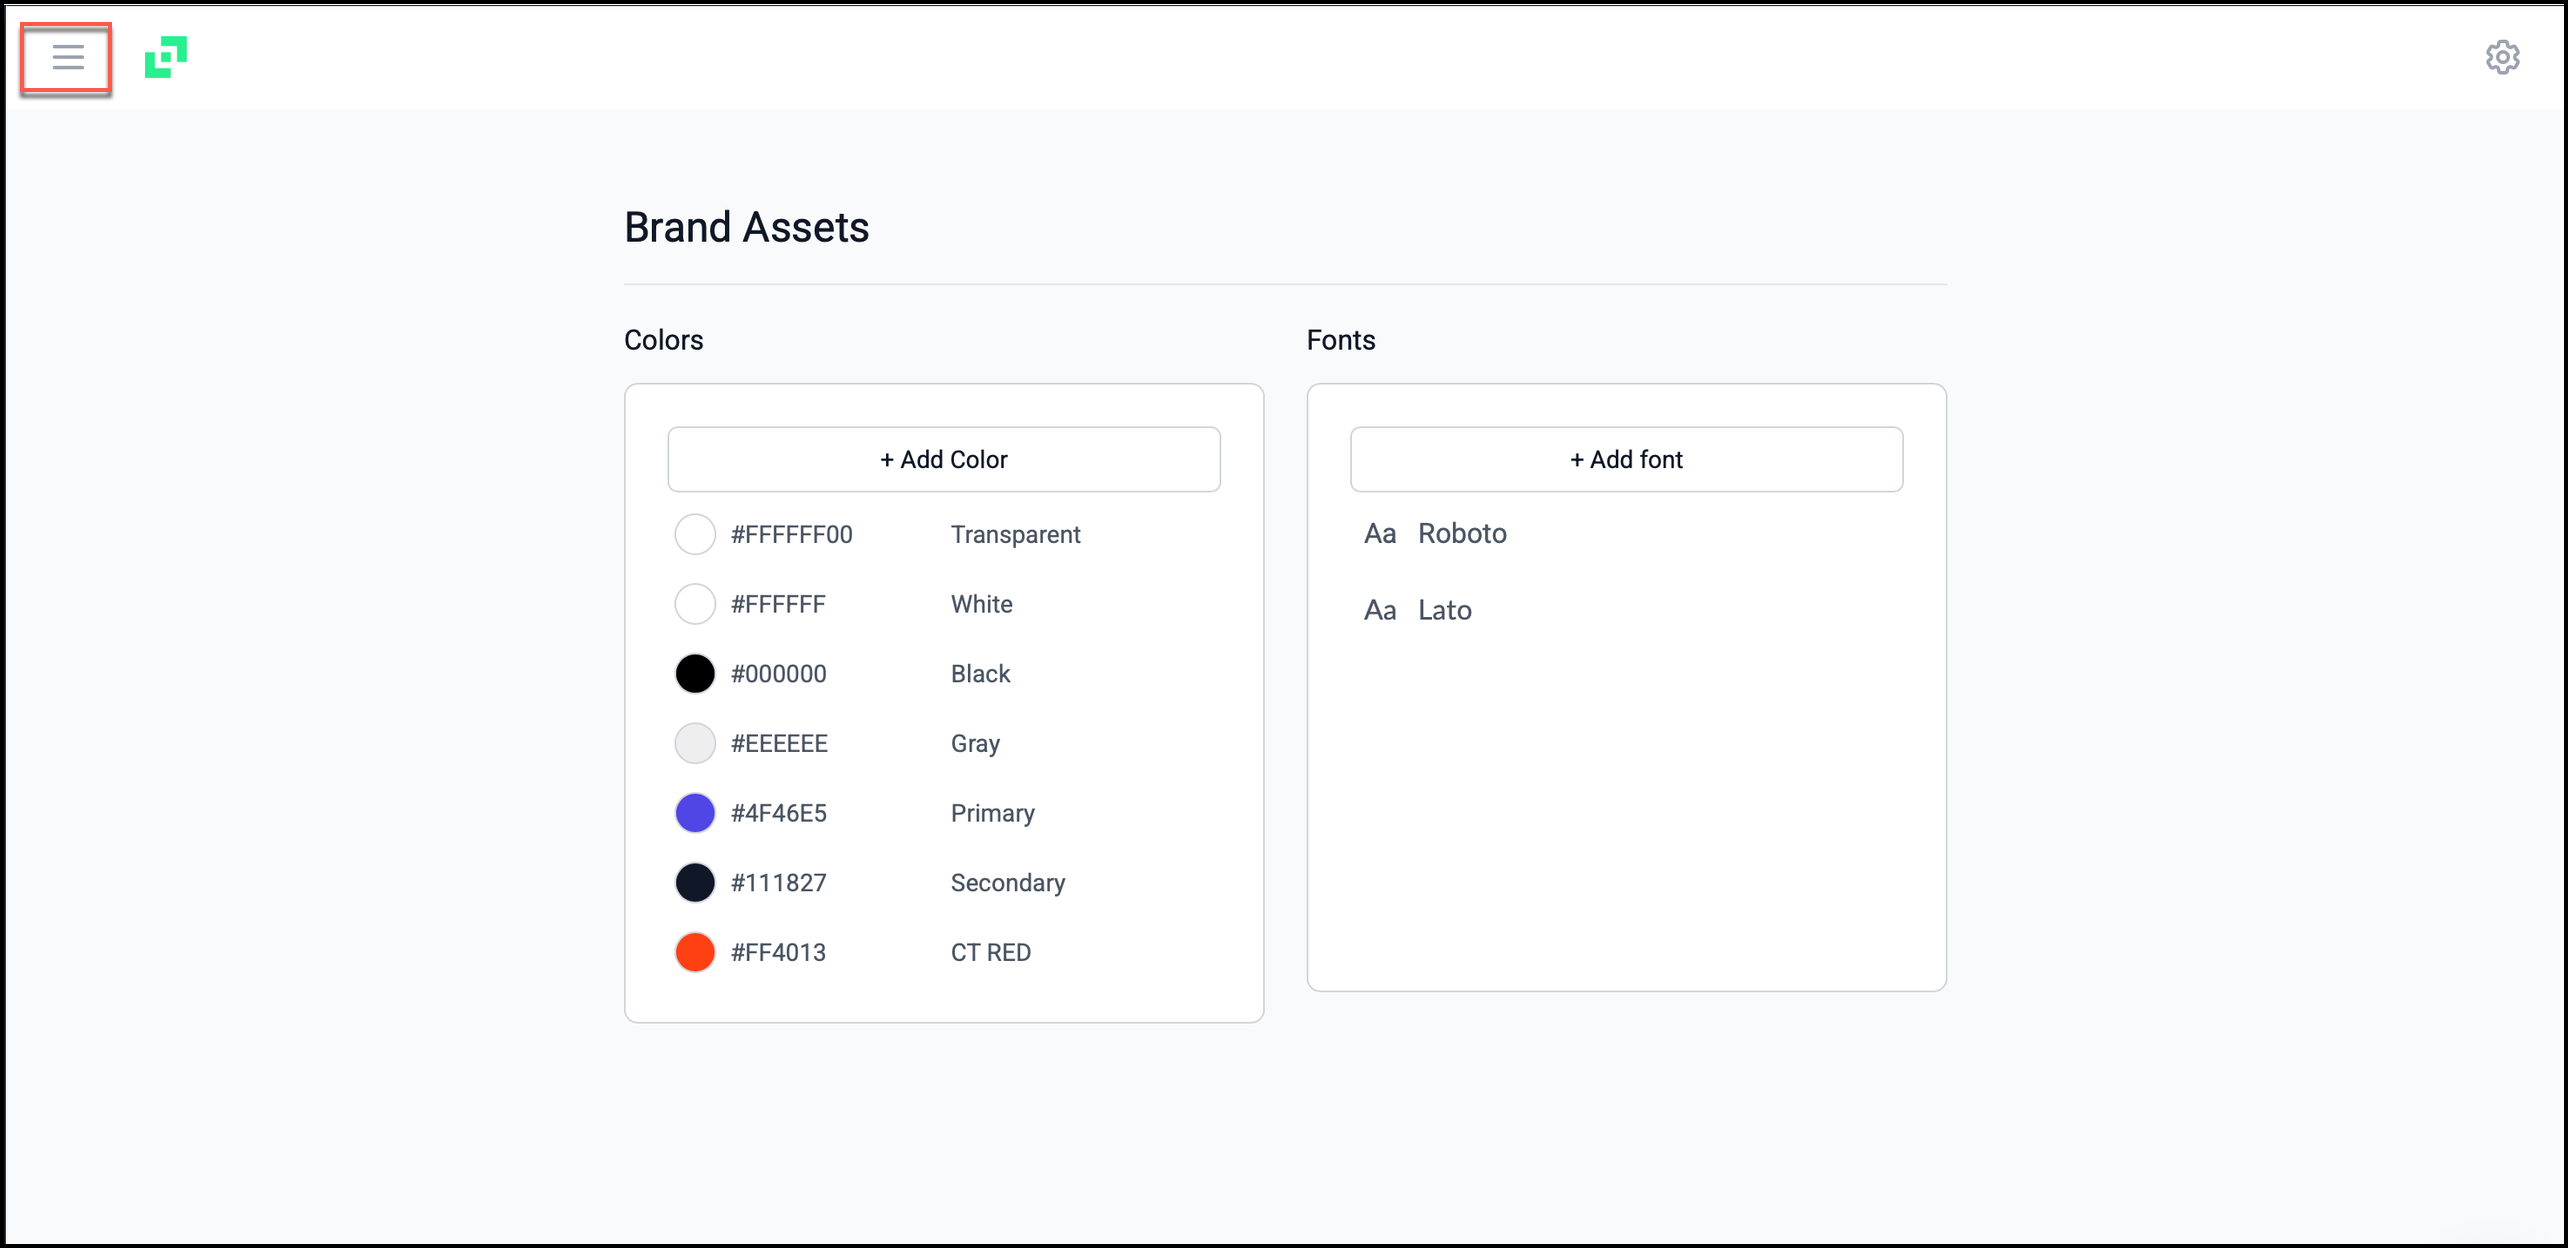
Configure Brand Assets in B.Layer
- Design and create a customized In-App message in B.Layer. To do so, follow these steps:
- Go to the In-App Message section in B.Layer.
- Select a template layout, for example, the Single In-App Message template. Refer to the Create a Single In-App Message on b.layer for more information.
- Drag and drop components such as Image, Text, and Buttons from the Layout section.
- Click Add Block to insert new elements. Use the layout panel to style each component.
Preview your design on the canvas to ensure responsiveness.
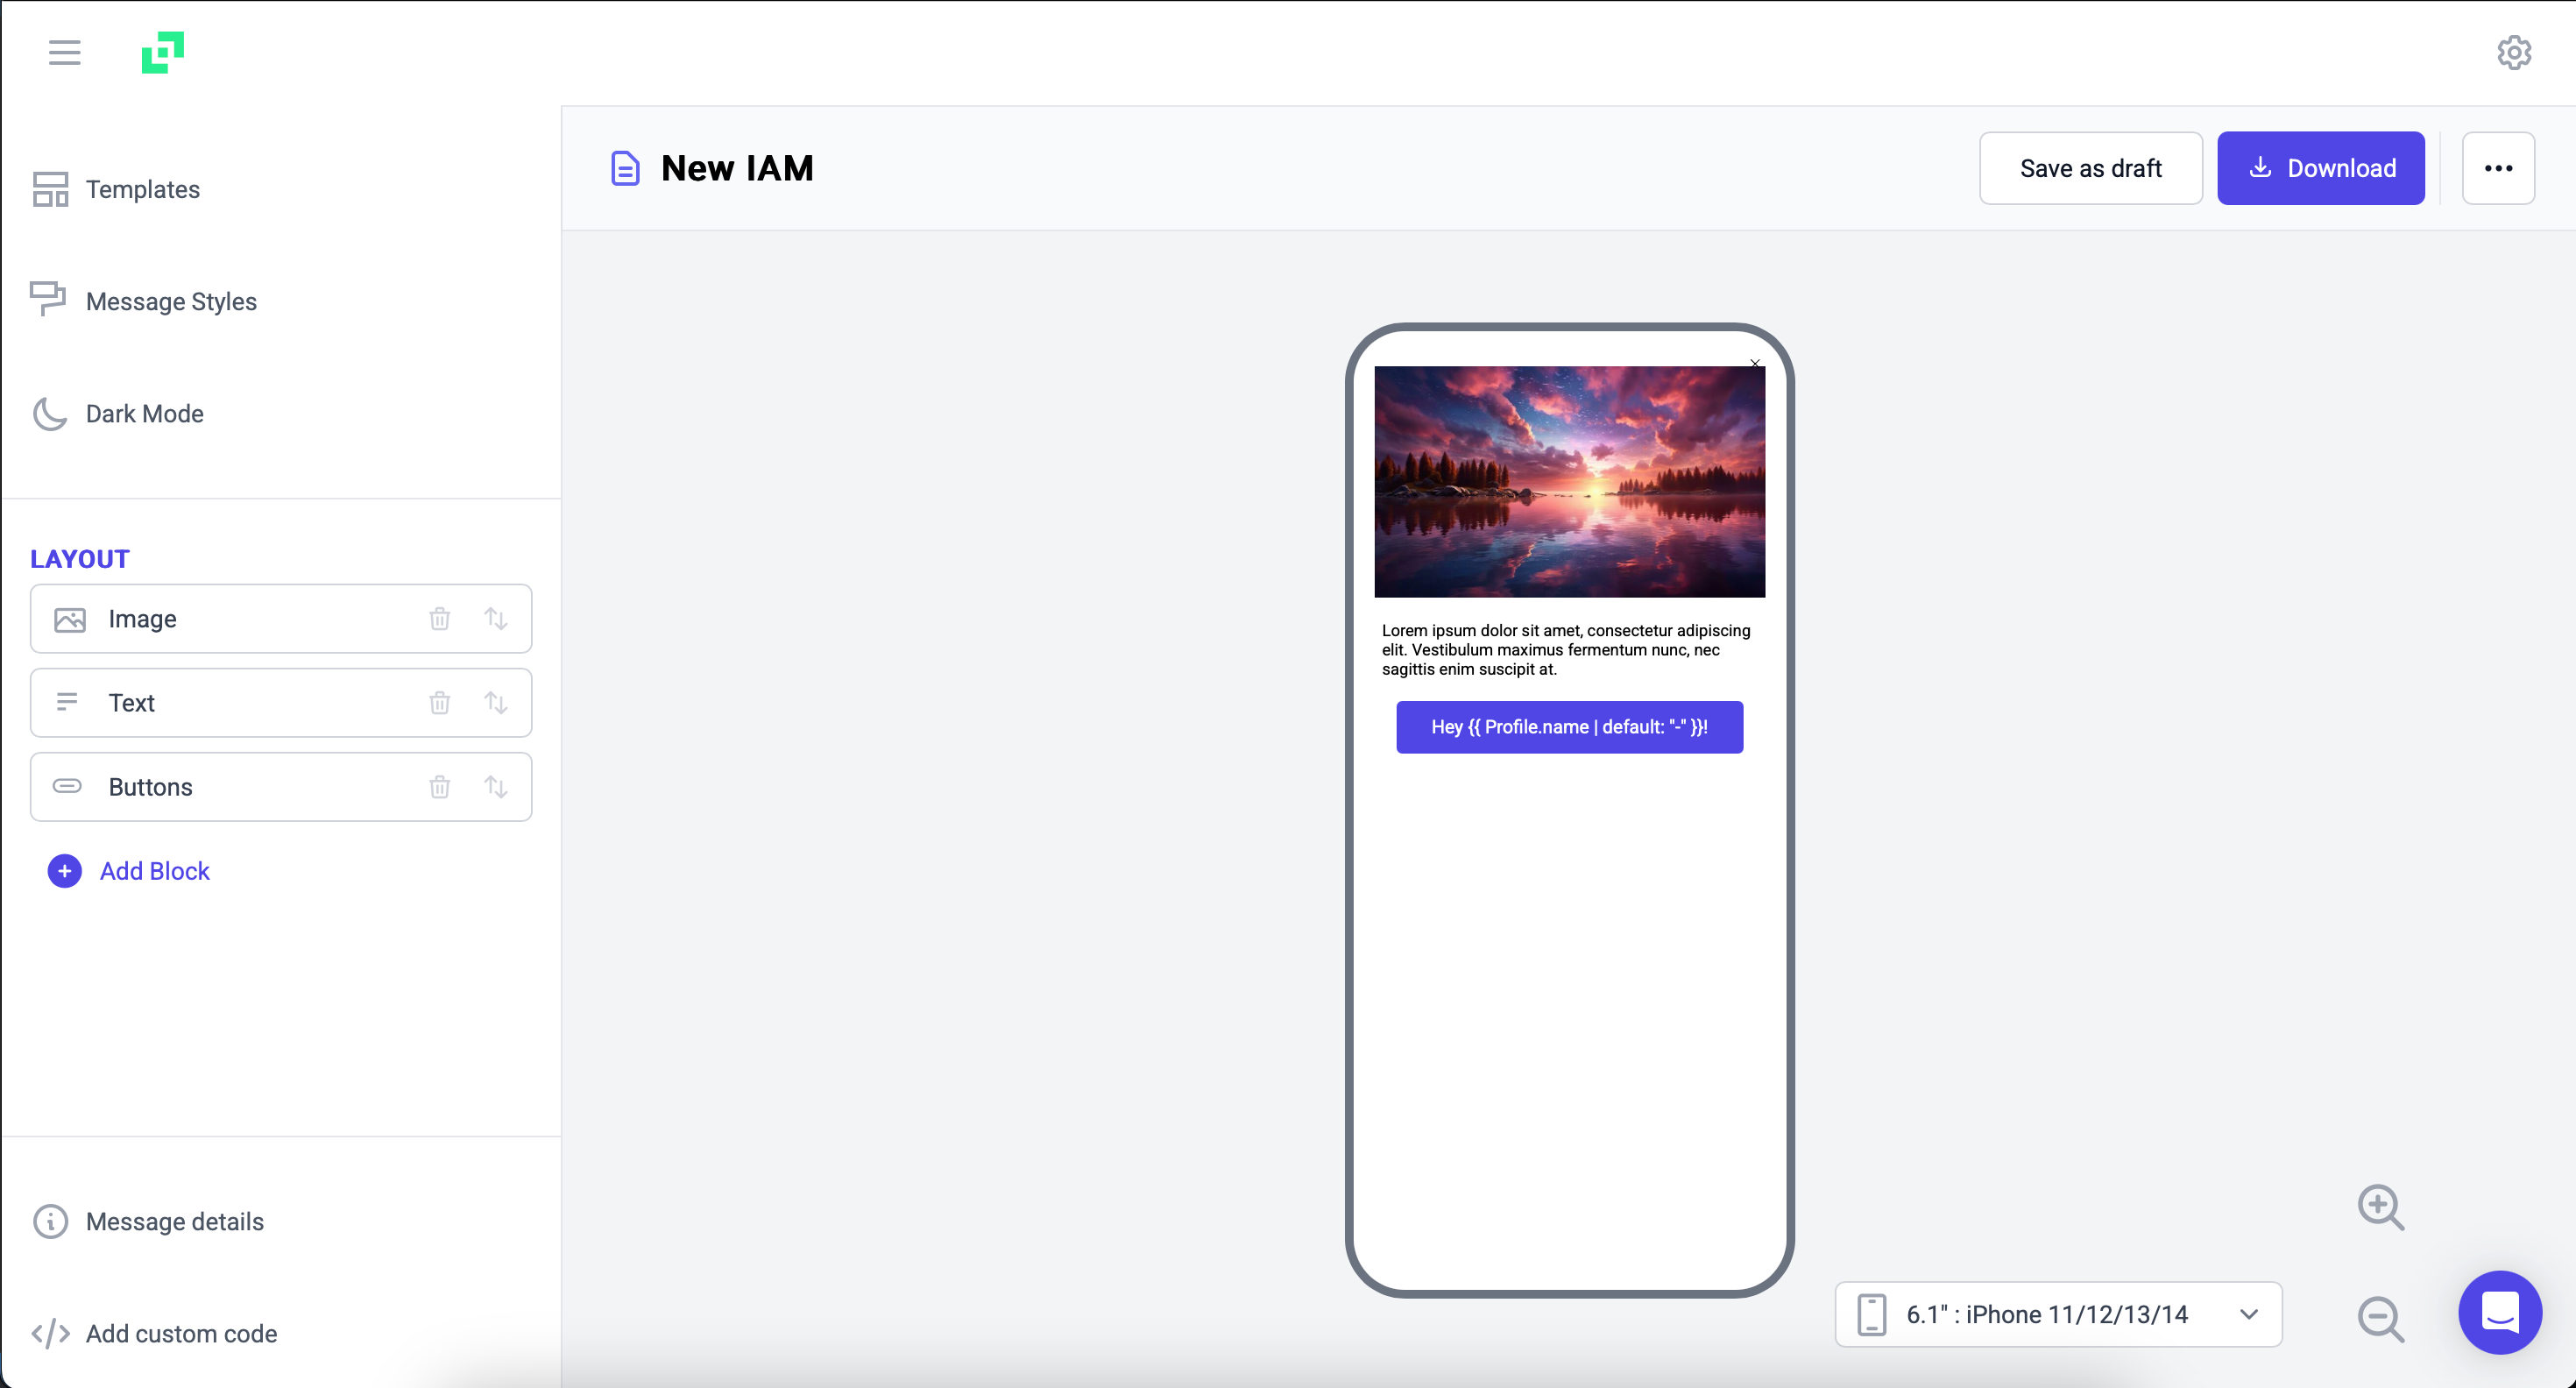
Design In-App Message
- Click the
 icon, and select Copy HTML to copy the HTML code for your In-App message. You can now use this HTML snippet in the CleverTap In-App campaign.
Copy HTML Snippet Generated by B.Layer
Configure In-App Campaign in CleverTap
Set up and personalize your In-App campaigns in CleverTap to engage users effectively. To do so, perform the following steps:
- Go to Campaigns from the CleverTap dashboard.
- Click + Campaign and select In-App Messages from the dropdown.
- Click Go to Editor under the What section.
- Select the template of your choice. For this example, we are using Custom HTML Templates.
Include JavascriptEnsure you select the Include JavaScript checkbox.

Custom HTML Templates
- Delete the default code and paste the HTML snippet copied from B.Layer in Step 4 of Create In-App Messages in B.Layer.
Insert HTML Code Snippet
- Add personalization to your In-App message by typing
{{,{, or clicking@inside the HTML editor.
You can personalize elements such as the message body, button label, or title using CleverTap Liquid Tags.
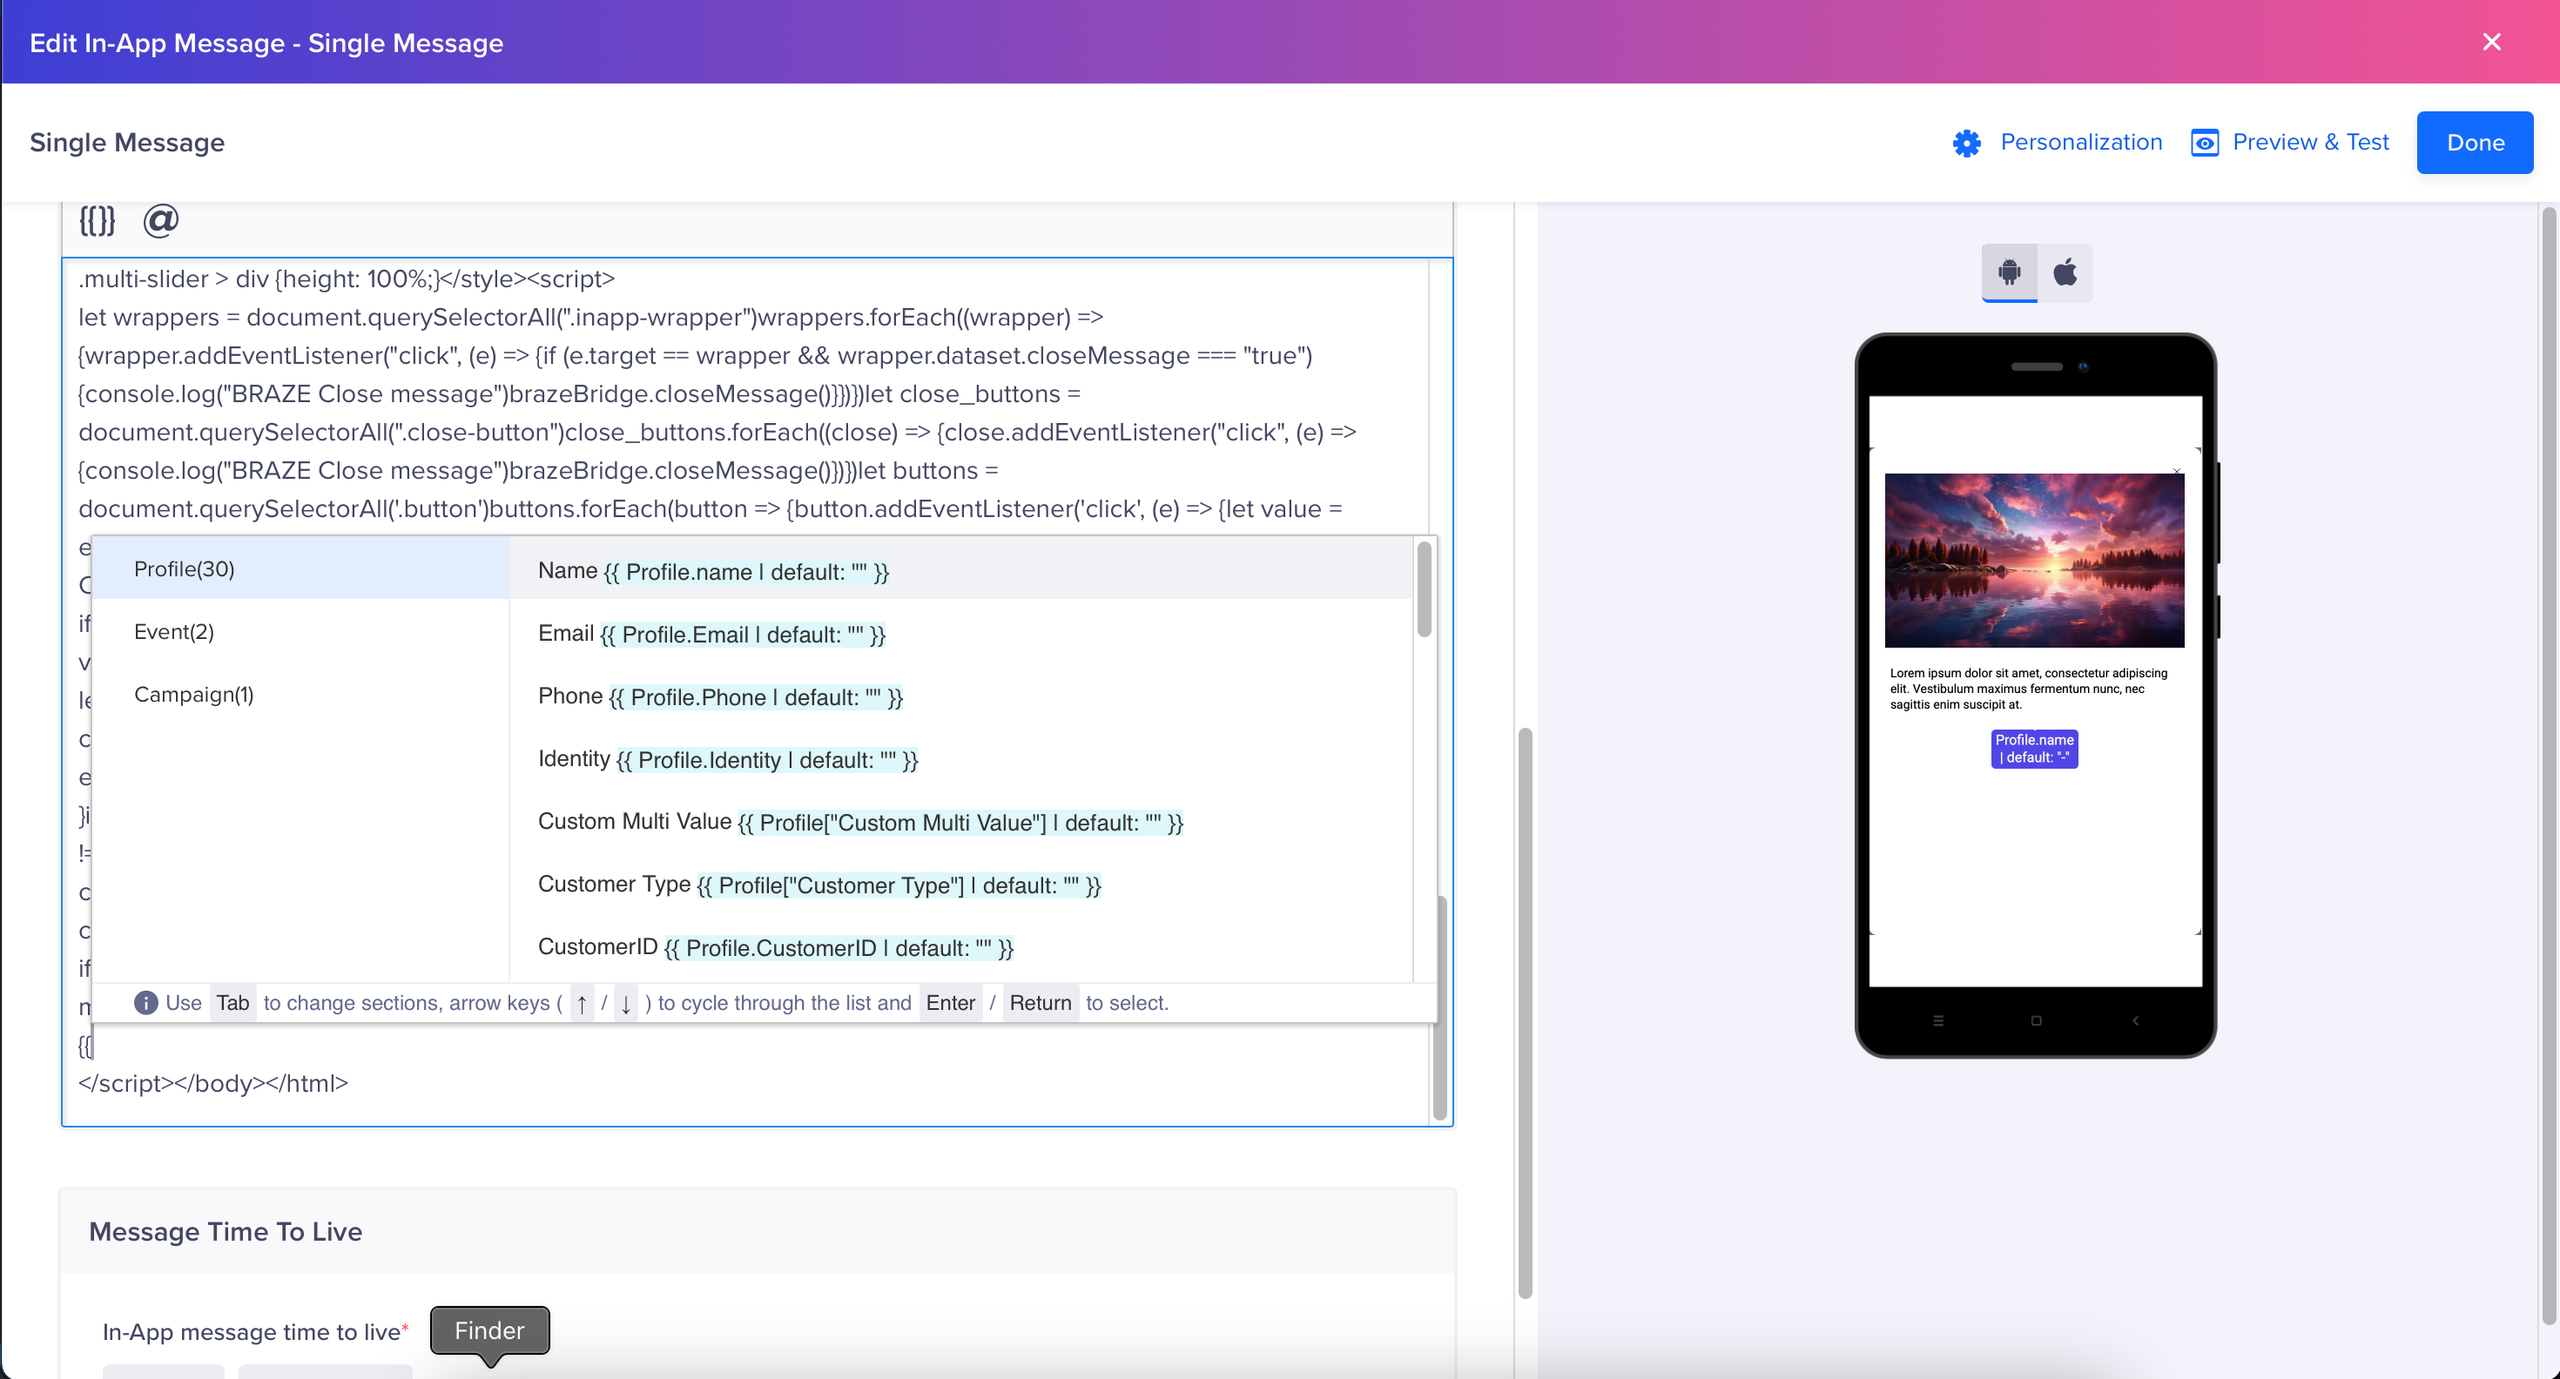
Personalize Email Campaign
- Click Save and Publish to send your In-App campaign.
Once published, your campaign will display the In-App message created in B.Layer to targeted users based on your segmentation and scheduling settings.
You can also use the same B.Layer design in an Email campaign using the Rich HTML template. For detailed instructions, refer to CleverTap Email Campaigns.
Updated 8 months ago