Quick Start Guide: Using Demo Account
Overview
The demo account provides access to the CleverTap platform for testing purposes. For this guide, we will use a demo account that is part of the CleverTap dashboard to email a discount code to users who have added an item to their shopping cart but did not complete a purchase.
You will accomplish this in three steps through the CleverTap dashboard:
- Run a report to confirm if cart abandonment is a problem for your company.
- Create a segment to identify users who abandoned their cart.
- Build a campaign to email a discount code to users in that segment.
CleverTap Demo Account
The demo account is already populated with user data, so you can experiment with CleverTap before integrating our SDK into your app.
To access your CleverTap demo account:
- Log in to your CleverTap account.
- Click on your account name on the top left corner of the CleverTap dashboard.
- Click the Demo - Ecommerce button.
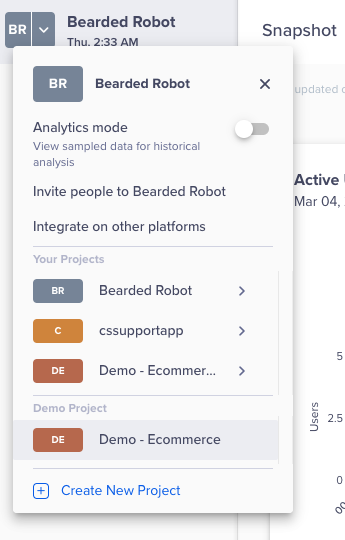
Once logged into the demo account, analyze, and solve the cart abandonment issue.
Run a Report
As a data-driven marketer, before running a campaign to our users, we should first validate the issue. Our hypothesis is that more than 10% of users abandoned their cart. Using CleverTap, we can run a report to confirm if this hypothesis is true.
- From the CleverTap dashboard, select Analytics, then click Funnels.
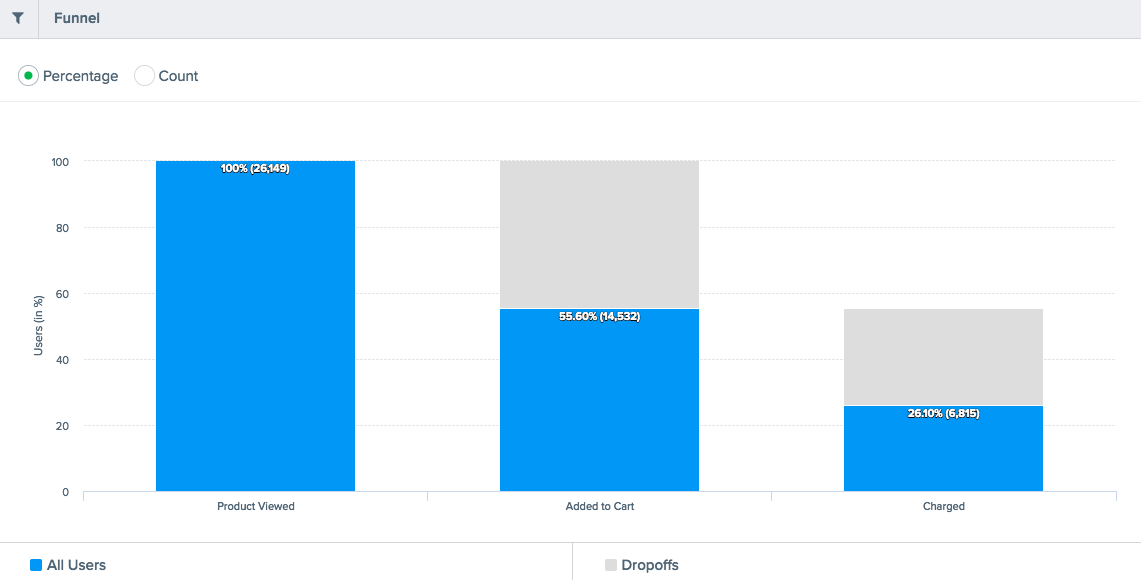
The funnel report in CleverTap provides the ability to view the drop-off between different stages that you have defined. In this case, we want to understand the drop-off between the number of users who add an item to their cart to the number of users who complete a purchase.
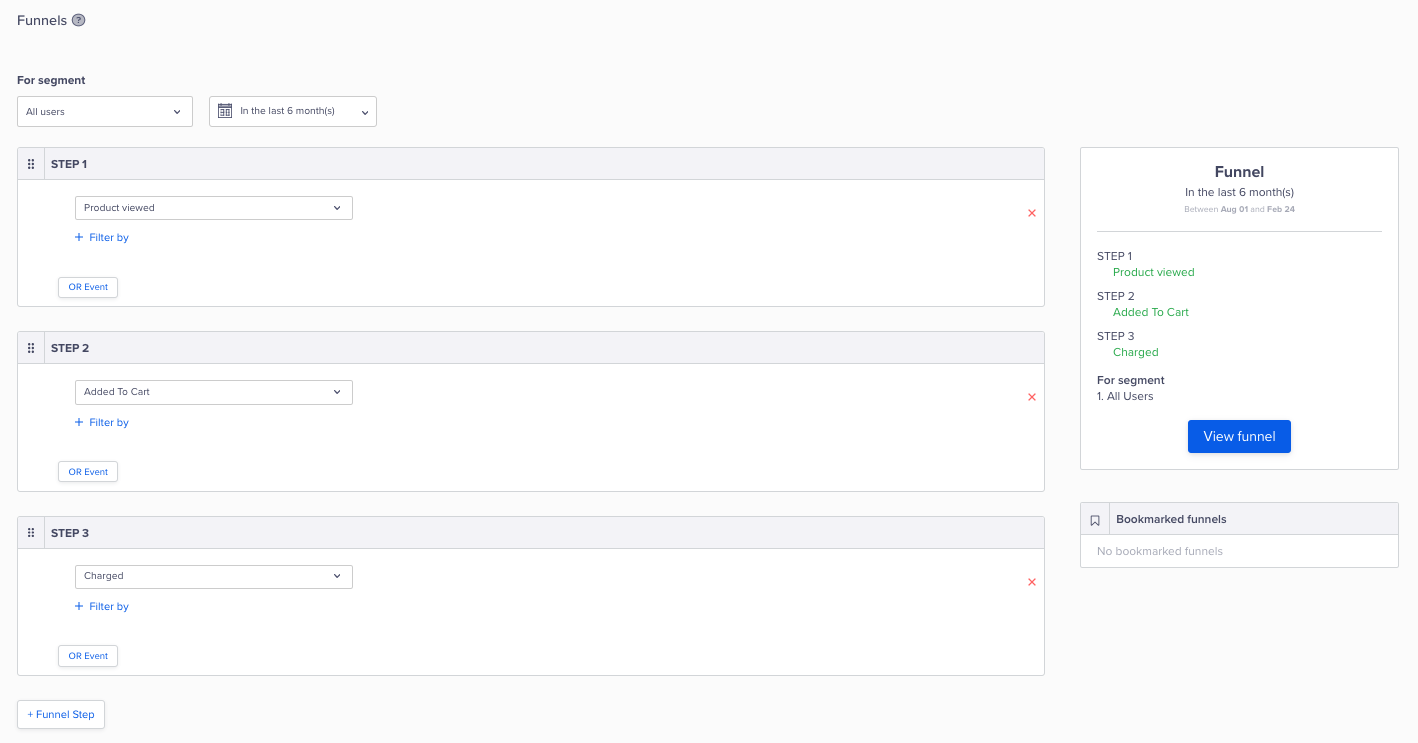
- Select the funnel steps:
- Under Step 1, select Product Viewed.
- Click + Funnel Step, then under Step 2, select Added to Cart.
- Click + Funnel Step, then under Step 3, select Charged.
Product Viewed, Added to Cart, and Charged are events tracked by CleverTap. After you integrate our SDK in your app, you can immediately start tracking and analyzing these events in the CleverTap dashboard.
Unfortunately, the cart abandonment problem is worse than expected. Only 47% of users who add an item to their cart complete a purchase which means the other 53% abandon their cart.
Create a Segment
A CleverTap segment is a group of users whose actions and profile properties match a set of criteria you have defined. Segments are created to identify users who added an item to their cart but then did not complete a purchase within five minutes.
- From the CleverTap dashboard, navigate to Segments, then click the Segments option.
- Click + Segment to create a new segment.

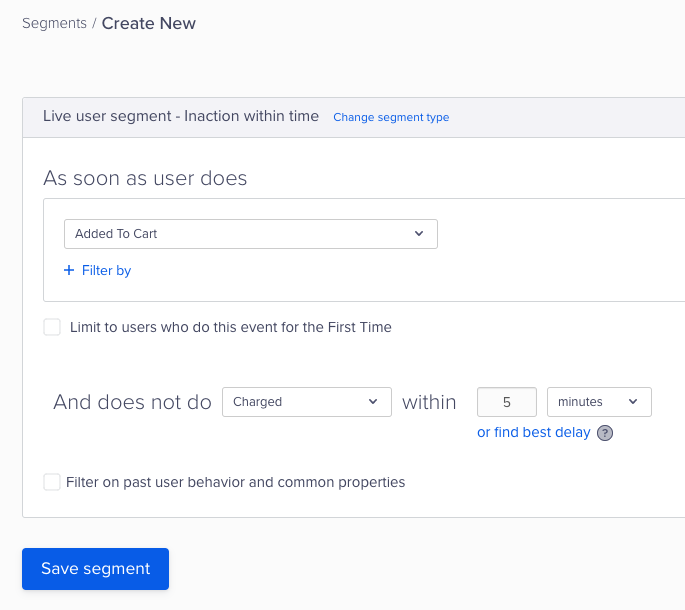
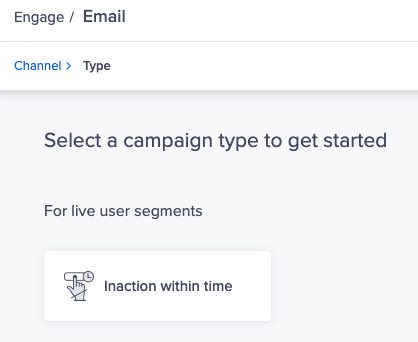
- On the next page under Live user segments, select the Inaction within time box.
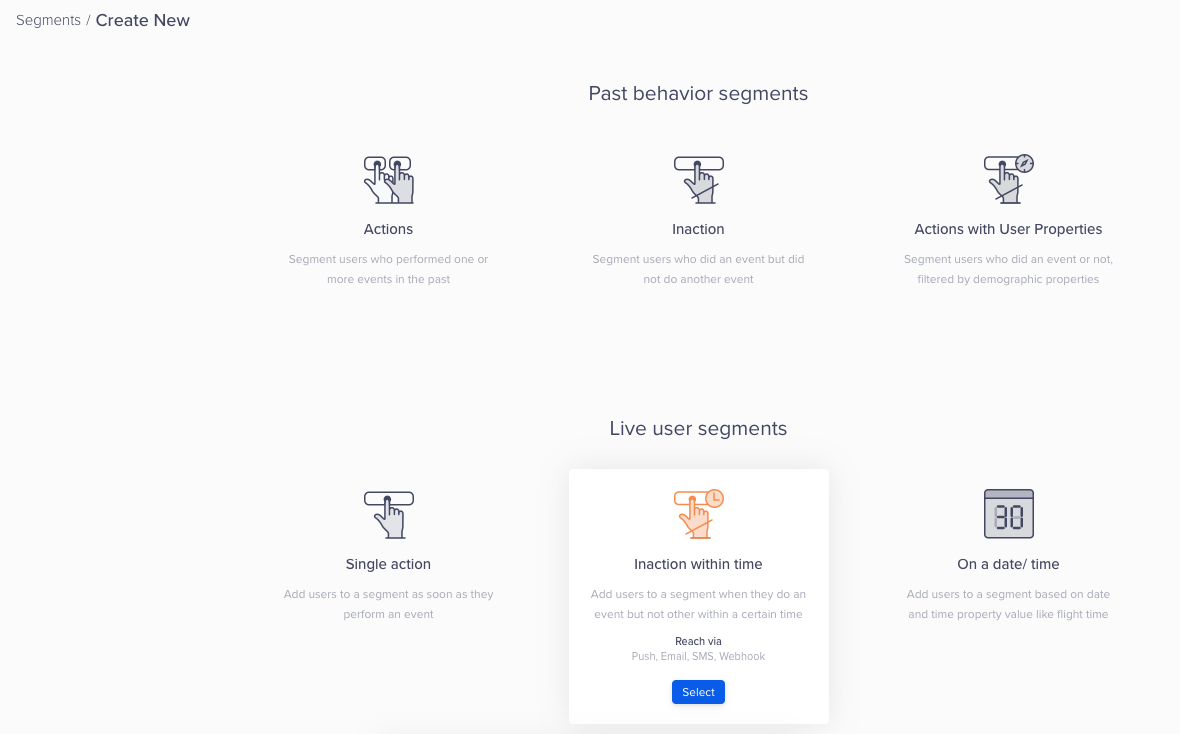
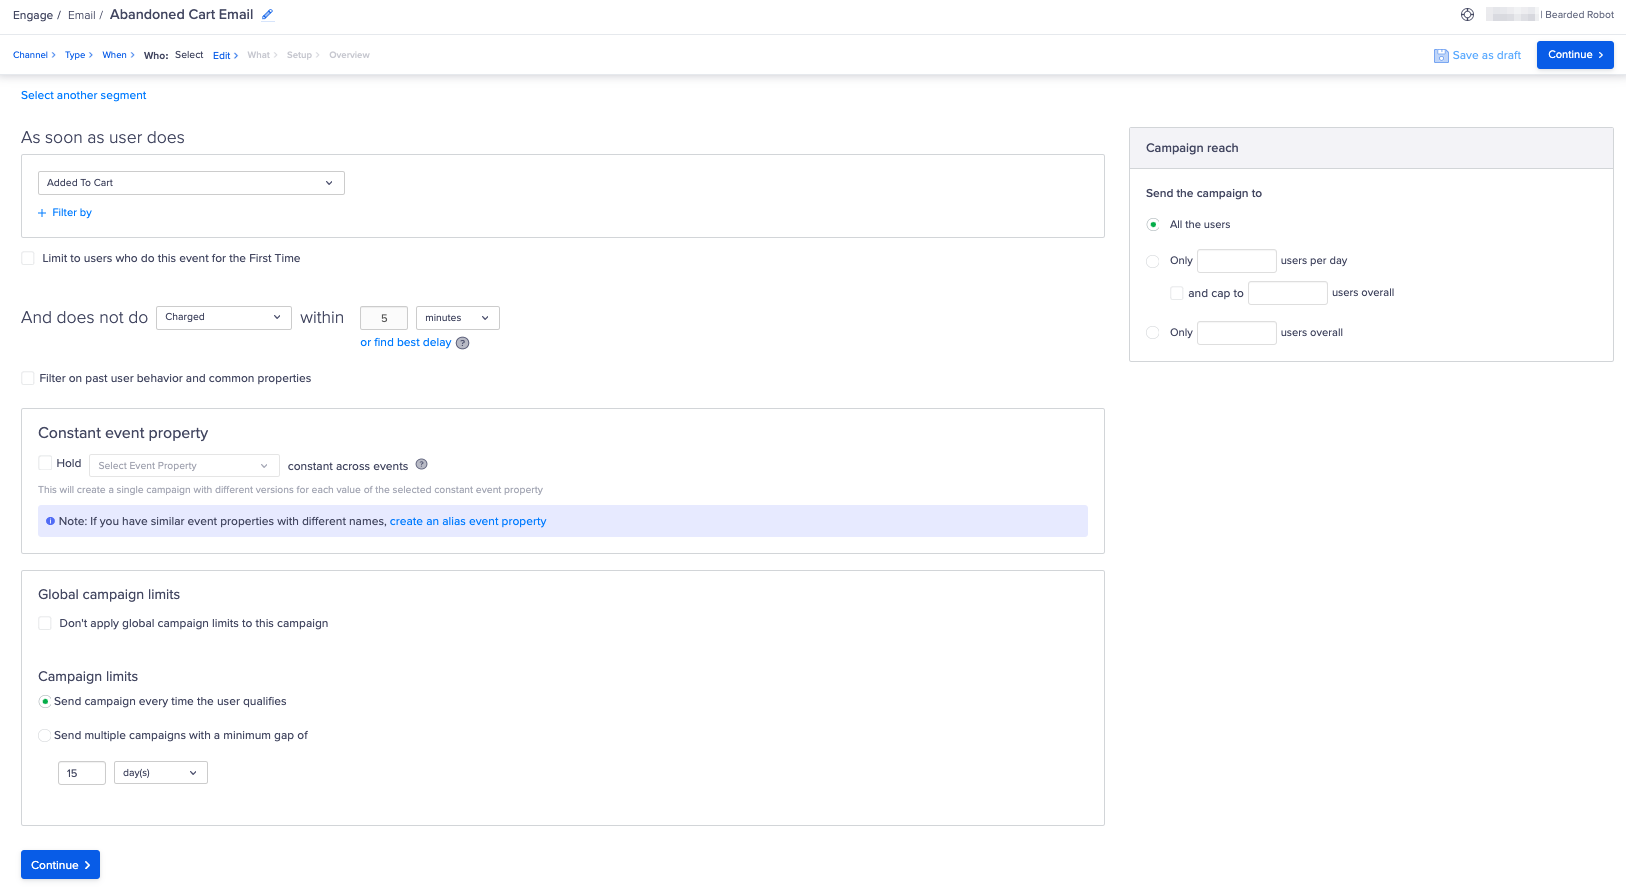
- Under the As soon as user does section, select Added to Cart which tracks when an item was added to a user's shopping cart in the app.
- In the And does not do section, enter five minutes for the time.
These settings create a continuously updated segment that identifies users who added an item to cart, but then did not complete a purchase within five minutes.
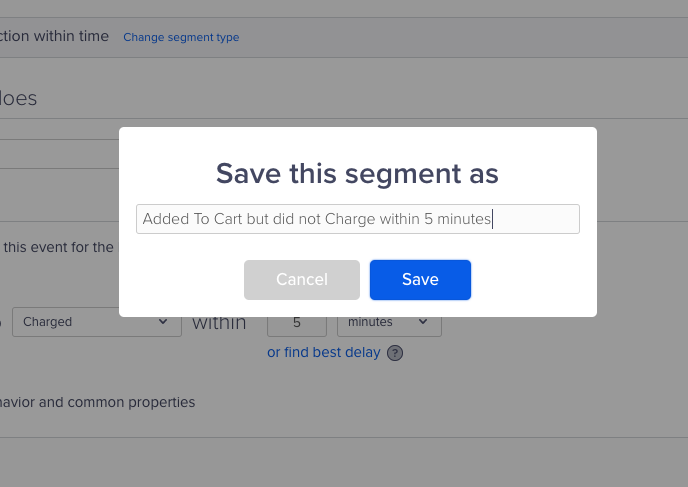
- Save the segment as Added To Cart but did not Charge within 5 minutes, then click Save.
Build a Campaign
CleverTap offers nine different messaging channels enabling you to reach your users on the optimal channel, such as email, in-app notification, or push notification.
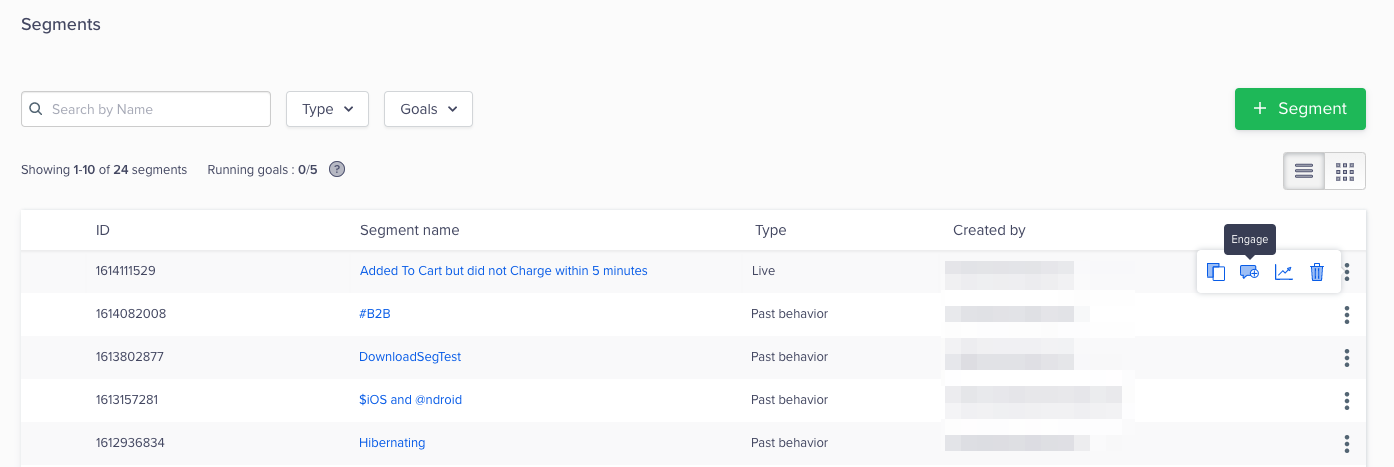
- Next to the Added To Cart but did not Charge within 5 minutes segment, click Engage in the dropdown menu.
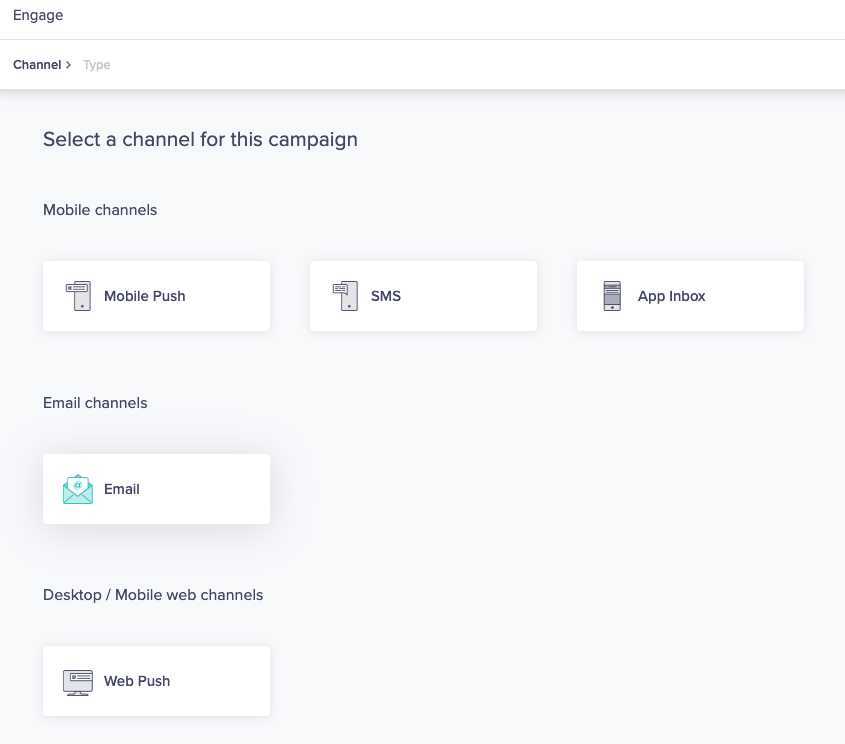
- Under Email channels, select Email.
- Select a campaign type.
- Name the campaign Abandoned Cart Email.
- Select a start and end date/time. This keeps the campaign running until the time you specify.
Alternatively, you can keep the campaign running continuously by selecting Never end.

On the next page, keep the default settings which is pre-populated based on the segment you selected earlier.
- Add a gap of 15 days, so a user does not receive a discount code again until after 15 days have passed.
Gap RangeThe gap range must be between 15 minutes and 40 days.
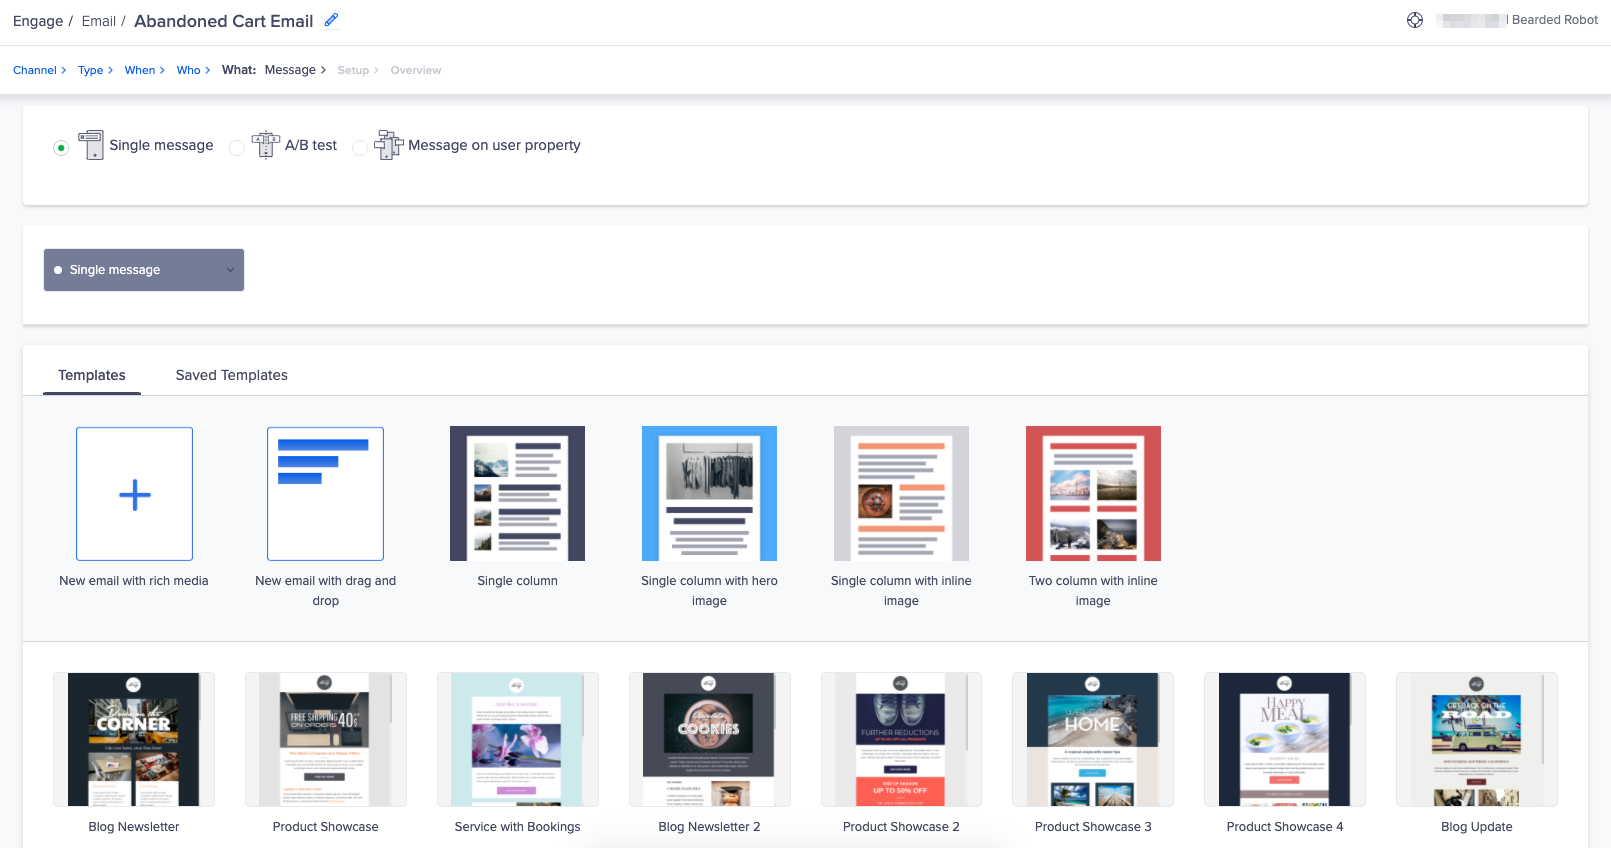
- Select the type of message you want to send to your users, then enter text in the email body or you can click Continue to Sender details to proceed to the next step.
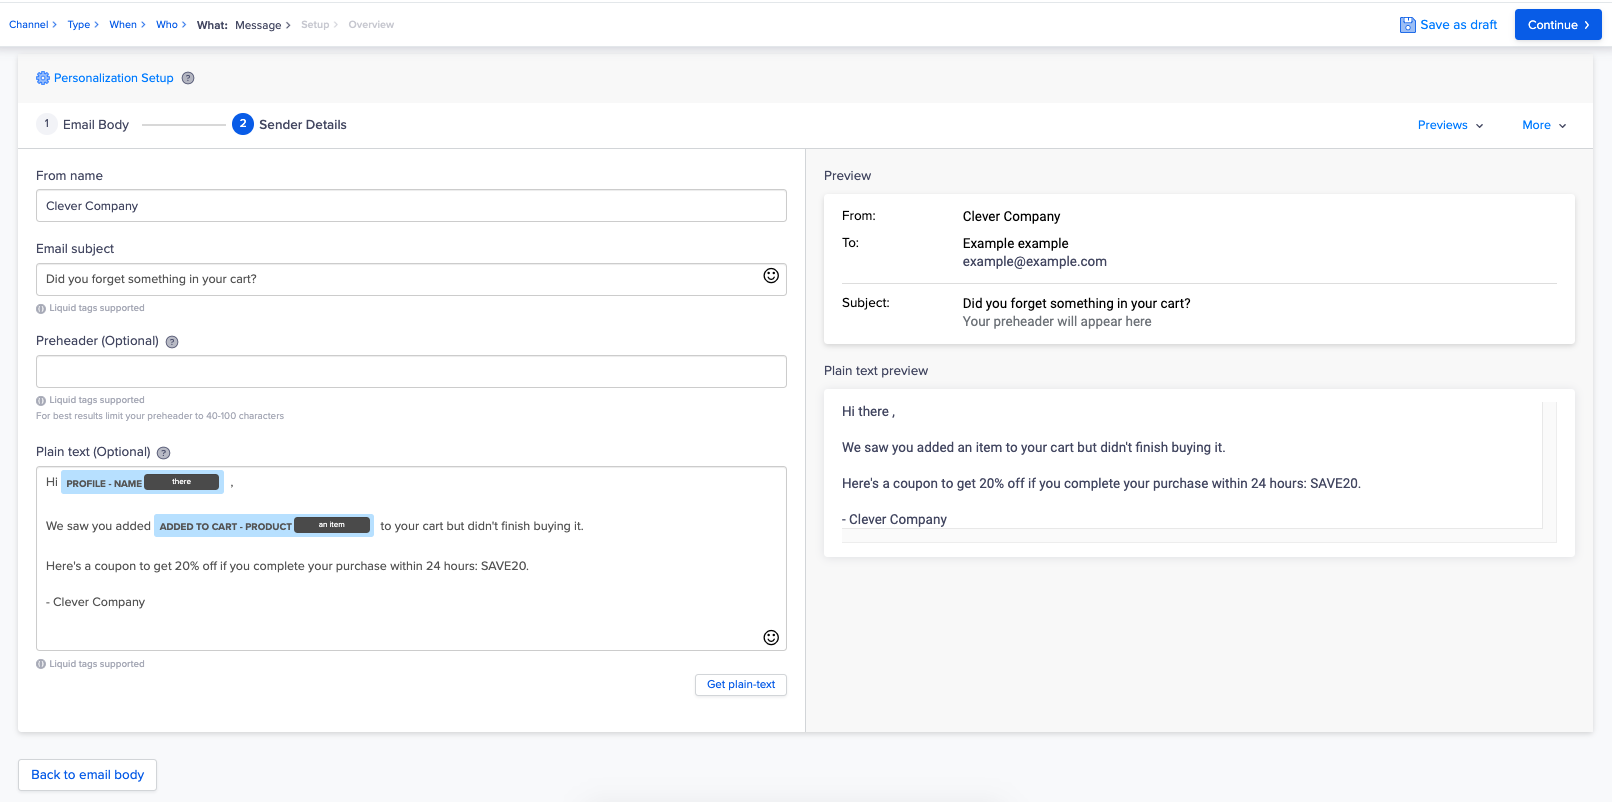
- Fill out the email subject line and body. Using the @ symbol, you can make the email personalized for each user based on information from their profile properties.
- Once you are done entering all the necessary information, click Continue.
- Review the setup page, then click Continue.
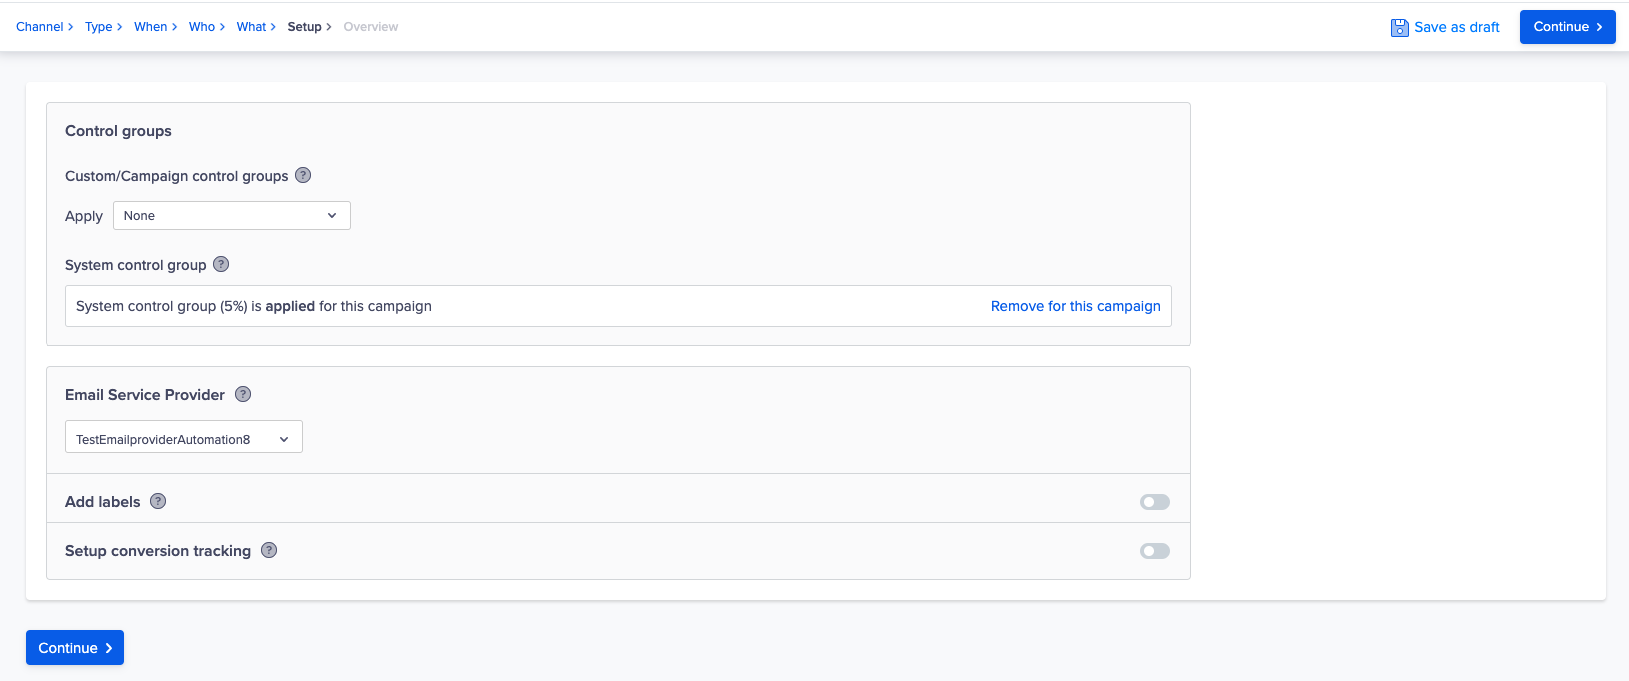
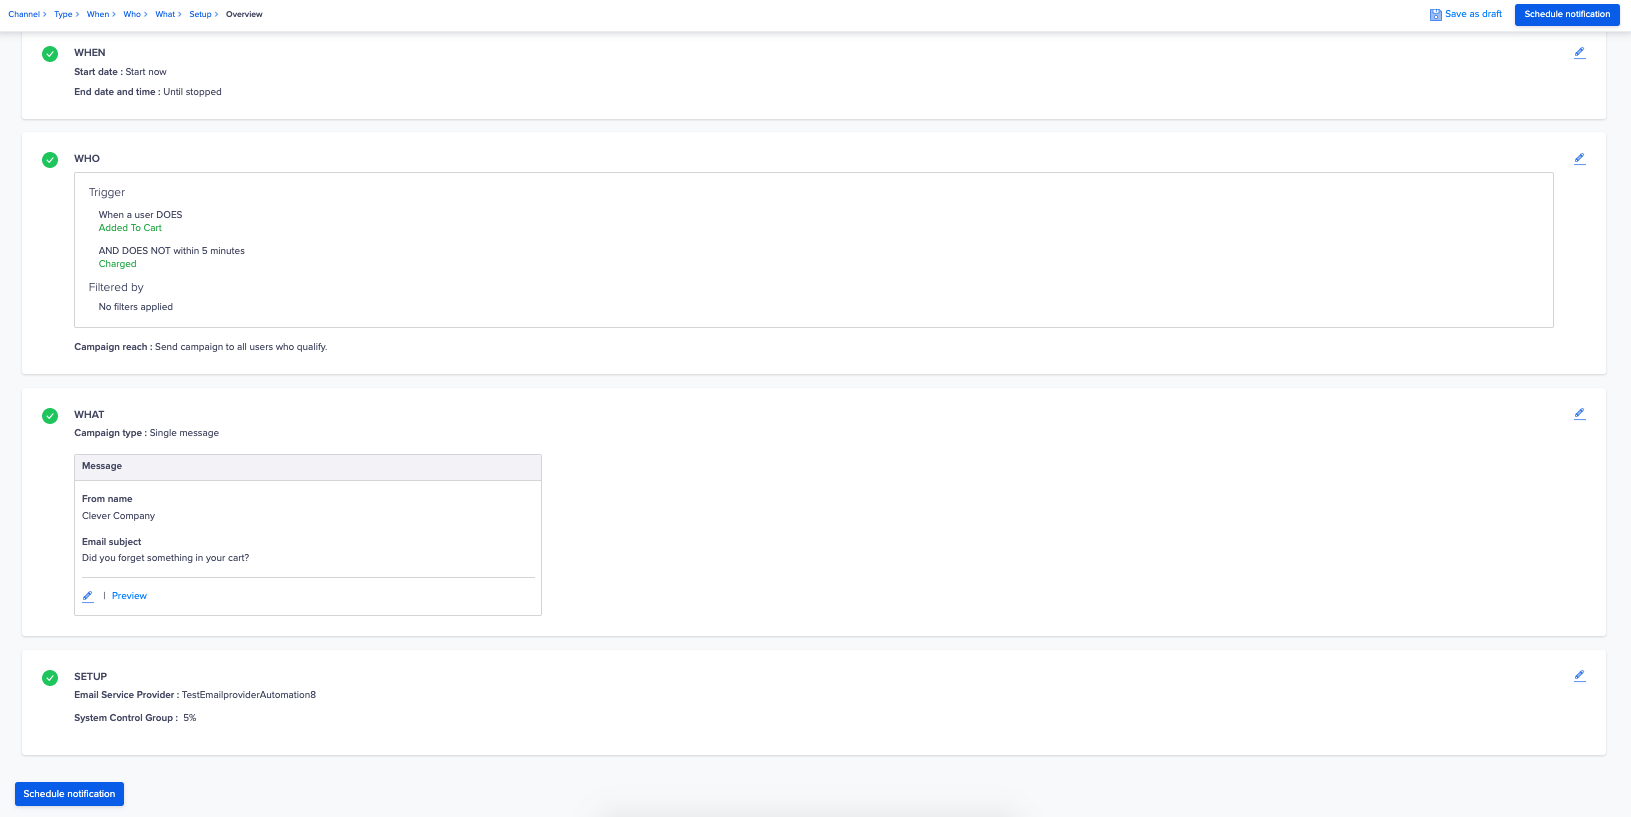
- Click Schedule notification and your campaign will be live.
Since this a demo account, no emails will be sent. If you follow these same steps for your regular CleverTap account, each user in this segment will receive an email.
Next Steps
You now have built your first campaign in CleverTap.
First, you ran a report to analyze if there was an issue with cart abandonment in your app. After confirming this issue, you created a segment to identify users who abandoned their cart. Finally, you set up a campaign to engage your users in that segment and encouraged them to complete the purchase.
To start solving problems like these for your company, you need to integrate our SDK into your app by following one of these guides. If you want to keep exploring more CleverTap features before integrating our SDK, check out our core concepts pages.
Refer to Project Setup to integrate your app and get started.
Updated about 1 month ago
