Content Manager Templates
Overview
The Templates section helps you organize and standardize your messaging templates. You can save and reuse templates from the Templates section to have consistent messaging.
Custom RolesAll users with custom roles have read access to Templates by default. However, the administrator must grant write access for any Template operations. For more information, refer to Define Access for Custom Roles.
Go to Content Manager > Templates >_Email.
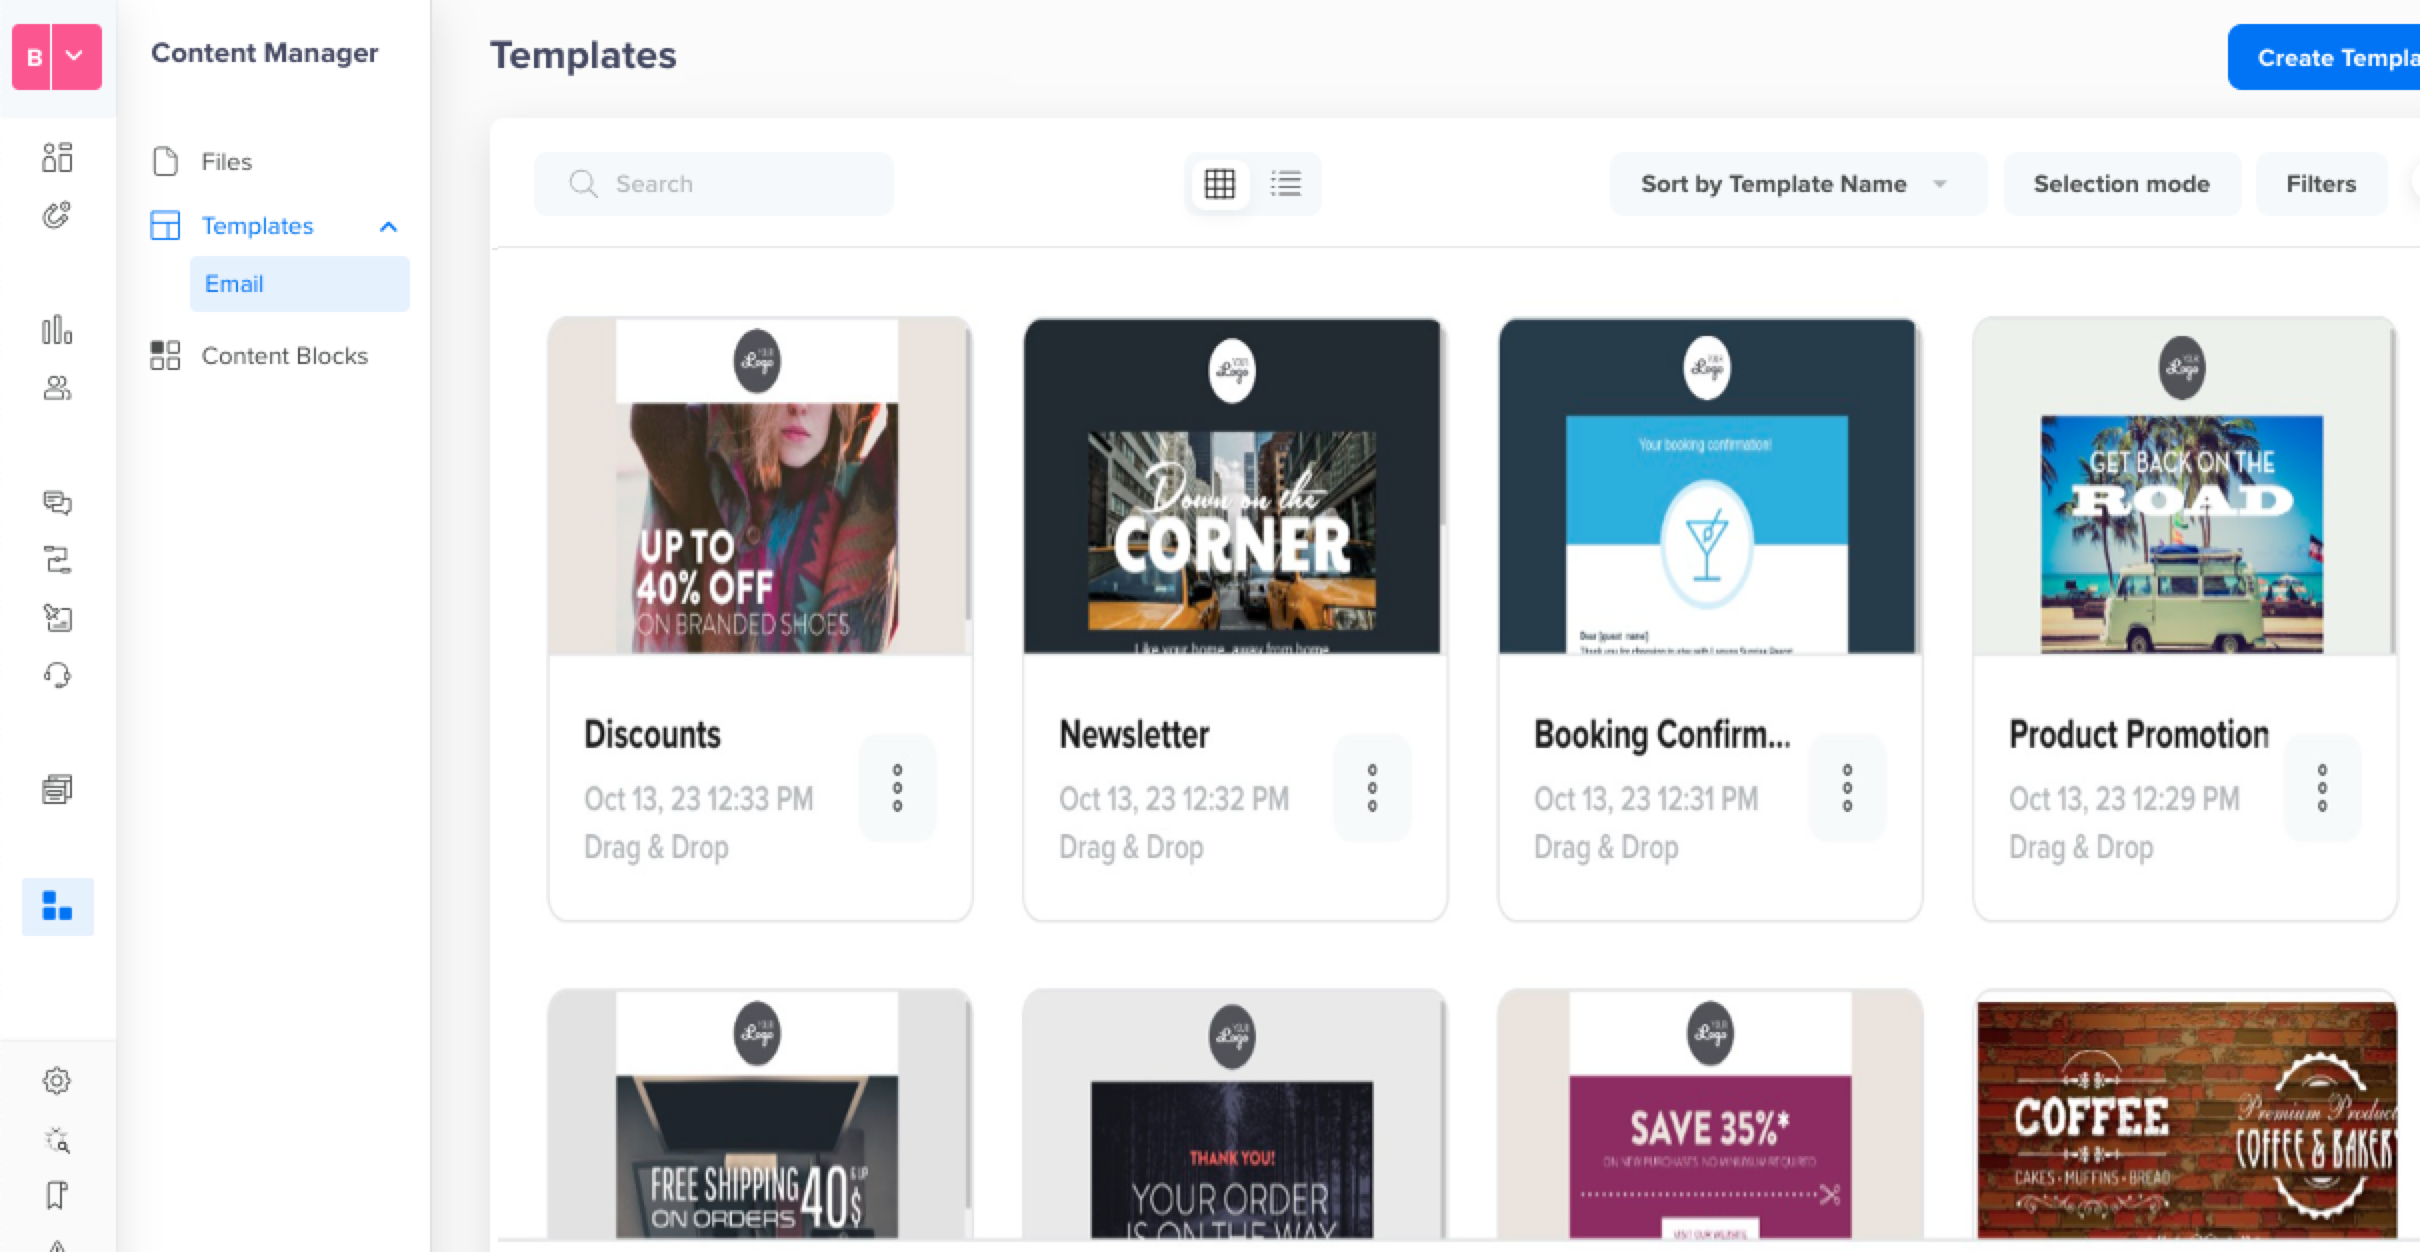
Templates Editor
The Templates Editor offers the following multiple options:
- Select Views: Switch between
 list and card
  view for templates.
 - Search Templates: Search a template by its name.
- Sort Template: Sort by template name, created date, and last modified date.
- Bulk Delete: Select multiple files and click the
 delete icon.
Template DeletionA template deleted from the template gallery does not affect the running campaign already using these templates.
Create Templates
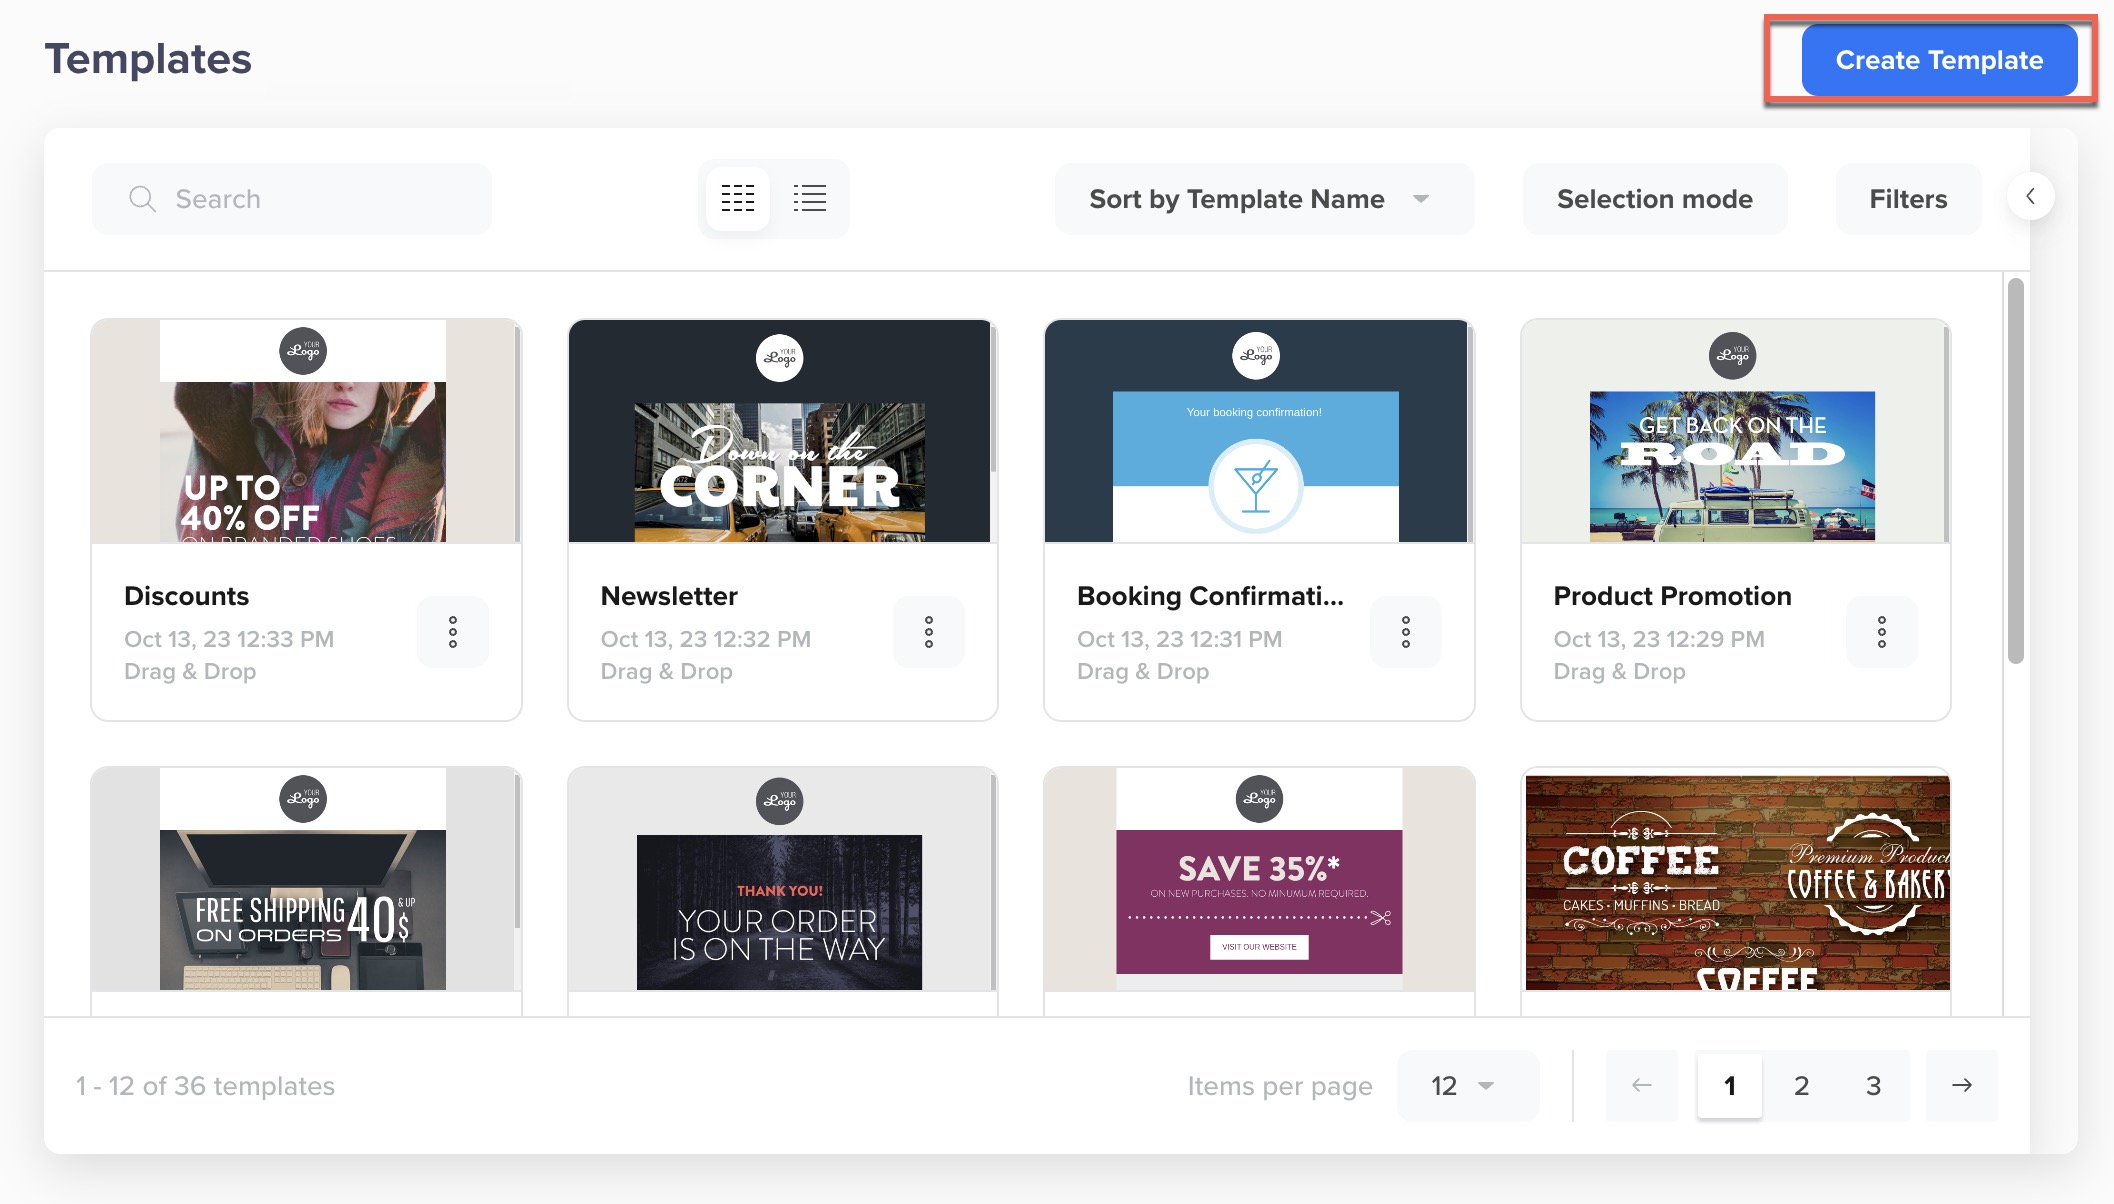
You can create a template that can be used across various campaigns.
Supported ChannelsCurrently, only Email templates are supported. We will soon start supporting more channels for template management in the Content Manager.
- Go to Content Manager > Templates > Email.
- Click Create Template.
Create Templates
- After completing the steps to create a template, click Save. The Save Template popup opens.
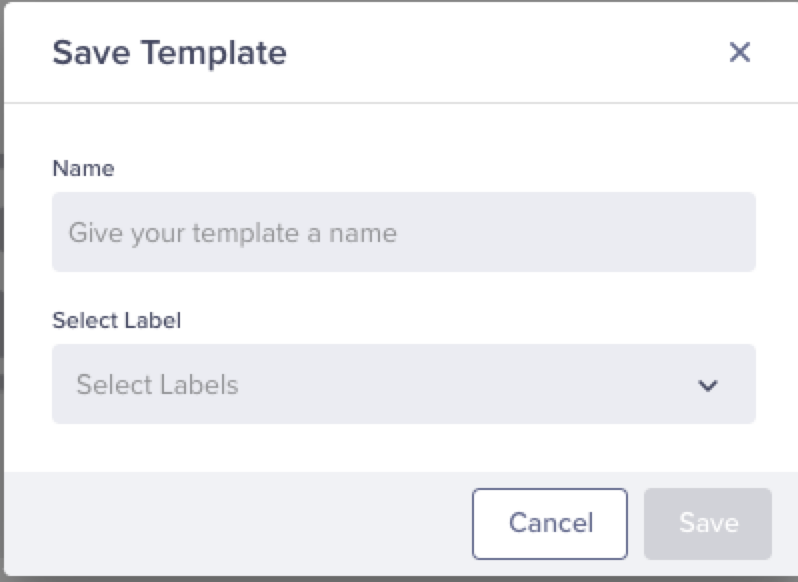
Save a template
- Enter a name and select a label for the template.
Template namesTemplate names can include letters, numbers (0-9), underscores (_), periods (.), hyphens (-), and spaces. Names must begin with a letter. Additionally, the template name must be unique.
- Click Save to save your template.
You can add content to pre-built templates or customize and build your own. To create a new template with drag-and-drop elements, refer to drag-and-drop templates. You can also create a template from the HTML editor with a Rich Media template.
Upload HTML Templates Using ZIP File
The Upload HTML Templates feature enables marketers to easily import email designs packaged as ZIP files directly into CleverTap. These ZIP files typically contain a single HTML file and associated image assets, enabling efficient template creation without manual image uploads. You can also upload templates from the What section of the campaign setup. With this feature, you can:
- Faster template creation by uploading a pre-packaged HTML + assets ZIP file
- Automated asset management with image upload to CMS
- Reduces manual errors in HTML and image linkage
To upload an email HTML template using .zip files, perform the following steps:
-
Click Create Template from the Templates page. The Email editor opens.
-
Click Upload File or drag and drop to upload the required
.zipfile. You can download the sample zip file by clicking the Download sample file link. The ZIP file must meet the following criteria:
Requirement Details File type Must be .zipHTML file Only one .htmlfile allowed. It should be present inside the main folder and not in any subfolder. CSS must be inline and embedded within the .html file; separate stylesheets are not supported.Images All image assets must be placed in a folder named images. Ensure all image references within the HTML file point to this folder correctly. Supported image formats JPG, PNG, GIF File size Must be less than 5 MB 
Upload HTML Template
-
CleverTap parses the ZIP file:
- Images are uploaded to the CMS File Manager.
- The template is saved under Saved Templates in the What section of campaign setup, as well as in the Templates section of Content Manager.
Personalization for Uploaded TemplatesIf you upload an HTML file with characters like {{}} or @, CleverTap treats them as plain text. To use personalization, you can manually add them during email campaign setup after template upload. For detailed steps, refer to Personalize Message.
Upload Validations
Upload may fail due to the following validations performed by CleverTap:
| Errors | Description |
|---|---|
| ZIP file exceeds maximum size of 5 MB. | The uploaded .zip file exceeds the maximum allowed size of 5 MB. Reduce the file size by optimizing images or HTML content and try again. |
| File type is unsupported. Upload ZIP file only. | Only .zip files are supported. Uploads using other file types are rejected. |
| ZIP file is corrupt. Check file contents and try uploading again. | The file could not be unzipped or read. This may occur due to improper compression or file corruption. Create a .zip file again and upload it. |
| ZIP file name must start with a letter. Only letters, numbers, spaces, and following special characters are allowed: . - _ | Ensure the ZIP file name starts with a letter. Only letters, numbers, spaces, and these special characters are allowed: ., -, _. Rename the file and upload again. |
| HTML file is missing from ZIP file. Add HTML file and upload again. | The .zip does not contain a valid .html file. An HTML file is mandatory to define the email content and must be placed at the root level. |
| ZIP file must contain only one HTML file. Remove additional HTML files and upload again. | More than one .html file was found. CleverTap supports only a single HTML file per upload. Remove additional files and retry. |
| HTML file is invalid. Check file and try uploading again. | The uploaded .html file is malformed or unreadable. Verify its structure and formatting before uploading again. |
| Some images referenced in HTML file are missing from image folder. Add all images to a separate folder in ZIP file and upload again. | One or more image URLs in the HTML are unavailable in the provided images folder. Ensure that all image assets are correctly referenced and try again. |
| File not referenced in HTML. It won’t be saved in Content Manager. | Images not referenced in the HTML file but present in the images folder are ignored during processing. They do not impact the upload and are not uploaded to the Files section of Content Manager, but may unnecessarily increase the size of the ZIP archive. It is recommended that any unused assets be removed before upload. |
| Maximum 50 images allowed. Remove additional images and upload again. | The ZIP archive contains more than 50 image files. Remove the excess images and try uploading again. Each template supports up to 50 images. |
Template Operations
You can click the ellipsis from the content card for additional actions to manage templates.
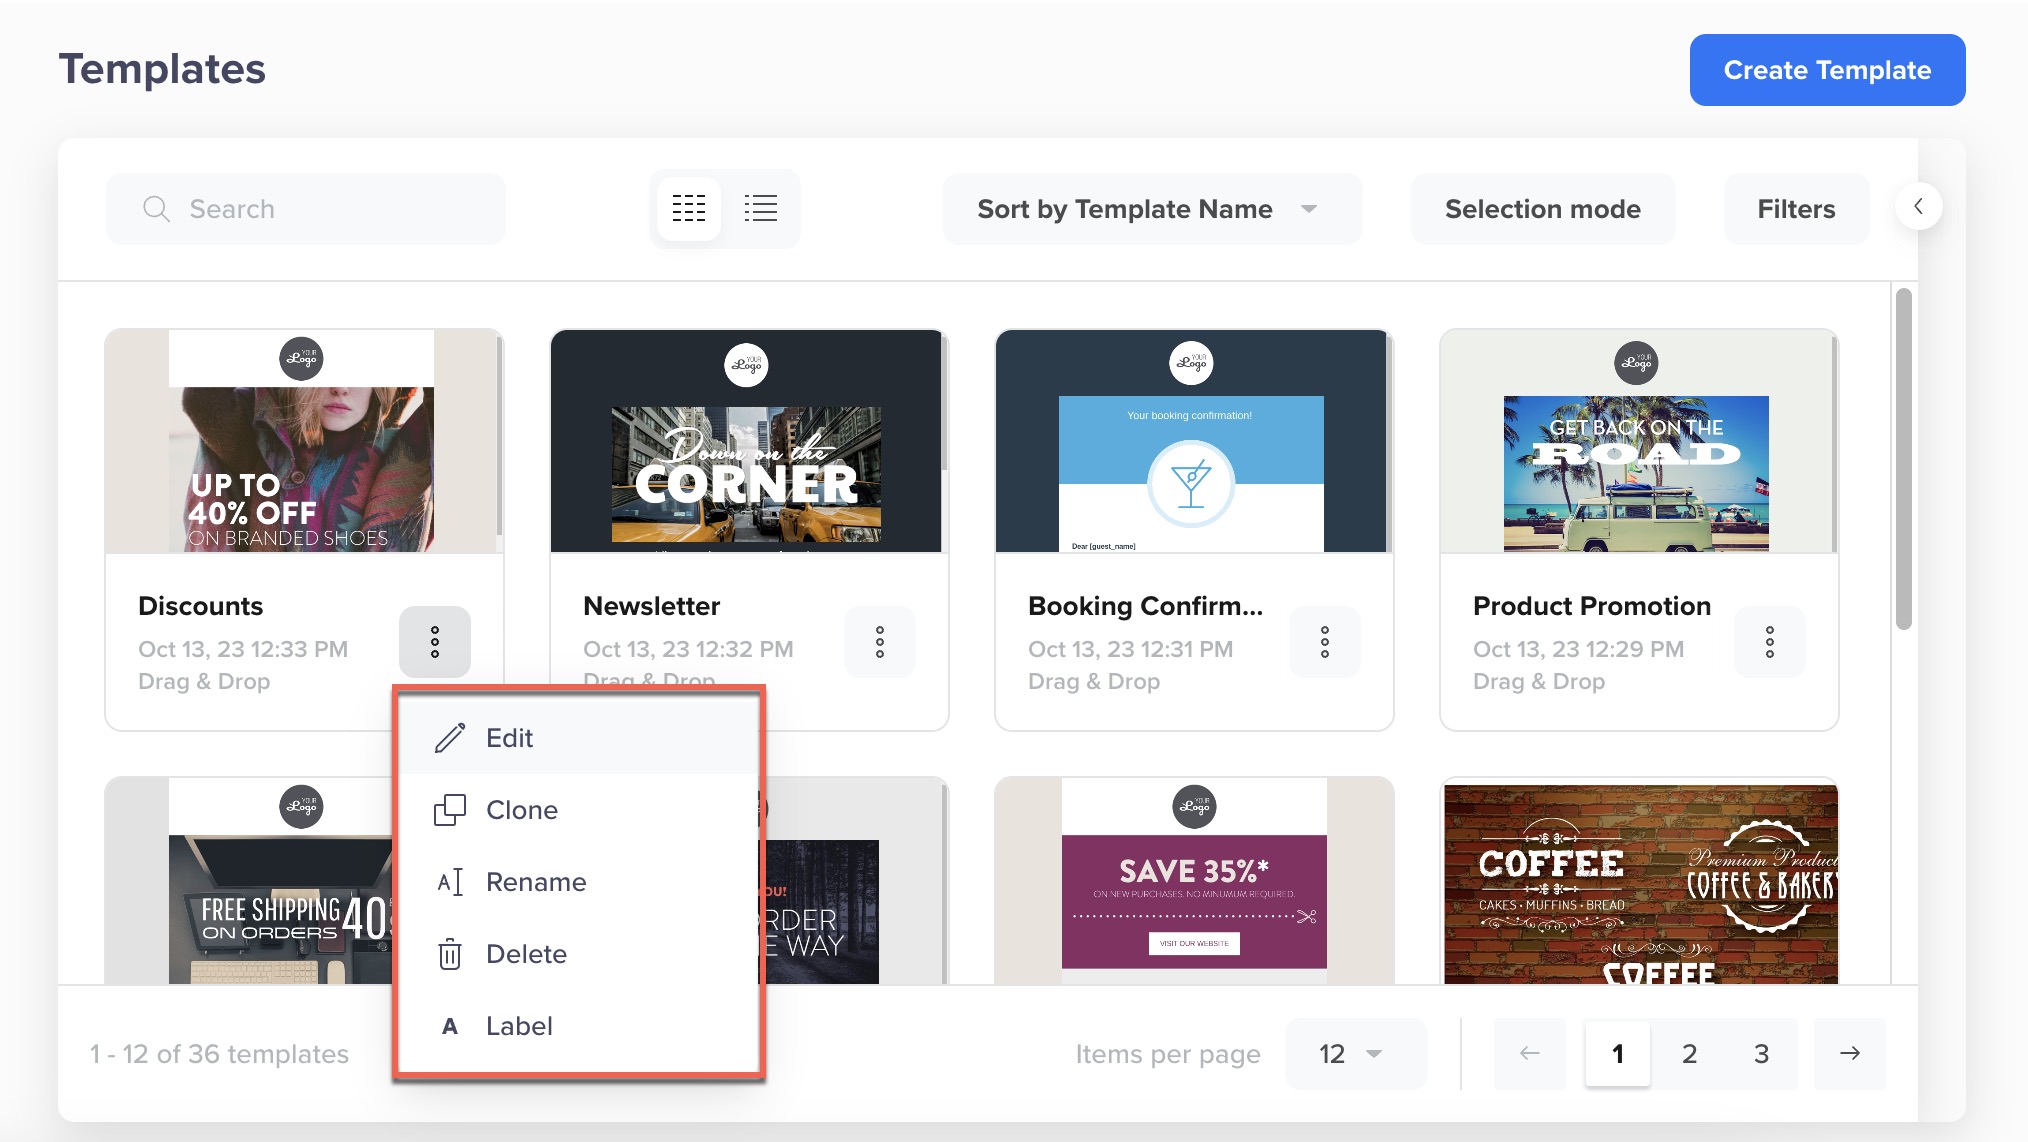
Template Options
You can select from the following options:
- Edit: Select to make further changes to the template.
- Clone: Select to create a copy of the template. You can then add further edits to the template.
- Rename: Select to change the name of the template.
- Add label: Select to add a label. Labeling templates helps organize and search them easily.
- Delete: Select to delete the template.
Template DeletionA template deleted from the template gallery will not affect a running campaign.
Filter Templates
You can filter the templates to narrow down your search.
- Navigate to Content > Content Manager > Messaging Channel > Te`ates.

Filter Templates
- Click Filters. You can filter templates based on the following criteria:
- Time Period: Filter and search by the template's creation period.
- Type: Filter and search by the template type.
- Labels: Filter and search the template by the assigned label.
- Created by: Filter and search by the person who created the template.