Product A/B Tests (Legacy)
Product A/B Tests (Legacy)
Our Product Experiences suite helps you enrich your app users' experience right from the CleverTap dashboard using AB testing as a tool.
CleverTap A/B Test allows Application Developers, Product Managers, and Marketers to run A/B tests for their mobile Apps. This feature provides a web-based interface for managing tests.
For example, test your app for a better click-through rate. There are many ways in which you can present the CTA button. In our example, let us assume that the button on one variant of the app says "Buy Now", and the same button in another variant says "Hurry!". You can run this test for 4-5 weeks and determine which CTA delivers a higher click-through rate. You can roll out these changes partially to say 10 percent of the segment. When you are satisfied with the results, you can declare a variant that generates the highest click-through rate as a winner, and then roll out this variant to all the users.
Getting Started
An A/B test has three components.
-
Segment - The set of users that will see the different variants. For creating segments, see Create Segments.
-
Keys - These are the keys that you have defined in your app code. You can map these keys from the CleverTap dashboard and control your app's configuration. Keys allow you to define the variable and default value to be used in the test. Keys can be shared across multiple A/B tests. For more information about creating keys, see Create Keys.
-
Goals - This is the desired outcome of your test. They help evaluate the performance of an A/B test. It is an event and when a user performs this event, it is considered as a conversion. For more information on creating goals, see Creating Goals
An A/B test consists of a default control variant and one or more test variants. For each variant, CleverTap enables you to quantify the impact on important metrics such as a conversion event or goal.
Define A/B Test
- Click Product Experiences > A/B Tests.
- Click the +A/B Tests button. The Create New page appears.
- Add a name and meaningful description for the test.
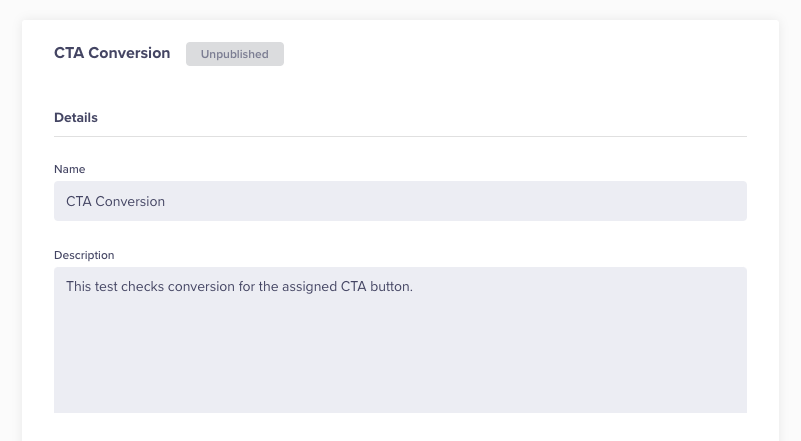
Define A/B Test
Select Segment and Goals
- Select a Segment or a test group from the Segment. If you want to roll out the test partially, select the percentage of users in a segment that can see the test, using test group %.
- Select the goals. In our example, we select a single goal. It is a purchase event. For creating a goal, see Set up Goals. You can select a maximum of 5 goals.

Selecting Segments and Goals for A/B Tests
-
Make users exclusive for this test. From a qualifying segment, only unique users that are not part of any other test are selected. Also, such users are not included in any other test until the current test is stopped, rolled out, or the user is disqualified for some reason. For more information, see Setting mutually exclusive users
-
Check the box to keep qualified users in the segment. It means that the user will remain in the test unless it is stopped or rolled out, even if they disqualify from the test after some time.
Create Variations
- Create different variations of the test. Select Keys and enter values for the Test Variant. The Control Variant displays the default value defined for the key in the setup, which cannot be edited.
You can have a maximum of 7 variants. - Click Next.
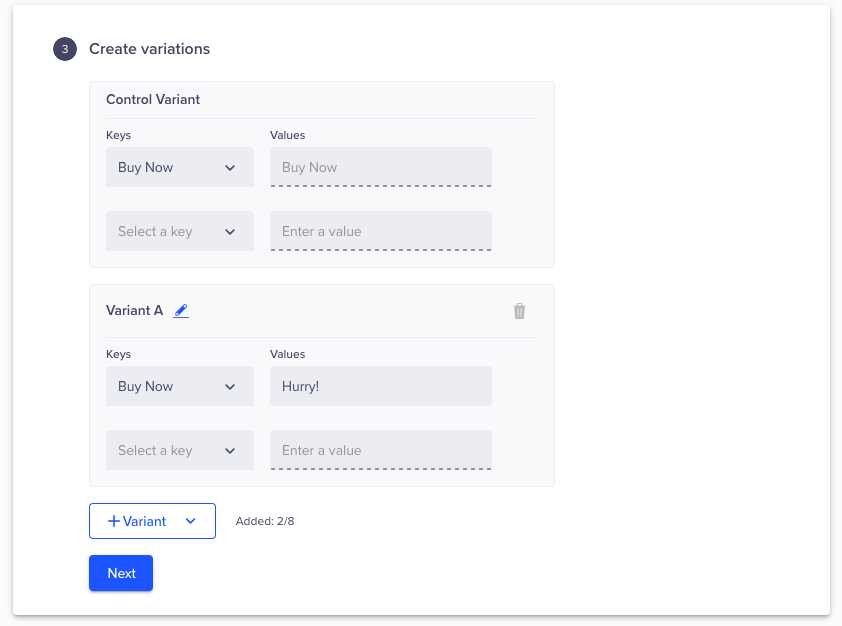
Creating Variations and Keys
All identified users will always get the same variant across all devices. If some users choose not to identify, then they may see different variants on different devices.
Schedule AB Test
Schedule the start and end time of your test. You can choose to start immediately or at a later date and time.

Scheduling A/B Tests
Publish AB Test
Publish the test to start receiving results.
- Save the test and review all the test information.

Reviewing A/B Test Variations
- Publish the test.

Publishing A/B Tests
Manage Test
- Navigate to Product Experiences > A/B Tests. The A/B Tests page lists all the tests.
- Click the required test from the list. The Stats page appears by default.
Edit Test
You can edit a published test. The following fields can be edited in a test -
- Change the description
- Change the test group % of the chosen segment
- Add or delete goals
- Add or delete keys
- Change values of the keys
- Navigate to Product Experiences > A/B Tests. The A/B Tests page lists all the tests.
- Click the required test from the list.
- Click Setup.
Note
For a Scheduled AB test, all components including segment can be edited.
Version Control
A new version is created every time a published test is edited. The stats for each version are tracked separately. You can revert to an older version of the test. To view versions, follow the steps:
- Open Product Experiences > A/B Tests. The A/B Tests page lists all the tests.
- Click the required test from the list.
- Click the View Version History link.

Click View Version History
- The Version History page appears. Click the required version to see the stats.
You can revert to an earlier version anytime.

Viewing Version History Details
View Stats
You can view the test stats to determine the performance of the test. In our example, we need the CTA with the highest conversion.
- Navigate to Product Experiences > A/B Tests. The A/B Tests page lists all the tests.
- Click the required test from the list. The Stats page appears by default.
- Scroll down to see all the stats.
Statistical significance
Statistical significance provides a measurable impact for your winning variant by eliminating any possibility of a chance winner. We use Welch's t-test to measure statistical significance. The formula for calculating the necessary confidence level for a variant to be declared as statistically significant is 100 - (5 / number of variants - 1). For more information on A/B testing, see How to Identify and Mitigate Risk in A/B Testing.

Viewing Statistical Significance of Variations
Exposure Event
An exposure event can help to determine the exact order of events that lead to a goal. You can assign an event as an exposure event to further test the effectiveness of your campaign. For example, you can check if the number if the user immediately performs a purchase after viewing a product. You can set the product-viewed event as an exposure event.
Another aspect of using an exposure event is it allows you to measure more focused conversions. Once it is toggled on, you can see the conversions of only those users who actually saw the experiment or were exposed to it as per the event defined.
To set exposure events, follow these steps:
- Navigate to Product Experiences > A/B Tests. The A/B Tests page lists all the tests.
- Click the required test from the list. The Stats page appears by default.
- Toggle the Test exposure event button.

Enable Exposure Events
- Select and save the exposure event

Selecting and Saving Exposure Events
- View Conversion Stats.

Viewing Conversion Stats
Declare Winner
The best-performing variant can be declared a winner.
- Click the Declare Winner button to declare a variant as the winner. The Declare Winner window appears.

Declare the Winning Variant
- Select the Variant and click Declare to declare it as the winner. The stats page will now display the stats of the winning variant.
Note
The test is still active after declaring the winner. Declaring a winner does not affect the test. You can always change the winning variant later.
Rollout Variant
After you are satisfied with the performance of a variant, you can roll it out to all users. This cannot be reversed. However, you can stop the test to stop rolling out the variant to the target segment.
- Click the Roll Out button from the test. The Roll out variant window appears.

Rolling Out Winning Variant
- Select the variant
- Select the segment.
- Click Roll Out.
This variant is rolled out to all the users in the segment and the test is marked as 'Rolled out'.
Set Test Priority
A user may belong to multiple tests with the same key. In that case, you can assign a higher priority to the required test. This is only applicable to new users.
In our example, say user A qualified for the variant 'Buy now'. Now another test is created for the same key. This newly created test has a higher priority. There is no change for user A. This user continues to see the variant from the first test. However, for a new user who qualifies for both the test after the new test is prioritized, the priority will be respected. This new user will get a variant from the new test because it has a higher priority.
To set priority, follow the steps:
- Navigate to Product Experiences > AB Tests.
- Click the Priority Order Tab. The priority list appears.

Defining Test Priority for A/B Tests
- Drag and drop the test to prioritize the test.
Video Tutorial
For further information, you can watch the following video on product A/B tests:
Updated 8 months ago