Native Display

Overview

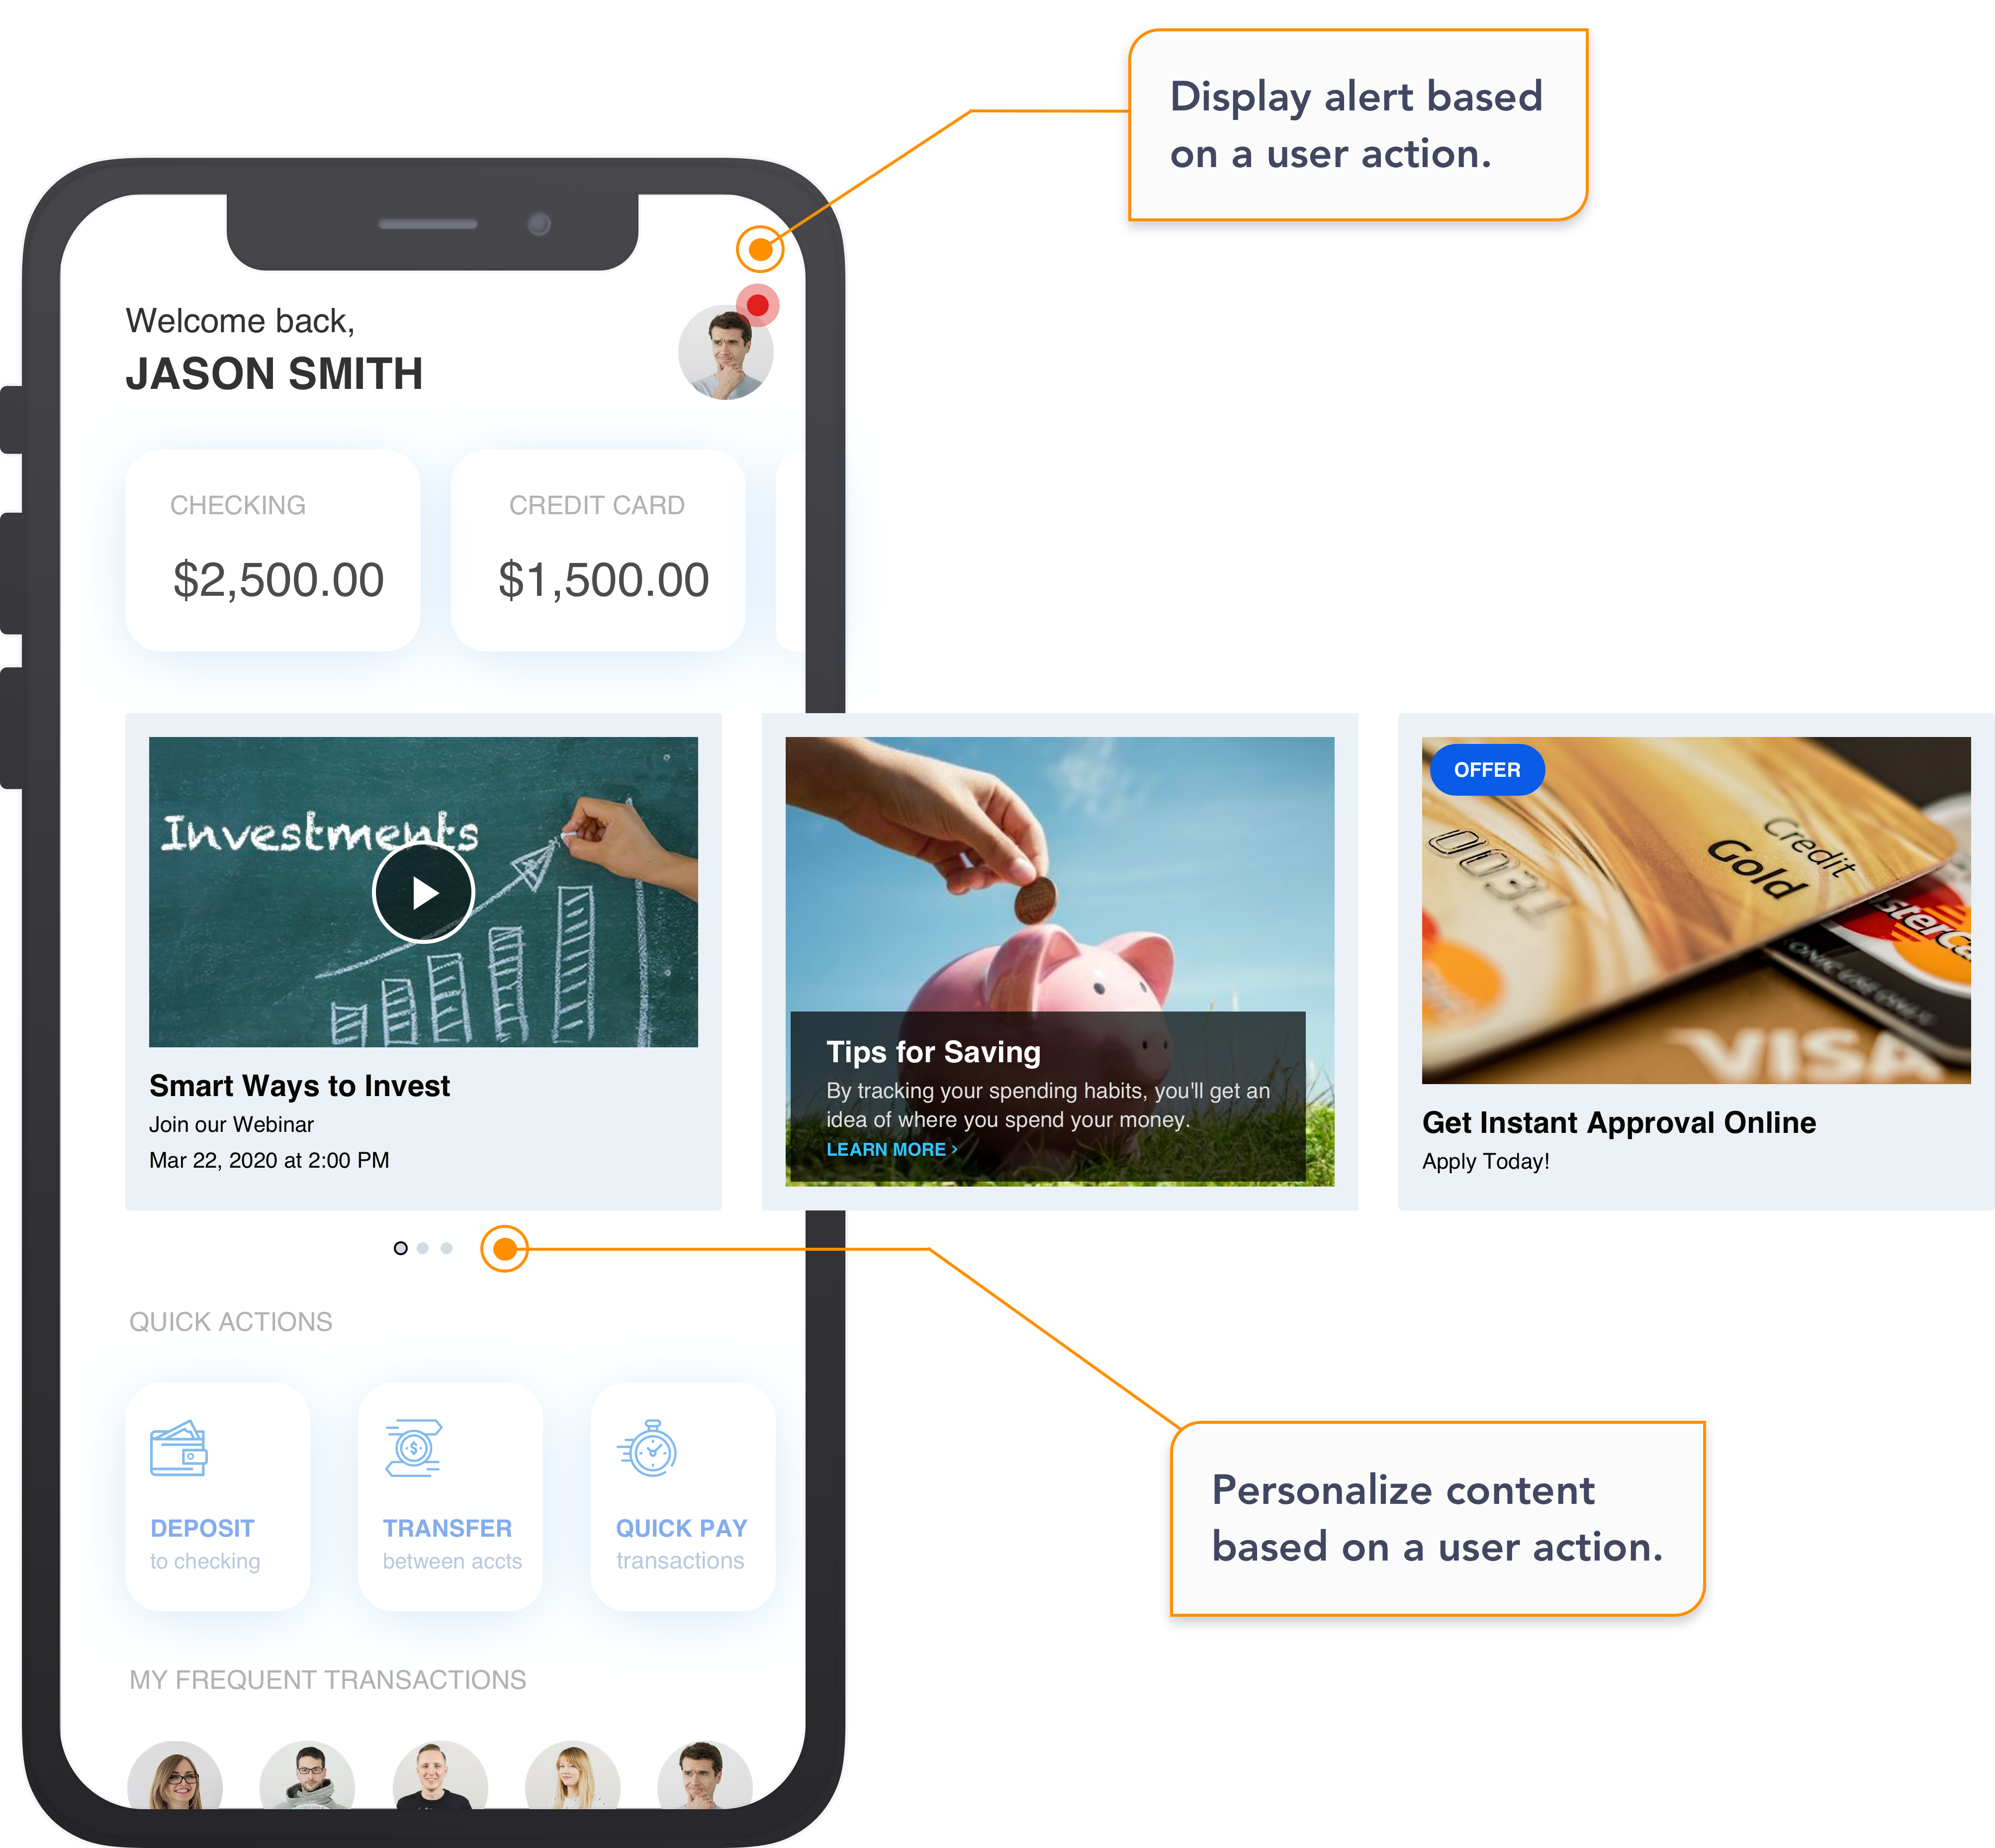
Native Display provides the ability to embed content natively within your app screen without interrupting the app experience. It also provides the ability to change the content of your app dynamically and deliver relevant and contextual content to your users.
👍

Native Display Example

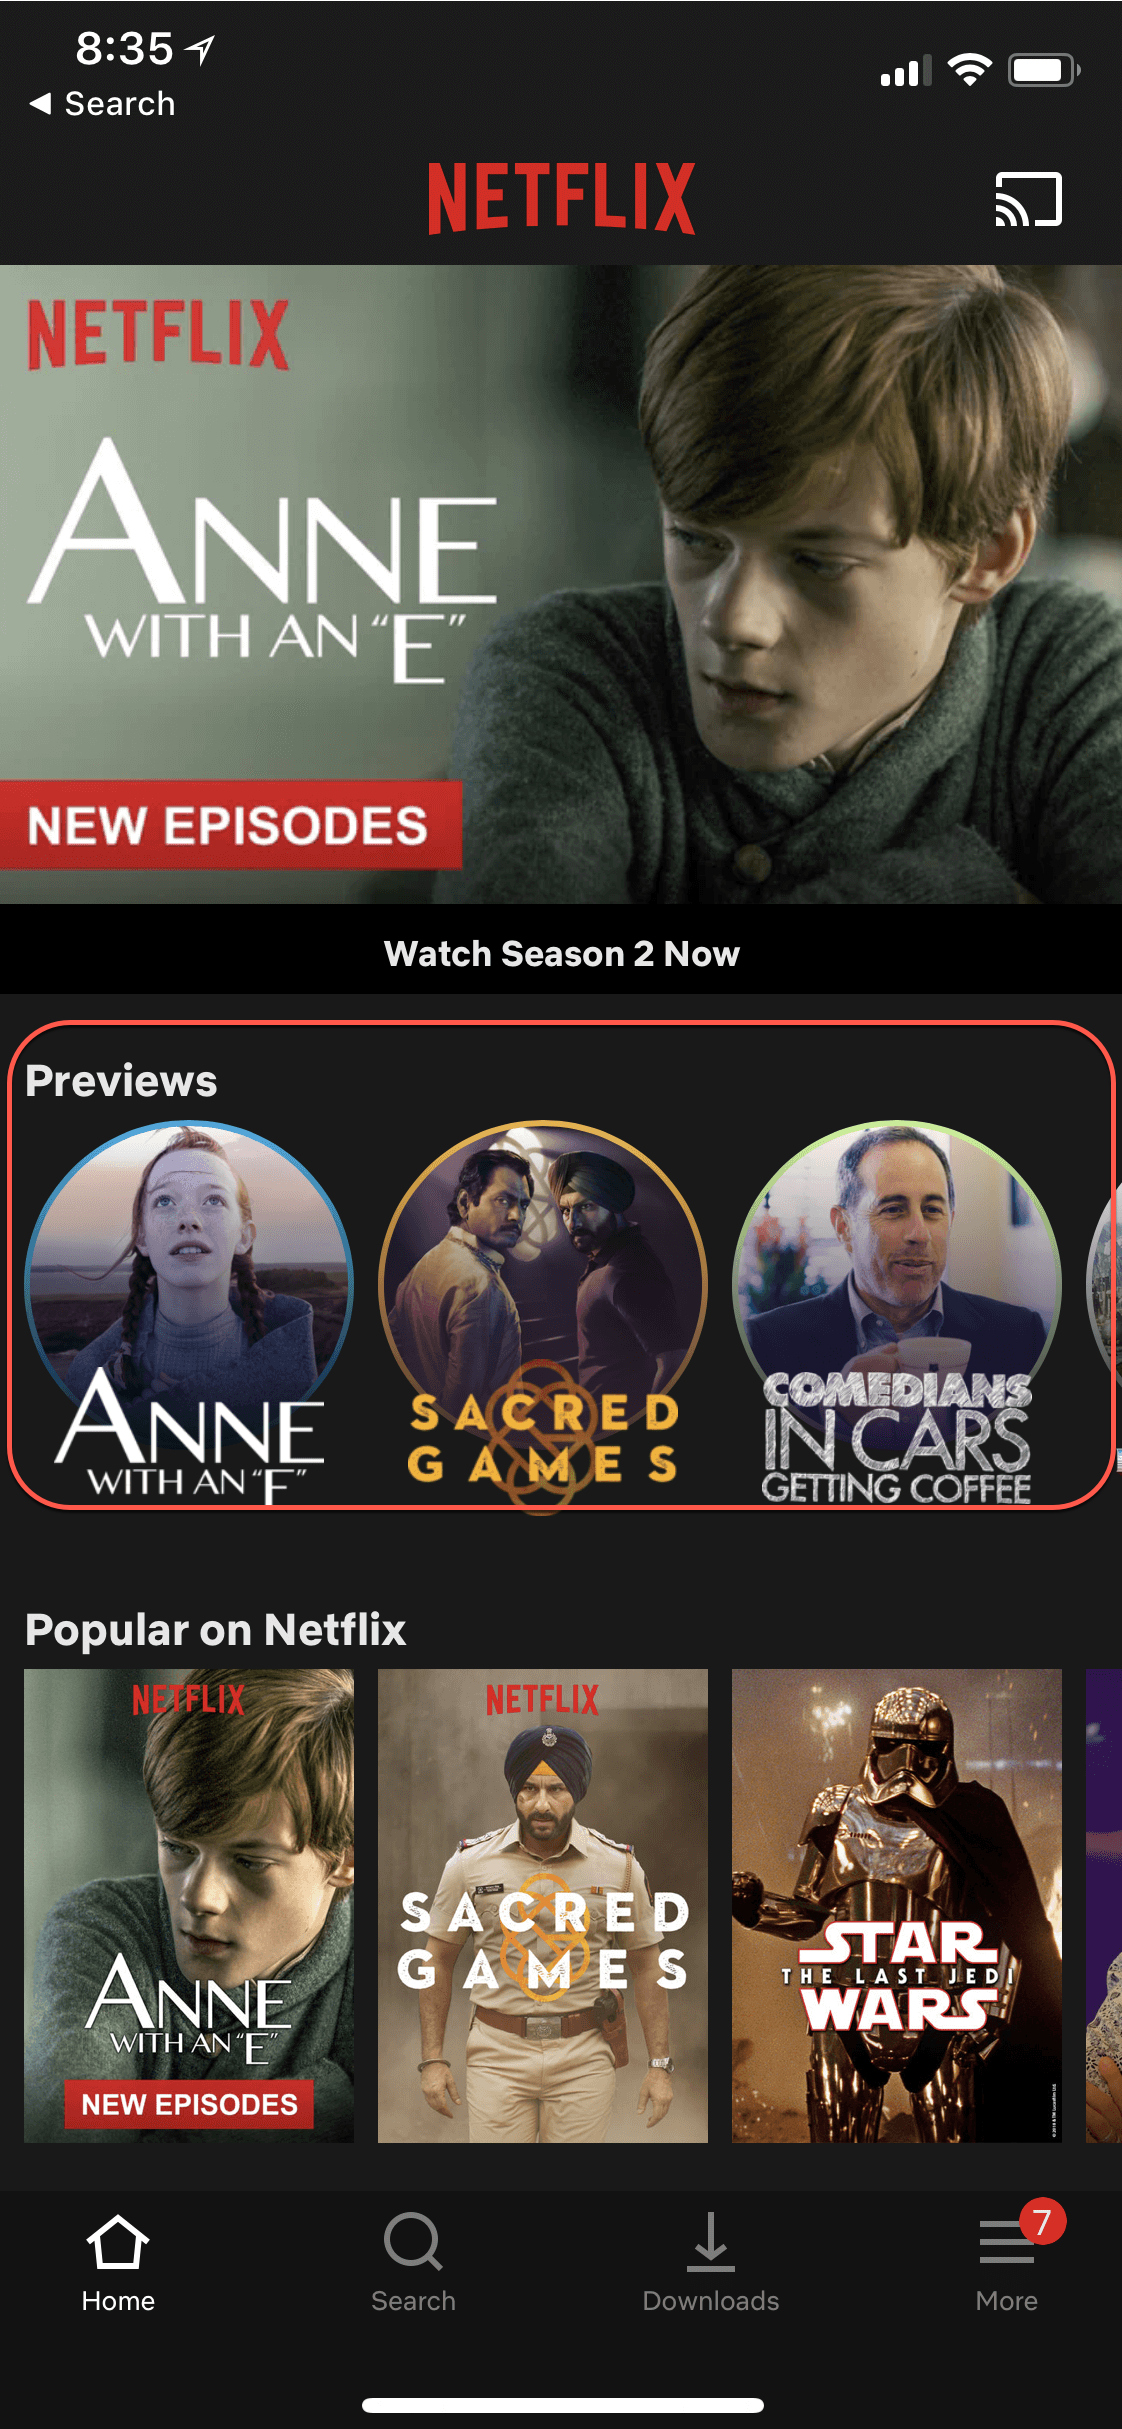
You can create a native display campaign to display recommended content to users on a carousel as soon as they launch the app.

4012

The native display campaign gives you the ability to modify sections of your app or show banner advertisements on live triggers and segmentation. This capability is available for iOS (SDK version 3.7 and above) and Android (SDK version 3.6.2 and above).

Follow the steps for the integration of native display with your app for Android and iOS.

Create a Native Display Campaign

Perform the following steps to create a native display campaign:

  1. Click Native Display under Campaigns on the CleverTap dashboard.
  2. Click + Campaign.
2752
  1. Click Native Display from the Channel page.
2768
  1. Select the start and end of the campaign.
2492

Right now, the frequency of the campaign is not managed by CleverTap. We send the configured content when the event is triggered.

📘

Recurring Day

If you specify a recurring day for a campaign, such as the 7th of each month, then the campaign will start for the specified day and ignore the creation date. This is a precaution to avoid sending a campaign unintentionally on a prior date.

  1. Select any live segment or create an ad-hoc live segment. You can filter by any event property for the selected event. You can also filter on any past behavior or user property.
2792
  1. Define the message for the campaign.
2776
  1. Select one of the following message types:
  1. Select any or all of the following device types:
  • iOS
  • Android
  • Mobile
  • Tablet
  • TV (Android)
  1. Select the template for the campaign. Check that you have completed the integration steps for Android and iOS before you set up a campaign.
TemplateTemplate Category
Single bannerMedia (images, gif, video) only
Media (images, gif, video) + Text
Carousel bannersMedia (images, gif) only
Media (images, gif) + Text
Banner with iconMedia (images, gif, video) only
Media (images, gif, video) + Text
Custom key valueAny
  1. Personalize your content by typing the @ symbol in the Title box and other text boxes to list all the available Profile and Event variables.
  2. Select a variable and provide the default value. For more information, refer to Personalize Messages.
2784

🚧

Maximum Image Sizes

The maximum sizes are as follows:

  • Image: 500 KB
  • Audio file: 5 MB
  • Video file: 50 MB

The supported file formats include .jpg, .jpeg, .png, .gif, .mp3, .mp4 (.png's convert to .jpeg using selected background color).

  1. Enter the custom key-value pairs. You can enter a value or type the @ symbol in the Value box to list specific Profile and Event properties. The key can have any value.

For example, if you want to change the carousel images for your users based on their language and favorite food, you can set the custom key-value pairs for this change.

884
  1. Set up the control group and labels.
  2. Set up conversion tracking for events.
2778
  1. Review your campaign and check if everything is in order.
  2. Click the Schedule Notification button to schedule and send out your campaign.
2778

View Campaign Stats

Open the native display campaign from the campaign list page. The Notification Clicked and Notification Viewed events are tracked after you send the events and after the integration is complete.

1239